Rats are not a “wait and see” problem. If you are hearing scratching at night, finding droppings, or noticing chewed bags and wiring, the smartest move is to treat it like a system: confirm what you are dealing with, remove what they are using (food, water, shelter), block their access, and then trap what is left.
This guide walks you through the best way to get rid of rats with methods that homeowners and gardeners can actually do without turning the whole house upside down.
First: Make sure it is rats (not mice)
You can catch and prevent faster when you are targeting the right pest.
- Droppings: Rat droppings are larger, often about 1/2 inch and sometimes up to 3/4 inch depending on species and age. They tend to be thicker, with blunt ends (Norway rats) or more tapered ends (roof rats). Mouse droppings are smaller, typically about 1/8 to 1/4 inch and more rice-like with pointed ends.
- Sounds: Rats are heavier. If it sounds like thumping or steady scurrying in the wall or attic, that often points to rats.
- Gnawing: Rats leave wider tooth marks and can chew tougher materials.
- Burrows: Outdoors, Norway rats commonly burrow along foundations, under sheds, or in dense groundcover. Roof rats are more likely to travel above ground and nest in attics, palms, dense vines, or stored clutter off the ground.
If you are seeing burrows, greasy rub marks along walls, or bigger droppings, assume rats and move quickly.
The smart plan (in order)
1) Remove food and water first
Traps work better when rats are not already eating freely. This step also reduces how many new rats will hang around.
- Secure trash: Use tight-fitting lids and keep the area clean. Rats usually do not pop latches like raccoons, but they will feed from spills, gaps, and torn bags around an unsecured can.
- Bring pet food in: Feed pets inside or pick bowls up immediately after feeding.
- Clean up bird seed: Bird feeders are a common rat magnet. Switch to seed catch trays or pause feeding during an active rat problem.
- Store bulk foods properly: Metal or heavy-duty plastic bins with locking lids, especially in garages and sheds.
- Fix water sources: Leaky spigots, dripping irrigation, and pet water bowls left out overnight are easy water access.
2) Reduce shelter and nesting spots
If your yard has “perfect rat housing,” they will keep testing your defenses.
- Cut back dense groundcover and tall weeds near the house.
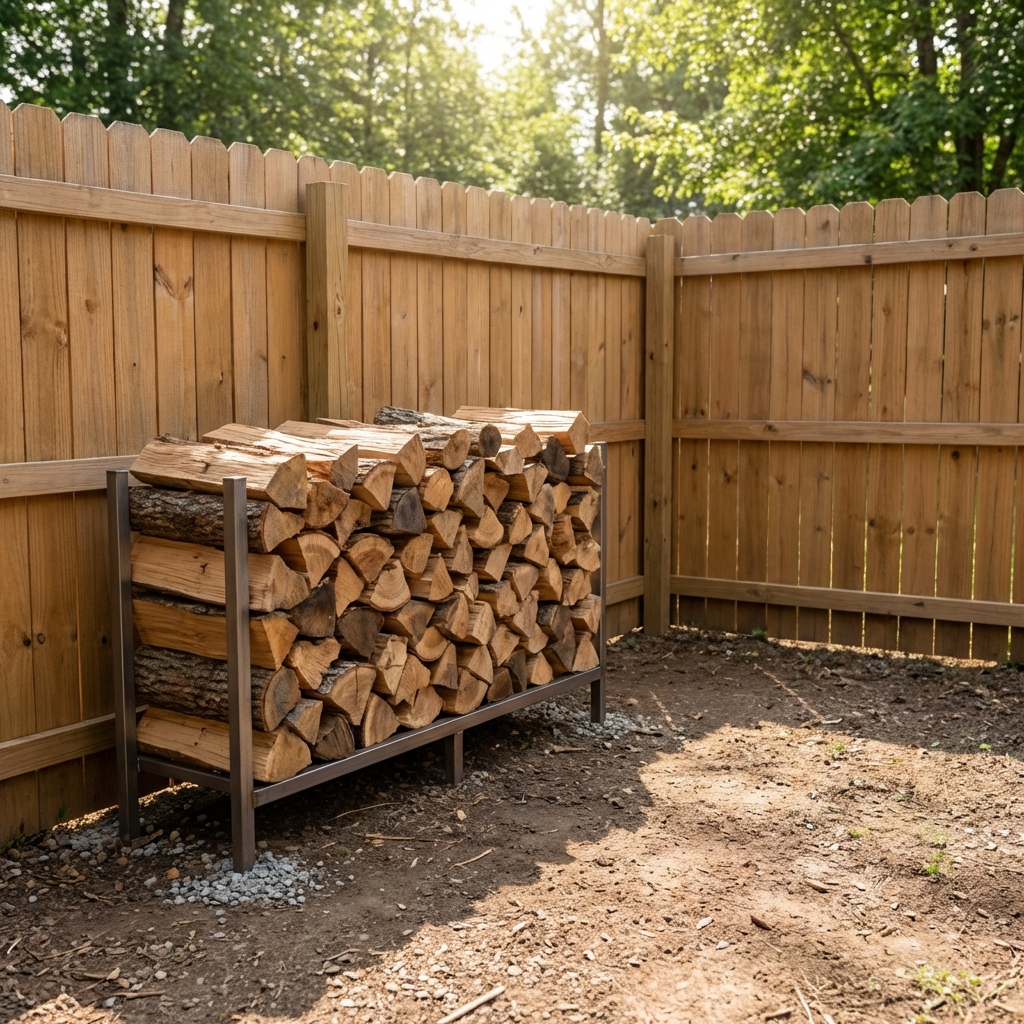
- Keep woodpiles and clutter off the ground and away from walls.
- Pick up fallen fruit and nuts regularly.
- Keep compost managed. Avoid adding meat, grease, or oily foods. Use a closed bin if possible.
3) Seal entry points (exclusion)
Exclusion is the long-term win. Rats can squeeze through surprisingly small openings. A common rule of thumb is 1/2 inch for rats (and about 1/4 inch for mice). They will also chew to enlarge weak spots.
- Inspect the exterior: Look around the foundation, garage corners, utility lines, dryer vents, crawlspace vents, and gaps under doors.
- Seal gaps correctly: Use hardware cloth (1/4 inch) and solid materials. For small holes, stuff with copper mesh or steel wool and seal with mortar or an exterior cement patch. For larger gaps, use metal flashing, sheet metal, or hardware cloth secured with screws and washers. Use exterior-rated sealant to finish edges, not as the only barrier.
- Foam note: Expanding foam alone is not rodent-proof. Rats can chew through it. If you use foam, pair it with metal mesh or a solid barrier.
- Door sweeps: Install tight door sweeps on garage and exterior doors.
- Vents and chimneys: Cover with proper metal screening or caps designed for that use.
Important: If you suspect rats are inside the living space, trap actively before fully sealing every possible exit. Otherwise you can end up with trapped rats dying inside walls. A practical approach is to start trapping immediately, seal obvious openings you can do safely, then finish full exclusion once captures stop and you are no longer seeing fresh signs.
4) Trap what is left (best overall method)
For most homeowners, snap traps are the best balance of speed, cost, and effectiveness. If used correctly, they solve the problem faster than bait alone.
Why trapping beats “random poison”: Rodenticides can lead to dead rats in walls, can create secondary poisoning risk for pets and wildlife (depending on product, placement, and local rules), and can turn into an ongoing bait habit. Traps let you measure progress and end the cycle.
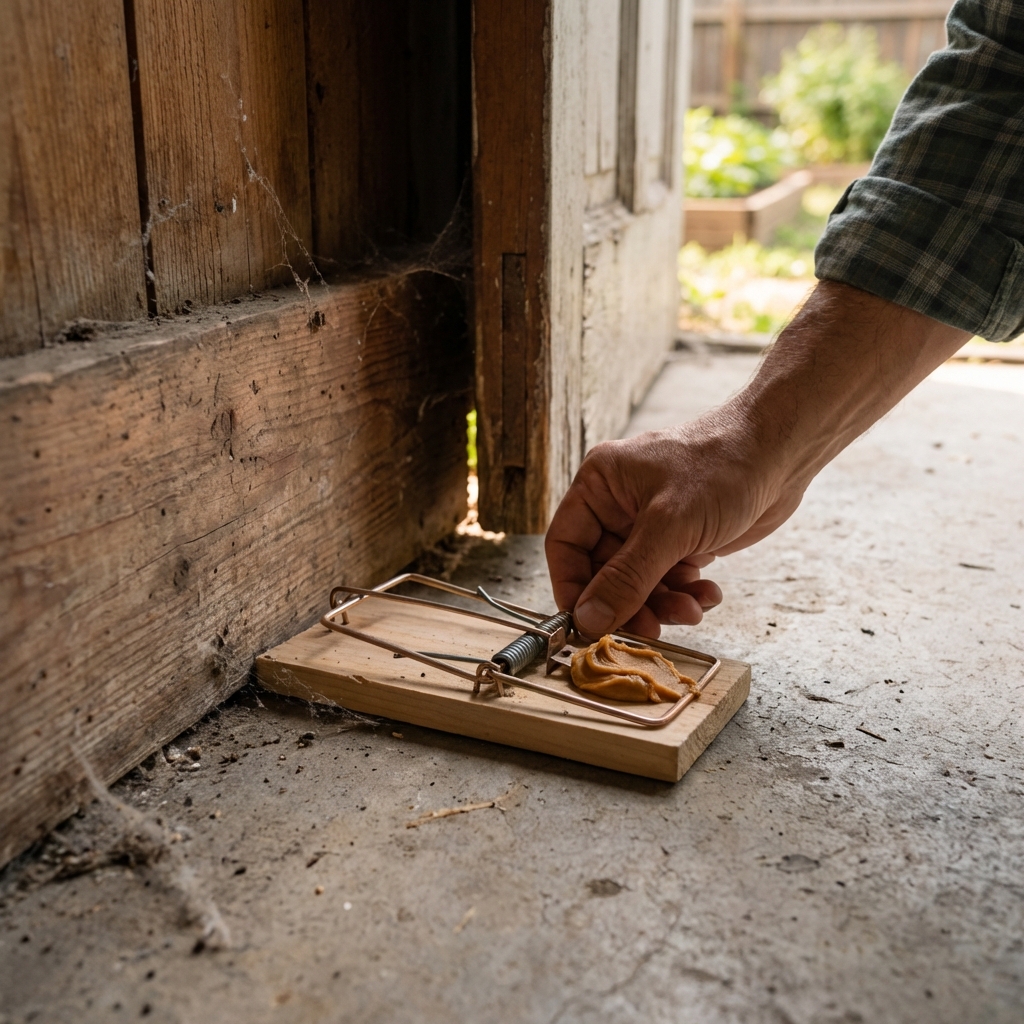
How to set snap traps the right way
- Place traps where rats run: Along walls, behind stored items, near rub marks, and near burrow openings. Rats prefer edges, not open spaces.
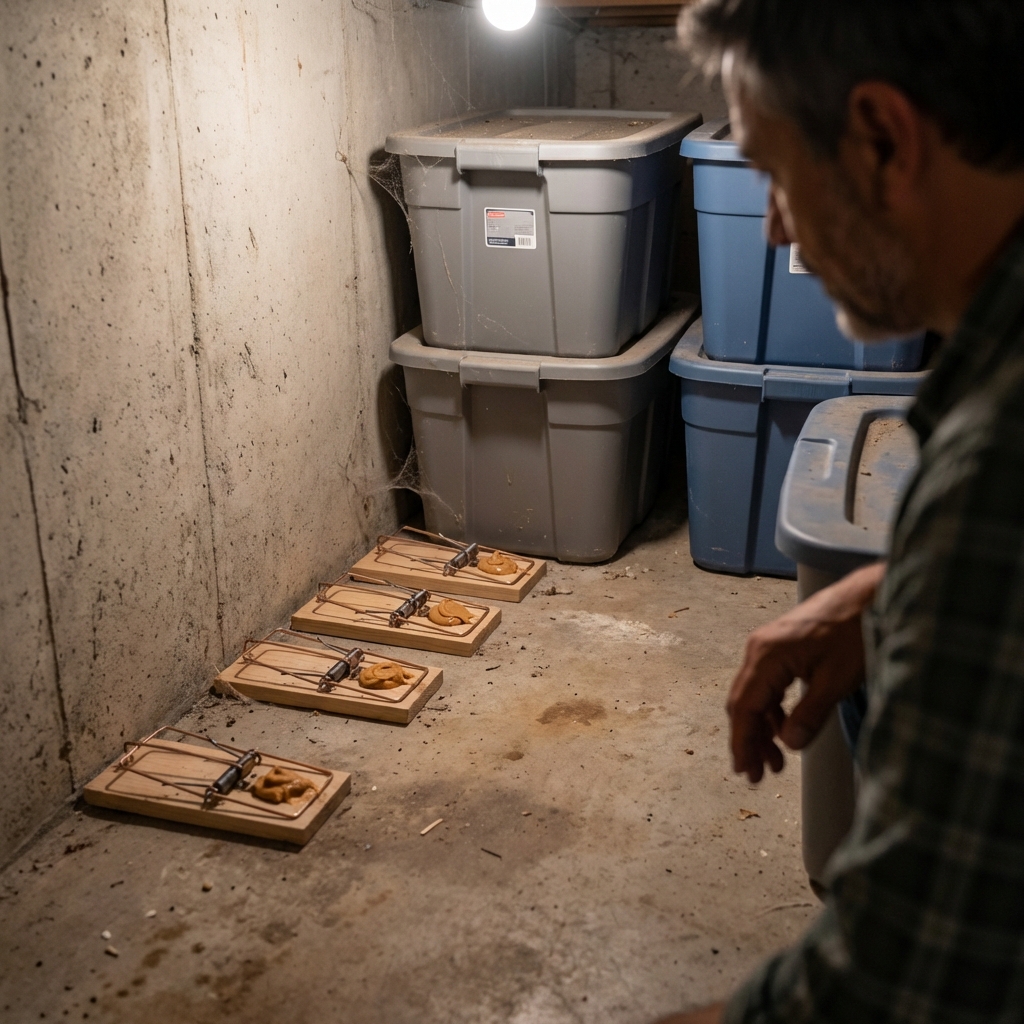
- Use enough traps: One trap is rarely enough. As a rule of thumb, start with 6 to 12 traps for an active area (more if you have multiple hotspots).
- Orientation: Set traps perpendicular to the wall with the trigger side toward the wall.
- Bait smart: Peanut butter works well. Also try small bits of dried fruit, bacon, or nuts. Use a tiny amount so they cannot steal it without triggering.
- Pre-bait if needed: If rats are trap-shy, set traps baited but unset for 1 to 2 nights, then set them.
- Check daily: Remove captures promptly, rebait as needed, and reset. If you get no activity for a few nights but signs continue, move traps to the next likely run.
- Skip glue traps: Glue boards are widely considered inhumane and create messy, stressful situations for homeowners. Use snap traps or professional-grade options instead.
What about live traps?
Live traps can work, but they require careful handling, daily checks, and a plan for humane dispatch or legal relocation rules. In many areas, releasing rats elsewhere is not allowed and just moves the problem to someone else.
5) Use bait stations only when it makes sense
Tamper-resistant bait stations can be part of a professional-style plan, especially for outdoor perimeter control when trapping alone is not enough. If you go this route:
- Use only sealed, tamper-resistant stations designed for rats, and anchor them so they cannot be dragged.
- Keep them away from children, pets, and wildlife activity areas.
- Follow the product label exactly. The label is the law.
- Know that availability and legality vary. Some anticoagulant products are restricted in certain areas.
- Avoid casual indoor baiting. Indoor placements can increase the chance of odor issues from carcasses in inaccessible spaces.
- Plan for ongoing monitoring and removal when the issue is resolved.
If you have owls, hawks, neighborhood cats, or dogs that might find a poisoned rat, prioritize trapping and exclusion first.
Where to focus: common rat hotspots
Garage
- Seal the gap under the garage door with a proper threshold and door seal.
- Store seed, bird food, and pet food in metal cans with tight lids.
- Set traps along the back wall and corners where droppings appear.
Attic and roofline
- Trim tree branches back from the roof. Roof rats use them like highways.
- Screen roof vents and gable vents with metal mesh.
- Look for entry at fascia gaps and around plumbing stacks.
Foundation and burrows
- Look for burrows along foundations, under patios, under sheds, or in dense groundcover (often Norway rats).
- Collapse inactive burrows after you are actively trapping and seeing reduced activity, then harden the area with soil and rock, pavers, or a barrier so they cannot reopen it easily.
Garden and yard
- Pick produce promptly. Do not leave overripe tomatoes or fallen fruit overnight.
- Thin dense plantings near the house and along fences.
- Inspect under sheds, decks, and compost bins for burrows.
- If you keep chickens, lock feed in metal bins and clean spills daily.

How long does it take to get rid of rats?
If you do the steps in the right order, many small infestations improve within one to two weeks. Bigger or established problems often take three to six weeks because you are breaking habits and access routes, not just catching a few rats. Heavy infestations, nearby construction, or pressure from neighboring properties can extend the timeline.
A good sign you are winning: fewer fresh droppings, less noise at night, and traps stop getting activity.
Confirm they are gone (simple monitoring)
Before you declare victory and pack everything away, do a quick confirmation pass for 5 to 7 nights:
- Keep a few traps out (unset or set): Focus on previous hotspots.
- Use a monitoring tool: Non-toxic monitoring blocks, chew cards, or a light dusting of tracking powder in a controlled area (away from kids and pets) can confirm ongoing movement.
- Watch for fresh signs: New droppings, new rub marks, or fresh gnawing means you are not done yet.
If you get a full week with no fresh signs and no trap activity, you are usually in the clear.
Safety and cleanup (do this part carefully)
Handling droppings and nesting material
- Ventilate the area for at least 30 minutes if it is enclosed.
- Wear gloves and ideally an N95-style mask.
- Do not sweep or vacuum dry droppings.
- Spray with disinfectant and let it soak, then wipe up with paper towels.
- Bag waste, seal it, and dispose in outdoor trash.
Urine, insulation, and “big mess” situations
- Urine contamination: If an area smells strongly of urine, treat it as contaminated. Clean hard surfaces as above and consider an enzyme cleaner after disinfection.
- Attic insulation: Small localized nests can sometimes be cleaned safely, but widespread droppings or urine-soaked insulation often means removal and replacement is the smarter move.
- When not to DIY: If contamination is extensive, you have respiratory issues, or the space is hard to access safely, bring in a professional for cleanup and exclusion.
If you find a dead rat
Use gloves, place it in a sealed bag, then bag again. Disinfect the area where it was found. Wash hands thoroughly afterward.
Prevention checklist (keep them from coming back)
- Keep a 12 to 18 inch vegetation-free strip along the foundation if possible.
- Fix leaks and avoid leaving water out overnight.
- Store all animal feed and seed in sealed containers.
- Maintain door sweeps and repair gaps as they appear.
- Do a quick yard scan weekly for new burrows or droppings.
- Trim branches away from the roofline and fences that lead to the roof.
Rats are persistent, but they are also predictable. When food is locked up, cover is reduced, and entry points are sealed, most rat problems stop being “a nightmare” and start being “a project you can finish.”
When to call a professional
Bring in a licensed pest professional if:
- You see rat activity in multiple areas (attic, crawlspace, garage, yard) at once.
- You cannot find the entry point and trapping is not reducing signs after 10 to 14 days.
- You have concerns about wiring damage, HVAC ducting, or contamination.
- You need exclusion work at height or on a complex roofline.
A good pro will focus on exclusion and monitoring, not just throwing bait everywhere.

Jose Brito
I’m Jose Britto, the writer behind The Country Store Farm Website. I share practical, down-to-earth gardening advice for home growers—whether you’re starting your first raised bed, troubleshooting pests, improving soil, or figuring out what to plant next. My focus is simple: clear tips you can actually use, realistic expectations, and methods that work in real backyards (not just in perfect conditions). If you like straightforward guidance and learning as you go, you’re in the right place.