Orchids have a reputation for being fussy, but most problems come from a few repeat issues: too much water, not enough light, and potting mix that stays soggy. The good news is that eco-friendly orchid care lines up with what orchids want anyway. Think less waste, fewer chemicals, and more observation.
Below are practical, backyard-realistic tips you can use with common orchids like Phalaenopsis (moth orchids), plus notes for other types when it matters.

Start with the plant you actually have
Before you change anything, identify the general type. Care gets much easier when you know what the orchid expects.
- Phalaenopsis: Most common grocery store orchid. Likes warm temps, steady moisture, and bright indirect light.
- Cattleya: Brighter light, dries faster, chunkier potting medium.
- Dendrobium: Many types, often likes brighter light and a bit more drying between waterings.
- Oncidium: “Dancing lady” types often like more frequent watering than cattleyas, but still need airflow.
If you are not sure, treat it like a phalaenopsis until you confirm. It is usually safer to underwater slightly than keep roots constantly wet.
Eco-friendly light and placement
The greenest energy is the light you do not have to generate. Most orchids thrive on natural light if you place them well.
Use window light first
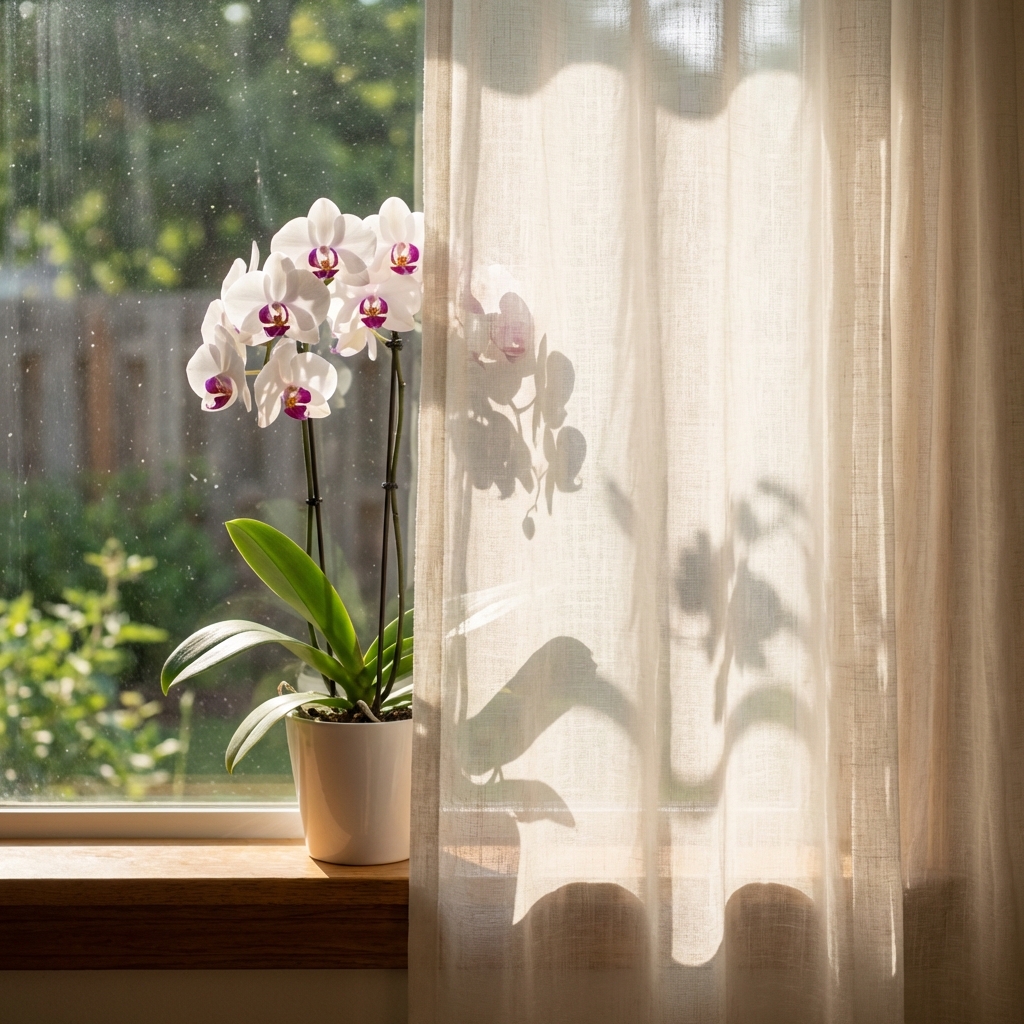
- Best for phalaenopsis: East window (gentle morning sun) or bright north window.
- South or west windows: Work well with a sheer curtain to prevent leaf scorch.
Rotate the pot a quarter turn every week or two so the plant grows evenly instead of leaning.
Skip the “dark corner rescue”
If an orchid is surviving but not blooming, low light is often the reason. Move it closer to the window before you buy a grow light. If you do need a light, choose an efficient LED and run it on a timer.
Water wisely with less waste
Overwatering is one of the most common orchid killers, and it is also wasteful. The goal is to water thoroughly, then let excess drain away and let the roots breathe.
Check the roots, not the calendar
- Silvery roots: Usually thirsty.
- Green roots: Often hydrated, especially right after watering.
- Brown or mushy roots: Staying wet too long or rotting.
Quick caveat: roots exposed to light can stay green longer, even as the potting medium dries. Use roots as your main clue, but confirm with a couple of simple checks below.
Simple “time to water” clues
- Pot feels light: A dry pot is noticeably lighter than a freshly watered one.
- Condensation is gone: In clear pots, less fogging often means the potting medium is drying.
- Top layer feels dry: Bark feels dry to the touch and looks matte, not dark and damp.
- Leaves look a bit dull or slightly limp: This can signal dehydration, but wrinkling can also happen after root loss, so check roots first.
Clear pots make root checks much easier. If yours is in an opaque decorative pot, consider switching to a clear inner pot and keep the decorative one as a cover.
Low-waste watering methods
- Soak and drain: Set the pot in a bowl of water for 10 to 15 minutes, then drain completely.
- Top-water at the sink: Run water through the pot for 20 to 30 seconds, then let it drain for a few minutes before putting it back.
Reuse water carefully: Reusing soak water on other indoor plants can spread pests or diseases (including viruses) that are not obvious yet. If you reuse it at all, it is safest on outdoor plants or non-sensitive landscaping, and only when you are confident the orchid is pest-free and healthy. When in doubt, dump it.
Avoid: leaving the pot standing in water, ice-cube watering (often too cold and inconsistent), and misting as your main watering method. Misting barely hydrates roots and can encourage leaf and crown problems if water sits in creases.
Also avoid water in the crown: after watering, make sure no water is trapped where the leaves meet. If it happens, blot it out with a paper towel.
Use better water when possible
Orchids can be sensitive to heavy mineral buildup. If your tap water is very hard, try one of these:
- Collected rainwater (clean container, no roof runoff if you are concerned about contaminants)
- Filtered water
- Let tap water sit overnight to let some chlorine dissipate
Note: letting water sit helps with chlorine, but many cities use chloramines, which do not evaporate. If you have chloramines, a carbon filter or a water conditioner is a more reliable option.
Whatever you use, once a month flush the pot with plain water to rinse out salts, especially if you fertilize.
Beginner frequency hint: many indoor phalaenopsis land around every 7 to 10 days, but always confirm with roots and pot weight instead of chasing a schedule.
Sustainable potting and repotting
Most orchids are epiphytes. In nature they cling to trees and get drenched, then dry fast. Your potting setup should mimic that airflow.
Choose a greener potting medium
Traditional orchid bark is fine, but look for options that reduce waste and still drain well.
- Orchid bark: Prefer mixes made from byproducts of forestry or sustainably sourced bark when available.
- Coconut husk chips (CHC): Renewable and holds a bit more moisture than bark. Rinse well before use to reduce salts.
- Pumice or lava rock: Long-lasting and reusable after cleaning. Great for airflow.
A practical all-around medium for phalaenopsis is medium bark + a small amount of sphagnum for moisture balance. Use sphagnum sparingly because it can stay wet too long if packed tight. If sustainability is a priority, consider using less sphagnum and leaning more on bark, CHC, or mineral components instead.
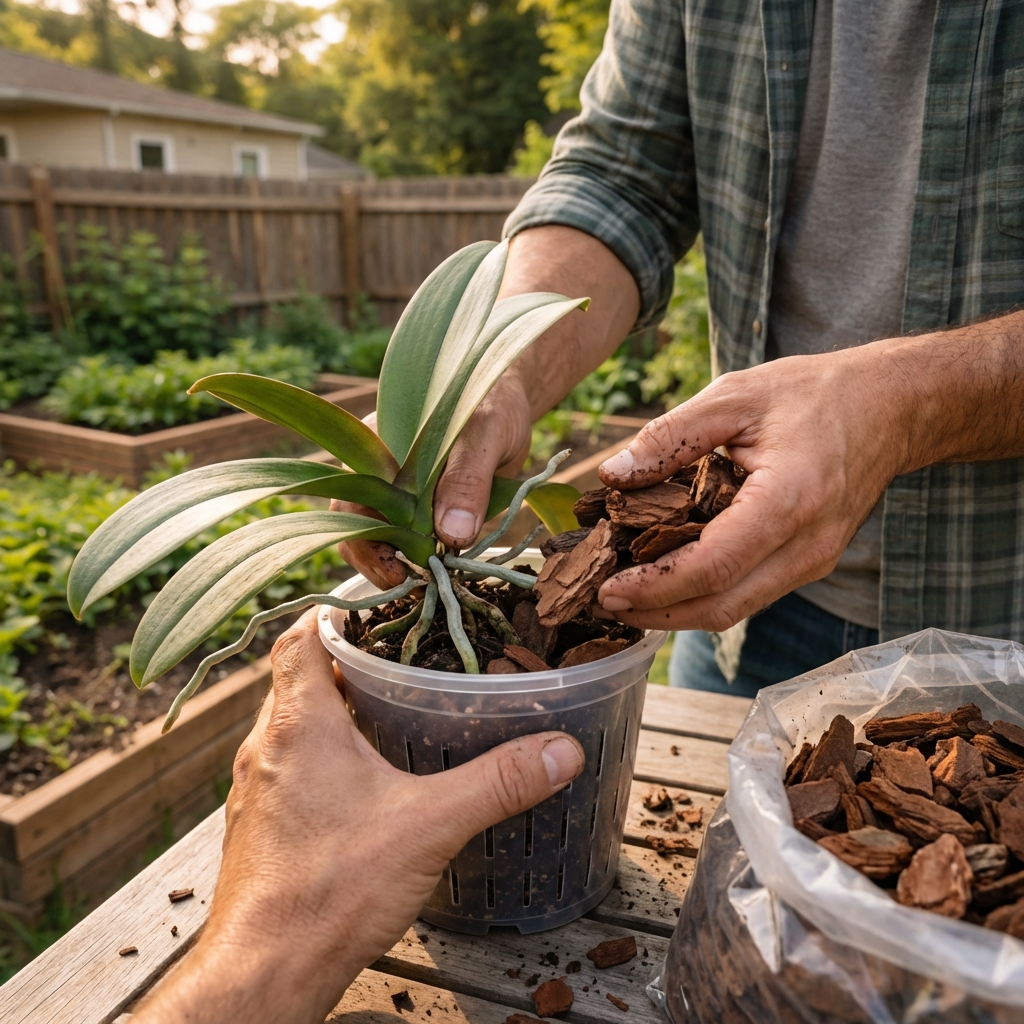
Repot at the right time
Repot every 1 to 2 years or when the potting medium breaks down and stays soggy. The best timing is usually after flowering when you see fresh root growth starting.
Quick repot checklist:
- Trim only dead, mushy roots with clean scissors.
- Keep the crown above the potting medium, do not bury it.
- Use a pot with lots of holes for airflow.
- Wash and reuse pots when you can (hot soapy water, then rinse well). For plants with known pests or disease, use a dedicated pot or sanitize more aggressively.
What about the old medium? If it is clean and untreated, small amounts of old bark can sometimes be composted or used as outdoor mulch. If it is moldy, salty, full of roots, or you suspect pests or disease, bag it and dispose of it.
Gentle feeding without harsh chemicals
Eco-friendly feeding is about small doses and not overdoing it. Most orchids do not need heavy fertilizer to bloom.
The “weakly, weekly” approach
During active growth (often spring through early fall), feed at 1/4 strength every 1 to 2 weeks. In lower light months, cut back to once a month or pause if growth slows.
Lower-impact fertilizer options
- Balanced orchid fertilizer used sparingly is often more predictable than strong organic brews.
- Organic options like fish emulsion can work but may smell and can attract pests indoors. If you use them, go very dilute and flush monthly.
If your water is low in minerals (like rainwater or RO), occasionally supplementing calcium and magnesium can help, but keep it simple unless you see clear deficiency signs.
Natural pest control that actually works
If you catch pests early, you can usually handle them without reaching for harsh sprays.
Common orchid pests
- Mealybugs: White cottony clusters in leaf joints and along spikes.
- Scale: Small brown bumps on leaves and stems.
- Spider mites: Fine webbing and stippled leaves, common in dry air.
- Fungus gnats: Usually a sign the potting medium stays too wet.
Eco-friendly treatment plan
- Isolate the plant for 2 to 3 weeks.
- Manual removal: Wipe leaves with a damp cloth. For mealybugs, dab with 70% isopropyl alcohol on a cotton swab.
- Soap spray: Use insecticidal soap as directed, especially for mites and crawlers. Spray undersides of leaves.
- Repeat: Treat every 5 to 7 days for a few rounds because eggs hatch later.
For fungus gnats, let the potting medium dry more between waterings and consider a top dressing of coarse bark. Yellow sticky traps help monitor adults.
Humidity and airflow without buying gadgets
Orchids like humidity, but they also need moving air. You can do both with simple, low-energy habits.
Easy humidity boosts
- Group plants together to create a slightly more humid microclimate.
- Pebble tray: Set the pot on pebbles above the water line so the pot is not sitting in water.
- Bathroom window spot: Bright bathrooms can be great if there is airflow.
Airflow matters more than people think
Still, damp air encourages rot. If your room is stagnant, a small fan on low pointed away from the plant can help. You are aiming for gentle air movement, not a draft.
Blooming and reblooming the eco-friendly way
To get repeat blooms without forcing the plant, focus on the basics: light, stable watering, and not overheating it.
For phalaenopsis rebloom
Many phalaenopsis set spikes after a small temperature drop in fall. A couple of weeks of nights around 60 to 65°F (15 to 18°C) can help, as long as days stay comfortable and the plant is healthy. Some hybrids respond to slightly different ranges, so aim for a gentle change and avoid cold drafts.
What to do with the flower spike
- If the spike is green and healthy, you can cut just above a node to try for a secondary bloom. It is not guaranteed.
- If the spike is browning, cut it near the base and let the plant rest and regrow.
Remember: a plant that blooms once a year reliably is doing well. Healthy leaves and roots come first.
Common mistakes that waste time and plants
- Using regular potting soil: It suffocates roots.
- No drainage: Decorative pots without an inner draining pot trap water.
- Overpotting: Big pots stay wet too long. Orchids like a snug fit.
- Water in the crown: If water sits where leaves meet, it can cause crown rot. If it happens, blot it out with a paper towel.
- Constant “rescue” repotting: Repotting too often stresses orchids. Fix the real issue, usually watering or light.
A simple eco-friendly orchid routine
If you want a no-fuss plan, this is a solid baseline for most phalaenopsis orchids:
- Light: Bright indirect, near an east or shaded south window.
- Water: When roots turn silvery and the pot feels light, soak 10 to 15 minutes, drain fully. Keep water out of the crown.
- Feed: 1/4 strength fertilizer every 1 to 2 weeks during active growth.
- Maintenance: Wipe leaves monthly, flush the pot monthly, repot every 1 to 2 years.
- Pests: Inspect weekly, treat early with wiping and soap.
Eco-friendly orchid care is mostly about doing less, but doing it consistently. Watch the roots, keep the potting medium airy, and let the plant tell you what it needs.

Jose Brito
I’m Jose Britto, the writer behind The Country Store Farm Website. I share practical, down-to-earth gardening advice for home growers—whether you’re starting your first raised bed, troubleshooting pests, improving soil, or figuring out what to plant next. My focus is simple: clear tips you can actually use, realistic expectations, and methods that work in real backyards (not just in perfect conditions). If you like straightforward guidance and learning as you go, you’re in the right place.