Orchids get a reputation for being fussy, but most problems come from just a few habits: overwatering, poor airflow, and a potting mix that breaks down too fast. The low-waste version of orchid care is not about buying more stuff. It is about doing the basics with a lighter footprint and better consistency.
These tips work especially well for common house orchids like Phalaenopsis (moth orchids), but the approach applies to many types. If you know your orchid type, you can fine-tune from there.
Start with the basics that prevent waste
Know what the roots are telling you
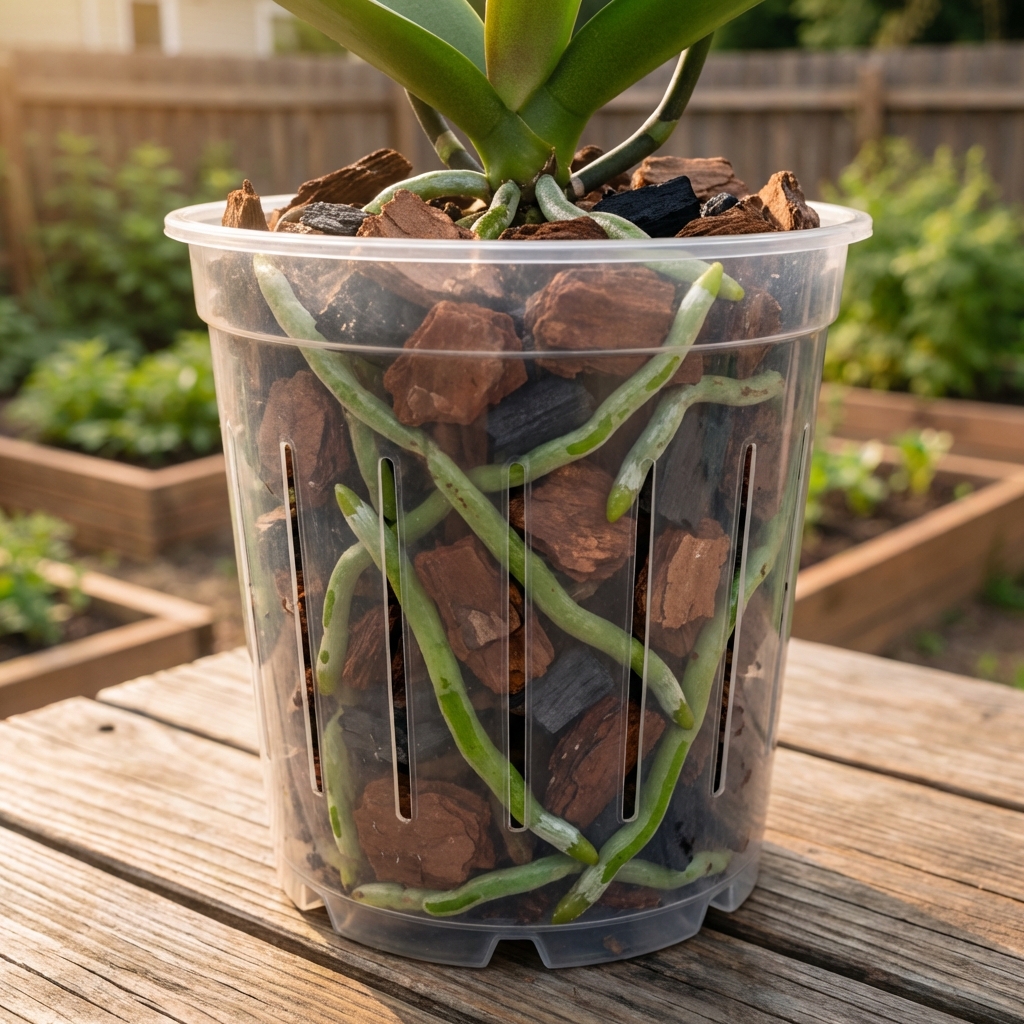
Before you water or fertilize, look at the roots. In a clear pot, this is easy.
- Silvery or pale roots: the plant is drying and likely ready for water.
- Green roots: there is still moisture in the mix. Wait.
- Brown, mushy roots: too wet too often, and rot has likely started.
This one habit prevents the most common “save attempt” purchases like extra fertilizers, bloom boosters, and rescue sprays.
Give it bright, indirect light and steady air
Better light and airflow reduce disease pressure, which means fewer interventions later.
- Place orchids near an east window or a shaded south or west window.
- Use a small fan on low if your space is still or humid, especially in winter.
- Keep leaves from touching cold glass at night.
Most Phalaenopsis do fine in average home humidity. If your air is very dry, a small humidity bump helps, but prioritize airflow and avoid cold drafts.

Watering that is orchid-friendly and lower-impact
Water less often, but more thoroughly
Orchids like a soak and then a dry-down. Frequent little sips keep the center of the pot wet and starve roots of oxygen.
- Water at the sink until water runs freely from the drainage holes, then let it drain fully.
- Never leave the pot sitting in water.
- Keep water out of the crown (the center where new leaves emerge), especially for Phalaenopsis.
If you are brand new and want a rough starting point, many Phalaenopsis in bark need water about every 7 to 10 days in an average home. Treat that as a beginner anchor only. Root color, pot weight, and how fast your mix dries should be the real guide.
Use room-temperature water and skip softened water
Softened water often contains salts that can build up in the pot. If you can, use:
- Rainwater you collected in a clean container
- Filtered tap water (a basic carbon filter is fine)
- Tap water left out overnight if your water uses free chlorine and it smells strong
Note: letting water sit out helps with free chlorine, but it does not remove chloramine, which many municipalities use. If your water report lists chloramine, filtering is the better move.
If you do use tap water and you see white crust on the pot or bark, plan to flush the pot with plain water monthly to reduce mineral buildup.
Reuse water wisely
You can reduce waste without spreading problems.
- Do not reuse water between orchids if you are battling pests or rot.
- Safe reuse ideas: leftover clean water can go to outdoor ornamentals, shrubs, or non-edible houseplants.
If water gets in the crown
Blot it out right away with a tissue or paper towel, then increase airflow. This one small habit prevents many crown rot disasters.
Greener potting: the mix matters more than the pot
Choose a longer-lasting, lower-waste medium
Many popular house orchids (including Phalaenopsis) are epiphytes. They want air around their roots. When bark breaks down, it holds too much water and compacts, which leads to root issues, more repotting, and more plant losses.
Lower-waste options depend on your watering style and home humidity:
- Chunky bark (fir or pine): classic choice, good airflow, repot when it degrades.
- Orchiata (aged pine bark): tends to last longer than many basic bark mixes.
- Small amount of sphagnum moss mixed in: helps in very dry homes, but use sparingly to avoid soggy roots.
- LECA (lightweight clay pellets) in semi-hydro setups: reusable and durable, but requires learning a new watering rhythm.
A good rule: pick a mix that matches your reality. If you forget to water, a little moss helps. If you tend to overwater, go chunkier and airier.
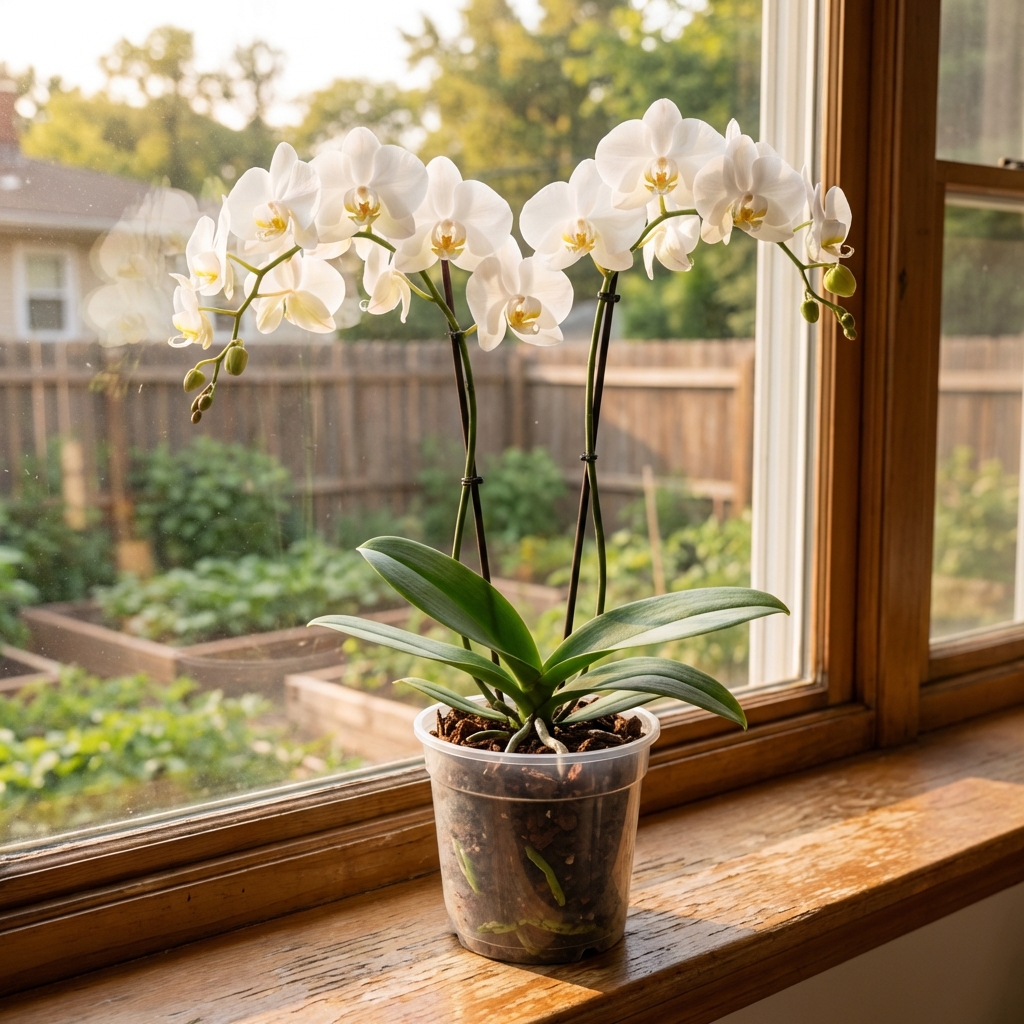
Use the right pot, not the fanciest one
Orchid roots need airflow and quick drainage. Clear plastic pots are not “less eco” by default if they keep the plant healthy longer and reduce losses.
- Reuse nursery orchid pots when possible.
- Use a cachepot (decorative outer pot) only if you can lift the orchid out to drain.
- Choose pots with plenty of slits or holes.
If you try semi-hydro for the first time, transition carefully. Roots grown in bark often need time to adapt. Start with a healthy plant, keep things clean, and avoid overfeeding while you learn the routine.
Fertilizing with a lighter touch
Skip bloom boosters and keep it simple
Most orchids do best with a balanced fertilizer used at low strength. Overfertilizing leads to salt buildup, stressed roots, and more repotting.
- Use a balanced orchid fertilizer at quarter strength.
- Feed during active growth. For many homes this is spring through early fall, but indoors under lights or in warm climates it can be year-round.
- Flush with plain water every 3 to 4 weeks to reduce buildup.
Lower-impact fertilizer options
Look for products with clear dosing and fewer additives. Some growers prefer:
- MSU-style fertilizers (popular for consistent results)
- Urea-free formulas if you grow indoors and want more predictable uptake
- Organic options made for orchids, used lightly and with good airflow to avoid fungus gnats
Compost tea and homemade mixes are tempting, but they can introduce microbes into a tight potting environment. If you try them, do it cautiously and watch for smells, pests, or soggy media.
Natural pest control that works
The goal is integrated pest management: catch problems early, use the gentlest method that works, and avoid blanket spraying.
Common orchid pests
- Mealybugs: white cottony clusters in leaf joints and under leaves
- Scale: brown or tan bumps on leaves and stems
- Spider mites: fine webbing and stippled, dusty-looking leaves, often in dry air
- Fungus gnats: tiny flies, usually from overly wet media
Low-tox treatments
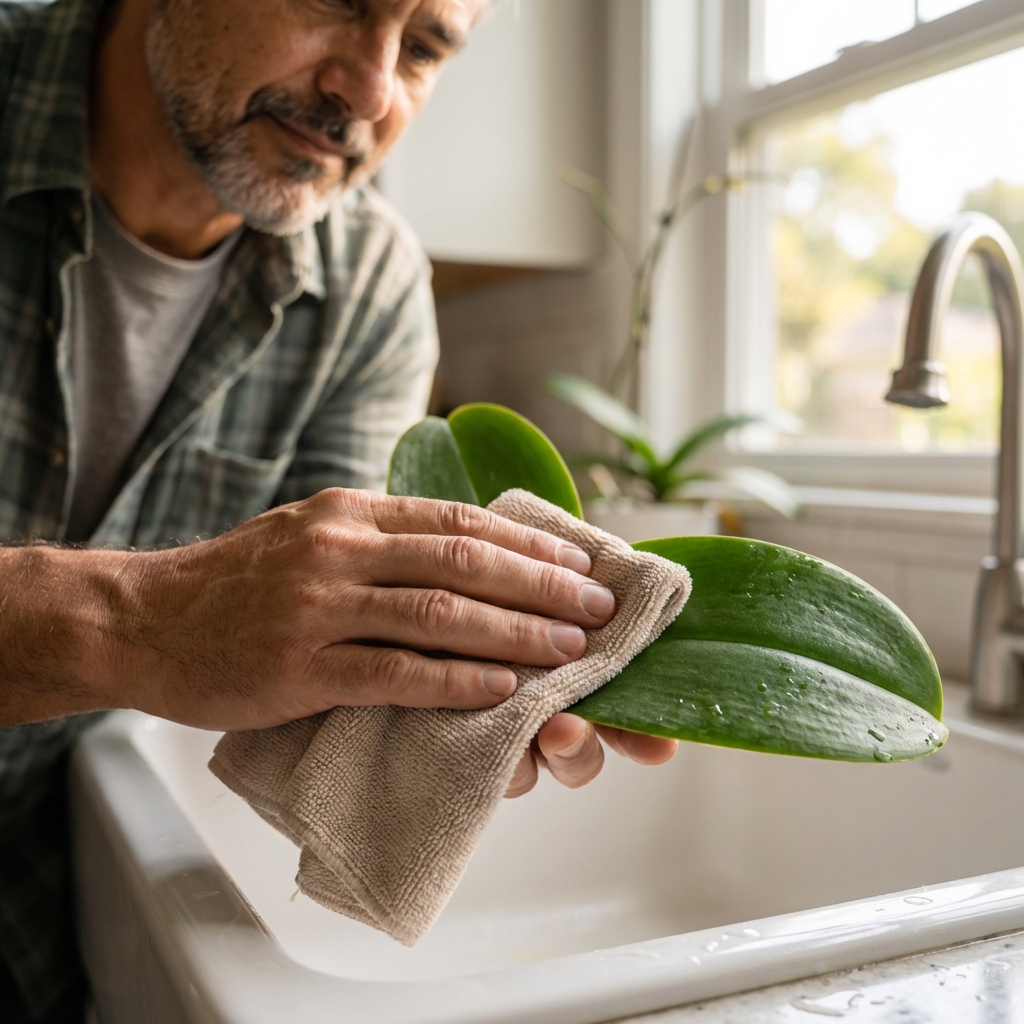
- Physical removal: wipe leaves with a damp cloth first. This alone can solve light infestations.
- Isopropyl alcohol (70%) spot treatment: dab mealybugs and scale with a cotton swab. Avoid soaking roots or the crown.
- Insecticidal soap: use as directed and rinse after a few hours if your orchid is sensitive.
- Neem or horticultural oil: can help, but use carefully indoors and keep out of strong sun to prevent leaf burn.
Safety note: test soaps and oils on a small area first, apply in the evening or out of direct sun, and keep ventilation good while leaves dry.
For fungus gnats, the most planet-friendly fix is cultural: let the mix dry more between waterings and consider repotting into a chunkier medium.
Repotting with less waste and fewer setbacks
When to repot
- The bark looks dark and crumbly, or stays wet too long
- You smell sour, swampy odors from the pot
- Roots are crowded and circling, or many are dead
How to repot responsibly
- Trim only truly dead roots (mushy, hollow, or black). Firm roots, even if wrinkled, can recover.
- Sanitize scissors with alcohol to prevent spreading disease.
- Reuse pots if they are in good shape. Wash with hot soapy water, then rinse well.
Old orchid bark is usually not great for houseplant pots because it breaks down and compacts, and it can tie up nitrogen as it decomposes. If it is not diseased, it can be used as a light mulch around outdoor ornamentals.
Low-waste bloom care and longer-lasting flowers
Support spikes without extra plastic
Instead of disposable clips, use:
- Reusable clips you keep with your orchid supplies
- Soft garden ties you can cut and reuse
- Cotton string in a pinch, tied loosely to avoid pinching the spike
After blooms fade
For Phalaenopsis orchids, you have two options:
- Trim the spike back to just above a node if the plant is healthy and you want a chance at a smaller repeat bloom.
- Cut the spike at the base if the plant is stressed or you want it to focus on roots and leaves.
The greener choice is the one that keeps the plant stable long-term. A struggling orchid forced to rebloom often ends up needing a full rescue later.
Quick checklist for everyday orchid care
- Water based on root color and pot weight, not the calendar
- Use bright indirect light and keep air moving
- Choose an airy mix that matches your home and habits
- Fertilize lightly and flush salts monthly
- Wipe leaves and isolate new plants to prevent pest outbreaks
- Reuse pots and supplies when you can, but do not sacrifice plant health for aesthetics
If you want the simplest “pro move” that is also low-waste, it is this: get the roots right. Healthy roots solve most orchid issues before they start, and that saves resources, money, and frustration.

Jose Brito
I’m Jose Britto, the writer behind The Country Store Farm Website. I share practical, down-to-earth gardening advice for home growers—whether you’re starting your first raised bed, troubleshooting pests, improving soil, or figuring out what to plant next. My focus is simple: clear tips you can actually use, realistic expectations, and methods that work in real backyards (not just in perfect conditions). If you like straightforward guidance and learning as you go, you’re in the right place.