Orchids have a reputation for being fussy, but most of the struggle comes from treating them like regular houseplants. The big shift is this: many common orchids (especially Phalaenopsis, the grocery-store kind) are not soil plants. They want airy roots, bright, gentle light, and a water routine that lets them dry a bit between soakings.
This guide keeps things garden-friendly and realistic. No lab conditions, no complicated gear. Just the core habits that keep orchids healthy in real homes.
Start with the right orchid
If you are new to orchids, begin with varieties that forgive small mistakes. You will learn faster, and you will get blooms more reliably.
Best beginner picks
- Phalaenopsis (moth orchid): Best all-around house orchid. Blooms last a long time. Likes warm indoor temps.
- Dendrobium (some types): Can be easy, but care varies by group. Ask the seller which type it is.
- Oncidium: Fragrant, lots of flowers, often likes brighter light and a bit more regular watering than Phals during active growth. Care can vary by type and potting mix, so watch the plant and the roots.
When shopping, choose a plant with firm green leaves and plump roots. Skip orchids with mushy roots, black spots spreading on leaves, or a wobbly crown.
Light: bright, not harsh
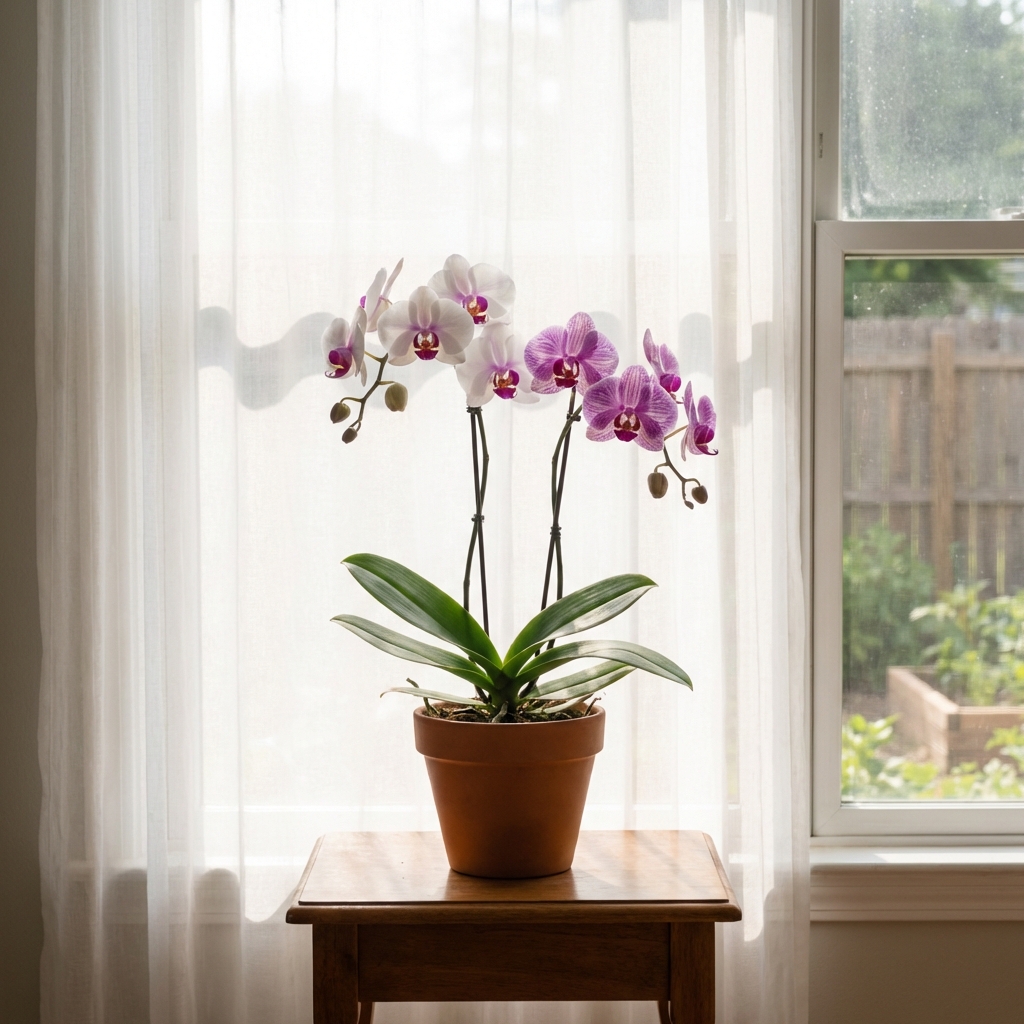
Light is the number one driver of growth and reblooming. Most orchids want bright indirect light, like bright light through a sheer curtain.
Easy placement rules
- East window: Great for Phalaenopsis. Gentle morning sun, less risk of burn.
- South or west window: Works if you filter light with a sheer curtain or set the plant back from the glass.
- Low light rooms: Your orchid may survive, but reblooming gets less likely.
Leaf color is your clue: deep dark green often means too little light. Yellowing or scorched patches can mean too much direct sun. Aim for medium green leaves that look sturdy and hydrated.
Temperature: keep it steady
Most common indoor orchids are comfortable at typical home temperatures. The main thing is stability.
- Avoid cold drafts from winter windows and blasting heat from vents.
- If you can, keep nights a little cooler than days. Many orchids appreciate the gentle swing.
Watering: soak, then let it breathe
Most orchids are killed by kindness, meaning frequent small watering in a pot that never dries. Orchid roots need oxygen. The goal is a deep watering followed by a partial dry-down.
A simple watering routine
- Water in the morning when possible.
- Take the pot to the sink and soak the mix thoroughly until water runs freely out of the bottom.
- Let it drain completely. Never leave the pot sitting in water.
- Water again when the mix is mostly dry and the pot feels lighter.
How often?
It depends on your home, pot size, and mix. Many Phalaenopsis need water about every 7 to 10 days in average indoor conditions, but use the plant signals instead of the calendar.
Quick checks that actually work
- Clear pot root check: green = moist; silvery = nearing dry; water soon.
- Skewer method: insert a wooden skewer into the mix. If it comes out cool and damp, wait. If it is dry, water.
- Pot weight: learn the “heavy after watering” vs “light when dry” feel.
Avoid crown rot: keep water from sitting in the leaf center, especially on Phalaenopsis. If water gets in there, wick it out with a paper towel.
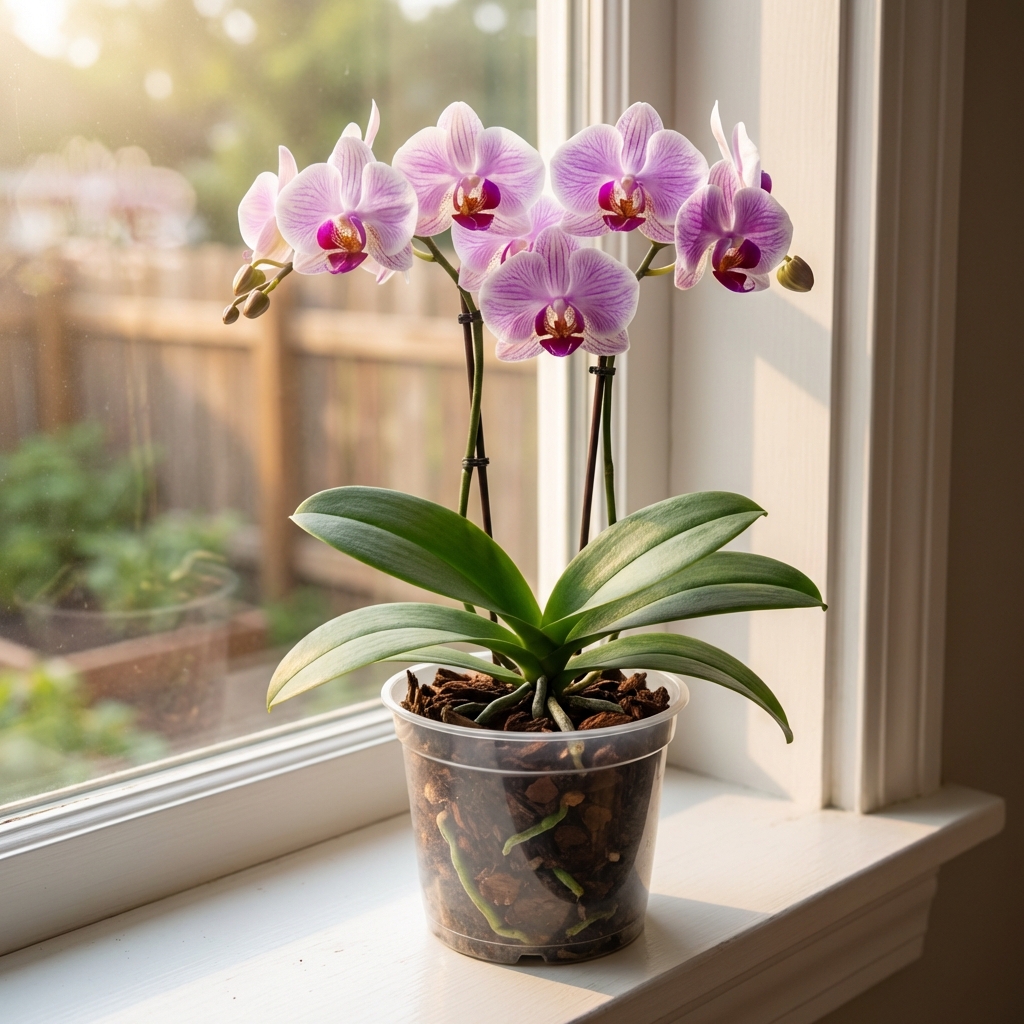
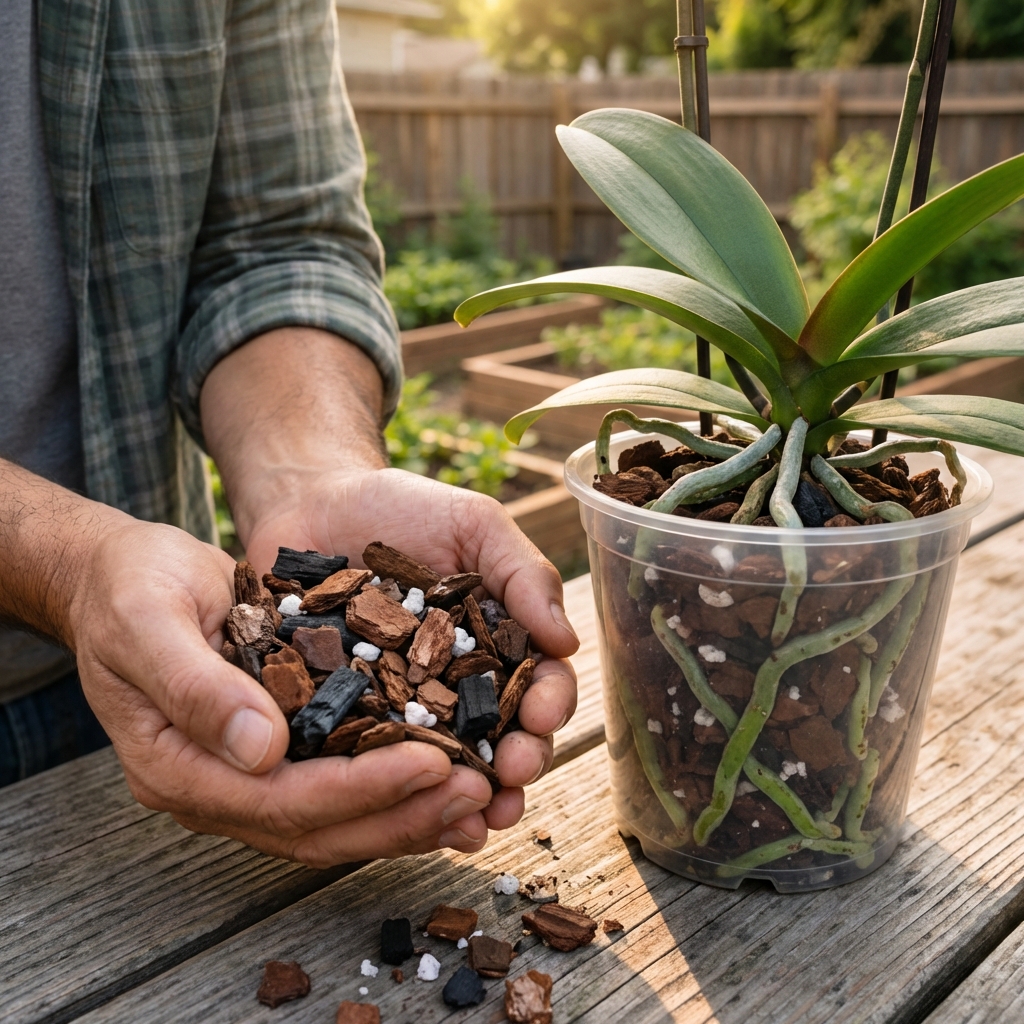
Potting mix: skip soil, choose airflow
Many popular house orchids are epiphytes in nature. They cling to trees and dry quickly after rain. Regular potting soil stays wet too long and suffocates roots. (Some orchids are terrestrial, which is one reason it helps to know what you bought.)
Good mix options
- Orchid bark mix (fir bark or similar): the classic choice. Airy, drains fast.
- Bark + sphagnum blend: helpful in dry homes because it holds moisture a bit longer.
- Sphagnum moss only: works, but easy to overwater. Best for people who water lightly and repot on schedule.
Look for a pot with drainage, and do not be afraid of a clear plastic pot. It is not “ugly”, it is practical. You can slip it into a decorative cachepot as long as it drains and never sits in water.
Humidity and airflow: the backyard mindset indoors
Orchids like humidity, but they also need airflow. Stale, wet air encourages fungal and bacterial problems. Think “humid, not swampy.”
Low-effort ways to boost humidity
- Group plants together so they create a slightly more humid microclimate.
- Use a pebble tray with water under the pot (pot sits above the waterline). Results can be modest in a typical room, but every little bit helps.
- Run a small humidifier in winter if your home gets very dry. This is usually the most reliable option.
If you do increase humidity, add gentle air movement. A small fan across the room on low is usually enough.
Feeding: light, consistent, and not year-round heavy
Orchids do not need a lot of fertilizer, but they respond well to consistent, low-dose feeding during active growth.
A practical fertilizer plan
- Use a balanced orchid fertilizer and mix at quarter strength.
- Feed every 2 to 4 weeks when you see active growth (new roots, new leaves, or fresh pseudobulb growth). Indoors, some orchids grow for much of the year.
- Flush the pot with plain water occasionally to reduce salt buildup, especially if you fertilize often.
If your water is very hard or heavily softened, consider using filtered or rainwater for orchids to reduce mineral buildup over time.
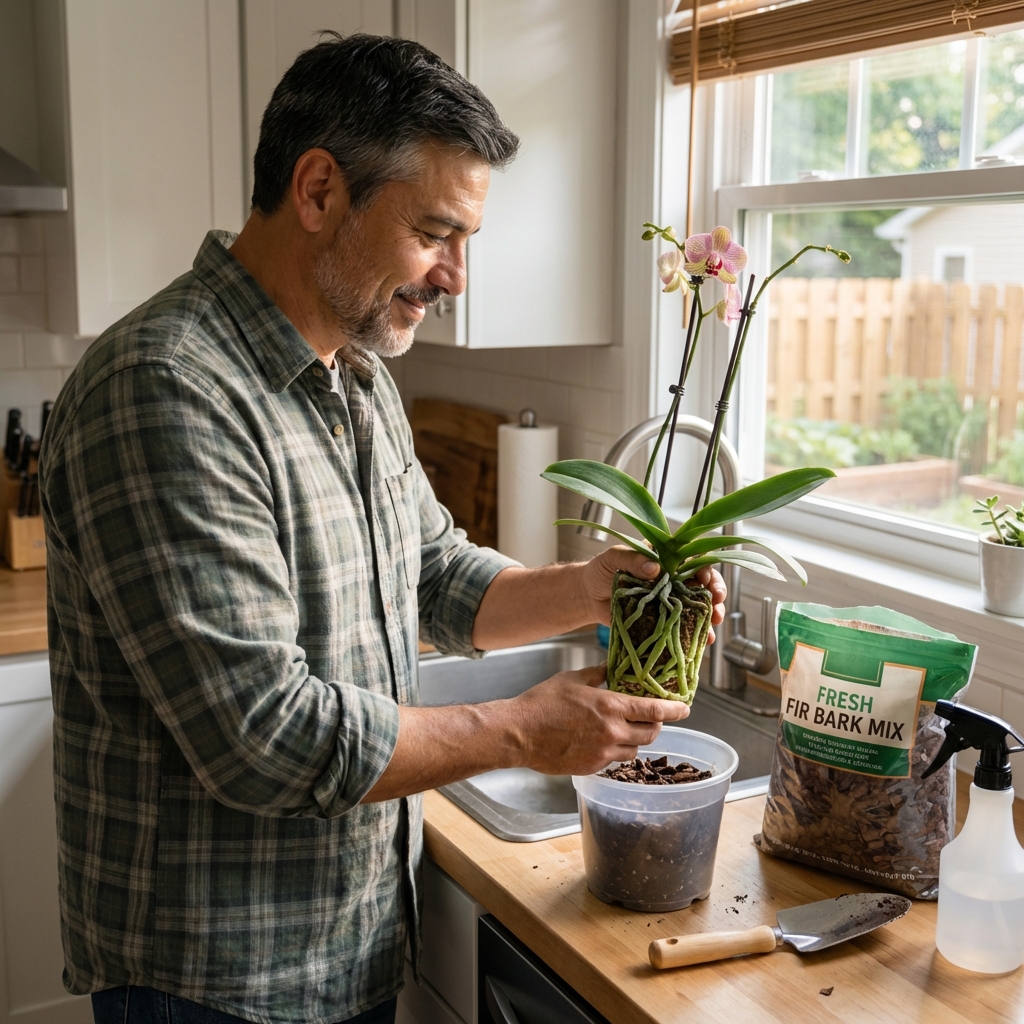
Repotting: when and how (without drama)
Repotting sounds scary, but it is one of the best things you can do for long-term orchid health. Old mix breaks down and holds too much water, which leads to root problems.
When to repot
- Every 1 to 2 years for bark mixes (sooner if it smells sour or looks broken down).
- When roots are overcrowded and the plant is unstable.
- When you suspect root rot and need to reset the root environment.
Basic repot steps
- Water the orchid first so roots are flexible.
- Use clean scissors or snips. If you are trimming rot, sanitize blades between plants so you do not spread problems.
- Remove old mix gently and trim mushy, brown, hollow roots.
- Keep firm green or silvery roots.
- Set the plant so the base is just above the mix line, then fill with fresh bark and tap to settle.
- After repotting, watering depends on how much root work you did. If you trimmed a lot of roots, water lightly for about a week. If roots were mostly left intact, you can usually resume normal soak-and-drain watering right away.
How to get orchids to bloom again
Reblooming is mostly about enough light and a healthy root system. Once those are in place, you can use a few simple cues to encourage flowering.
For Phalaenopsis (most common indoor orchids)
- Increase light slightly (still indirect) for several weeks.
- Give a small night temperature drop: around 5 to 10°F (3 to 6°C) cooler at night for a couple of weeks can help trigger a spike.
- Keep watering steady, and do not over-fertilize trying to force blooms.
What to do after the flowers drop
For Phals, you have options:
- If the flower spike stays green, you can cut just above a node to try for a smaller repeat bloom.
- If the spike turns brown, cut it at the base. The plant is done with it.
Either way, focus on leaf and root growth. A stronger plant makes better blooms next round.
Common problems (and fixes that work)
Wrinkled leaves
- Usually: root trouble or inconsistent watering.
- Fix: check roots, repot if mix is old, and switch to soak-and-drain watering.
Yellow leaves
- Sometimes normal: the oldest bottom leaf can yellow and drop.
- Not normal: multiple leaves yellowing fast can mean too much sun, crown issues, or root rot.
- Fix: adjust light, check crown for standing water, inspect roots.
Bud blast (buds drop before opening)
- Common causes: sudden temperature swings, dry air, moving the plant, or ethylene from ripening fruit.
- Fix: keep conditions steady, raise humidity slightly, keep away from fruit bowls.
Mealybugs and scale
- Fix: isolate the plant, wipe pests with cotton swabs dipped in isopropyl alcohol, and repeat weekly. For heavy infestations, use an appropriate houseplant-safe insecticidal soap or horticultural oil, following label directions.
New plant rule: quick quarantine
One easy habit that saves a lot of headaches: keep new orchids away from your other plants for a couple of weeks. It gives you time to spot pests or leaf issues before they spread.
A simple weekly orchid checklist
- Check pot weight or root color to decide if it is watering day.
- Look into the crown for trapped water and wick it out if needed.
- Scan leaves and stems for sticky spots or white cottony pests.
- Rotate the pot a quarter turn for even growth if it leans toward the light.
Orchid care gets easy when you stop guessing and start watching the plant. Once you dial in light and watering, the rest is just maintenance.

Jose Brito
I’m Jose Britto, the writer behind The Country Store Farm Website. I share practical, down-to-earth gardening advice for home growers—whether you’re starting your first raised bed, troubleshooting pests, improving soil, or figuring out what to plant next. My focus is simple: clear tips you can actually use, realistic expectations, and methods that work in real backyards (not just in perfect conditions). If you like straightforward guidance and learning as you go, you’re in the right place.