Fleas are small, stubborn, and totally capable of turning a comfortable home into an itchy mess. The frustrating part is that you can kill a bunch of adult fleas and still feel like nothing changed. That is because the adults you see are usually just a small slice of the problem. The bulk is often eggs, larvae, and pupae tucked into carpet fibers, pet bedding, and floor cracks.
This guide keeps it practical: how to tell if you truly have fleas, where they hide, and a step-by-step plan that hits every stage of the flea life cycle so the problem actually ends.
Quick flea facts
- Adults jump on pets and bite people, but they are typically only a small portion of an infestation.
- Eggs fall off pets like salt, landing in carpets, rugs, and bedding.
- Larvae avoid light and crawl deep into fabrics and floor edges.
- Pupae can “wait” for weeks, and sometimes longer (even months) depending on conditions, then emerge when they sense vibration, heat, and carbon dioxide.
That is why a one-time spray rarely fixes it. You need a short burst of intense cleaning and treatment, then follow-up.
Identification: are those really fleas?
What fleas look like
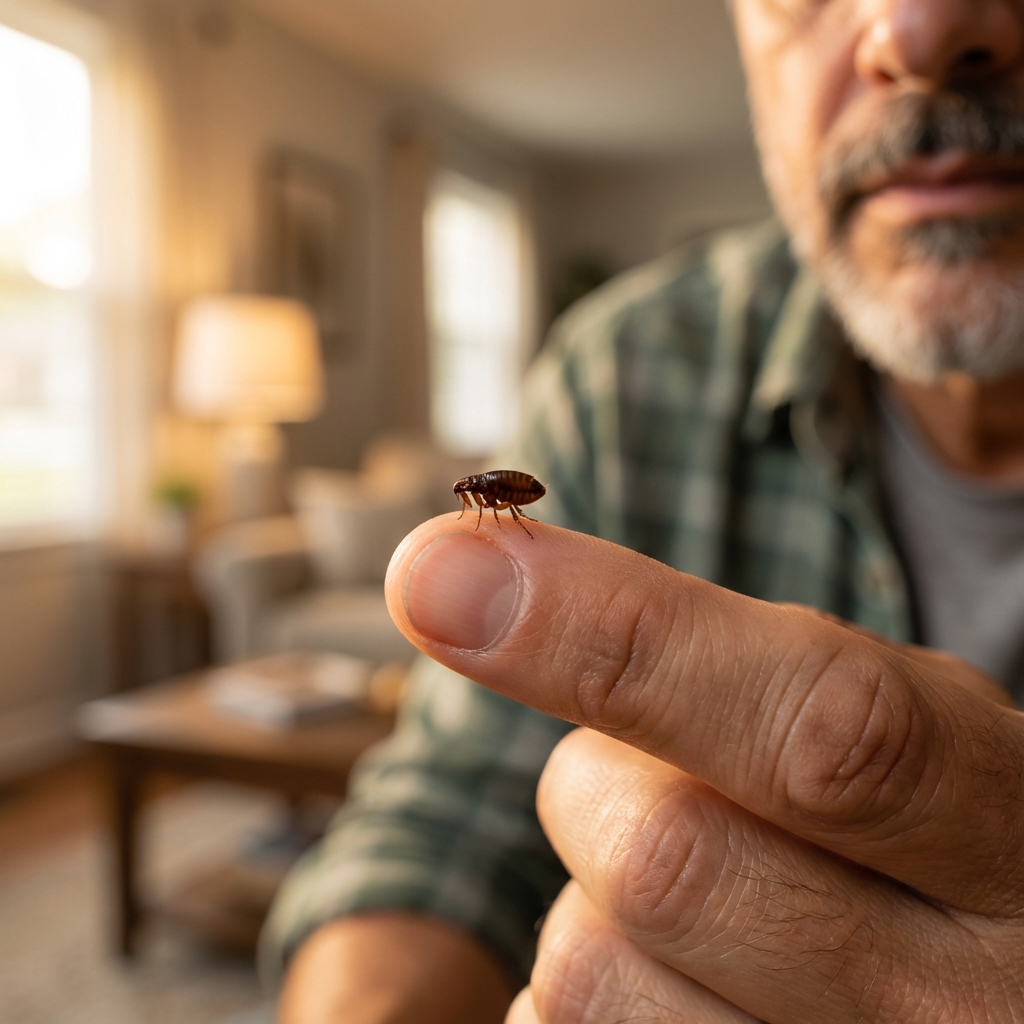
Adult fleas are tiny (about 1 to 3 mm), dark brown, and move fast. They do not fly, but they jump. If you see something that slowly crawls, it may be a different pest.
Common signs inside a house
- Itchy bites often on ankles and lower legs, sometimes in small clusters.
- Pets scratching more than usual, especially around the neck, base of tail, and belly.
- Flea dirt (flea poop) that looks like black pepper in pet fur or pet bedding.
- Seeing fleas when you part your pet’s fur or when you step onto a rug with white socks.
Simple confirmation tests
- White towel test: Put a white towel under your pet and comb with a fine-tooth flea comb. Specks that fall may be flea dirt.
- Wet paper test: Place the specks on a damp white paper towel. If they smear reddish-brown, it is digested blood (classic flea dirt).
Note: If you see tiny tan insects with long antennae, that may be a different pest such as booklice. If you see flat, oval bugs that hide in seams, consider bed bugs. Correct ID matters because the control steps differ.
Where fleas hide indoors
Focus your effort where fleas develop, not just where you notice bites.
- Pet beds, blankets, crates, and favorite nap spots
- Carpets and area rugs, especially along edges and under furniture
- Upholstered furniture where pets lounge
- Entryways, mudrooms, and near back doors
- Cracks between floorboards and under baseboards

Step-by-step: get rid of fleas in the house
Step 1: Treat pets first
If there is a dog or cat in the home, you have to treat them at the same time as the house. Otherwise, newly emerged fleas simply hop back on the pet and the cycle restarts.
- Treat every pet in the household, even the ones that “seem fine.” Fleas do not play fair.
- Use a vet-recommended flea treatment appropriate for your pet’s species and weight.
- If you are unsure what to use, call your vet. Some products made for dogs are dangerous for cats.
- Flea collars, shampoos, and “natural” sprays can help in some situations, but many do not provide lasting control on their own.
Vet note: If your pet has intense itching, scabs, hair loss, or skin infections, ask your vet about flea allergy dermatitis. Also ask about tapeworm risk, since pets can get tapeworms from swallowing fleas.
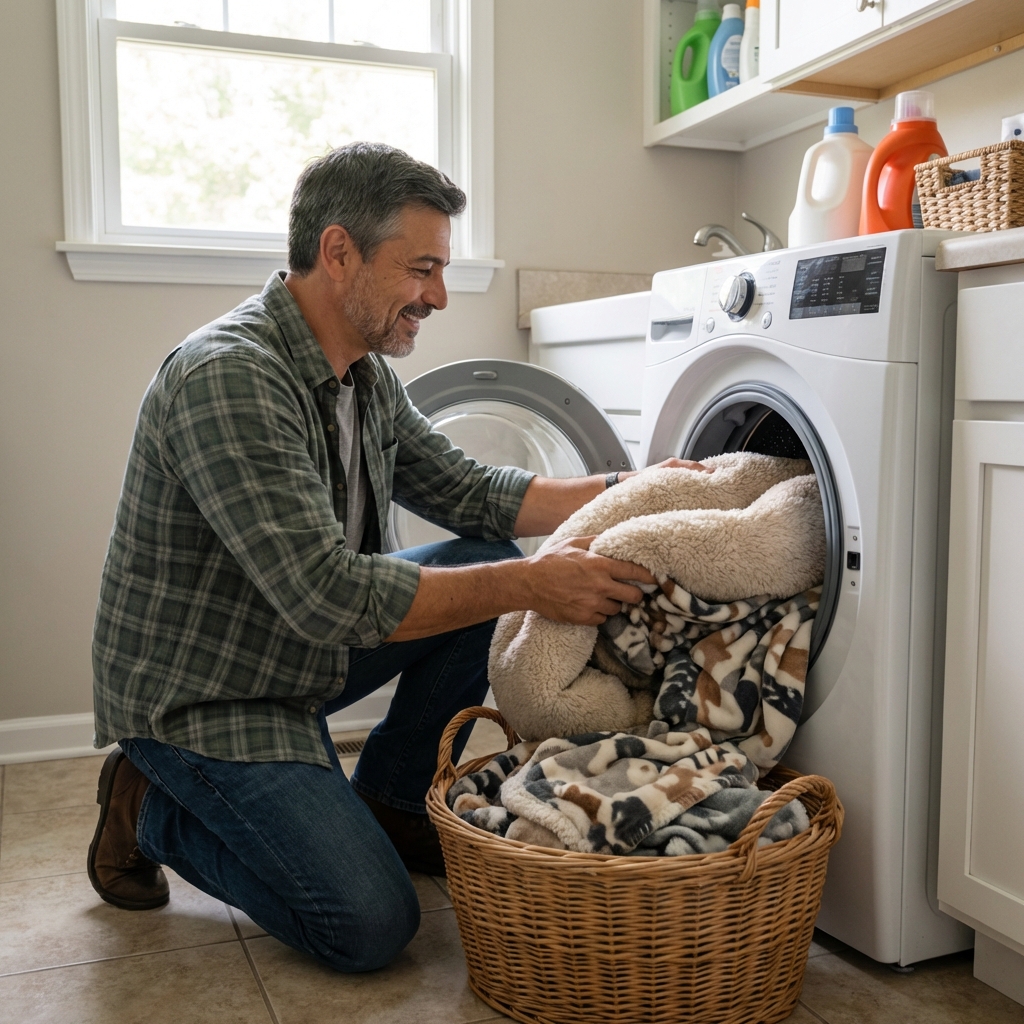
Step 2: Strip and wash everything washable
Heat is your friend. Bag items before moving them through the house to avoid dropping eggs in new places.
- Wash pet bedding, throws, and slipcovers in warm or hot water when fabric allows.
- Dry on high heat (the hottest setting safe for the material). The dryer is usually the most important part for killing fleas and eggs.
- Wash your bedding if pets sleep with you, plus any blankets near pet hangout zones.
Step 3: Vacuum like it is your job
Vacuuming removes eggs and larvae. It can also trigger pupae to emerge by creating vibration and movement. Do not count on vacuuming to remove pupae reliably, but do count on it as your fastest, most consistent win.
- Vacuum carpets, rugs, and upholstered furniture slowly.
- Hit edges, corners, under furniture, and along baseboards using attachments.
- Vacuum daily for the first 7 to 10 days if possible, then every other day for another 1 to 2 weeks.
Important: After each vacuum session, empty the canister into a sealed bag and take it outside. If you use a vacuum bag, remove and dispose of it promptly.
Step 3b: Do not skip hard floors
Fleas prefer carpet and fabric, but they can still develop in cracks and along edges.
- Vacuum or sweep along baseboards and in corners.
- Use a crevice tool for gaps between floorboards.
- Mop to pick up debris after vacuuming, especially around pet zones.
Step 4: Use targeted indoor treatment
Cleaning alone can reduce fleas a lot, but many homes need an added control step to break the life cycle. Choose one primary approach below. Some households also add careful, minimal DE in cracks and edges as a bonus step, but do not use it as your only plan.
Option A: IGR + adult killer (best DIY option)
Look for an indoor product that includes an IGR (commonly methoprene or pyriproxyfen). IGRs stop eggs and larvae from developing. Pairing that with an adulticide speeds results.
- Read the label and confirm it is intended for indoor flea control.
- Apply to carpets, rugs, and pet resting areas per instructions.
- Keep pets and people out of the treated area until the product is dry and the label says it is safe to return.
Option B: Food-grade diatomaceous earth (DE) for cracks and edges
Food-grade DE can help in dry areas where it stays powdery. It is not a fast knockdown. Apply it incorrectly and you can irritate lungs, so go slow and keep it minimal.
- Use food-grade, not pool-grade.
- Apply a very light dusting to carpet edges, under appliances, and floor cracks where it will not be kicked up.
- Avoid creating airborne dust. Wear a mask, and keep kids and pets away during application.
- Vacuum it up after 24 to 48 hours (or per product directions), then repeat as needed.
Option C: Call a professional
If fleas are widespread, you have multiple pets, or someone in the home is having strong reactions to bites, a licensed pest professional can treat more thoroughly and safely. Ask whether they use an IGR, and what follow-up schedule they recommend.
Step 5: Repeat on a schedule
Expect to see a few fleas for a while even when you are doing everything right. Pupae can keep emerging after the first big clean-up, especially in carpeted areas.
- Continue vacuuming routinely for at least 2 to 3 weeks.
- Do a second treatment only if the label instructs it, or your pest pro recommends it.
- Keep pets on an effective flea preventive for the full season in your area.
Room-by-room plan
Living room
- Vacuum under couch cushions and along the couch base.
- Move small furniture and vacuum underneath.
- Treat rugs and upholstered pet hangouts.
Bedrooms
- Wash bedding if pets enter the room.
- Vacuum around the bed and along baseboards.
- Do not forget closets if pets nap there.
Entryways and hallways
- Focus on runners and mats.
- Vacuum edges where debris collects.
Outdoor sources that bring fleas back
Even though this is an indoor guide, fleas often start outdoors, especially in shady spots where pets rest.
- Pick up yard debris and keep grass trimmed, especially in pet areas.
- Wash outdoor pet bedding and clean dog houses or crates.
- Discourage wildlife that can carry fleas (raccoons, stray cats) from hanging around under decks and porches.
How long does it take?
With consistent cleaning plus an IGR-based approach, many households see major improvement in 1 to 2 weeks. Full control often takes 3 to 6 weeks, and it can stretch to 8 weeks in heavy infestations or when conditions slow the process. The biggest reasons it drags out are stopping too early or not keeping pets on effective prevention.
Common mistakes
- Treating the house but not the pet, or treating only one pet and leaving the others untreated.
- Not vacuuming enough, especially along edges and under furniture.
- Stopping too early when bites decrease but pupae are still emerging.
- Overusing foggers and missing the places fleas actually develop, like carpet edges and pet bedding. Foggers often fail because they do not reach under furniture or deep into edges where immature fleas hide.
- Skipping wash and dry heat for pet bedding and blankets.
When to seek help
Consider contacting a professional or your vet if:
- Your pet has hair loss, skin infections, or intense scratching.
- You are seeing fleas in multiple rooms after 2 to 3 weeks of consistent work.
- Someone in the home has severe bite reactions.
- You suspect wildlife fleas (for example, squirrels or raccoons nesting in an attic or crawlspace).
Simple prevention
- Keep pets on a vet-approved preventive during flea season.
- Vacuum high-traffic pet zones weekly.
- Wash pet bedding regularly.
- Check pets after visiting parks, boarding, grooming, or social pet settings.
If you take nothing else from this page: treat every pet, vacuum aggressively, wash with heat (especially the dryer), and use an IGR-based approach to stop the next generation. That combination is what ends indoor flea problems for good.

Jose Brito
I’m Jose Britto, the writer behind The Country Store Farm Website. I share practical, down-to-earth gardening advice for home growers—whether you’re starting your first raised bed, troubleshooting pests, improving soil, or figuring out what to plant next. My focus is simple: clear tips you can actually use, realistic expectations, and methods that work in real backyards (not just in perfect conditions). If you like straightforward guidance and learning as you go, you’re in the right place.