Rats do not stick around because they love your place. They stick around because it is easy. Easy food, easy water, easy hiding spots, and easy ways in and out. The simplest solutions are the ones that make your property hard for rats.
This page walks you through an in-depth but straightforward plan. Start with the quick wins, then move into trapping, sealing, and long-term prevention. If you do these steps in order, you will get faster results and fewer repeat problems.
First, confirm you are dealing with rats
Before you buy traps or tear up the yard, take a few minutes to confirm the signs. Rats leave clues that are pretty consistent.
- Droppings: Rat droppings are larger than mouse droppings, often about 1/2 to 3/4 inch long (roughly raisin-sized, depending on species and age). Fresh droppings look dark and slightly shiny.
- Gnaw marks: Rats chew wood, plastic, and some thin or soft metals. Look for rough, paired tooth marks.
- Grease rub marks: Along walls, pipes, or fence edges where rats travel, you may see dark smudges.
- Burrows: Outdoors, look for holes near foundations, under slabs, along fences, under sheds, or under dense shrubs.
- Noises: Scratching or thumping in walls, ceilings, attics, or crawl spaces, often at night.
If you see droppings or active travel paths, treat it like an active problem, not a one-off visitor.
Roof rat vs Norway rat (quick clue)
This helps you figure out where to inspect and where to place traps.
- Norway rats: Usually burrow and stay low. Think foundations, crawl spaces, under slabs, along fences, and under sheds.
- Roof rats: More likely to climb. Think attics, rafters, trees overhanging roofs, vines, and upper entry points.
The simple strategy that works: remove what rats need
Rats need four things: food, water, shelter, and access. If you handle only one, you might catch a few rats, but you may not stop the cycle. Handle all four, and activity usually drops significantly and becomes much easier to control.
- Food: Pet food, bird seed, fallen fruit, chicken feed, compost scraps, garbage, grill grease.
- Water: Leaky spigots, pet bowls left out overnight, dripping irrigation, saucers under pots.
- Shelter: Brush piles, tall weeds, junk piles, stacked lumber, dense ivy, cluttered sheds.
- Access: Gaps in siding, broken vents, garage door gaps, foundation cracks, pipe penetrations.
Step 1: Clean up the food sources (fastest payoff)
Lock down trash and recycling
- Use bins with tight-fitting lids. If lids are loose, add bungee cords or upgrade the can.
- Rinse containers going into recycling, especially anything that held food.
- Do not leave bags outside the bin overnight, even for one night.
Pet food and bird seed rules
- Feed pets indoors when possible. If you must feed outside, put food out and pick it up after 10 to 15 minutes.
- Store all food in sealed, hard containers, not thin plastic bags.
- If you have bird feeders, pause feeding for 2 to 3 weeks while you knock the rats back. Seed on the ground is an open buffet.
Garden and fruit trees
- Pick up fallen fruit daily during peak drop. Even one night of fruit on the ground can support rats.
- Harvest vegetables promptly. Overripe tomatoes, squash, and melons attract rodents fast.
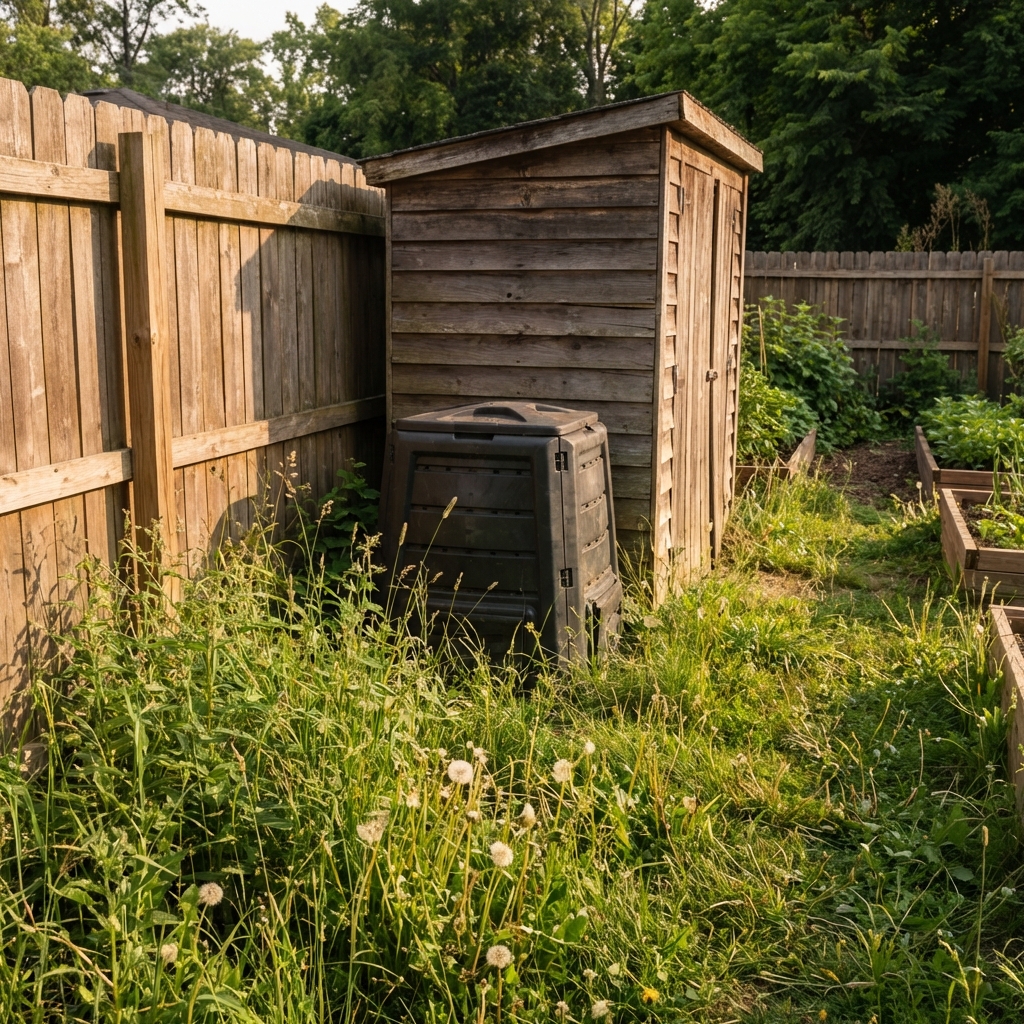
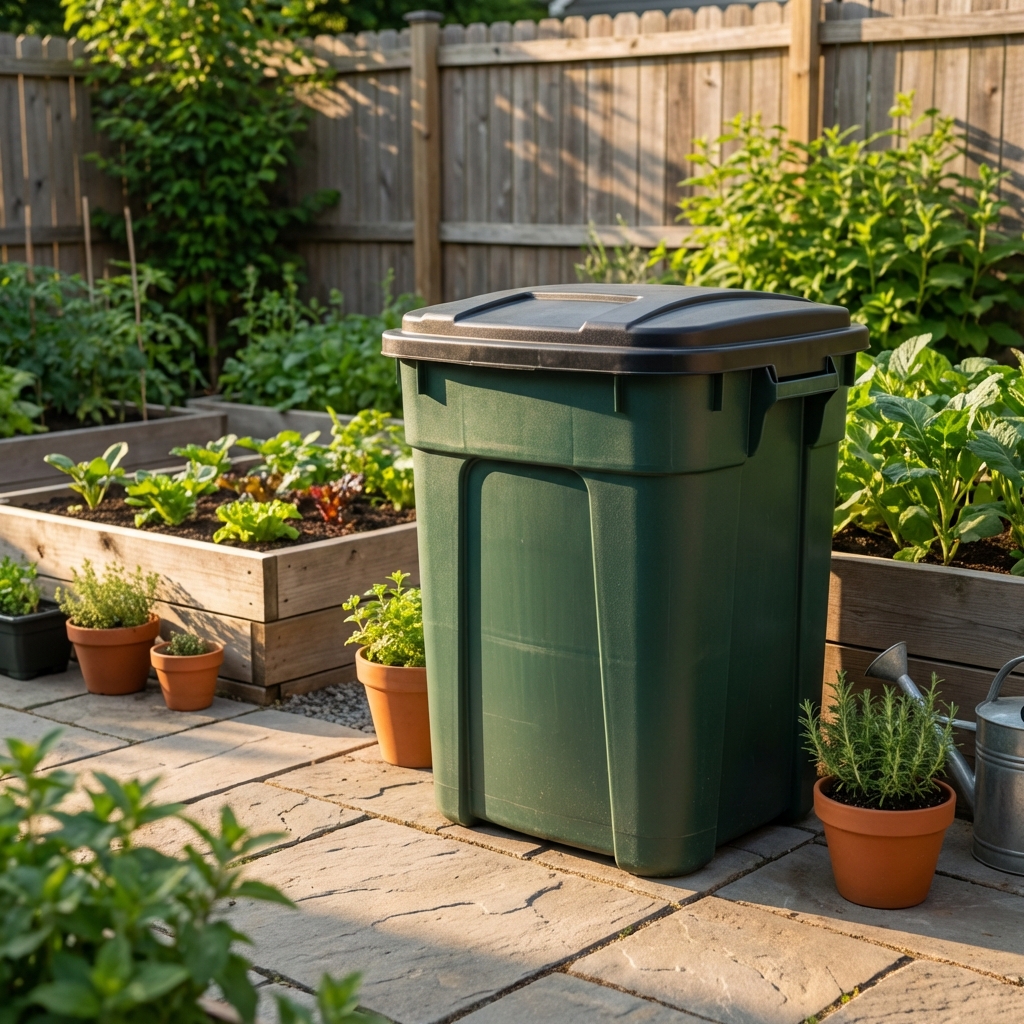
Compost without feeding rats
Open piles are a common rat magnet. If you compost, do it in a way that denies access.
- Use a rodent-resistant compost bin with a lid and solid sides.
- Avoid meat, dairy, oily foods, and greasy leftovers.
- Bury fresh scraps in the center and cover with dry browns (leaves, shredded cardboard).
Step 2: Remove hiding spots and travel lanes
Rats love cover. If they can move from point A to point B without being seen, your yard feels safe to them.
- Cut back vegetation: Trim tall weeds and groundcover along fences, sheds, and foundations.
- Lift shrubs: Prune lower branches so you have 6 to 12 inches of open space beneath.
- Clean up piles: Remove brush piles and junk stacks, or elevate stored items 12 inches off the ground on racks.
- Firewood: Stack neatly on a stand and keep it away from the house if possible.
This is not about making your yard sterile. It is about removing the dense, protected “rat highways” that let them move and nest.
Step 3: Use traps the right way (simple, effective, and affordable)
Trapping is one of the most reliable ways to reduce the population quickly, especially when paired with food control and exclusion.
Best trap options for most homeowners
- Snap traps: Fast and effective when placed correctly.
- Enclosed snap traps: Helpful if you have pets or kids, but still follow safety rules.
- Live traps: They can work, but relocation is often illegal or unsuccessful. It can also create a problem for someone else.
Trap safety basics
- Keep traps out of reach of children and pets. Use enclosed traps or locked boxes where needed.
- Wear gloves when handling traps and cleanup.
- Check local rules if you plan to trap in shared spaces or multi-unit properties.
Where to place traps
Rats run along edges. Place traps where they travel, not out in the open.
- Along walls, fences, and the edges of sheds
- Near burrow entrances outdoors
- Behind appliances in garages or outdoor kitchens
- Near droppings, rub marks, or gnawing evidence
How to bait traps without overthinking it
- Use peanut butter, a small piece of dried fruit, or a little bacon grease.
- Use a pea-sized amount. Too much lets them lick it off.
- Secure bait so it takes effort to steal, which triggers the trap.
Trap tips that make a big difference
- Use multiple traps: One trap is rarely enough. Use several along the travel route.
- Leave them in place: Do not move them constantly. Give good placements 2 to 3 nights before relocating.
- Check daily: Remove catches quickly and reset.
- Dispose safely: Double-bag carcasses and place them in an outdoor trash bin with a tight lid. Wash hands after.
Step 4: Seal entry points (this is what stops the repeat problem)
Rats can squeeze through openings that do not look that big. Any gap about 1/2 inch or larger is suspect. Do a slow walk-around of your home, garage, shed, and any outbuildings.
Important: If you suspect rats are currently inside, focus on trapping first, then seal. Sealing too early can trap rats inside walls or attics and create a different problem.
Common entry points to check
- Gaps under garage doors and side doors
- Broken crawl space vents or vent screens
- Holes where pipes and wires go through walls
- Gaps at corners of siding, fascia, or soffits
- Damaged foundations, cracks near utility lines
- Uncapped chimney or damaged roof vents
Materials that actually work
Rats chew through foam, rubber, and weak plastic. Use tougher materials for anything you want to last.
- Steel wool plus sealant: For small gaps, pack steel wool in and seal over it. Steel wool alone can rust or get pulled out over time.
- Hardware cloth: Use 1/4-inch metal mesh for vents and openings. A common choice is 19 gauge or heavier.
- Secure fastening: Attach mesh with screws and fender washers (or a batten strip) so it cannot be pushed loose.
- Metal flashing: Great for larger edges or damaged wood areas.
- Door sweeps: Use heavy-duty sweeps for exterior doors and garage side doors.

What about poison baits?
Rodenticides can work, but they come with real risks: pets, wildlife, and secondary poisoning of predators that eat affected rodents. The level of risk varies by product, placement, and how tightly it is controlled. In many neighborhoods, the safer and more controlled route is trapping plus exclusion.
If you do choose to use bait, consider these safety basics:
- Use tamper-resistant bait stations, not loose bait.
- Follow the label exactly and keep stations away from children and pets.
- Expect to find and remove dead rodents. Odor and insects can become a problem if you do not.
- If you are unsure, hire a licensed pest professional, especially for attics, crawl spaces, and heavy infestations.
Simple outdoor fixes that make your garden less attractive
Raised beds and garden edges
- Keep bed edges clear of tall weeds and groundcover.
- Do not store bags of soil, fertilizer, or seed mixes open in the shed.
- If rats are burrowing under beds, consider lining the bottom with 1/4-inch hardware cloth when building new beds.
Chicken coops and animal feed
- Use a feeder that reduces spill, and clean up feed on the ground daily.
- Store feed in a metal can with a tight lid.
- Close the coop securely at night and repair gaps in the run.
Water sources
- Fix dripping hoses and leaky outdoor faucets.
- Empty standing water in buckets, trays, and tarps.

How to clean safely after rats
Droppings and nesting material can carry germs. Use caution, especially in enclosed spaces like sheds, attics, and garages.
- Ventilate the area if possible. Open doors and windows before you start.
- Wear disposable gloves and a well-fitting mask (an N95 is a good upgrade for dusty spaces).
- Do not sweep or vacuum dry droppings. Avoid shop vacs unless you have a HEPA setup designed for this kind of cleanup.
- Spray droppings with a disinfectant and let it sit per the label, then wipe up with paper towels.
- Double-bag waste securely and dispose of it in outdoor trash.
- Wash hands thoroughly after.
Monitor and maintain (how to keep them out)
- Track where you catch rats or see fresh droppings. That is your best map of travel routes.
- Refresh bait if it dries out and reset traps consistently until activity stops.
- Re-check for new burrows weekly, then monthly once things are quiet.
- Keep sanitation habits steady, especially trash control, fallen fruit pickup, and feed storage.
A simple 7-day action plan
If you want a clear path, follow this one-week approach. Adjust for your schedule, but keep the order.
Day 1: Inspect and identify
- Locate droppings, burrows, rub marks, and travel routes.
- Take notes or photos so you can track progress.
Day 2 to 3: Remove food and cover
- Lock down trash, feed, compost, and fallen fruit.
- Trim and clear the worst hiding spots along fences and foundations.
Day 3 to 6: Trap consistently
- Set multiple traps along edges and near activity.
- Check and reset daily.
Day 5 to 7: Seal and repair
- After activity drops, seal gaps with hardware cloth, steel wool plus sealant, flashing, and door sweeps.
- Re-check weekly for the next month.
When to call a pro
Sometimes the simplest solution is getting help, especially when the problem is larger than it looks.
- You see rats in daytime regularly.
- You have rats in walls, attic, or crawl space and cannot locate entry points.
- There are multiple burrows and heavy droppings across the property.
- You have pets, small kids, or wildlife concerns and need a safety-first plan.
Quick FAQs
Will keeping the yard clean really make a difference?
Yes. Sanitation and cover removal reduce how many rats your property can support. Traps work better when rats are not spoiled with easy food.
How long does it take to get rid of rats?
With food control and trapping, many homeowners see a noticeable drop in activity in 3 to 7 days. Full control can take a few weeks, especially if you still have access points open.
Do rats come back?
They can, especially if the neighborhood has pressure. That is why sealing entry points and removing steady food sources matters as much as trapping.

Jose Brito
I’m Jose Britto, the writer behind The Country Store Farm Website. I share practical, down-to-earth gardening advice for home growers—whether you’re starting your first raised bed, troubleshooting pests, improving soil, or figuring out what to plant next. My focus is simple: clear tips you can actually use, realistic expectations, and methods that work in real backyards (not just in perfect conditions). If you like straightforward guidance and learning as you go, you’re in the right place.