Garlic is one of those crops that rewards you for doing one thing right at the start: planting depth. Too shallow and cloves can heave out of the soil in winter, dry out, or tip over in spring winds. Too deep and they can struggle in heavy soil and bulb up more slowly.
Below is the depth I use as a reliable baseline, plus simple adjustments for your soil type, climate, and mulch. I will also cover natural solutions for the most common garlic problems that come from planting depth and soil conditions.
Quick note: when I say “depth,” I mean soil cover (measured from the top of the clove to the soil surface). Mulch is extra and does not count as soil cover.
The quick answer: best depth
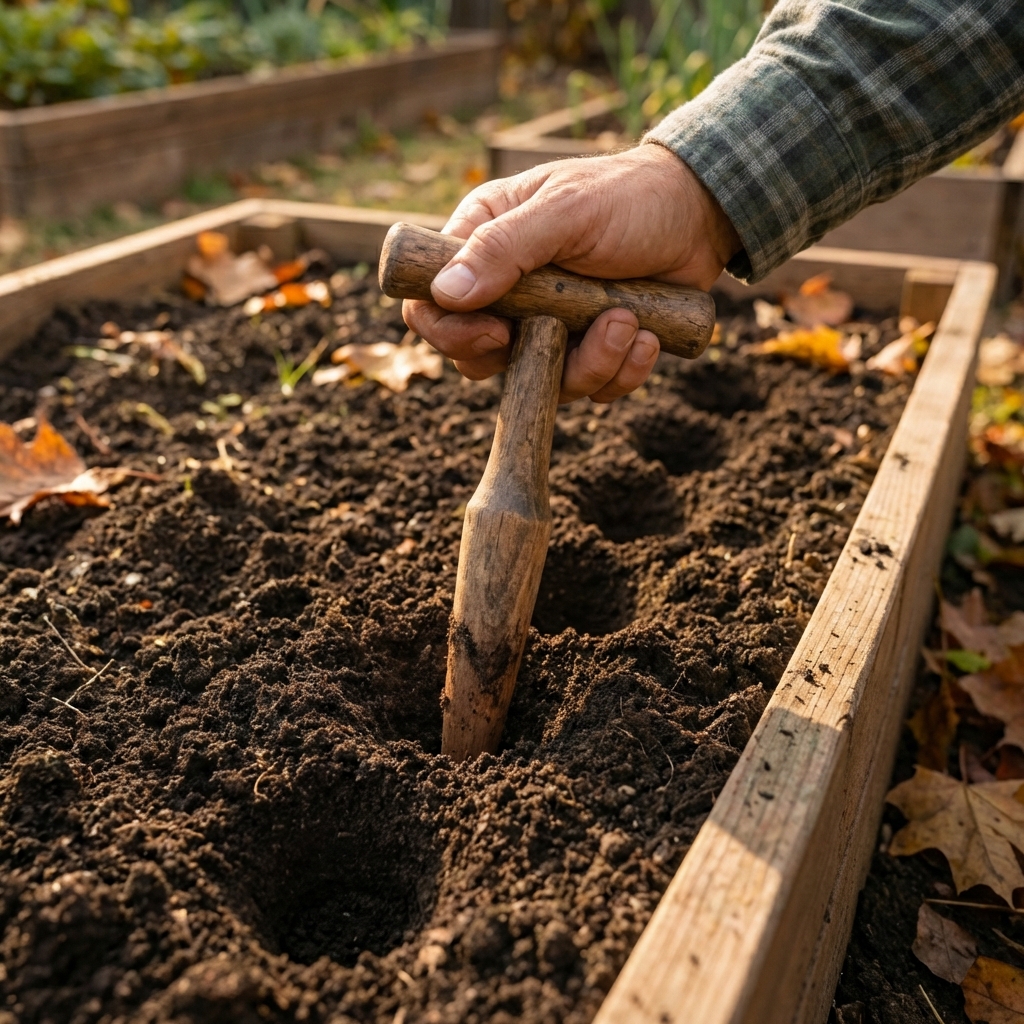
Plant garlic cloves with about 2 inches of soil cover in most gardens, measured from the top of the clove to the soil surface. That typically puts the base of the clove roughly 3 to 4 inches down, depending on clove size and how much the soil settles.
- Typical home range: 2 to 3 inches of soil cover
- Standard depth: 2 inches of soil cover
- Colder areas or very light soil: 2.5 to 3 inches of soil cover
- Heavy clay or wet ground: 1.5 to 2 inches of soil cover, with improved drainage and lighter mulch
If you remember one thing, remember this: depth is measured to the top of the clove, not the bottom of the hole.
Hardneck vs softneck
Not by much. Both types do well with the same depth rules, but climate and soil matter more than the garlic type.
- Hardneck garlic is usually planted in colder regions. In those climates, planting toward the deeper end (closer to 3 inches of soil cover) helps reduce frost heave.
- Softneck garlic is often grown in milder regions. A standard 2 inches of soil cover is usually perfect, especially if your soil stays wetter in winter.
Natural tip: If you are unsure what you have, plant at 2 inches of soil cover and use mulch to fine tune cold protection.
How to measure depth
You do not need to overthink it. Here are two simple methods that keep you consistent.
Method 1: Finger and knuckle method
This varies by person, so treat it as a rough guide. Instead of making the hole “two knuckles deep,” aim for the clove to end up with about 2 inches of soil cover.
- Make the hole closer to 3 knuckles deep (or to the base of your thumb), then set the clove in pointy side up.
- Before you cover, check that the tip of the clove is roughly 2 inches below the soil surface, then backfill.
Method 2: A stick marked at 2 and 3 inches
Grab a small stick, draw a line at 2 inches and 3 inches, and keep it with your garlic supplies. This is especially helpful if you are planting a lot, or if you want every clove at the same depth.
Soil adjustments
Your soil decides how forgiving your planting depth will be. Garlic likes moisture, but it hates sitting wet. Depth and drainage work together.
Loose, sandy soil
- Plant a little deeper: 2.5 to 3 inches of soil cover.
- Mulch helps prevent drying and temperature swings.
Average garden loam
- Stick with 2 inches of soil cover.
- Mulch 2 to 4 inches after planting.
Clay or compacted soil
- Do not plant too deep: 1.5 to 2 inches of soil cover.
- Improve the planting zone with compost and aeration so cloves can root without staying soggy.
- If your clay stays wet in winter, consider raised beds or ridges.
Natural solution for heavy soil: Work in finished compost and a little aged leaf mold to improve structure. Do not try to “fix” clay with a little sand. It takes a very large amount to change soil texture, and small amounts can make the soil set up harder. Organic matter is the better path for most gardens.
Climate and timing
Garlic is usually planted in fall so it can root before winter and then take off early in spring. Depth helps, but timing and mulch finish the job.
When to plant
- Cold climates: plant 2 to 4 weeks before the ground freezes hard
- Milder climates: plant after the hottest weather passes, often late fall into early winter
Mulch and depth together
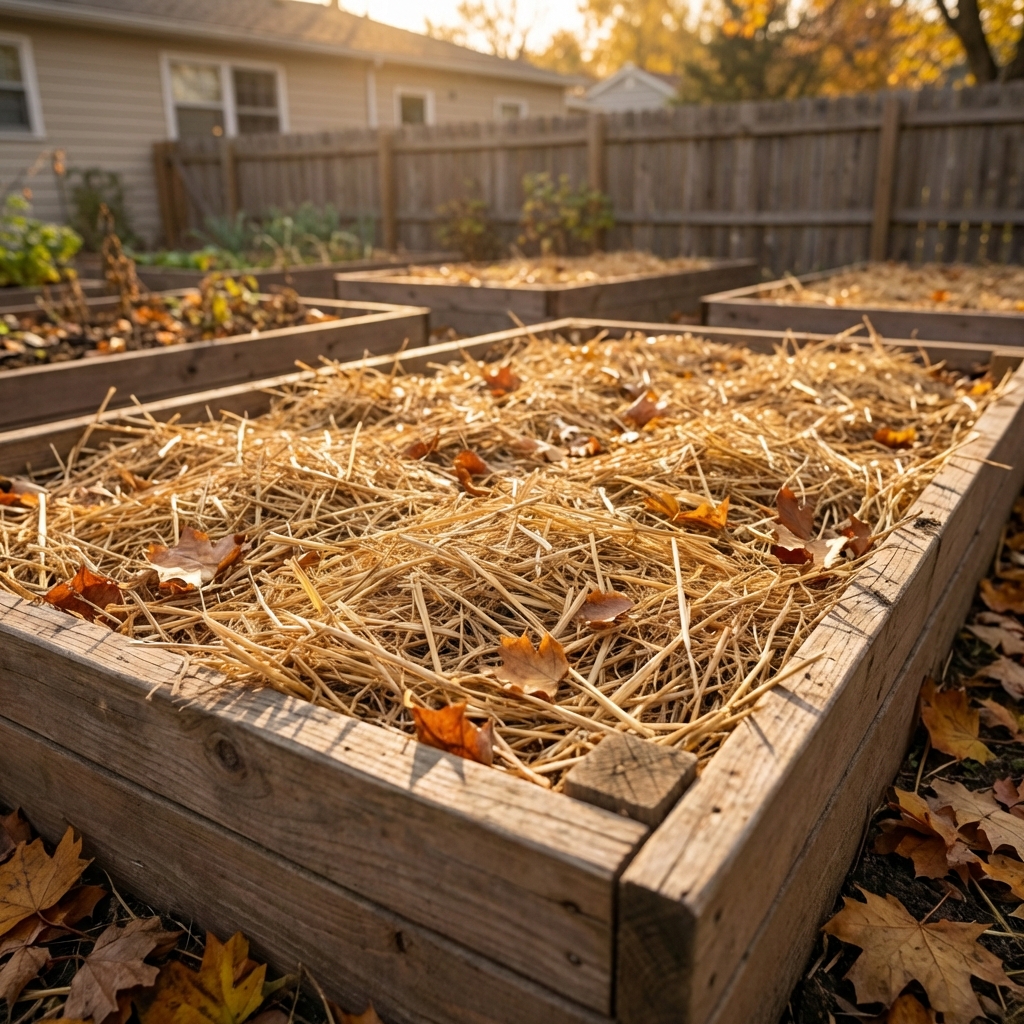
Think of it like this: soil cover protects the clove, and mulch protects the soil.
- After planting, apply 2 to 4 inches of clean straw, chopped leaves, or leaf mold.
- In very cold or windy sites, go up to 5 or 6 inches of fluffy mulch, then pull some back in early spring if shoots struggle to break through.
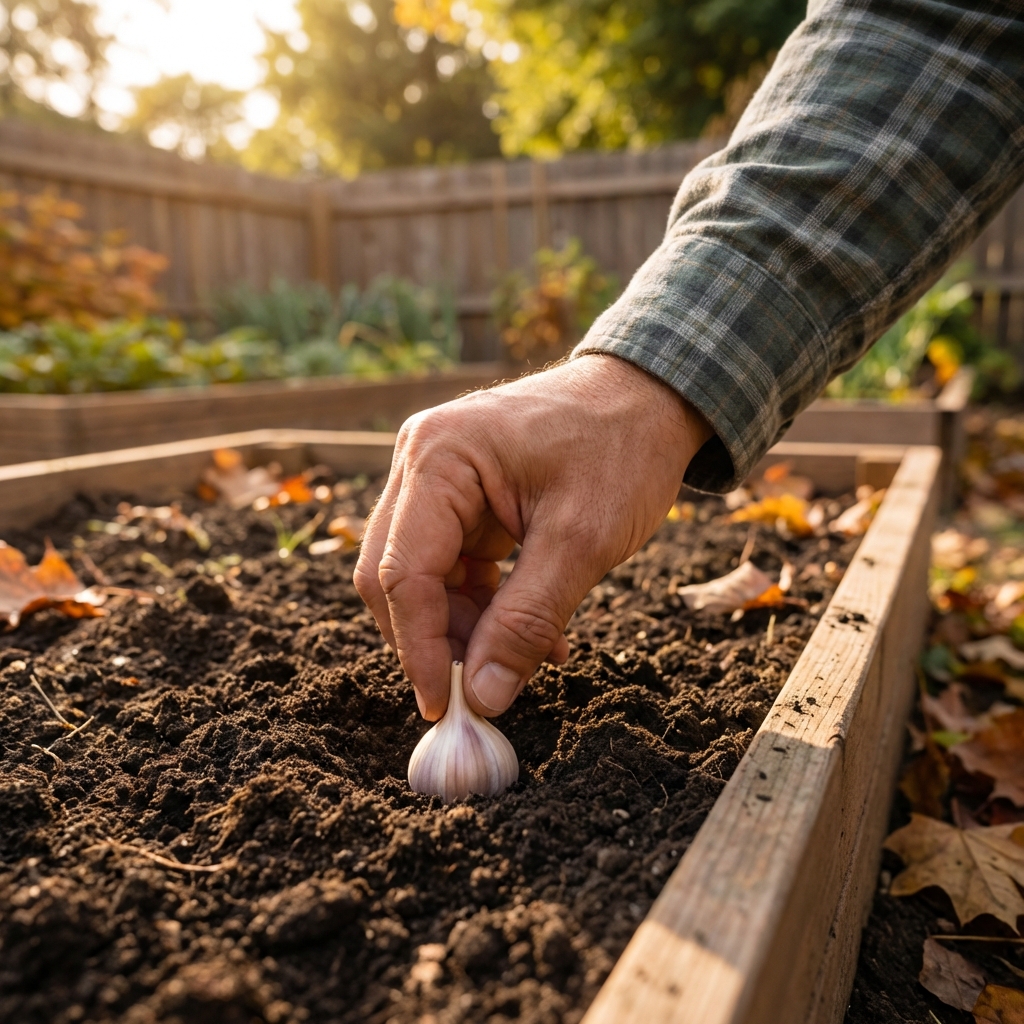
Clove orientation
Always plant cloves pointy side up and the flat basal plate down. If a clove lands sideways, it often still grows, but it can waste energy turning itself and may produce a smaller bulb.
- Separate bulbs into cloves right before planting.
- Use the biggest, healthiest cloves for the biggest heads.
- Do not peel the clove. Keep the papery wrapper on.
Natural solution for weak seed garlic: If you can, plant garlic that is grown for planting, not grocery store garlic. Grocery bulbs may be treated or handled in ways that reduce sprouting or vigor, and they are often not well-adapted to your area or day length.
Spacing and depth
Soil cover sets stability and winter survival. Spacing sets bulb size.
- In-row spacing: 4 to 6 inches apart (closer for smaller heads, wider for larger heads)
- Between rows: 8 to 12 inches
If you want big bulbs, do not crowd them. Garlic is a heavy feeder and a light competitor.
Depth problems and fixes
Problem: cloves heaving out of the soil (frost heave)
Why it happens: freeze and thaw cycles push shallow cloves upward.
Natural solutions:
- Plant with 2.5 to 3 inches of soil cover in colder areas.
- Mulch with straw or shredded leaves right after planting.
- If you notice heaved cloves in late winter, gently press them back in and add more mulch on top.
Problem: cloves rotting before spring
Why it happens: soil stays too wet, especially with deeper planting in heavy ground.
Natural solutions:
- Use raised beds, ridges, or plant on the high side of the garden.
- Keep soil cover closer to 1.5 to 2 inches in clay.
- Amend with compost for structure and drainage.
- Choose mulch that breathes (straw) and avoid thick, soggy mats.
Problem: thin, floppy plants in spring
Why it happens: shallow planting plus poor rooting, or nutrient shortage.
Natural solutions:
- Make sure you have about 2 inches of soil cover and firm soil gently after planting.
- Top-dress in early spring with compost.
- Side-dress with an organic nitrogen source such as alfalfa meal or blood meal if growth is pale and slow, following label rates.
Problem: shoots cannot push through mulch
Why it happens: mulch is too thick or matted, especially combined with deeper planting.
Natural solutions:
- Use fluffier mulch like straw instead of whole leaves that mat down.
- In early spring, pull mulch back slightly so sunlight warms the soil, then keep a thinner layer for weed control.
Problem: pests and diseases show up early
Why it happens: stressed plants invite trouble, and wet soil encourages fungal issues.
Natural solutions:
- Rotate where you plant garlic and other alliums for 3 to 4 years if possible.
- Plant only firm, healthy cloves.
- Water at the soil level and avoid overwatering in spring.
- If you have a history of fungal problems, improve airflow with proper spacing and avoid heavy nitrogen late in the season.
Step-by-step checklist
- Pick the sunniest spot you have. Garlic wants full sun.
- Loosen soil 6 to 8 inches deep and mix in finished compost.
- Split bulbs into cloves right before planting.
- Plant cloves pointy side up, about 2 inches of soil cover over the top (adjust for soil and climate).
- Space 4 to 6 inches apart, rows 8 to 12 inches apart.
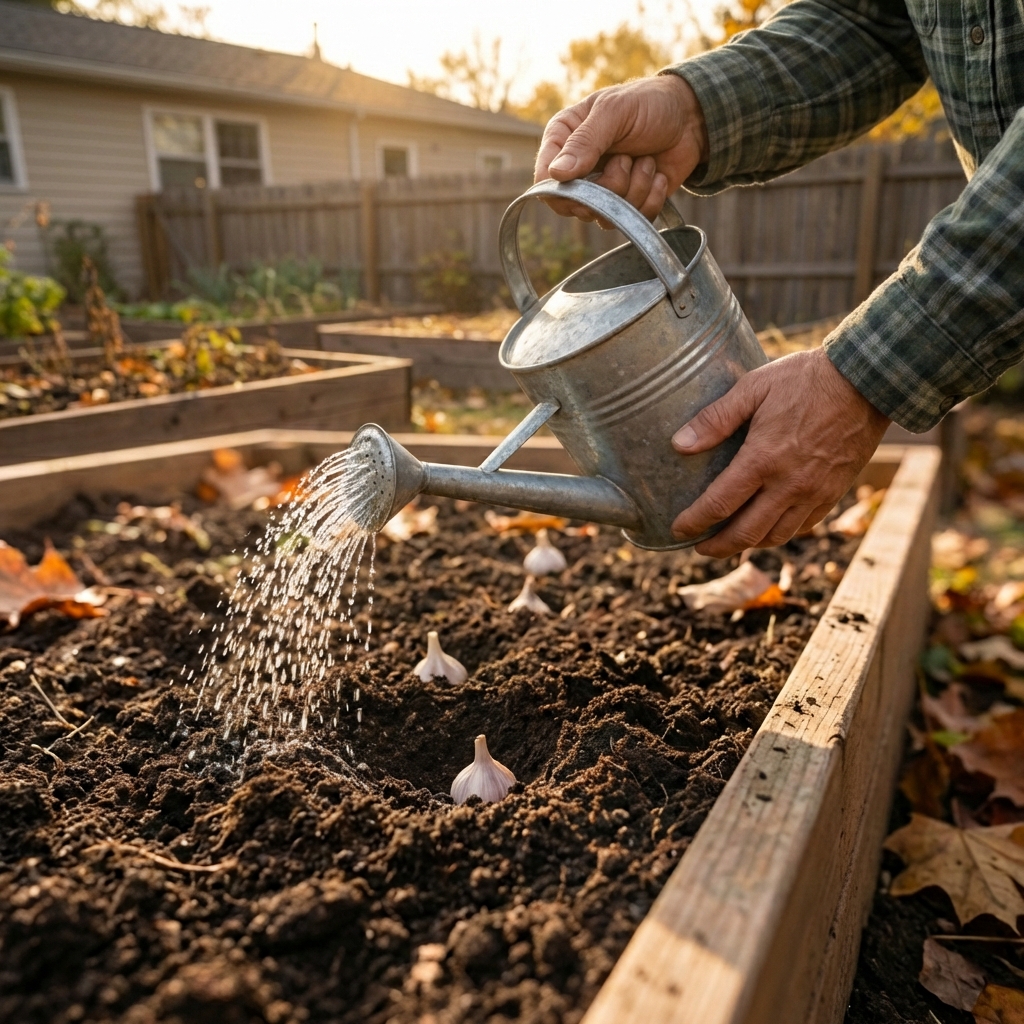
- Water once to settle soil.
- Mulch 2 to 4 inches (more in very cold sites).
FAQ
Is 4 inches too deep for garlic?
It can be, especially in clay or wet winter soil. If you mean 4 inches of soil cover above the clove, that is usually deeper than necessary for a home garden. Aim for 2 to 3 inches of soil cover (deeper end in colder zones), then use mulch for extra insulation.
Can I plant garlic shallow and just mulch heavy?
You can, but it is riskier. Mulch helps with temperature swings, but it does not always prevent frost heave if the clove is too close to the surface. A solid baseline of soil cover plus mulch is more reliable.
Do I plant the whole bulb?
No. Break the bulb into individual cloves and plant each clove.
What if I accidentally plant some cloves upside down?
Many will still grow, but you may get smaller bulbs. If you catch it right away, flip them. If you notice later, let them be and focus on good soil and steady moisture.
Do containers need a different depth?
Containers behave more like light, fast-draining soil. Use 2 to 3 inches of soil cover, make sure the pot drains freely, and watch moisture closely since pots dry out faster.
Bottom line
For most home gardens, plant garlic with about 2 inches of soil cover over the top of each clove. Use the deeper end of the typical range (up to about 3 inches of soil cover) in very cold climates and lighter soils, and stay a little shallower in heavy, wet ground. Then let mulch handle the rest of the winter protection.
If you want the easiest natural upgrade for bigger heads, it is this: good drainage, compost in the bed, and enough spacing. Garlic does not need perfection, but it does need a solid start.

Jose Brito
I’m Jose Britto, the writer behind The Country Store Farm Website. I share practical, down-to-earth gardening advice for home growers—whether you’re starting your first raised bed, troubleshooting pests, improving soil, or figuring out what to plant next. My focus is simple: clear tips you can actually use, realistic expectations, and methods that work in real backyards (not just in perfect conditions). If you like straightforward guidance and learning as you go, you’re in the right place.