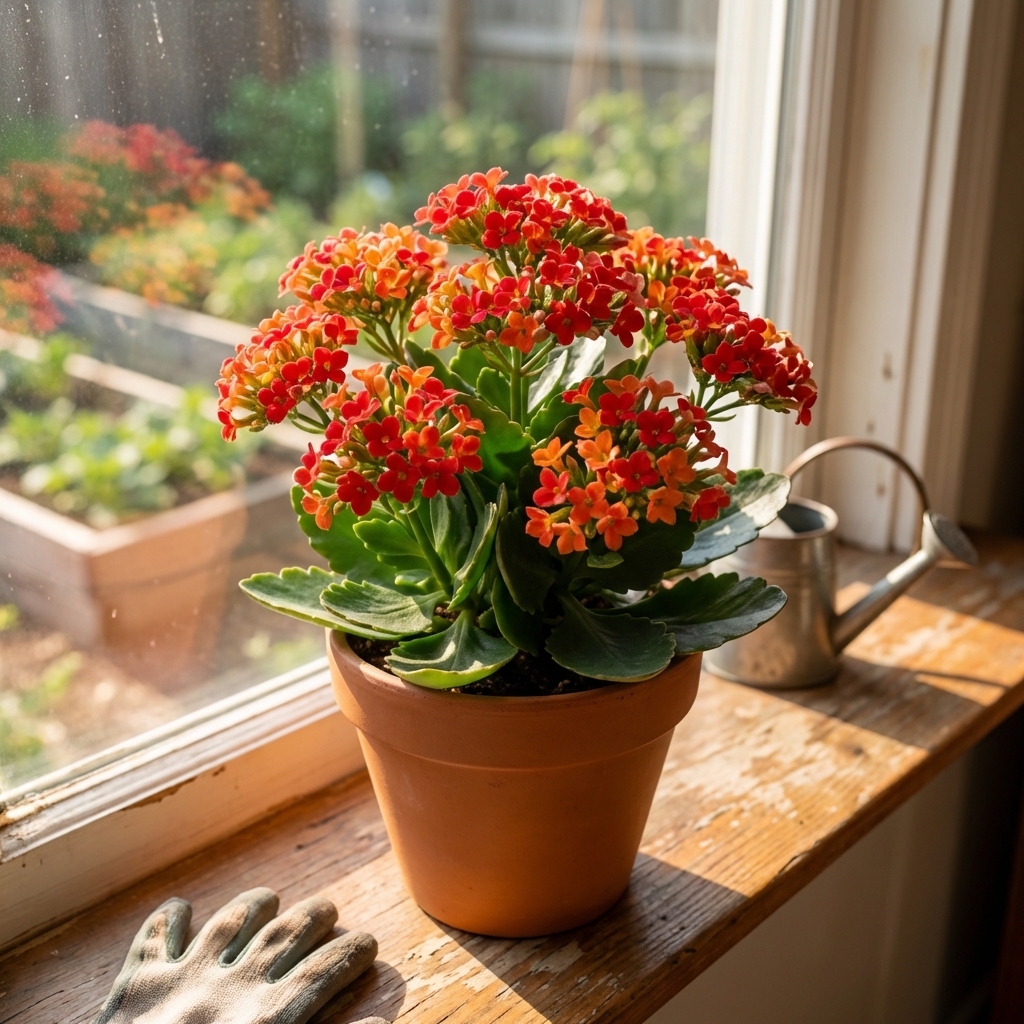
Kalanchoe is one of those plants that rewards you for doing less. Give it bright light, let the soil dry between waterings, and it stays compact, glossy, and ready to bloom when conditions are right. Overwater it or keep it in dim light, and it will slowly sulk.
This guide focuses on the most common type sold as a houseplant, Kalanchoe blossfeldiana (often called florist kalanchoe), with simple, realistic care you can actually do at home, even if you forget a watering here and there.
Quick ID: What kalanchoe likes
- Light: Bright light, some direct sun
- Water: Soak, then dry out almost completely
- Soil: Fast-draining cactus or succulent mix
- Temp: Warm rooms, no cold snaps
- Biggest mistake: Watering too often
Light setup (the part that makes it thrive)
Kalanchoe is a succulent and it needs brighter light than most common houseplants. The goal is sturdy growth with tight leaf spacing, not long, leaning stems.
Best indoor light
- South or west window: Usually ideal.
- East window: Works well, especially in summer.
- North window: Often too dim. Expect stretching and fewer blooms.
If your plant is bending toward the window, rotate the pot a quarter turn every week or two.
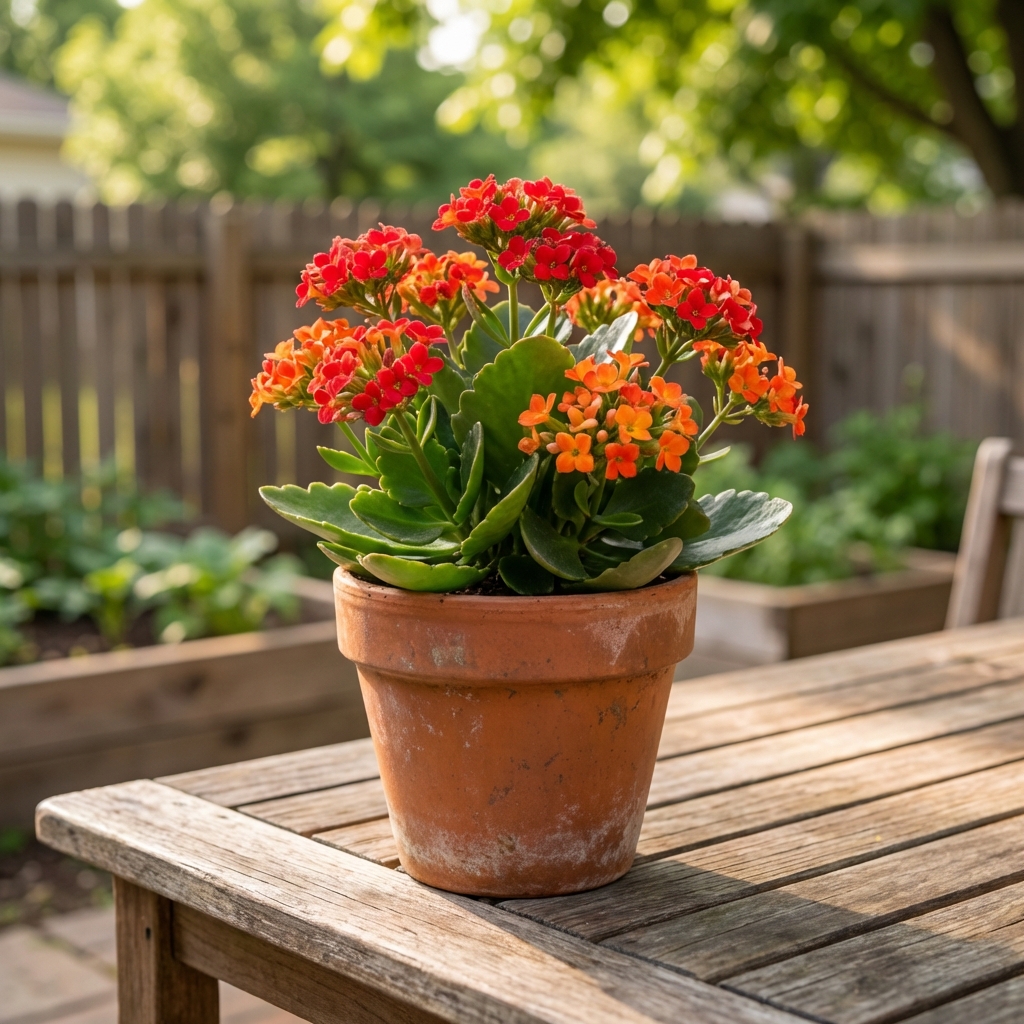
Outdoor light (warm months)
If nights stay above about 50 to 60°F and there are no surprise cold snaps, kalanchoe can enjoy a patio summer. Start with bright shade for a week, then gradually introduce morning sun. Sudden full sun can scorch leaves.
Watering rule that prevents 90% of problems
Here is the rule of thumb I use: water deeply, then do not water again until the pot is mostly dry.
How to check if it is time
- Stick a finger 2 inches into the soil. If it is dry, it is time to water.
- Lift the pot. Dry soil feels noticeably lighter.
- Look at the leaves. Healthy leaves are firm. Soft, translucent, or mushy leaves usually mean too much water.
How to water correctly
- Use a pot with a drainage hole.
- Water until it runs out the bottom.
- Empty the saucer after 10 to 15 minutes. Leaving water in the saucer is one of the fastest ways to rot the roots.
Typical timing: every 7 to 21 days indoors, sometimes longer in winter. Your schedule will change with light, pot size, and temperature, so trust the soil, not the calendar.
Soil and pot choice (keep the roots breathing)
Kalanchoe hates soggy soil. You want a mix that dries quickly and stays airy.
Best soil options
- Cactus and succulent mix straight from the bag works for most people.
- If your mix holds water too long, blend in perlite or pumice to lighten it.
Best pot
- Terracotta: Great for beginners because it breathes and dries faster.
- Plastic or glazed pots: Fine, just water less often.
Always choose a pot with drainage. A decorative cachepot is fine, but keep the plant in a draining nursery pot inside it.
Temperature and humidity
Normal home conditions are perfect.
- Ideal range: 60°F to 80°F
- Avoid: cold drafts, heat vents blasting directly on the plant, and frost
- Humidity: Average indoor humidity is fine. No misting needed.
Pet safety (toxicity warning)
Kalanchoe is toxic to cats and dogs if chewed or eaten. If you have pets that like to sample houseplants, keep kalanchoe up high, use a plant stand they cannot reach, or choose a pet-safe plant instead. If you suspect ingestion, contact your vet or a pet poison helpline right away.
Fertilizing without overdoing it
Kalanchoe is not a heavy feeder. Too much fertilizer can lead to soft growth and fewer flowers.
- In spring and summer, feed once a month with a balanced houseplant fertilizer at half strength.
- If you want to encourage blooms, a bloom-leaning fertilizer can be used during active growth, but it is optional.
- In fall and winter, skip fertilizer unless your plant is actively growing under strong light.
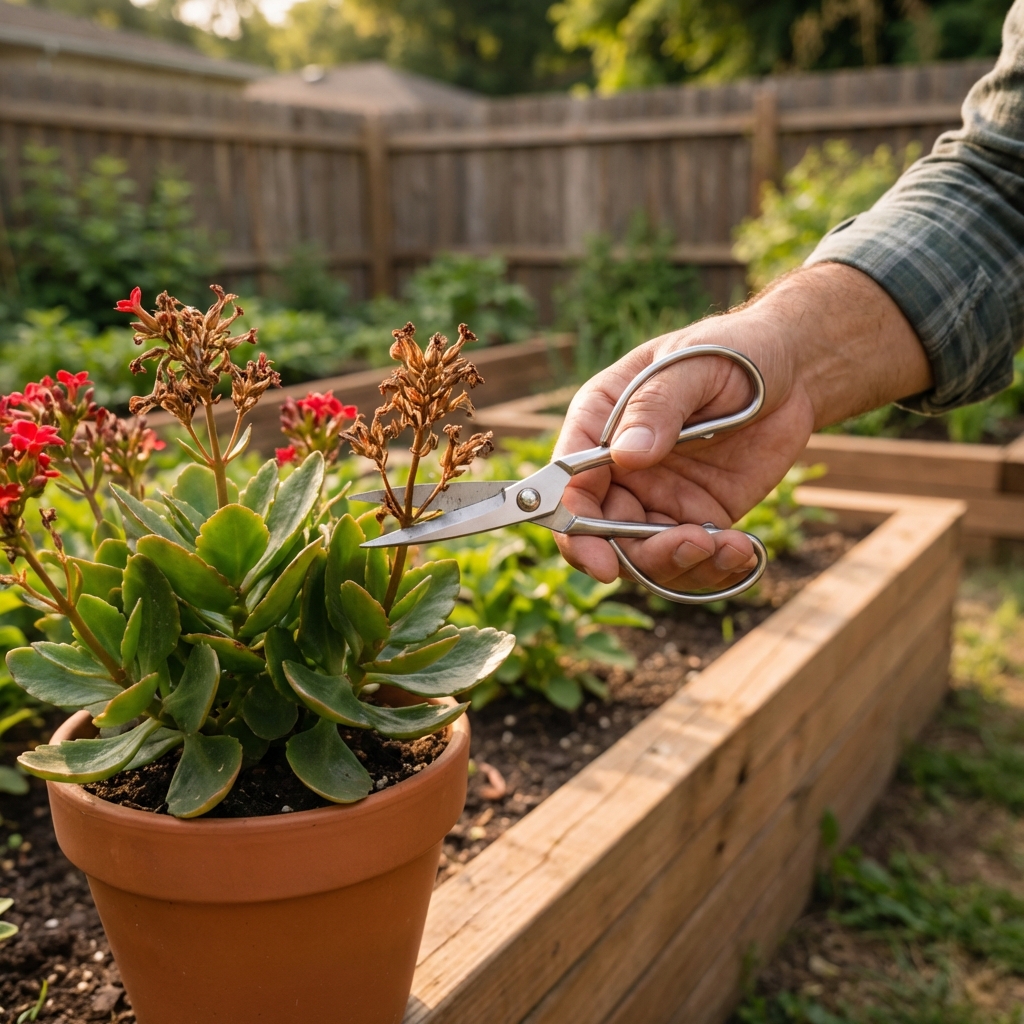
Pruning and deadheading (the easy tidy-up)
After flowering, trim off spent flower clusters. This keeps the plant looking neat and helps it put energy back into leaves and future buds.
How to prune
- Use clean scissors or pruners.
- Cut the flower stalk back to the first set of healthy leaves.
- If the plant is leggy, pinch or cut stems back by up to one third to encourage branching.
How to get kalanchoe to bloom again
This is the part that trips people up. Many kalanchoe types sold as houseplants, including K. blossfeldiana, are short-day plants. That means they set buds when nights are long.
Bloom expectations: Store-bought plants are often timed to bloom in shops. Once that flush is done, reblooming at home usually takes a bit of patience and the right night schedule.
The simple rebloom routine
- For about 6 to 9 weeks, give the plant 14 to 16 hours of uninterrupted darkness each night.
- During the day, keep it in bright light as usual.
- Water sparingly while it is in this bud-setting phase.
Uninterrupted darkness matters. A lamp in the room at night can delay blooming. If needed, place the plant in a closet overnight or cover it with a box that does not touch the leaves.
Once you see buds, return to normal care and enjoy the show.
Repotting: when and how
Kalanchoe likes being slightly snug in its pot. Repot only when needed.
Signs it is time
- Roots circling the inside of the pot or coming out the drainage hole
- Soil dries out extremely fast because it is mostly roots
- Plant top-heavy and tipping over
How to repot
- Move up just one pot size (about 1 to 2 inches wider).
- Use fresh succulent mix.
- After repotting, wait 3 to 5 days before watering to let any disturbed roots settle.
DIY propagation (free new plants)
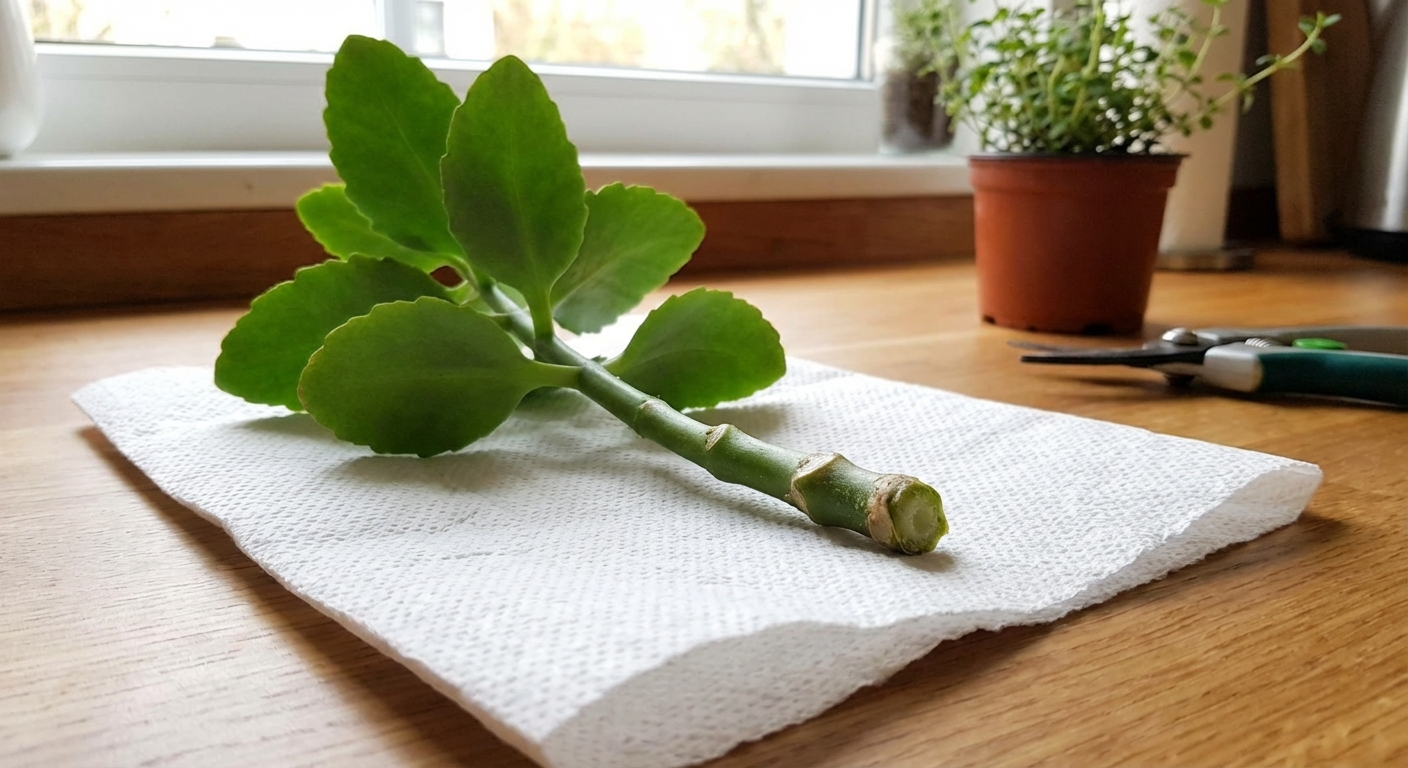
Kalanchoe is easy to propagate from stem cuttings. This is a great way to fix a leggy plant too.
Stem cutting method
- Cut a healthy stem 3 to 5 inches long.
- Remove the bottom leaves.
- Let the cutting sit out for 1 to 2 days so the cut end calluses.
- Plant in dry succulent mix.
- Wait about a week, then water lightly. Increase watering only after roots form.
Common problems and quick fixes
Yellow leaves or mushy stems
Cause: Overwatering or soggy soil.
Fix: Let it dry out. Check drainage and make sure the saucer is not holding water. If the base is mushy, take healthy cuttings and restart the plant.
Leggy, stretched growth
Cause: Not enough light.
Fix: Move closer to a bright window or use a grow light. Prune back to encourage branching.
Wrinkled leaves
Cause: Usually underwatering, sometimes roots damaged from past overwatering.
Fix: Water deeply and let excess drain. If it does not perk up in a day or two, check roots and repot into fresh, airy mix.
Leaves with brown, crispy patches
Cause: Sun scorch from sudden strong sun or hot window glass.
Fix: Give bright light with gentler direct sun and acclimate gradually outdoors.
Pests: mealybugs and aphids
What to look for: Cottony clusters in leaf joints (mealybugs) or soft insects on new growth (aphids).
- Wipe mealybugs with a cotton swab dipped in 70% isopropyl alcohol.
- Rinse aphids off with water, then treat with insecticidal soap if they return.
- Isolate the plant until it is clean.
Kalanchoe care checklist
- Bright light near a sunny window
- Water only when soil is mostly dry
- Fast-draining succulent soil and a pot with drainage
- Empty the saucer after watering
- Deadhead after blooms fade
- For reblooming, give long nights for 6 to 9 weeks
If you want the simplest version to remember: more light, less water. That one change fixes most kalanchoe struggles.

Jose Brito
I’m Jose Britto, the writer behind The Country Store Farm Website. I share practical, down-to-earth gardening advice for home growers—whether you’re starting your first raised bed, troubleshooting pests, improving soil, or figuring out what to plant next. My focus is simple: clear tips you can actually use, realistic expectations, and methods that work in real backyards (not just in perfect conditions). If you like straightforward guidance and learning as you go, you’re in the right place.