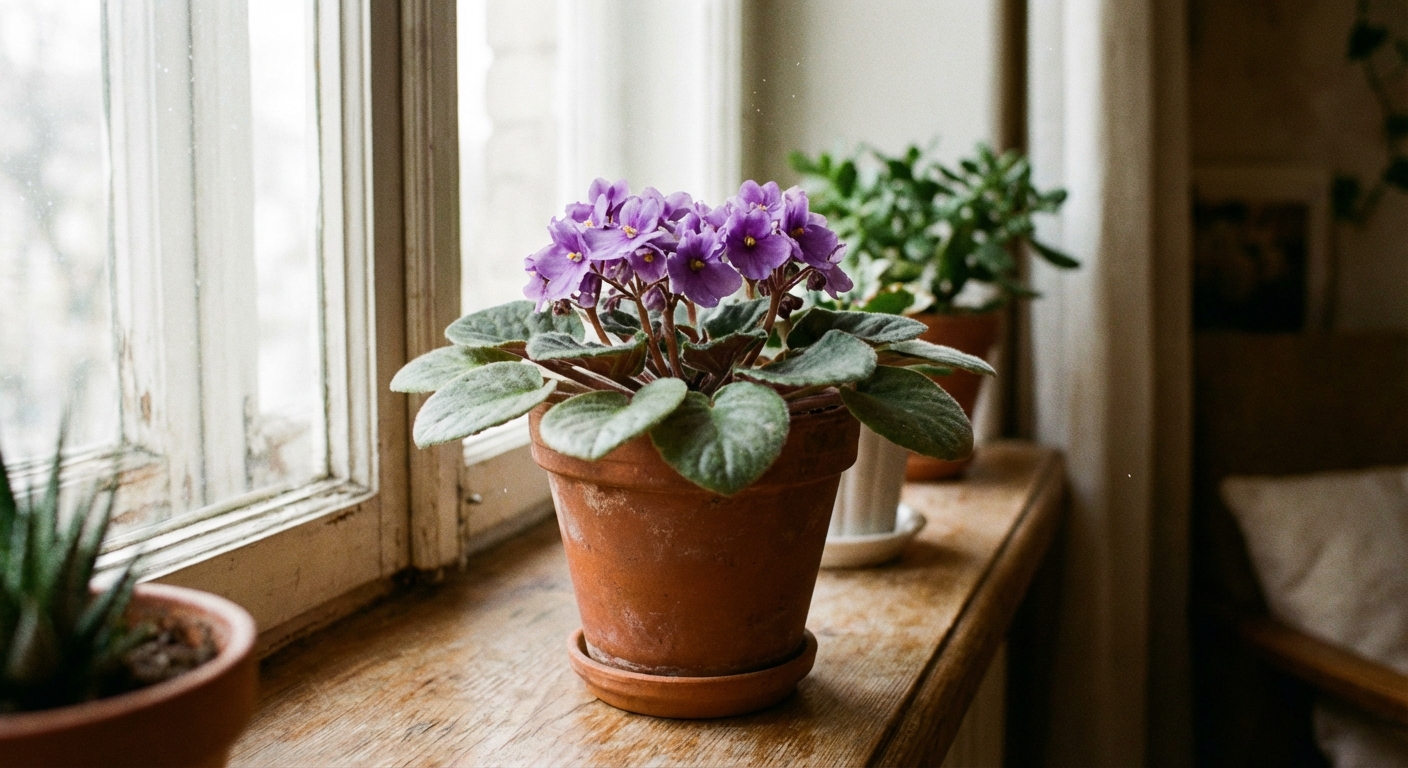
African violets (Saintpaulia, now commonly grouped under Streptocarpus in many modern classifications) have a reputation for being fussy. In real life, they are pretty forgiving once you lock in three basics: bright light, careful watering, and an airy potting mix. Get those right and the rest is just fine-tuning.
Know what African violets want
- Light: bright, indirect light for steady blooming
- Water: evenly moist soil, never soggy
- Humidity: moderate is great, but good airflow matters more
- Warmth: comfortable indoor temperatures, away from cold glass and vents
- Soil: light and fluffy, built to drain fast
If your plant looks “fine” but will not bloom, it is almost always a light issue, a feeding issue, or the plant is in a tired mix and needs repotting.
Light: the biggest key to blooms
African violets bloom best with lots of light, but their leaves scorch in harsh sun. Aim for bright, indirect light most of the day.
Best window placement
- East-facing window: usually ideal. Gentle morning sun, bright the rest of the day.
- North-facing window: can work, but may be too dim in winter.
- South or west-facing window: often too intense unless filtered with a sheer curtain or set back from the glass.
Signs the light is wrong
- Too little light: long leaf stems, leaves reaching upward, slow growth, no flowers.
- Too much light: pale or bleached leaves, crispy edges, scorched patches.
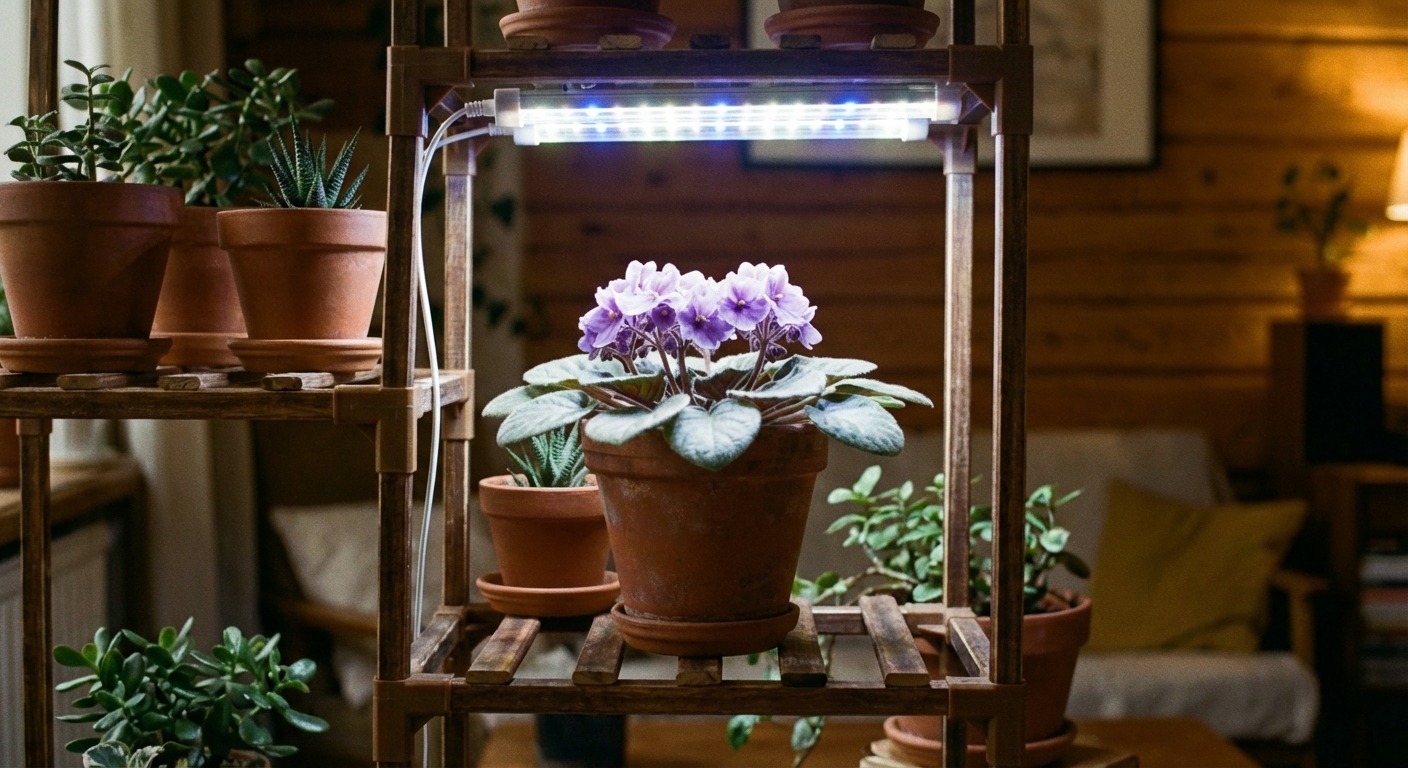
Grow lights work great
If your home is dim, a basic LED grow light can make African violets bloom reliably. As a simple starting point, keep the light 10 to 14 hours per day and adjust distance if leaves start to pale or the plant stretches.
Watering: avoid two common mistakes
Most African violet problems come from watering habits. The two big ones are keeping the soil constantly wet and letting the plant go bone dry repeatedly. You want the middle ground: lightly and evenly moist.
When to water
Check the pot, not the calendar. Water when the top of the mix feels slightly dry to the touch, and the pot feels lighter than usual.
How to water (choose one)
- Bottom watering: set the pot in a shallow dish of water for 20 to 30 minutes, then drain well. This helps keep water off the leaves and crown.
- Top watering: pour water gently onto the soil surface, avoiding the center crown. Stop when water runs out of the drainage holes, then empty the saucer.
Water temperature and quality
- Use room-temperature water. Cold water can shock roots and leaves.
- If your tap water is very hard, consider filtered water or letting water sit overnight to warm and de-gas. Hard water can contribute to crusty soil and slow growth over time.
Do water droplets hurt leaves?
Water on leaves is not automatically fatal, but it can leave spots, especially in cool conditions or strong light. If you splash the leaves, gently blot with a paper towel and improve airflow.
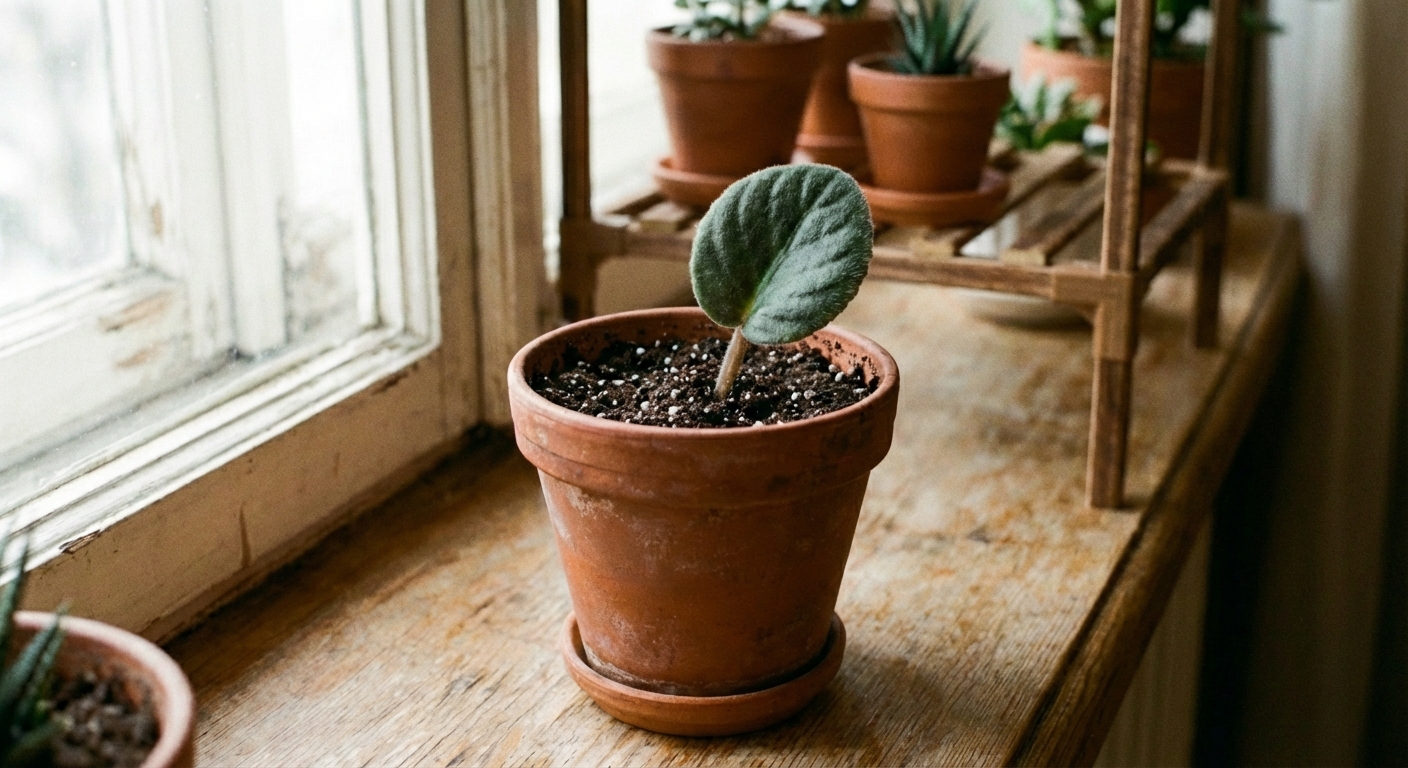
Soil and pots: small pot, airy mix
African violets are not houseplants that want a big pot “to grow into.” They generally bloom better when slightly snug in their container, as long as the mix is fresh and draining well.
Best pot size
A common rule of thumb is a pot about one-third the width of the leaf span. For many standard violets, that ends up being a 4-inch pot, sometimes smaller.
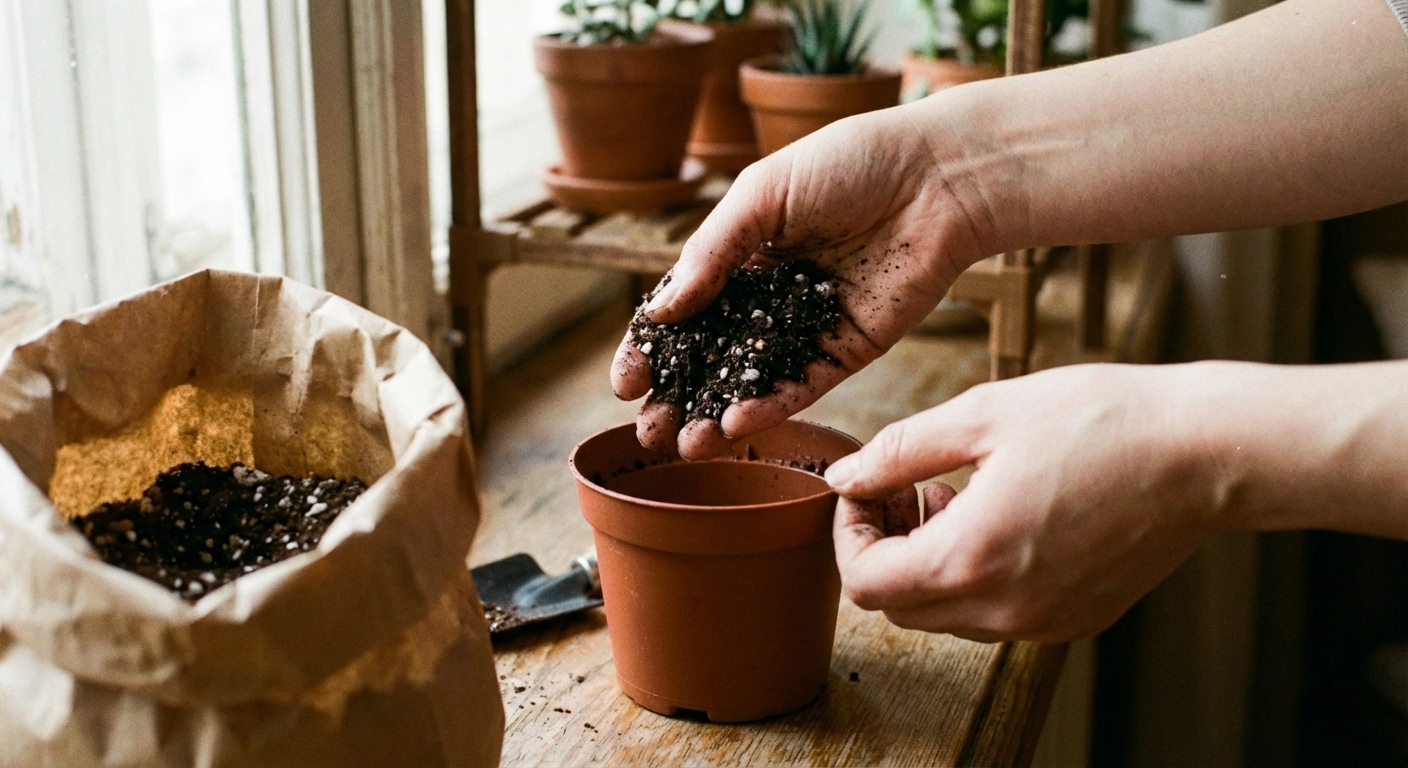
Use a violet-friendly mix
Choose a commercial African violet mix or make your own that stays fluffy. A practical home blend is:
- 50% peat-based potting mix
- 50% perlite (or a chunky mix amendment)
The goal is fast drainage plus enough moisture retention that the plant does not crash between waterings.
Pot type matters
- Plastic pots: hold moisture longer, lightweight, easy to manage.
- Terracotta: breathes and dries faster, which can be helpful for heavy waterers, but can dry too quickly in low humidity.
- Self-watering violet pots: convenient when used correctly, but they can cause constant wetness if the mix is too dense.
Temperature and humidity
These plants are happiest at typical indoor temperatures. The biggest thing is avoiding extremes and drafts.
- Temperature: aim for about 65 to 80 F, and avoid cold windows at night in winter.
- Humidity: average home humidity can work, but they do better with moderate humidity and steady moisture in the root zone.
- Airflow: gentle airflow helps prevent mildew and crown issues. Just do not blast them with a heating or AC vent.
If your air is dry, skip misting. Instead, place the pot on a tray with pebbles and water (pot above the water line), or group plants together.
Fertilizing for steady blooms
African violets are not heavy feeders, but they do bloom better with regular nutrition. The easiest method is “weakly, weekly” or “weakly, often.”
What fertilizer to use
- A fertilizer labeled for African violets, or a balanced houseplant fertilizer.
- Look for a formula that includes micronutrients, since violets can stall when trace elements are missing.
How often
During active growth, feed at a low dose every 2 to 4 weeks, or even more frequently at a very diluted rate. In low light winter conditions, reduce feeding because the plant uses less.
Salt buildup warning
If you see a white crust on the soil or rim, that is often fertilizer salts and minerals. Flush the pot occasionally by watering thoroughly from the top and letting it drain fully.
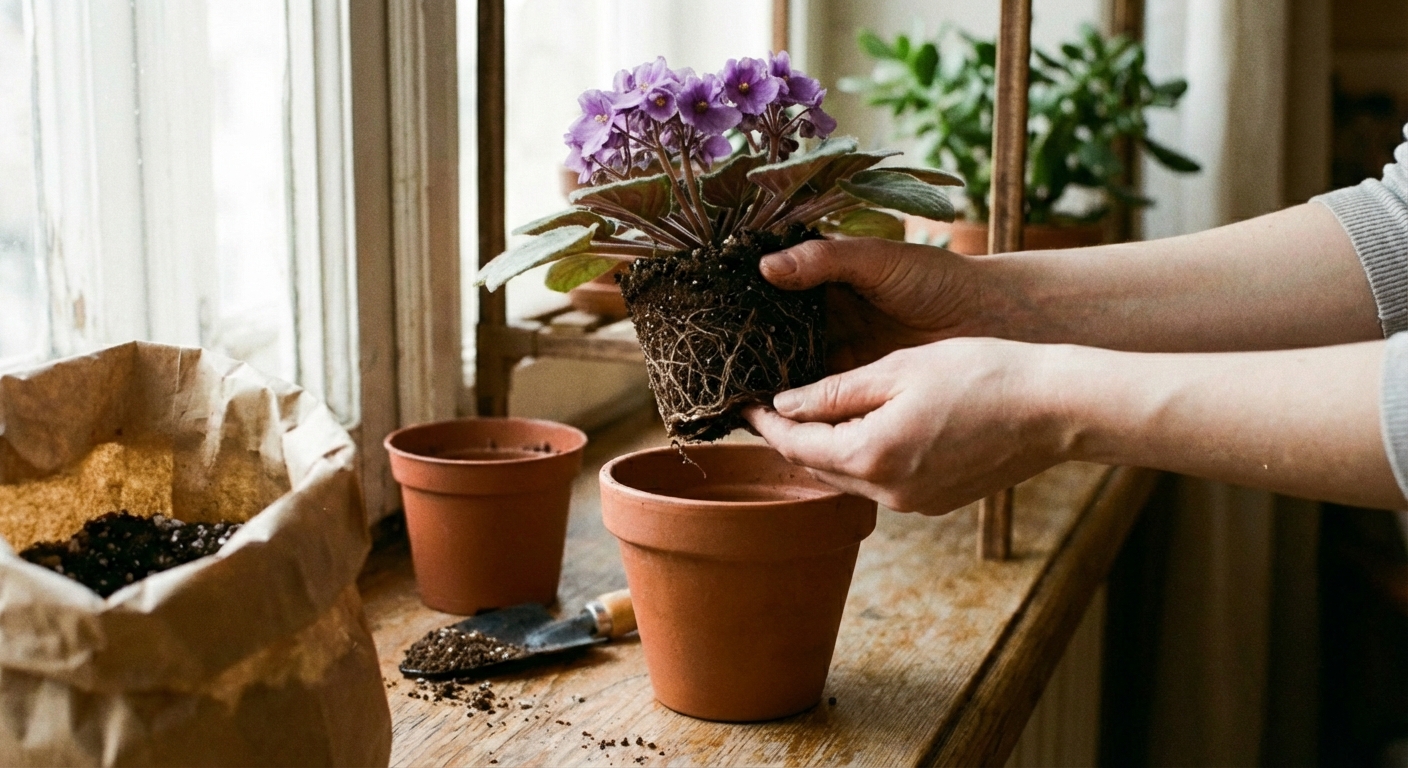
Repotting: the reset button
Repotting fixes a surprising number of African violet issues. Old mix breaks down, holds too much water, and suffocates roots. Fresh mix restores drainage and oxygen.
When to repot
- About every 6 to 12 months for most plants
- When the mix stays wet too long
- When the plant has a long bare “neck” under the leaves
- When growth is slow and blooms are scarce despite good light
How to repot step by step
- Choose the same pot size in many cases, unless the plant has clearly outgrown it.
- Remove the plant and gently loosen the outer roots.
- Refresh the mix with a light, airy blend.
- If there is a long neck, you can bury part of it when repotting by adding mix around it. Keep the crown above soil level. If the neck is calloused, you can gently scrape the outer surface with a clean blade to encourage fresh roots before you bury it.
- Water lightly and return to bright, indirect light.
Grooming and bloom care
A little maintenance keeps the plant compact and flowering.
- Remove spent blooms by pinching the flower stem near the base.
- Remove damaged older leaves to improve airflow and reduce disease risk.
- Rotate the pot a quarter turn every week or two so growth stays even.
Common problems and fixes
No flowers
- Most likely: not enough light. Move to brighter indirect light or add a grow light.
- Also common: too large a pot, old compacted mix, or no regular feeding.
Droopy leaves but soil is wet
- Possible cause: root rot from soggy mix or poor drainage.
- Fix: unpot the plant, remove mushy roots, repot into fresh airy mix, and water less until recovery.
Droopy leaves and soil is dry
- Cause: underwatering or the mix has become hydrophobic.
- Fix: bottom-water for 30 minutes to rehydrate evenly, then return to a normal schedule.
Leaves turning yellow
- Often: overwatering, low light, or old leaves aging out.
- Check: is the center crown healthy and growing? If yes, remove the oldest yellow leaves and adjust water and light.
Powdery mildew (white dusty coating)
- Cause: stale air plus humidity, often in cooler conditions.
- Fix: increase airflow, avoid wet foliage, and remove badly affected leaves. If it persists, use a houseplant-safe fungicide labeled for powdery mildew.
Crown rot (soft, collapsing center)
- Cause: water sitting in the crown, cold conditions, or constantly wet mix.
- Fix: if the crown is mushy, it is often not salvageable. Try propagating healthy leaves instead.
Pests to watch for
African violets can get pests, especially when stressed. Inspect regularly, especially the undersides of leaves and new growth.
- Mealybugs: white cottony clusters in leaf joints. Remove with a cotton swab dipped in rubbing alcohol, then follow with insecticidal soap if needed.
- Thrips: can damage blooms and leave pollen scattered. Remove flowers, isolate the plant, and treat with a product labeled for thrips.
- Mites: distorted new growth can be a clue. Isolation is key. Many mite issues require a miticide labeled for indoor ornamentals.
Tip: isolate any new plant for a couple of weeks before placing it near your violets. That one habit prevents most pest headaches.
Propagation: make more plants from leaves
Leaf propagation is one of the easiest, most satisfying ways to expand your collection or rescue a plant that is struggling.
Simple leaf-propagation method
- Pick a healthy leaf from the middle rows, not the oldest outer leaves.
- Cut the stem to about 1 to 2 inches long, with a clean blade.
- Insert the stem into lightly moist violet mix.
- Cover loosely with a clear bag to hold humidity, but allow a little airflow.
- Keep in bright, indirect light and lightly moist soil until baby plants form.
Quick care checklist
- Bright, indirect light. More light equals more blooms, up to the point of leaf scorch.
- Water when the top feels slightly dry. Drain fully.
- Use a light, airy mix and a pot with drainage holes.
- Feed lightly during active growth.
- Repot every 6 to 12 months to refresh the mix.
If you only change one thing today, make it this: improve the light and refresh the soil. Those two fixes solve a lot of “my violet looks stuck” situations.

Jose Brito
I’m Jose Britto, the writer behind The Country Store Farm Website. I share practical, down-to-earth gardening advice for home growers—whether you’re starting your first raised bed, troubleshooting pests, improving soil, or figuring out what to plant next. My focus is simple: clear tips you can actually use, realistic expectations, and methods that work in real backyards (not just in perfect conditions). If you like straightforward guidance and learning as you go, you’re in the right place.