Orchids get a reputation for being “fussy,” but most indoor problems come down to a few basics: too little light, too much water, or a potting setup that stays soggy. The good news is you can fix all three without buying a closet full of products.
Below is a practical, eco-friendly approach that works in real homes. No perfect greenhouse conditions required.
Start with the orchid you probably have
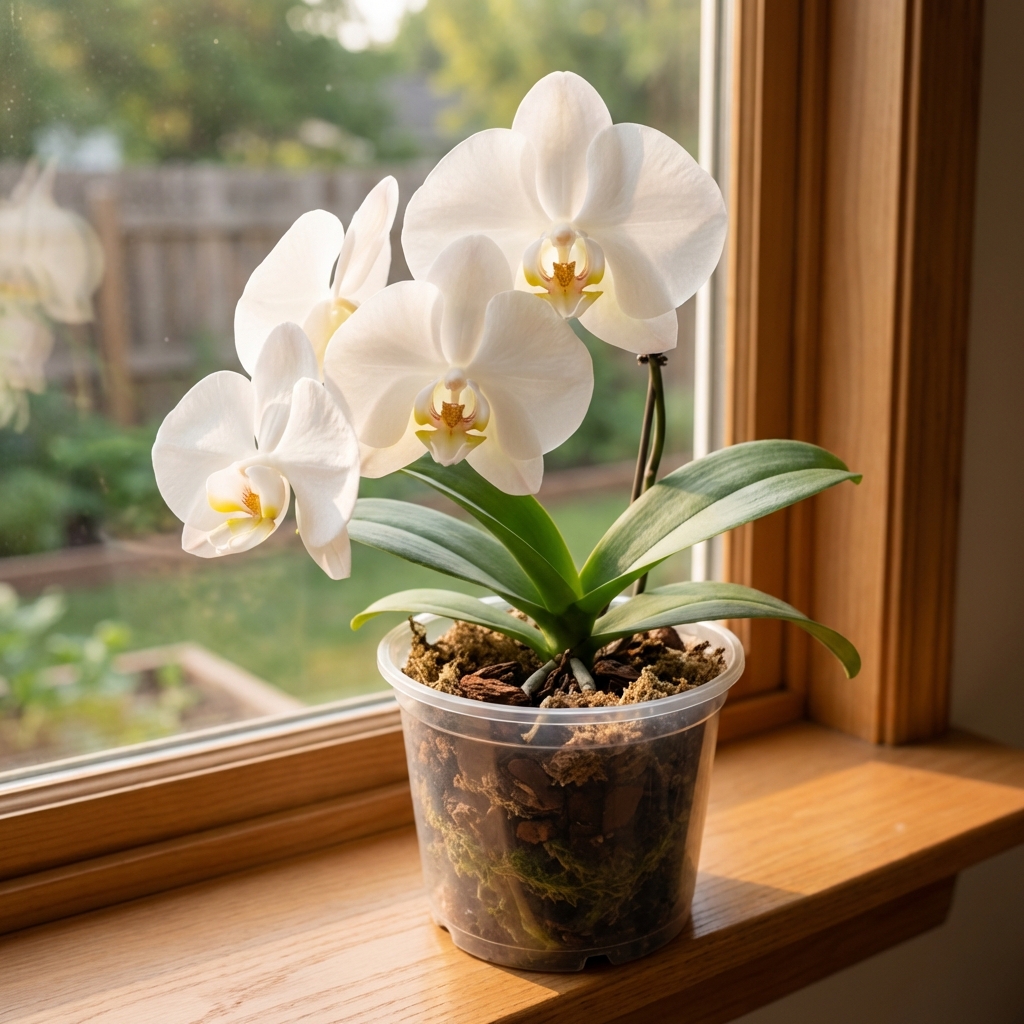
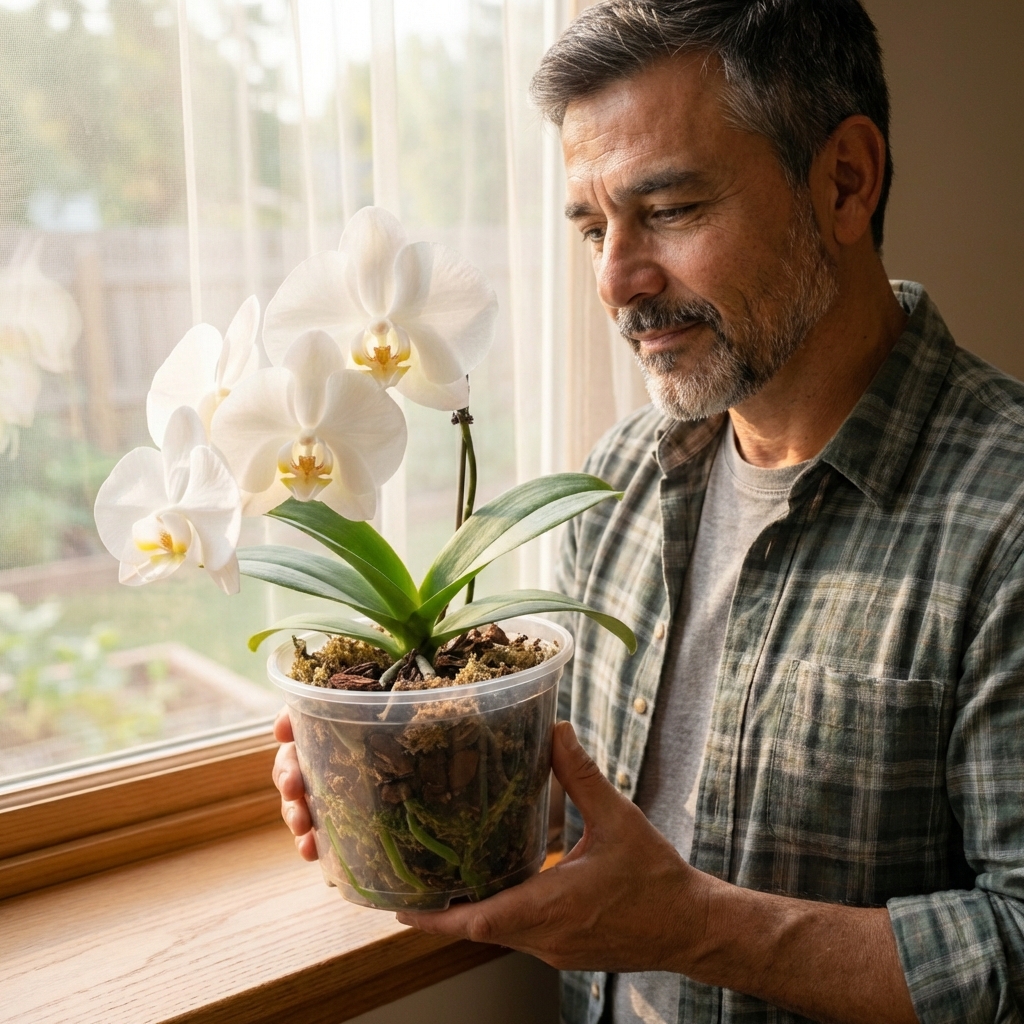
Most store-bought orchids are Phalaenopsis, also called moth orchids. They are great indoor plants because they like typical home temperatures and do not need blazing sun.
- Leaves: Broad, thick, and often medium-to-dark green (color varies by hybrid and light level).
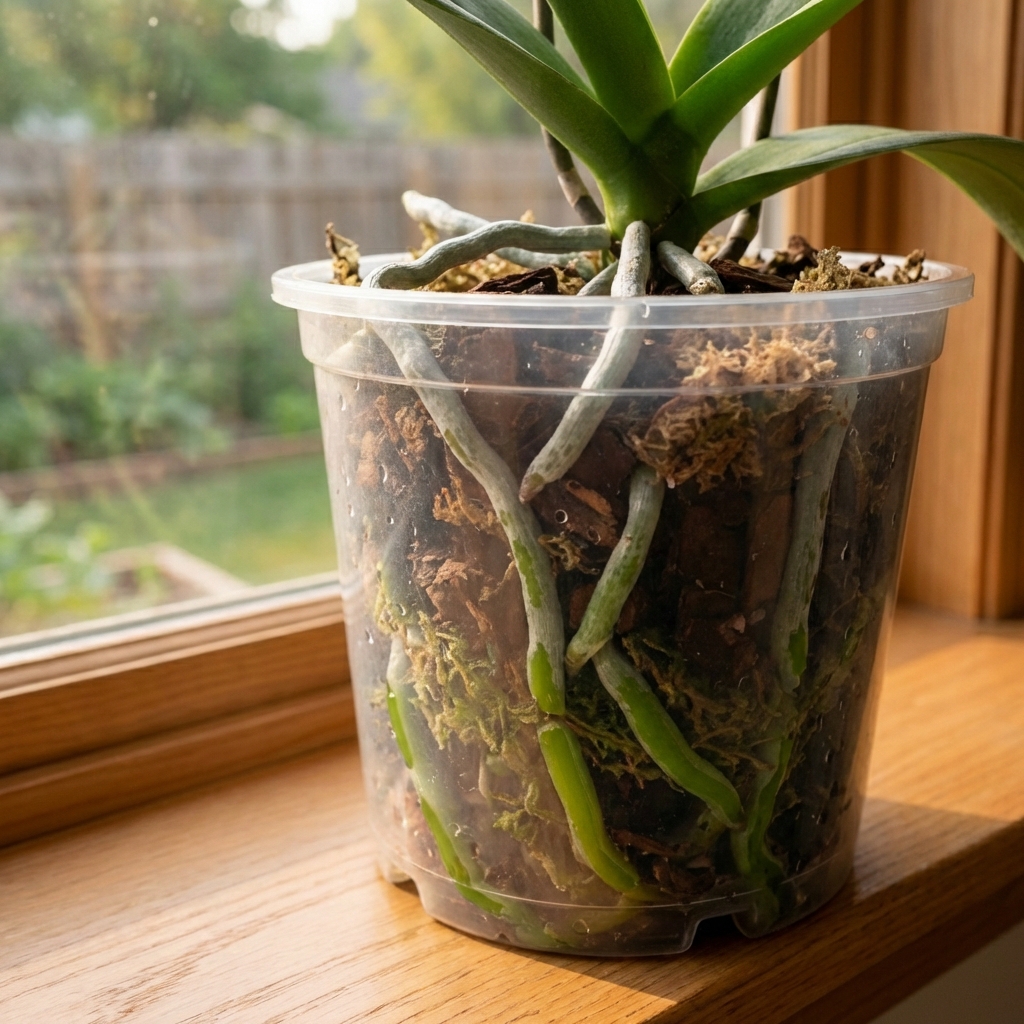
- Roots: Thick and silvery when dry, green when wet.
- Blooms: Long-lasting sprays of flowers.
If you have a different type, these tips still help, but light and drying time may need a small adjustment.
Light: the #1 driver of growth and reblooming
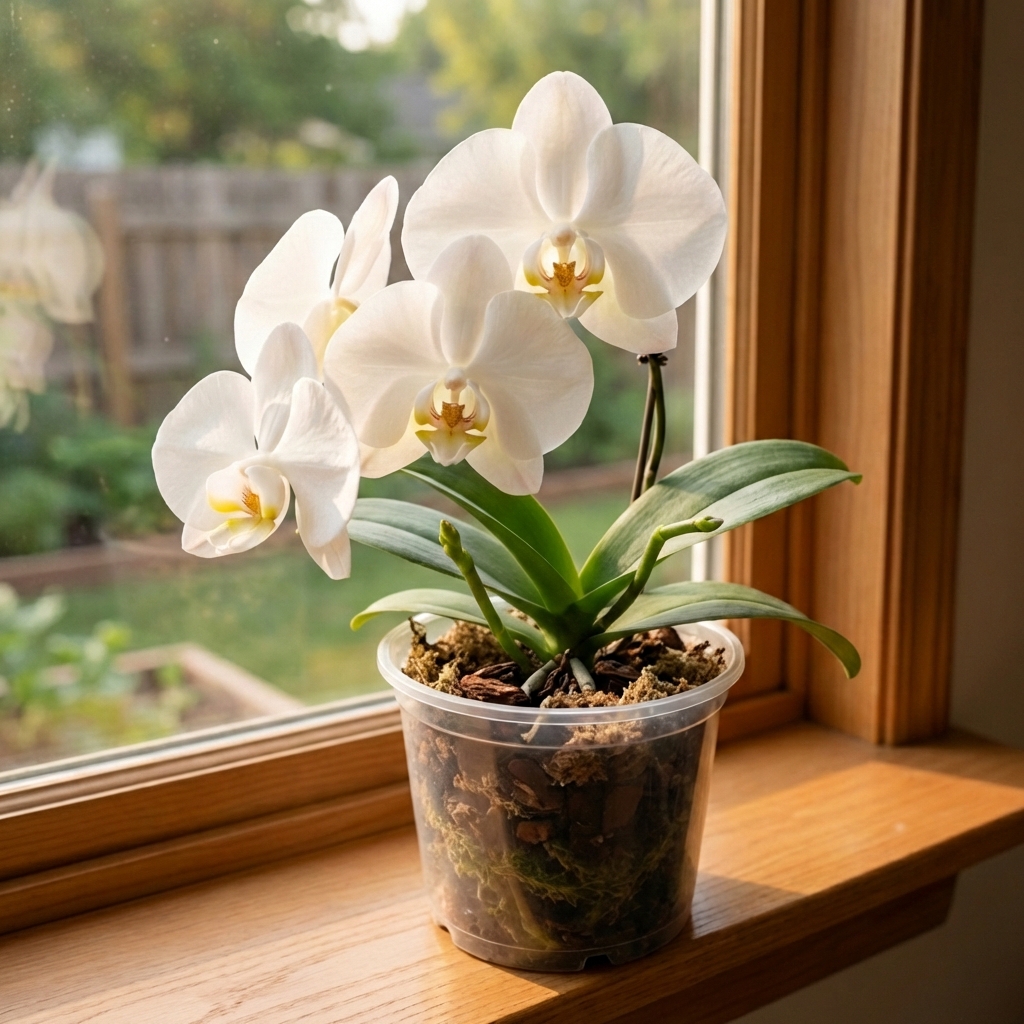
Orchids indoors usually suffer from low light. Bright, indirect light is the sweet spot.
Where to place it
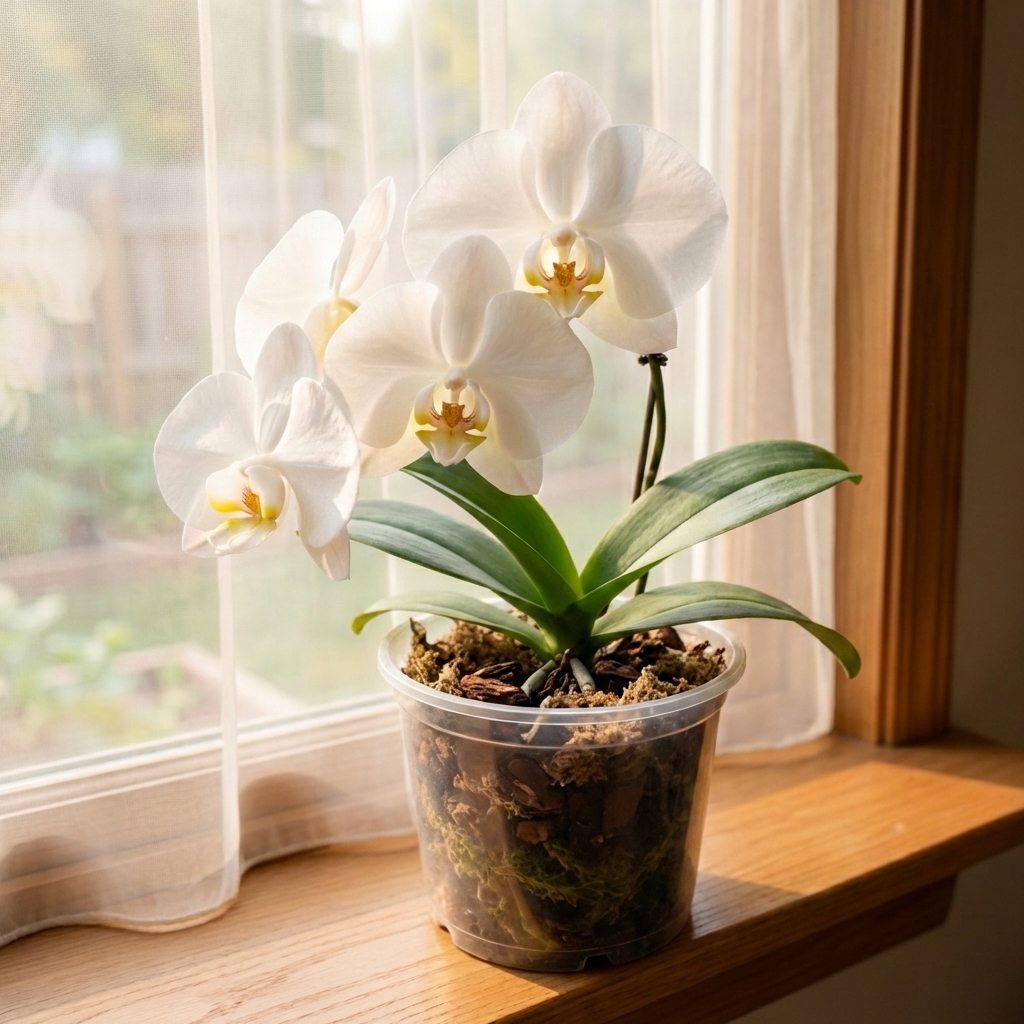
- Best: East window (gentle morning sun).
- Good: South or west window with a sheer curtain to soften harsh sun.
- Okay: Bright room a few feet back from a sunny window.
Fast signs you need to adjust
- Too little light: Slow growth, few or no new roots/leaves, and no flower spike after a full season (leaf color alone is not definitive).
- Too much light: Yellowing leaves or bleached patches.
Eco-friendly tip: Use what you already have before buying a grow light. A $5 sheer curtain and a better window usually beat an expensive setup.
Watering: soak, drain, then leave it alone
Overwatering is the most common indoor orchid killer. Orchids are not soil plants. Their roots need air.
How to water the low-waste way
- Check first: If roots look silvery and the pot feels light, it is time.
- Soak: Place the pot in a bowl or sink of room-temperature water for 5 to 10 minutes to fully rehydrate bark, especially in coarse, fast-draining mixes.
- Drain well: Let it drip for a few minutes. Do not leave water sitting in the outer decorative pot.
In many homes, this works out to about every 7 to 10 days, but your schedule depends on light, temperature, and potting mix. Always follow the plant, not the calendar.
Use the roots as your “moisture meter”
- Silvery gray roots: Dry, ready for water.
- Green roots: Recently watered, wait.
- Mushy brown roots: Staying wet too long, change your setup.
Keep water out of the crown
The crown is the center where new leaves emerge. Avoid letting water sit there, since it can lead to crown rot. If water splashes into the crown, blot it out with a paper towel.
Eco-friendly tip: Catch the drain water in a bowl and use it on nonedible houseplants. If you let it sit, some chlorine may dissipate, but many areas use chloramine, which does not off-gas quickly. If your water is heavily treated, use it right away on ornamentals or consider rainwater when practical.
Humidity: raise it gently without gadgets
Most orchids like moderate humidity, but you do not need to turn your house into a rainforest. Aim for a comfortable range and focus on consistency.
Simple ways to boost humidity
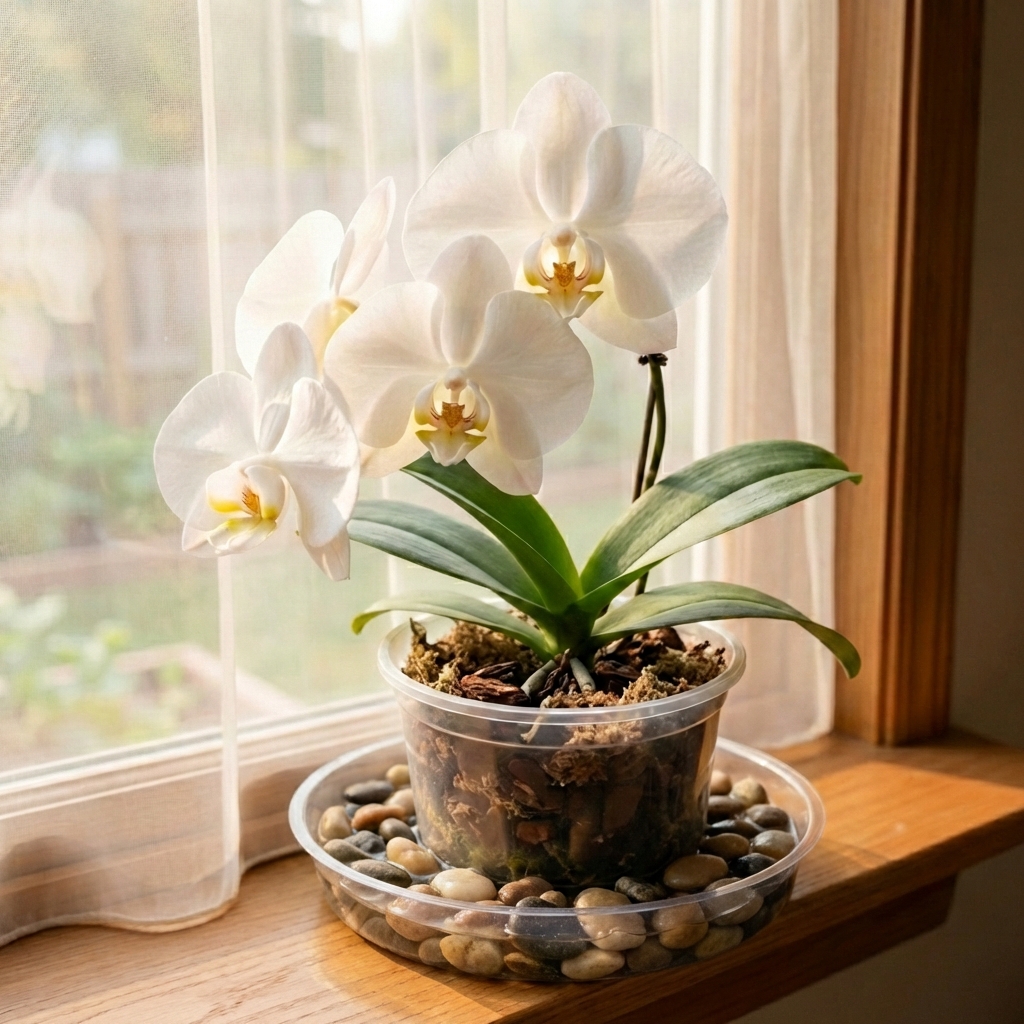
- Pebble tray: A shallow tray with pebbles and water under the pot. Keep the pot sitting on stones, not in water. Expect a modest effect unless the plant is in a small, contained space.
- Group plants: Plants release moisture and create a slightly more humid pocket of air.
- Bathroom window: If you have good light, orchids often love the natural humidity.
Avoid: Constant misting as your main strategy. It can encourage spots on leaves and does not meaningfully raise humidity for long.
Airflow and temperature: keep it comfortable
Orchids like the same temperatures most people do. The bigger issue is stagnant air combined with wet roots.
- Temperature: Typical indoor temps are fine. Avoid cold drafts from winter windows and blasting heat vents.
- Airflow: Light airflow helps the potting mix dry evenly and reduces fungus. No fan aimed at the plant is necessary, just a room that is not sealed and damp.
Pot and potting mix: skip “regular soil”
Orchid roots need air pockets. Regular potting soil stays too dense and holds water too long.
What to use
- Pot: Clear plastic pot with drainage holes is practical. You can see roots and moisture level.
- Mix: Bark-based orchid mix is the standard for Phalaenopsis.
Eco-friendly potting choices
- Reuse the inner pot if it is still sturdy. Wash with mild soap and rinse well.
- Choose longer-lasting bark and repot only when needed, not just because it is “spring.”
- Use a simple outer cachepot you already own, but always empty standing water.
If your orchid came packed tight with a moss plug in the center, it can stay wet for a long time and contribute to root rot with typical home watering habits. Repotting into bark (or a looser mix) is often the fix.
When and how to repot
Repotting sounds scary, but it is mostly cleanup and a better mix.
Repot when
- The mix smells sour or stays wet for too long.
- Roots are circling tightly and the plant feels unstable.
- You see a lot of dead, hollow, or mushy roots.
- It has been about 1 to 2 years in the same mix (bark breaks down over time).
Quick repot steps
- Slide the plant out and gently remove old mix.
- Trim dead roots with clean scissors (dead roots are mushy or papery and hollow).
- Set the plant in the pot and fill with bark, tapping to settle without packing tight.
- Wait 2 to 3 days before heavy watering if you trimmed a lot of roots.
Eco-friendly tip: Compost old bark only if it is not moldy and you do not have pest issues. Otherwise, dispose of it to avoid spreading problems.
Feeding: less is more
Orchids do not need heavy fertilizer indoors. Overfeeding can burn roots and create salt buildup.
A simple indoor routine
- Use a balanced orchid fertilizer at quarter strength.
- Feed about once a month during active growth (new roots or leaves). This is a conservative routine and plenty for most indoor plants.
- Flush with plain water occasionally to reduce mineral buildup.
Eco-friendly tip: If you have hard water, consider collecting rainwater for houseplants when practical. Also avoid using water from a home water softener (it can contain sodium that builds up in the pot).
How to get blooms again (reblooming)
The most common reason orchids do not rebloom is not enough light. Fix light first, then focus on patience. Phalaenopsis typically bloom once a year indoors, sometimes twice with great conditions.
After blooms drop
- Keep caring for the leaves and roots. A healthy plant blooms. A struggling plant rests.
- Flower spike options: If the spike is green, you can leave it to see if it branches. If it turns brown and dry, cut it at the base with clean snips.
The gentle temperature nudge
Many Phalaenopsis set spikes with a small drop in nighttime temperature for a couple of weeks. A slightly cooler room at night in early fall can help, as long as the plant is not in a cold draft.
Common indoor orchid problems and quick fixes
Wrinkled leaves
- Usually: Root trouble or inconsistent watering.
- Fix: Check roots, repot if mix stays wet, then water thoroughly when roots go silvery.
Yellow leaves
- Sometimes normal: One older bottom leaf aging out.
- Not normal: Several leaves yellowing fast. Could be too much sun, rot, or severe stress.
- Fix: Move to indirect light and inspect roots.
Bud blast (buds shrivel and drop)
- Common causes: Cold drafts, heat vents, low humidity swings, moving the plant a lot.
- Fix: Pick a stable spot and avoid temperature extremes.
Pests (mealybugs and scale)
- First move: Isolate the plant.
- Low-tox treatment: Wipe pests with cotton swabs dipped in 70% isopropyl alcohol. Test a small area first, avoid soaking the potting mix and roots, and recheck weekly.
- Eco-friendly tip: Skip broad “houseplant bug bombs.” Targeted wiping and repeat checks are usually enough for a small indoor collection.
A simple weekly checklist
- Check roots color and pot weight before watering.
- Empty any standing water in outer pots or trays.
- Rotate the plant a quarter turn for even growth.
- Scan leaf joints and undersides for pests.
- Wipe dust off leaves with a damp cloth so the plant can photosynthesize better.
If you do only two things: give brighter indirect light and stop watering on a schedule. Those two changes solve most indoor orchid headaches.
Quick FAQ
Do orchids need ice cubes?
No. It is a marketing shortcut that can chill roots. Room-temperature water and proper drainage are safer.
Should I cut aerial roots?
Do not cut healthy aerial roots. They help the plant breathe and gather moisture. Only trim roots that are clearly dead and mushy.
Can I grow orchids in a closed glass container?
It is risky indoors because airflow is poor and roots stay wet. Orchids do best in a pot with drainage and air exchange.

Jose Brito
I’m Jose Britto, the writer behind The Country Store Farm Website. I share practical, down-to-earth gardening advice for home growers—whether you’re starting your first raised bed, troubleshooting pests, improving soil, or figuring out what to plant next. My focus is simple: clear tips you can actually use, realistic expectations, and methods that work in real backyards (not just in perfect conditions). If you like straightforward guidance and learning as you go, you’re in the right place.