Groundhogs are one of those garden pests that feel almost polite until you realize they can mow down beans, peas, lettuce, and young transplants overnight. The good news is you do not need a complicated setup to get results. You need a simple plan: confirm it is a groundhog, protect the plants they want most, and make your yard less comfortable for them.
This guide walks you through practical DIY steps that work for typical backyards. You can do one step or stack a few for faster, longer-lasting control.
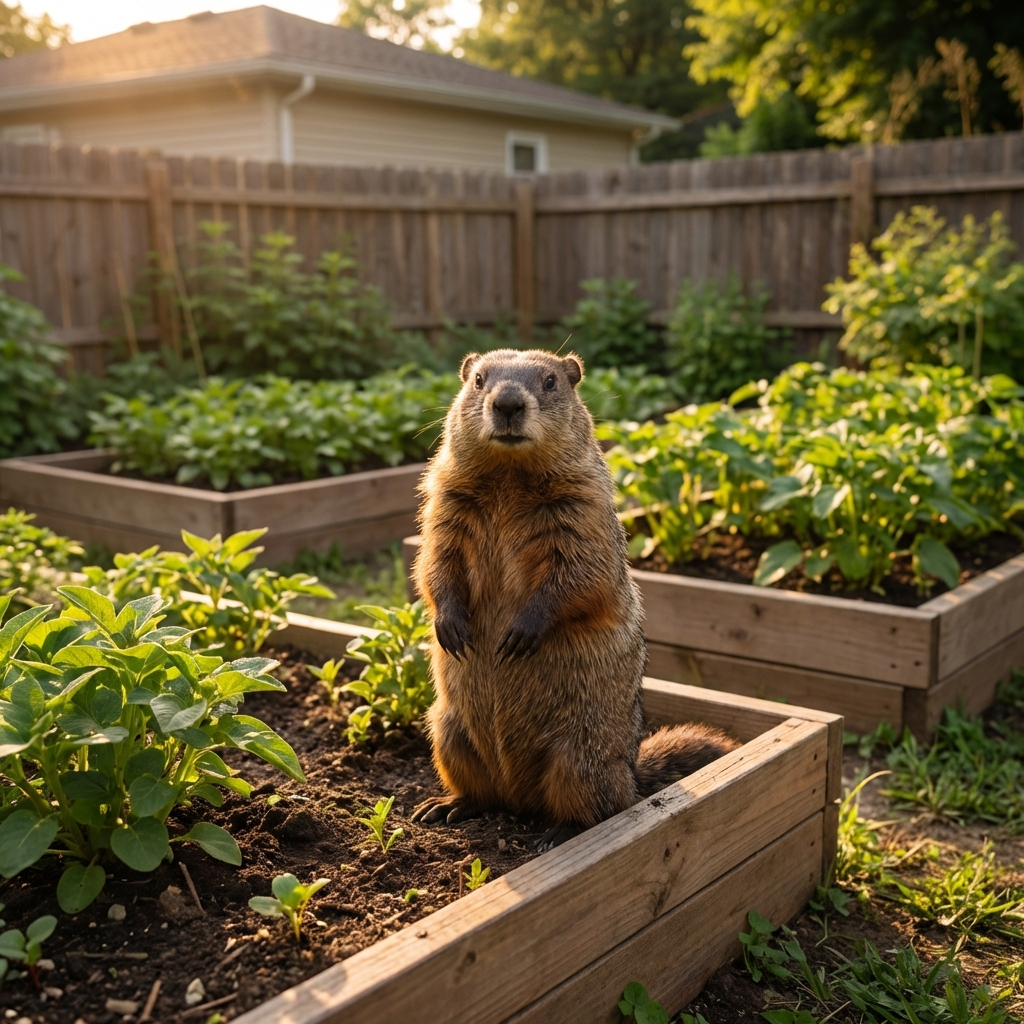
First, make sure it is actually a groundhog
Before you buy fencing or start blocking holes, take a few minutes to confirm the culprit. Groundhog control is different from rabbit, vole, or raccoon control.
Common groundhog signs
- Large burrow opening often around 10 inches wide (commonly 8 to 12 inches), sometimes with a mound of fresh dirt nearby.
- Clean, clipped plant stems and leafy greens eaten down low. Groundhogs can stand upright and pull foliage higher than rabbits typically can.
- Worn paths leading from a burrow to the garden or clover patches.
- Daytime activity. Groundhogs are commonly seen in the morning and late afternoon.
If you are seeing small, shallow holes in turf, that is usually not a groundhog. If your tomatoes are being pulled over and torn up at night, think raccoon instead.
Quick safety check before you start
Groundhogs dig deep and can tunnel under sheds, decks, patios, and even foundations. If you suspect a burrow is undermining a structure, prioritize fixing access points and consider calling a pro for that part.
- Keep kids and pets away from active burrows while you work.
- Wear gloves. Do not handle injured wildlife.
- Check local rules. In many places, relocation is restricted or illegal, and trapping rules vary.
The simplest DIY plan that actually works
If you only do three things, do these. They are the most reliable for home gardens.
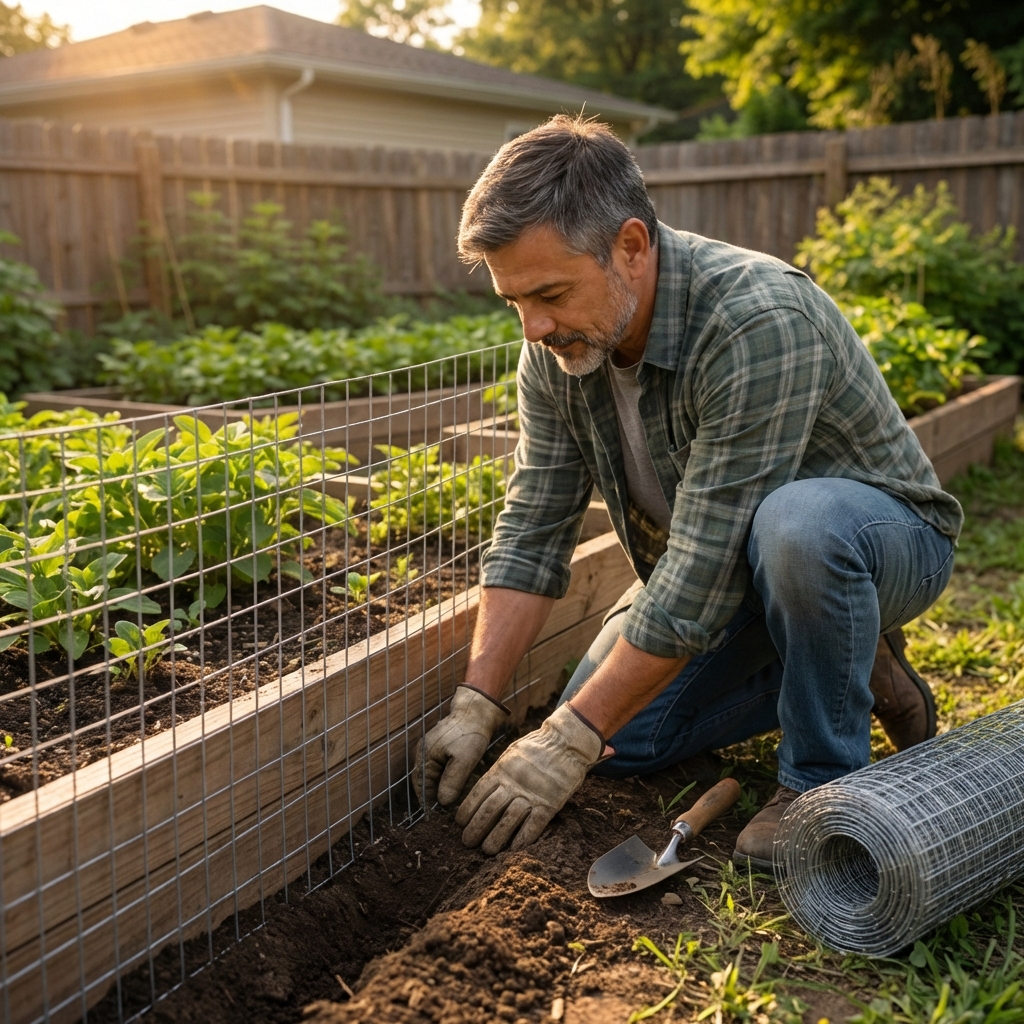
1) Protect the garden with the right fence
Groundhogs are strong diggers and surprisingly good climbers. “A little chicken wire around the bed” usually fails because they push under it or climb it.
- Use welded wire fencing or hardware cloth for small protected areas.
- Mesh size matters: 2x4 welded wire is sturdy, but young groundhogs can squeeze through bigger openings. If you use 2x4, line the bottom 18 to 24 inches with 1x2 welded wire or hardware cloth, or just build the whole fence with smaller openings.
- Height: 3 to 4 feet is typically enough. For persistent climbers, go 4 feet or add a topper.
- Dig barrier: bury the fence 10 to 12 inches and bend the bottom outward into an L-shape (about 10 to 12 inches wide). This stops digging under.
- Close gaps: groundhogs will squeeze through openings you would not expect. Patch corners and gate edges.
How to make a “floppy top” (simple topper): Leave the top 12 to 18 inches of fencing unattached to the posts and bend it outward away from the garden. When a groundhog tries to climb, that loose section wobbles and tips them back down. If you need extra insurance, some situations call for an electric offset wire near the top, but that is optional and depends on your comfort and local rules.
If you have raised beds, you can staple hardware cloth to the outside of the bed frame and extend it into the ground as a skirt.
If you need a fast stopgap while you build the main fence, cover seedlings and favorite crops with temporary hardware cloth cloches or a secured row cover so they cannot get a “one night wipeout.”
2) Remove the easy food sources
This step does not fix the problem by itself, but it makes every other step work better.
- Harvest ripe vegetables and fallen fruit quickly.
- Keep clover and weeds trimmed near the garden edge.
- Do not leave compost scraps exposed. Use a closed bin.
- Feed pets indoors and secure chicken feed and spilled grain.
3) Block access under sheds, decks, and fences
If a groundhog is denning under a structure, it will keep coming back. The goal is to exclude them after you are sure the animal is out.
- Use hardware cloth (not plastic netting) attached to the structure.
- Bury it 10 to 12 inches and bend it outward as an L-shape, the same apron idea used for garden fencing.
- Seal gaps along fence lines where they squeeze through.
How to find the main burrow
Groundhogs often have more than one hole, but there is usually a main entrance and one or more escape holes.
Simple way to locate active openings
- In late afternoon, watch from a distance and note which hole the animal uses.
- Lightly cover suspected holes with loose leaves or a small amount of soil.
- Check the next day. An active hole is reopened from the inside.
Before you start exclusion work, take a quick look for other animals using the burrow. Skunks, foxes, and other wildlife sometimes move into an existing den.
Once you know the active openings, you can decide whether you are fencing them out, trapping, or using deterrents around the garden.
DIY deterrents: what helps and what is mostly hype
Deterrents work best as a “make the area annoying” layer, not as your only defense. If your garden is the best buffet on the block, a groundhog will tolerate a lot.
Repellents (sprays and granules)
Commercial repellents based on garlic, pepper, essential oils, or predator scent can reduce browsing when applied correctly, but results vary and you may need to experiment.
- Reapply after rain or heavy watering.
- Rotate products so the smell is not constant and predictable.
- Do not spray edible leaves right before harvest. Follow the label.
Motion sprinklers and lights
Motion-activated sprinklers are one of the better “set it and forget it” tools because they add surprise, noise, and water.
- Place them along approach paths, not just inside the garden.
- Move them every few days so the animal does not memorize the safe route.
What I would not rely on
- Ultrasonic stakes: inconsistent results outdoors.
- Random household smells like mothballs or ammonia: can be unsafe, often not label-legal for outdoor wildlife use, and can be considered misuse or illegal in some areas.
- Loose netting: groundhogs can tangle, and it does not stop digging.
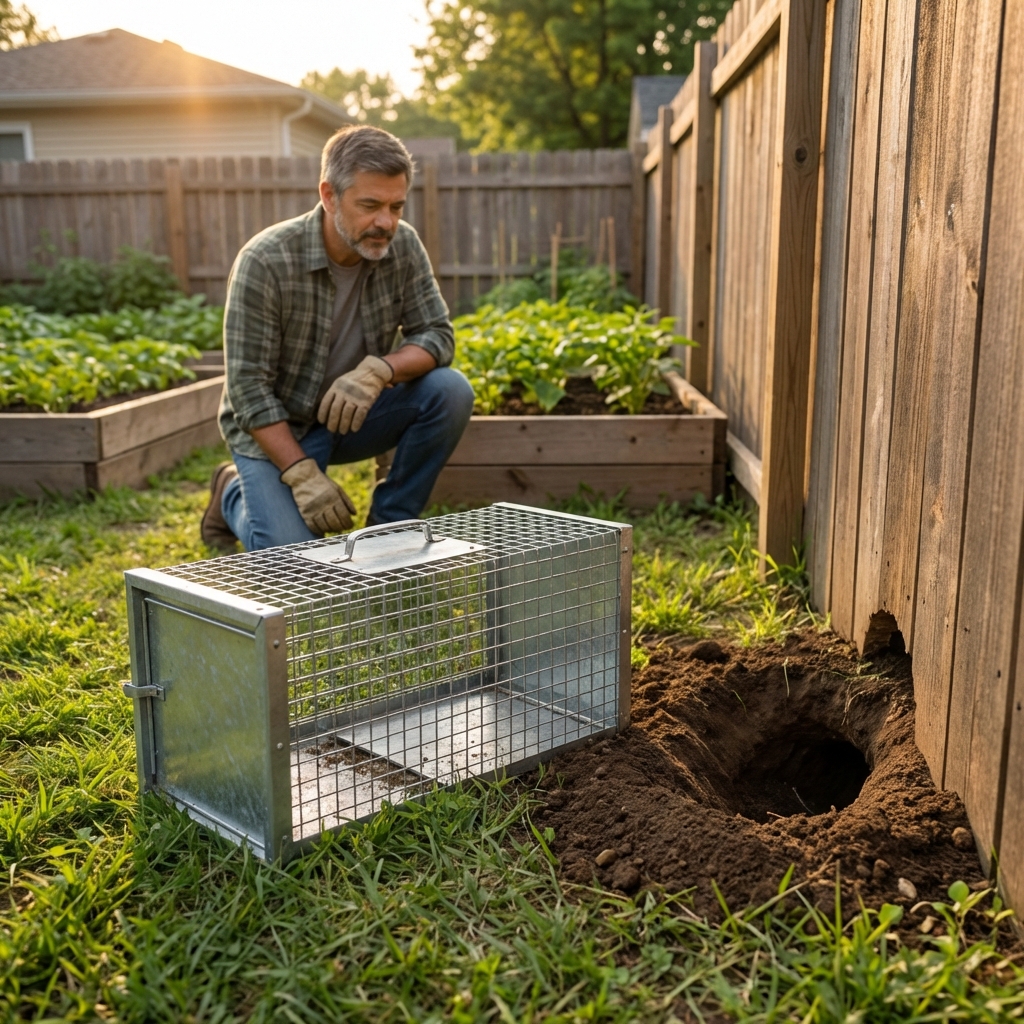
Humane trapping basics
If fencing and exclusion are not enough, or you have one groundhog that keeps returning, a live trap can work. This is where local rules matter most. Some areas require euthanasia after capture. Some allow on-site release only. Relocation can also spread disease and often does not end well for the animal, which is one reason many places restrict it. Know your regulations before you set a trap.
What you need
- A sturdy live trap sized for groundhogs (commonly 32 to 42 inches long).
- Gloves and a way to cover the trap (a towel or light blanket) to reduce stress.
- Bait: apple slices, cantaloupe, or fresh vegetables often work well.
Placement tips that improve success
- Set the trap on a flat surface along an active path or near the burrow entrance.
- Stabilize it so it does not wobble.
- Pre-bait for a day or two with the trap wired open if the animal is trap-shy.
- Check the trap often. At minimum, morning and evening, and never leave an animal confined in heat.
If you are not comfortable handling what happens after capture, it is completely reasonable to hire a licensed wildlife control operator for this part.
Closing burrows the right way
Do not seal an active burrow unless you are sure the groundhog is out. In spring, there can be young in the den.
Best time to exclude
Late summer and early fall are often easier because young are mobile and den activity is more visible. That said, you can still do exclusion any time if you confirm the burrow is empty and you are not trapping young inside.
Use a one-way door when needed
If a groundhog is living under a shed or deck, it may not leave on its own. A one-way exclusion door (also called a one-way gate) is a simple tool that lets the animal exit but not re-enter. Install it over the main opening, then monitor for a few days to confirm no activity inside before you seal and reinforce the area.
A simple exclusion approach
- Confirm the right animal and check for multiple openings.
- Install a one-way door on the main opening if the groundhog keeps returning.
- Confirm activity has stopped (no fresh digging, no tracks, no reopened holes) for several days.
- Install hardware cloth barriers around structures and under edges, using the same buried L-shaped apron method described in the fencing section.
- Backfill the hole with soil and pack it firmly.
- Seed or cover disturbed soil so you notice new digging quickly.
Common DIY mistakes
- Mistake: Only using repellent. Do instead: Add a dig-proof barrier or fence first, then use repellent as backup.
- Mistake: Fence that touches the ground but is not buried. Do instead: Bury it and add an L-shaped apron.
- Mistake: Blocking one hole and ignoring escape holes. Do instead: Identify and address all active openings.
- Mistake: Leaving a gate area unprotected. Do instead: Reinforce the gate with a tight threshold and no gaps.
When to call a professional
DIY works for many yards, but it is smart to get help when:
- The burrow is under a foundation, slab, or retaining wall.
- You have repeated re-infestations year after year.
- You cannot legally relocate or you are unsure about local wildlife rules.
- You need removal fast due to safety or structural damage.
DIY checklist: your weekend action plan
- Locate active burrow openings and approach paths.
- Protect seedlings immediately with cloches or secured row cover if damage is happening fast.
- Install a dig-proof fence around the garden or the beds you care about most (and tighten up the gate).
- Trim cover and remove easy food sources.
- Use a motion sprinkler or a rotating repellent schedule for extra pressure.
- If needed, set a legal, humane live trap and follow local guidelines for next steps.
- After activity stops, exclude and repair to prevent the next groundhog from moving in.
If you take one thing from this: barriers beat gimmicks. A solid fence with a buried edge changes the whole situation fast.

Jose Brito
I’m Jose Britto, the writer behind The Country Store Farm Website. I share practical, down-to-earth gardening advice for home growers—whether you’re starting your first raised bed, troubleshooting pests, improving soil, or figuring out what to plant next. My focus is simple: clear tips you can actually use, realistic expectations, and methods that work in real backyards (not just in perfect conditions). If you like straightforward guidance and learning as you go, you’re in the right place.