Rats don’t move in “just because.” They show up for three things: food, water, and shelter. If you want them gone fast, you have to hit all three. Traps remove the rats you have right now, but sealing and cleanup are what keep them from coming back next week.
This guide focuses on quick, practical steps you can do today, plus the prevention work that makes the results stick.
First, make sure it is rats
Different pests need different strategies. Rats are bigger, smarter, and usually more cautious than mice.
- Droppings: Rat droppings are larger and thicker, typically about 1/2 to 3/4 inch (12 to 20 mm). Mouse droppings are smaller, usually 1/8 to 1/4 inch (3 to 7 mm) and more rice-like.
- Sounds: Scratching or thumping at night in walls, attics, crawlspaces, or under a deck.
- Rub marks: Dark smudges along walls and edges where they run repeatedly.
- Burrows: Holes near foundations, sheds, compost piles, or under concrete slabs and steps.
- Chewing: Gnaw marks on wood, plastic, wiring, pet food bins, or irrigation lines.
If you are seeing activity during the day, that can mean a larger infestation or limited food, so move quickly.
Do this today for the fastest results
1) Remove the easy meals
Before you set traps, cut off the buffet. Otherwise rats can ignore your bait and keep thriving.
- Store all pantry foods in hard plastic or glass containers with tight lids.
- Put pet food in sealed bins. Do not leave bowls out overnight.
- Clean under grills, outdoor tables, and bird feeders. Consider pausing bird feeding until the issue is controlled.
- Secure trash: use a tight lid, rinse recyclables, and keep trash areas clean. Keep bins off the ground if possible.
- Pick up fallen fruit and nuts daily.
2) Reduce water sources
In many yards, water is the hidden reason rats keep coming back.
- Fix leaking hose bibs, irrigation connections, and outdoor faucets.
- Empty standing water in trays, buckets, tarps, and wheelbarrows.
- Check crawlspaces and basements for drips or condensation issues.
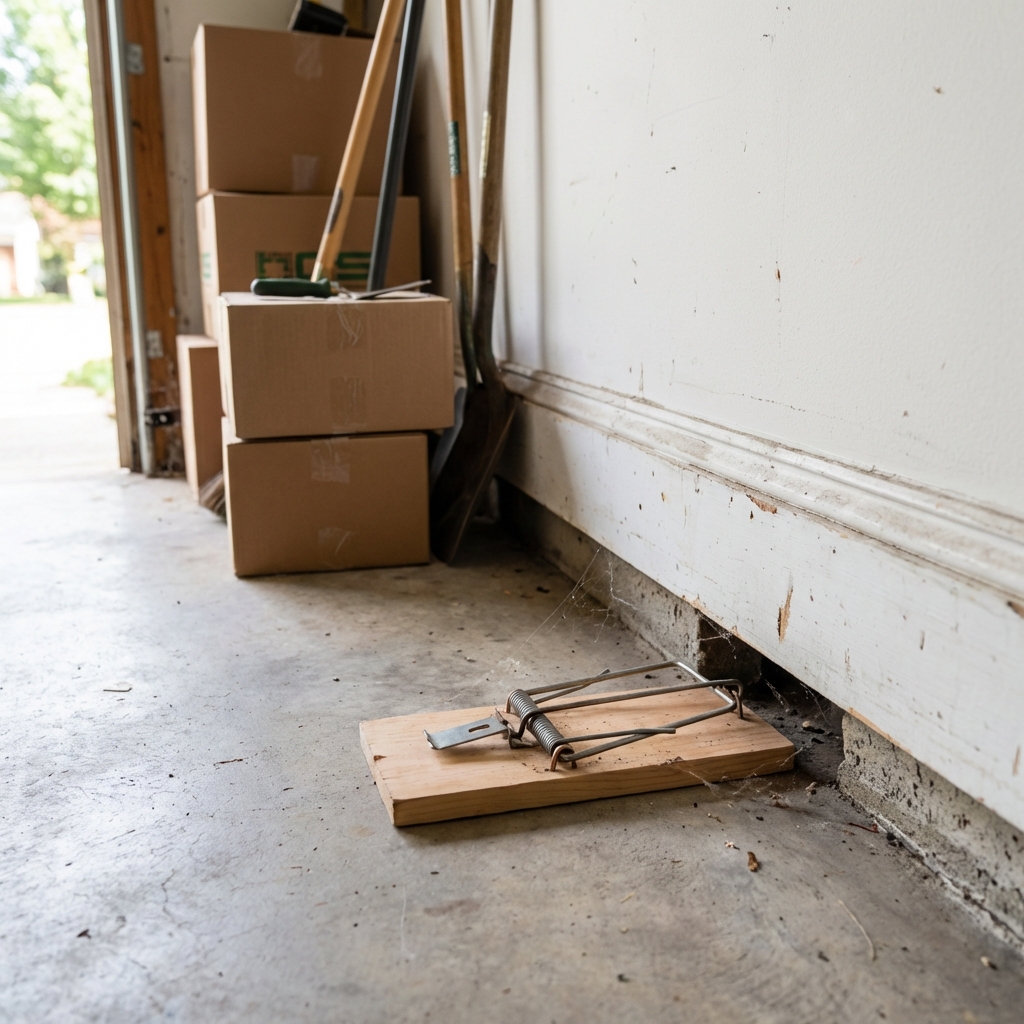
3) Place traps the right way
If you want “quick,” trap setup matters more than buying fancy gear. Rats usually travel along edges, not out in the open.
- Use snap traps for fastest kill and easy confirmation. Choose traps made for rats, not mice.
- Place traps flush to a wall on active runways. For standard snap traps, place the trigger side closest to the wall so they hit it naturally while traveling. Always follow the manufacturer’s directions for your specific trap.
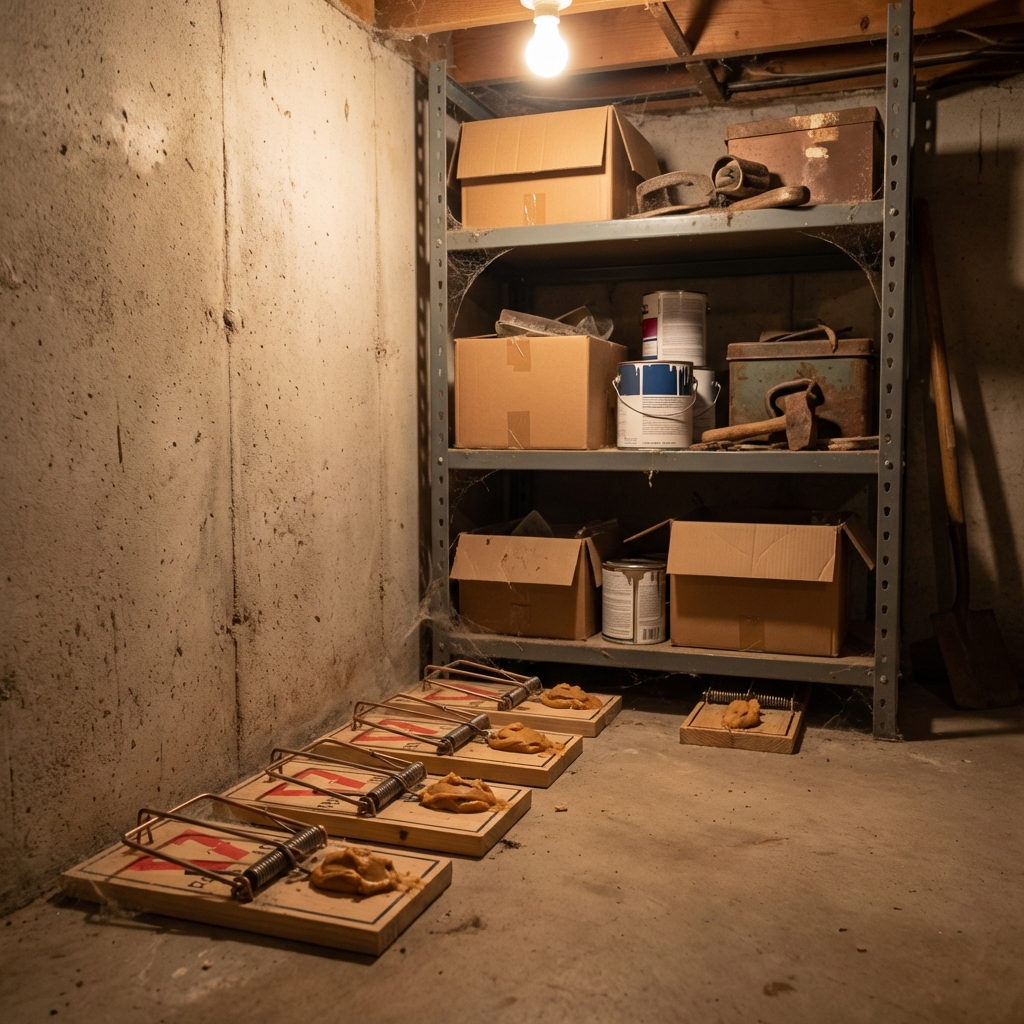
- Set multiple traps in the same area. One trap is rarely enough. A good starting point is every 5 to 10 feet along a wall where you see droppings or rub marks, then adjust based on what you catch.
- Handle traps thoughtfully and keep them clean. Wearing gloves may help reduce scent and keeps your hands safer, but placement and patience matter most.
- Start with small amounts of bait so they have to work the trigger. Peanut butter is a classic, but you can also try a small piece of dried fruit, a nut, or a dab of high-protein bait (like a tiny bit of jerky). Avoid big chunks they can steal.
Pro tip: If rats seem trap-shy, “pre-bait” for 1 to 2 nights by placing bait on an unset trap. Once they take it confidently, set the traps.
Monitor daily: Check traps at least once a day, reset as needed, and keep notes on where you’re seeing activity. That tells you where to add traps and where you need sealing.
4) Avoid common mistakes that slow everything down
- Do not place traps in the middle of a room. Edges and runways are where action happens.
- Do not rely on ultrasonic repellents. They rarely solve real infestations.
- Do not leave food out “to lure them.” You are feeding the problem.
- Do not ignore the entry hole. Trapping without sealing often turns into an endless cycle.
- Do not “seal” with spray foam alone. Rats can chew through it. Use chew-proof materials.
5) Clean up safely
Droppings and nesting material can carry germs. Keep it simple and safe.
- Wear gloves. In dusty areas, consider a mask (N95 or similar) and open windows for ventilation.
- Do not dry sweep or vacuum droppings. Spray with disinfectant (or a bleach solution) first, let it sit, then wipe up.
- Bag waste tightly and wash hands after.
- For trapped rats, use gloves and a plastic bag to remove and dispose. Reset traps after cleaning them.
Seal them out: the step that makes it last
Rats can squeeze through surprisingly small gaps and will widen weak spots by chewing. As a rule of thumb, rats can fit through openings around 1/2 inch. Your goal is to close every realistic entry point, especially low to the ground and around utilities.
Where to look
- Gaps under doors and garage doors
- Holes where pipes and cables enter the house
- Vents and crawlspace openings
- Cracks in foundations and siding corners
- Roofline gaps and attic vents (especially if you see rub marks or droppings)
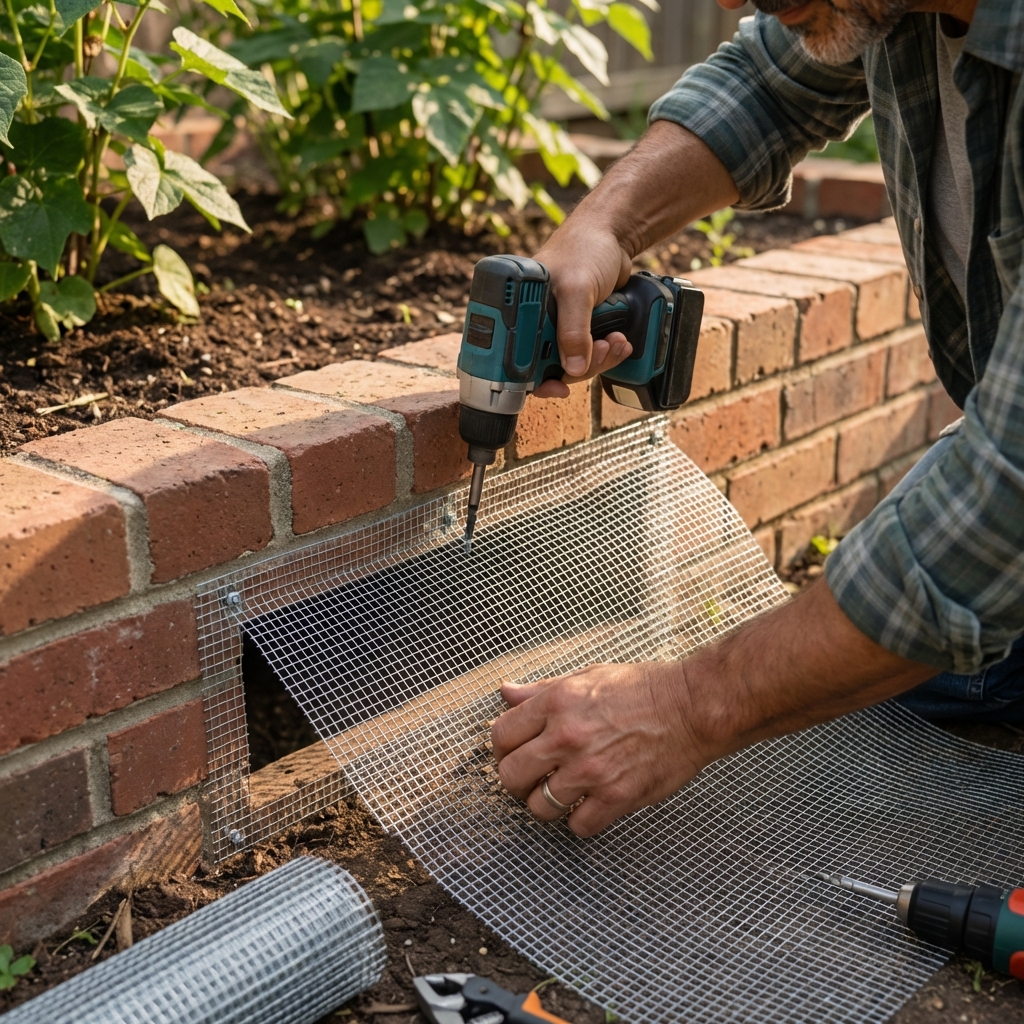
Materials that work
- Steel wool + sealant: good for small gaps around pipes (pack tight, then seal).
- Hardware cloth (metal mesh): great for vents and larger openings. Use sturdy fasteners.
- Door sweeps and thresholds: essential for exterior doors and garage.
- Metal flashing: helpful where wood edges get chewed.
Timing: If you suspect rats are actively inside, focus on trapping first, then seal once activity drops. Sealing too early can sometimes trap them indoors and push them into walls or ceilings.
Outdoor hotspots: gardens, compost, and sheds
On garden properties, rat activity often starts outdoors and then moves toward the house. Cleaning up outdoor hiding places makes trapping faster and prevention easier.
Garden and yard fixes that help immediately
- Trim dense groundcovers and weeds near the foundation to reduce cover.
- Keep wood piles and lumber stacked up off the ground and away from the house.
- Harvest produce promptly. Pick up dropped tomatoes, squash, and fruit.
- Use sturdy metal containers for bird seed and animal feed.
Compost without feeding rats
- Use a rodent-resistant bin with a secure lid and solid sides.
- Avoid adding greasy foods, meat, bones, and large amounts of cooked grains.
- Bury fresh scraps in the center and cover with browns (dry leaves, shredded cardboard).

What about poison bait?
Many people reach for poison because it sounds easy. In practice, it can create problems: rats may die in walls (odor), poisoned rats can be eaten by pets or wildlife, and some baits are restricted or regulated depending on where you live.
If you are considering rodenticides, read labels carefully, follow local rules, and use a tamper-resistant bait station where legal and appropriate. There are different active ingredients (including anticoagulants and non-anticoagulants), and the safety details matter. For most homeowners who want quick, controlled results, snap traps plus exclusion is the most straightforward path.
How long does it take?
If you do the basics well, you can often see a big drop in activity within 2 to 7 days. Larger infestations can take a few weeks, especially if there are multiple entry points or outdoor harborages you have not addressed yet.
- Day 1 to 2: cleanup, identify runways, set traps.
- Day 3 to 7: adjust trap placement, increase sealing where you find new evidence.
- Week 2: finish sealing, keep monitoring, keep outdoor areas tidy.
When to call a pro
DIY works well for many situations, but some infestations are bigger or riskier than they look. Consider professional help if:
- You hear rats in walls or ceilings and cannot locate entry points.
- You have repeated activity despite trapping and cleanup.
- You see damaged wiring (fire risk).
- There are heavy droppings in insulation or HVAC areas.
- You have young kids, vulnerable adults, or pets where safety is a big concern.
Quick checklist
- Confirm rat signs and find travel routes along walls and edges.
- Remove food sources indoors and out, especially pet food and fallen fruit.
- Fix leaks and eliminate standing water.
- Set multiple rat snap traps along walls. For standard snap traps, keep the trigger side toward the wall.
- Trap first, then seal entry points using metal mesh, steel wool, and solid door sweeps.
- Clean and maintain outdoor areas: compost, sheds, wood piles, and ground cover.
If you want the “quick and easy” version: clean up, trap hard in the right spots, then seal tight. That is the combo that ends the problem instead of dragging it out.

Jose Brito
I’m Jose Britto, the writer behind The Country Store Farm Website. I share practical, down-to-earth gardening advice for home growers—whether you’re starting your first raised bed, troubleshooting pests, improving soil, or figuring out what to plant next. My focus is simple: clear tips you can actually use, realistic expectations, and methods that work in real backyards (not just in perfect conditions). If you like straightforward guidance and learning as you go, you’re in the right place.