Rats in the house are not just gross. They chew wires, contaminate food, spread disease through droppings and urine, and they can turn a small issue into a full-blown infestation fast. The good news is you can usually solve this without guesswork if you follow a simple order of operations.
As a gardener, you also have to think about the outside. Compost piles, chicken feed, fallen fruit, and dense groundcover can keep the “rat pressure” high around your home even if you catch the ones inside.
This guide walks you through what works in real houses and real backyards.
First, confirm you are dealing with rats
Before you buy traps, take 10 minutes to confirm what you have. Mice and rats behave differently, and trap choice and placement matters.
Common rat signs indoors
- Droppings: Rat droppings are larger than mouse droppings, usually about 1/2 to 3/4 inch and thicker.
- Grease rub marks: Dark smears along baseboards, pipes, or wall edges where they repeatedly travel.
- Gnawing: Chewed cardboard, plastic bins, pet food bags, or wiring insulation.
- Noises: Scratching in walls or ceilings, often at night.
- Nests: Shredded paper, insulation, or fabric tucked behind appliances, in crawlspaces, or in stored boxes.
- Tracks: Dusty areas in garages and attics can show footprints or tail drags.
If you are seeing droppings regularly, hearing activity, and finding chewing, assume you have an active problem and move quickly.
Safety rules before you start
Rats can carry pathogens. You do not need to panic, but you do need to handle cleanup and trapping like an adult who enjoys not getting sick.
- Wear gloves when handling traps, droppings, or nesting material.
- Do not sweep or vacuum dry droppings. That can kick particles into the air.
- Ventilate enclosed spaces like sheds, basements, and crawlspaces for 30 minutes before working.
- Keep kids and pets away from active trap areas.
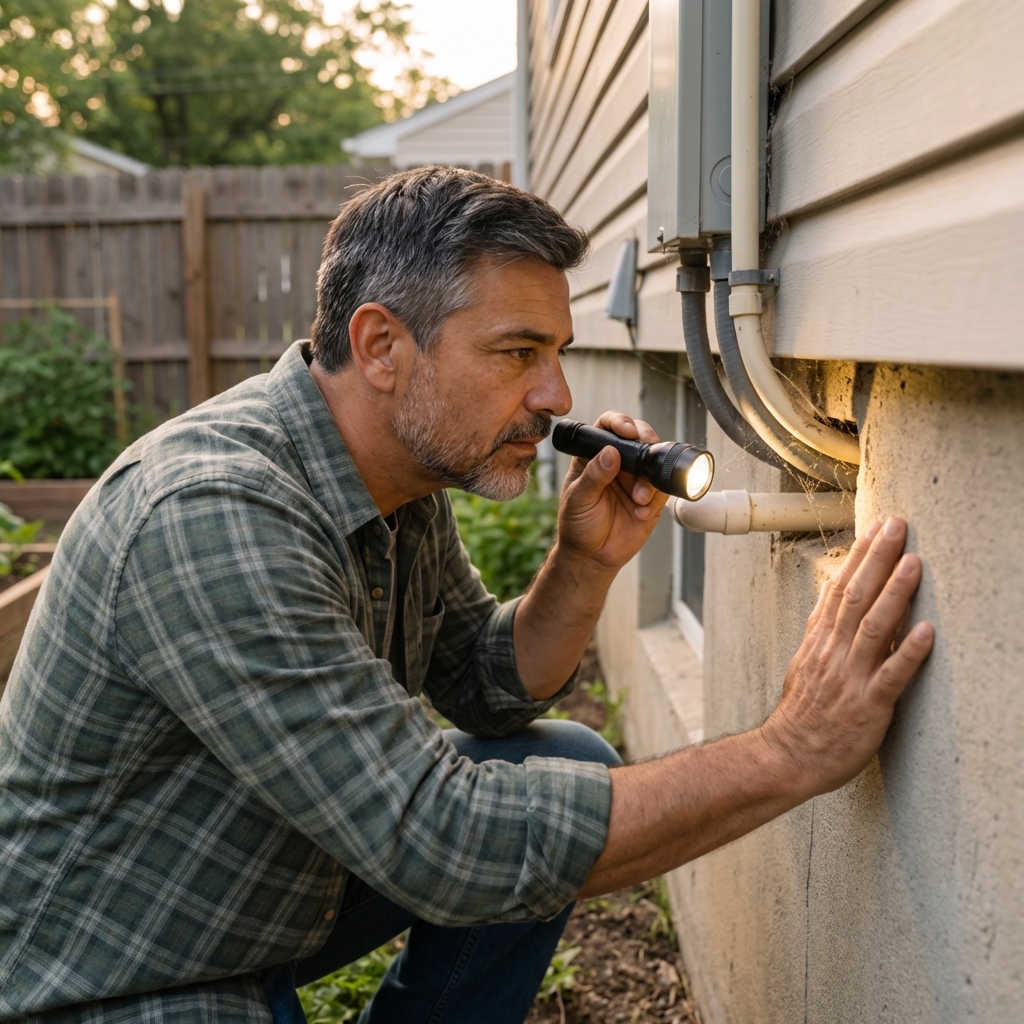
Step 1: Inspect and map the “rat routes”
Your goal is to figure out where they are traveling and where they are getting in. Rats prefer to run along edges and under cover, not across open floors.
Where to look inside
- Behind the fridge and stove
- Under kitchen and bathroom sinks where pipes enter the wall
- Pantry corners and around pet food storage
- Garage edges, especially near doors and stored items
- Basement and crawlspace sill plates and utility penetrations
- Attic access points and insulation edges
Where to look outside
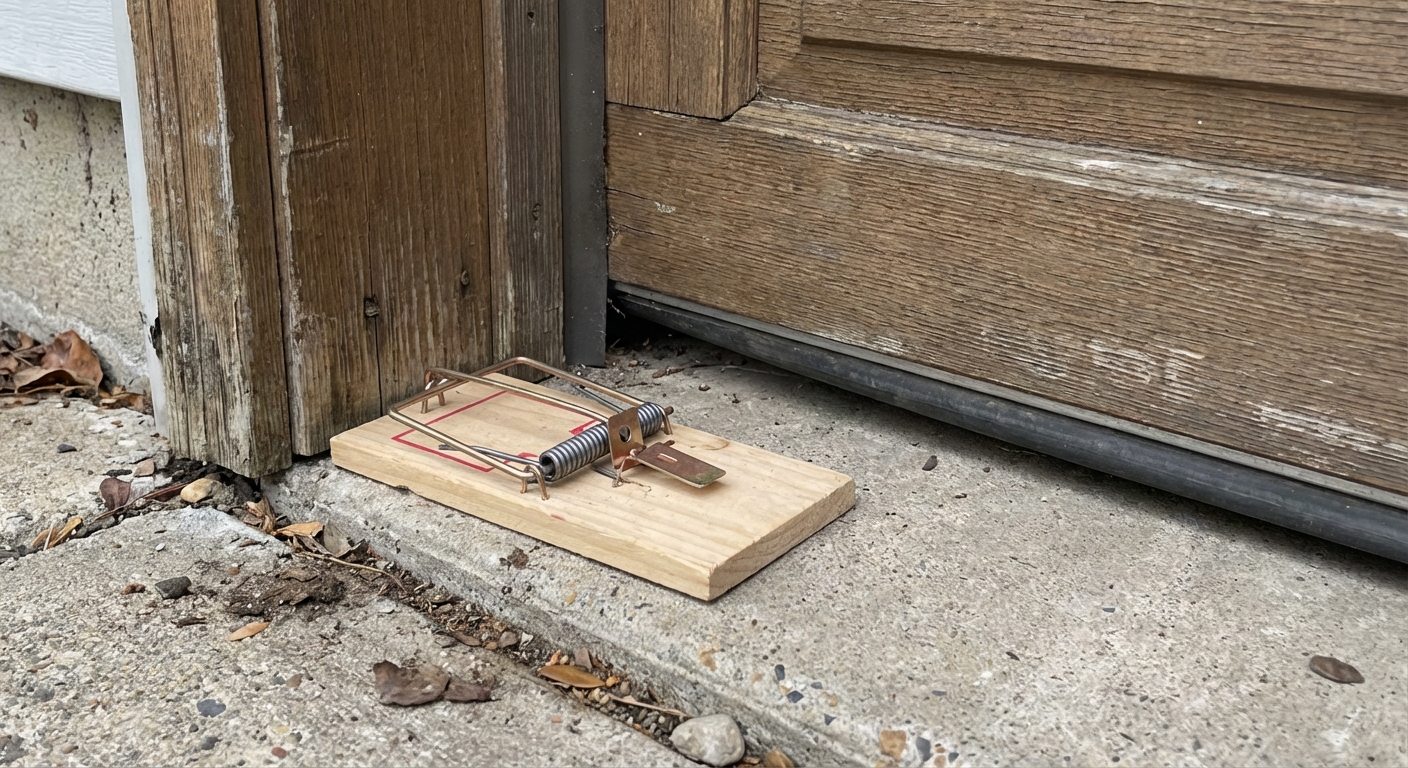
- Gaps under exterior doors and garage doors
- Vents without sturdy screening
- Holes where AC lines, water lines, or cables enter
- Overgrown shrubs or vines touching the house
- Compost piles, bird feeders, chicken coops, and fruit trees
Tip: Sprinkle a light layer of flour or baby powder along suspected travel routes overnight. In the morning, you can see tracks and confirm where to set traps.
Step 2: Remove food and water like you mean it
Traps work better when rats are not already living off a buffet. This also reduces the chance of a new rat moving in.
- Store all dry goods in hard containers with tight lids. Think glass or thick plastic, not thin bins.
- Move pet food to sealed containers and do not leave bowls out overnight.
- Clean under appliances and along baseboards where crumbs collect.
- Fix drips under sinks and address condensation issues where possible.
- In garages and sheds, avoid storing bird seed or bulbs in bags. Use metal cans or heavy-duty sealed bins.
In garden season, check what you are unintentionally feeding outdoors. Fallen fruit, open compost scraps, and spilled chicken feed are top culprits.
Step 3: Choose the right trap strategy
For most homes, trapping is the fastest, most targeted way to solve the problem. The best trap is the one you can place correctly, check daily, and keep running until activity stops.
Snap traps (often the best first choice)
Quality snap traps are effective, inexpensive, and quick when placed right. Use rat-sized traps, not mouse traps.
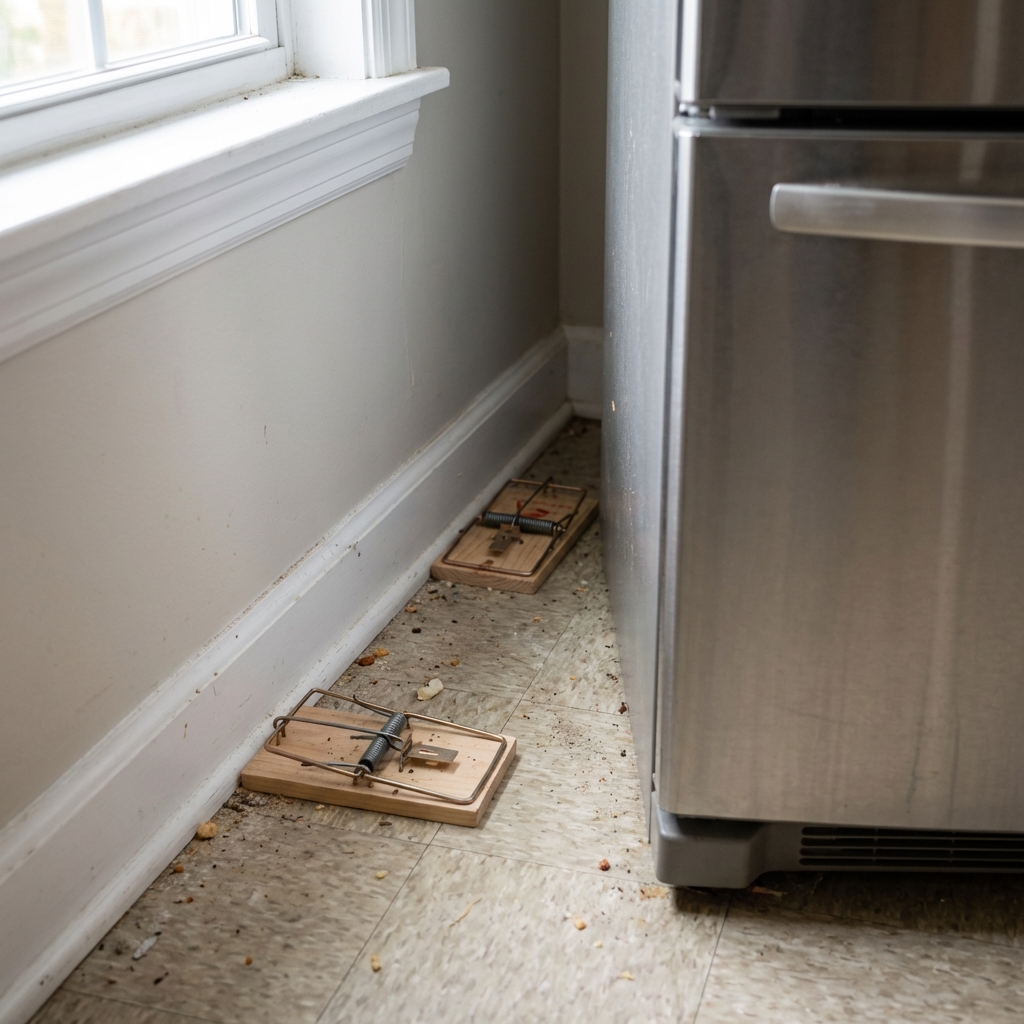
- Placement: Put traps along walls, behind appliances, and near rub marks.
- Orientation: Set the trigger end toward the wall so they hit it while traveling the edge.
- Bait: Peanut butter, a small piece of nut, dried fruit, or a bit of bacon can work. Use a tiny amount so they have to work at it.
- Quantity: Use multiple traps. One trap in a big house is wishful thinking.
Enclosed bait stations with snap traps (good for homes with pets)
If you have curious pets or kids, use tamper-resistant boxes that hold snap traps. It improves safety and also makes rats feel more covered.
Live traps (not my favorite indoors)
Live traps can work, but you still need a plan for what happens next. Releasing rats nearby usually means they come back or become someone else’s problem. In many areas, relocation is restricted. If you choose live trapping, check local rules and be realistic about the outcome.
Glue boards (avoid)
Glue boards are messy and inhumane, and they often create a worse situation when a trapped animal suffers and makes noise or leaves bodily fluids.
Rodenticides (use extreme caution)
Poison can lead to rats dying inside walls and ceilings, which means odor and flies. It also risks secondary poisoning to pets, wildlife, and even owls and hawks that help keep rodent populations down. If you go this route, it is best handled through a licensed pro using secure bait stations and a full plan, not a box from the hardware store tossed in a corner.
Step 4: Trap placement that actually works
Most trapping failures are not the trap. They are placement and timing.
- Follow the edges: Place traps where rats already travel, usually tight to walls.
- Do not move traps constantly: Give them time to accept a new object in their route.
- Pre-bait if they are cautious: For a night or two, set the trap baited but not armed. Then arm it.
- Reduce competing food: Clean up before trapping nights.
- Check daily: Remove catches quickly and reset.
If you are catching rats but still seeing droppings, you likely have more than one route, more than one entry point, or a steady outdoor source pushing new rats in.
Step 5: Seal entry points, but do it in the right order
Exclusion is what keeps the problem from coming back. But if you seal everything up while rats are still inside, you can trap them in your walls. Here is the order that tends to work best:
- Trap first for several nights to reduce activity.
- Seal obvious big holes that are not part of the main travel area.
- Once activity drops and you are not catching anything for several days, seal the remaining gaps thoroughly.
What to use (materials that actually hold up)
- Steel wool packed tightly into small gaps, then covered with caulk.
- Hardware cloth (1/4 inch) for vents and larger openings.
- Metal flashing for gnaw-prone edges.
- Door sweeps and threshold seals for exterior doors and garage doors.
- Expanding foam only when paired with metal mesh (or a pest-blocking foam used with mesh). Foam alone is chewable.
Rule of thumb: If a gap looks big enough to fit the tip of your thumb, treat it as a potential rat entry point.
Step 6: Clean up droppings and nesting material safely
Once you start catching rats, you will want to clean. Do it safely so you do not create airborne particles.
Simple cleanup method
- Put on gloves and wear a well-fitting mask (N95 or KN95 is recommended).
- Spray droppings and soiled areas with disinfectant or a bleach solution (follow label directions) until damp.
- Let it sit for a few minutes.
- Wipe up with paper towels and bag everything.
- Disinfect again, then wash hands thoroughly.
For heavy contamination in attics, crawlspaces, or insulation, it can be worth calling a cleanup service. That is especially true if anyone in the home is immunocompromised.
Gardeners: fix the outdoor “rat attractors”
If you only fight rats inside the house, you will feel like you are always one step behind. Here are the outdoor issues I see most often around gardens.
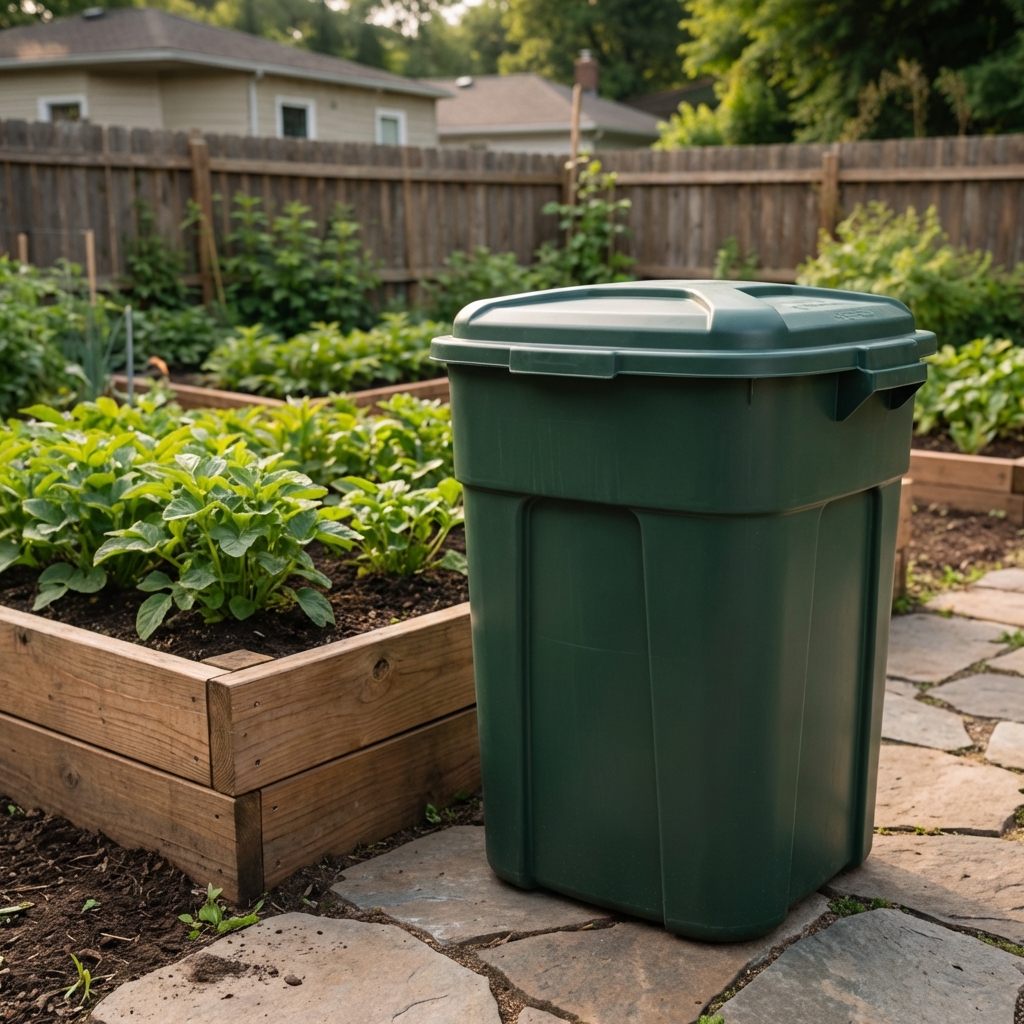
Compost piles
- Use a sealed compost tumbler or a bin with a sturdy base and 1/4-inch hardware cloth lining.
- Burying kitchen scraps in the center helps, but it does not make an open pile rat-proof.
- Avoid meat, grease, and dairy in backyard compost if rats are a concern.
Fallen fruit and garden leftovers
- Pick up fallen fruit daily in peak season.
- Harvest ripe produce promptly and remove rotting vegetables from beds.
Bird feeders and chicken feed
- Bird feeders are basically a rat feeder if seed drops every day. Use catch trays and feed lightly.
- Store feed in metal cans with tight-fitting lids.
- Clean up spilled feed and consider feeding chickens in the morning so leftovers are not sitting overnight.
Cover and hiding places
- Trim dense shrubs away from the foundation.
- Keep grass and weeds short along fences and sheds.
- Stack firewood at least 18 inches off the ground and a few feet from the house.
When to call a professional
Sometimes you can do everything right and still need backup. Consider calling a licensed pest control professional if:
- You see rats in daylight regularly, which can suggest high population pressure.
- You cannot find entry points and activity continues.
- You have rats in walls or ceilings that you cannot access safely.
- You have repeated reinfestations even after sealing and trapping.
- Anyone in the home has health risks that make DIY cleanup unsafe.
Quick checklist: your 7-day rat reset
- Day 1: Inspect indoors and out, map routes, remove easy food sources.
- Day 2: Set multiple rat snap traps along walls and behind appliances.
- Day 3 to 5: Check traps daily, rebait as needed, keep food sealed, start sealing secondary gaps.
- Day 6: If activity is dropping, seal primary entry points and add door sweeps.
- Day 7: Clean up droppings safely, tighten outdoor habits, keep traps running for another week as insurance.
If you want the simplest mindset to win this: remove the buffet, reduce the population, block the doors, then make the yard less inviting.

Jose Brito
I’m Jose Britto, the writer behind The Country Store Farm Website. I share practical, down-to-earth gardening advice for home growers—whether you’re starting your first raised bed, troubleshooting pests, improving soil, or figuring out what to plant next. My focus is simple: clear tips you can actually use, realistic expectations, and methods that work in real backyards (not just in perfect conditions). If you like straightforward guidance and learning as you go, you’re in the right place.