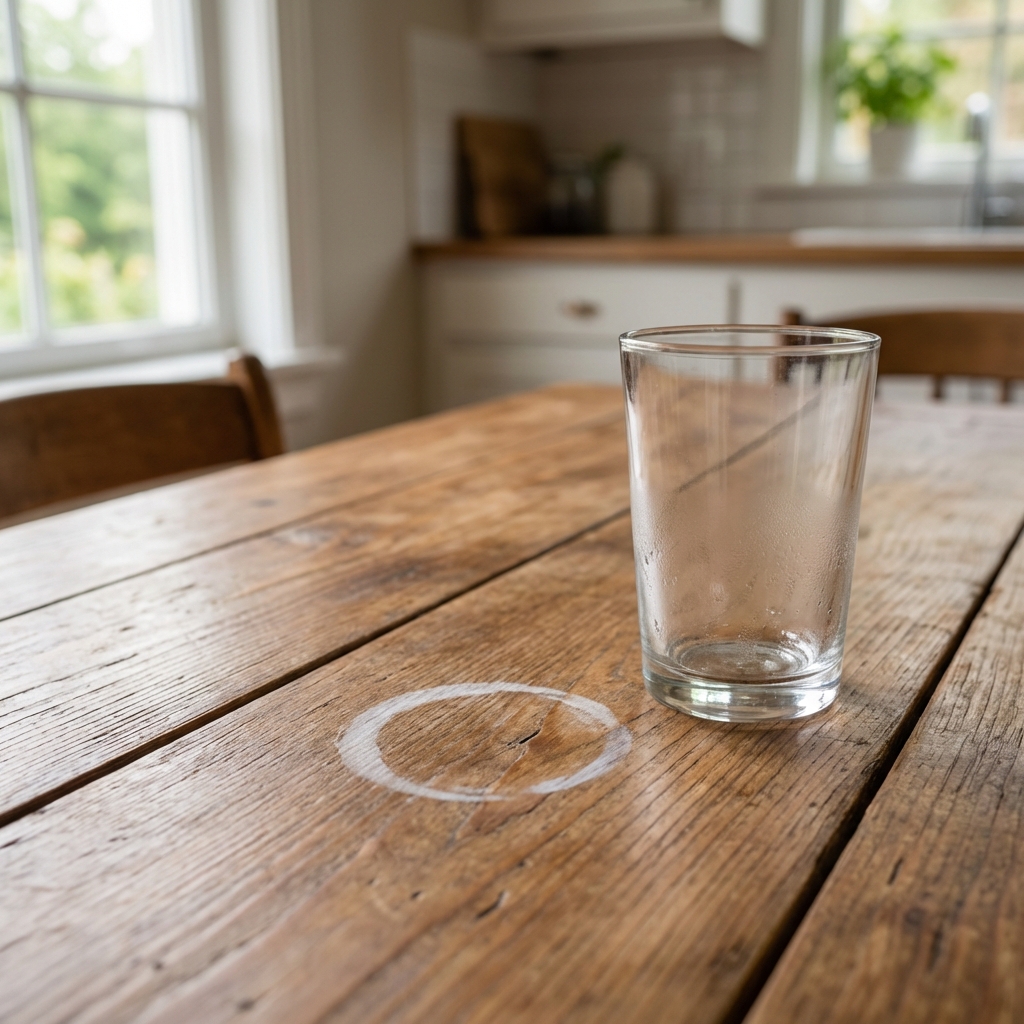
Water stains on wood happen fast and they feel permanent, but most are fixable at home. The trick is knowing what kind of stain you are dealing with and choosing the gentlest method that works. In plain terms: white rings usually mean moisture is trapped in the finish, while dark stains often mean water made it into the wood itself or reacted with tannins (especially common on tannin-rich woods like oak).
This guide walks you through trusted, step-by-step options, what to avoid, and how to keep stains from coming back.
Identify the stain before you start
Take 30 seconds to check what you are working with. It saves you from sanding or bleaching when you do not need to.
- White haze or white ring: moisture trapped in the finish (common with polyurethane, lacquer, and shellac). Usually removable without refinishing.
- Dark gray or black stain: water reached the wood or reacted with tannins or metal (for example, a wet can, nails, or iron in water). Often needs a stronger approach and sometimes spot refinishing.
- Raised grain or rough patch: water swelled wood fibers. You may need light sanding after the stain is addressed.
Quick test: Run your fingertip lightly over the spot. If it feels smooth and only looks cloudy, it is likely in the finish. If it feels rough or looks like it is “in” the wood, plan for deeper treatment.
Before you try anything: do a safe check
- Clean first: Wipe with a barely damp microfiber cloth, then dry. Oils and grime can make rings look worse.
- Test in a hidden spot: Especially on antiques, veneered furniture, or unknown finishes.
- Go from gentle to stronger: You can always step up. It is harder to undo damage from harsh methods.
Veneer warning: Many tabletops are veneer. Veneer is thin, so aggressive sanding and soaking treatments can cause permanent damage. If you suspect veneer, keep any sanding very light and limit how much liquid you use.
If the piece is valuable or antique: Consider calling a furniture restorer. Older finishes (like shellac and lacquer) can be sensitive to alcohol, heat, and aggressive rubbing.
Quick finish check (optional, but helpful)
If you are not sure what finish you have, a quick spot test in an inconspicuous area can prevent surprises. Always use a cotton swab and the smallest amount possible.
- Shellac: A drop of denatured alcohol can make it tacky or dissolve it.
- Lacquer: Lacquer thinner can soften it.
- Polyurethane: Usually resists both alcohol and lacquer thinner (it will not get tacky quickly).
If any test makes the surface sticky, stop and switch to the gentlest methods, or get professional help.
Method 1 (best first try): Gentle heat to release moisture
This is one of the most reliable fixes for white water rings because it helps trapped moisture escape from the finish.
Important: Heat can soften or “blush” some finishes (especially shellac and lacquer). Start with very short bursts. Stop immediately if the surface feels tacky or you see texture imprinting.
Option A: Iron and cloth
- Place a clean, dry cotton cloth (like a t-shirt) over the ring.
- Set an iron to low heat with no steam.
- Press for 2 to 5 seconds, lift, check, and repeat as needed.
Keep the iron moving slightly. You are warming the finish, not cooking it.
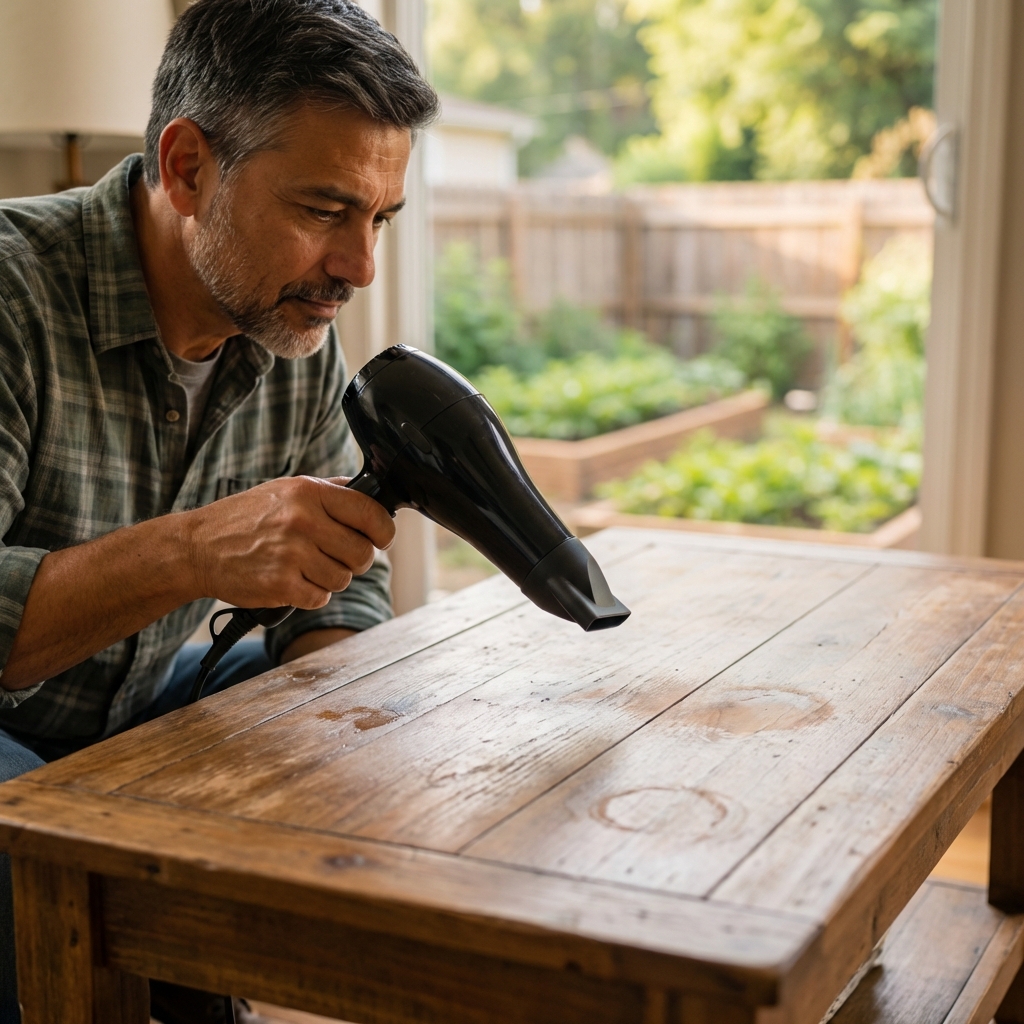
Option B: Hair dryer
- Hold a hair dryer a few inches away on low to medium heat.
- Move it in small circles for 30 to 60 seconds.
- Check after each pass and stop once the haze fades.
After: Let the surface cool and dry for a few minutes, then apply a small amount of furniture polish or paste wax and buff with a soft cloth.
Method 2: Paste wax or petroleum jelly (slow, low risk)
If you prefer a no-heat approach, this can help with mild white rings. It often improves appearance by reconditioning the finish and changing how light reflects, and it can help while moisture dissipates naturally.
- Apply a thin layer of paste wax or petroleum jelly to the ring.
- Let it sit for several hours or overnight.
- Buff gently with a microfiber cloth.
After: Remove any leftover residue so it does not attract dust or grime.
Method 3: Baking soda paste (use carefully)
Baking soda is mildly abrasive. It can work for white rings, but it can also dull a shiny finish if you scrub too hard.
- Mix baking soda with a few drops of water to make a thick paste.
- Using a soft cloth, rub very lightly in the direction of the grain for 10 to 15 seconds.
- Wipe clean and dry immediately.
Tip: If your wood is high-gloss or you suspect shellac or lacquer, try heat or wax methods first.
Method 4: For dark water stains, oxalic acid is often the most effective fix
When the stain turns dark, it is often inside the wood fibers. That is where oxalic acid wood bleach can help. Woodworkers commonly use it for black water marks and iron-tannin staining.
Know this first: Oxalic acid works best on bare wood. If there is a clear topcoat over the stain, you usually need to remove or strip the finish in that area (or strip the whole surface for an even result) before bleaching. Plan on refinishing afterward.
Color note: Bleaching can change the surrounding color and can affect stained or dyed finishes. Be prepared to blend and recoat for the most invisible repair.
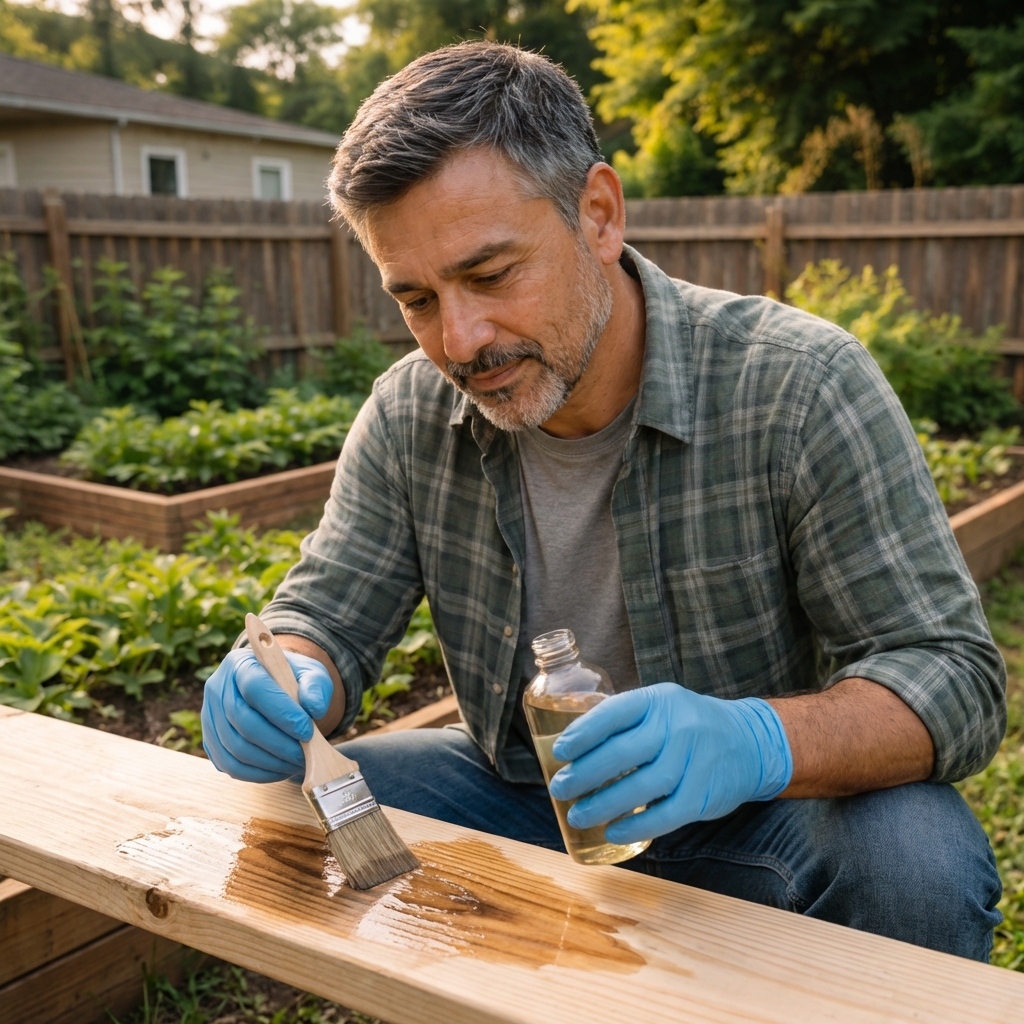
Safety notes: Wear gloves and eye protection, and work with good ventilation. Follow the product label.
Steps (general process)
- Remove wax and contaminants: Clean the area with mineral spirits or naphtha on a cloth and let it fully dry.
- Expose the wood if needed: Lightly strip or sand off the clear coat over the stain so the bleach can reach the wood (be extra cautious on veneer).
- Mix and apply oxalic acid per the label, often with warm water.
- Brush onto the stain and let it work. You will often see the stain fade as it dries.
- Rinse and or neutralize strictly per label instructions, then dry thoroughly.
- Let the wood dry fully, often 24 hours (longer in humid conditions).
- Lightly sand if needed, then recoat the finish to match. Do not topcoat until the wood is completely dry to avoid adhesion issues or cloudiness.
Important: Oxalic acid can lighten surrounding wood. Apply carefully and consider treating a slightly larger area to blend, or plan to refinish the full panel for the most even look.
Method 5: Light sanding and spot refinishing (when the surface is damaged)
If the wood feels rough, the finish is peeling, or the stain improved but left a dull patch, you may need to smooth and recoat.
- Use a fine sandpaper (often 320 to 400 grit) and sand lightly with the grain.
- Wipe dust with a tack cloth or a slightly damp cloth, then dry.
- Apply a matching finish (wipe-on poly, lacquer, or oil depending on what the piece has) in thin coats.
If you are not sure what finish is on the piece, test in an inconspicuous area or consult a pro. Using the wrong topcoat can cause adhesion problems or a cloudy look.
What not to do
- Do not use steam with an iron. Steam can drive moisture deeper.
- Do not scrub aggressively with baking soda, toothpaste, or abrasive pads. It can permanently dull the finish.
- Do not flood the wood with water or cleaner. More moisture rarely helps.
- Avoid straight vinegar on unknown finishes. Acids can damage some finishes and create new dull spots.
- Be cautious with mayonnaise “hacks”. Sometimes the oil improves the look briefly, but it can leave residue that attracts dirt.
Prevention that works
Once you get the stain out, a few simple habits keep your wood looking good.
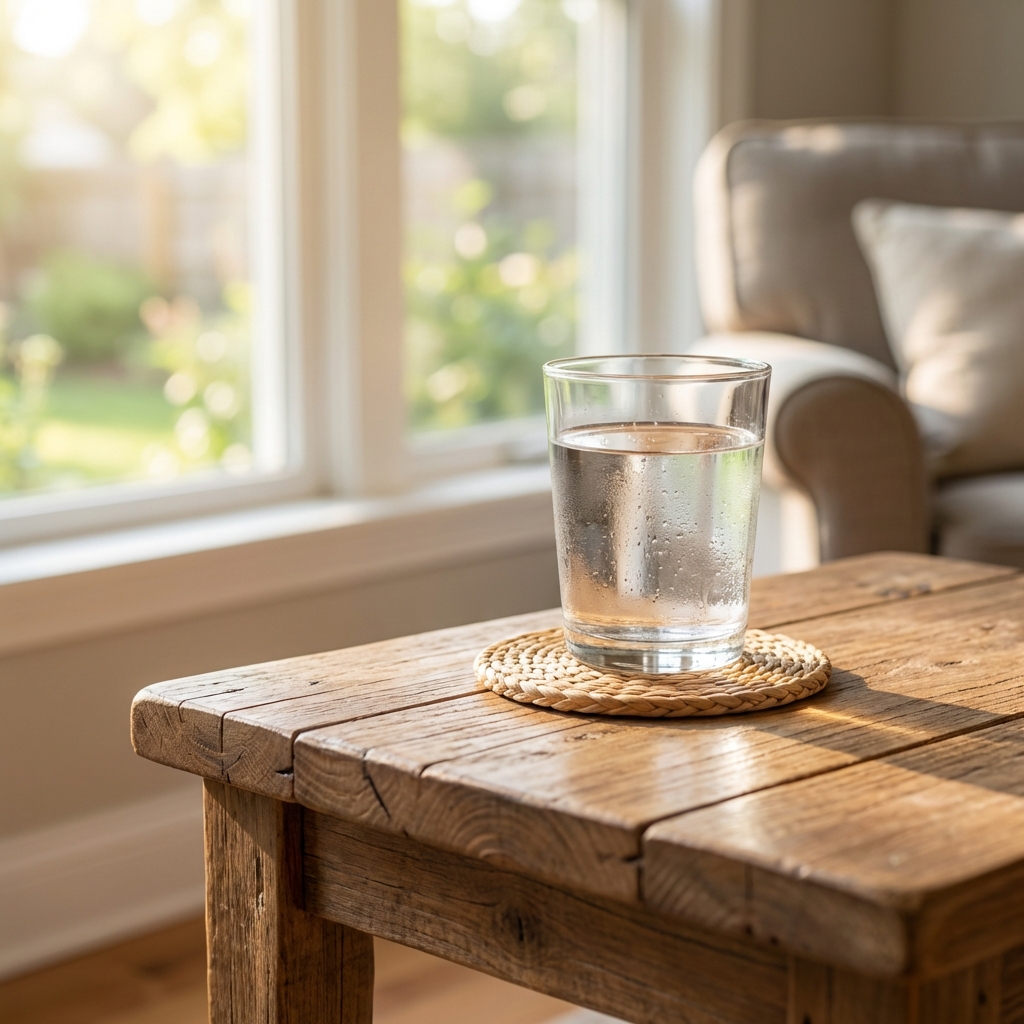
- Use coasters for cold drinks and mugs, especially on finished tables.
- Add a protective layer: paste wax or a quality furniture polish can add water resistance.
- Wipe spills right away, even if it is “just water.”
- Watch plant pots: use waterproof saucers and avoid letting water sit under pots.
- Control humidity in damp rooms to reduce recurring haze on wood surfaces.
When to call a pro
Some situations are worth expert help:
- The piece is an antique or has sentimental value.
- The stain covers a large area (tabletop, hardwood floor section).
- The finish is cracking, lifting, sticky, or unknown.
- You suspect veneer and are worried about sanding through.
A furniture restorer can often blend and refinish so the repair disappears, which is hard to do with a DIY spot fix on high-visibility surfaces.
Quick cheat sheet
- White ring: try hair dryer or iron and cloth (short bursts), then wax.
- Light haze: wax or petroleum jelly overnight, then buff and remove residue.
- Dark stain: oxalic acid wood bleach (usually on bare wood), then refinish as needed.
- Rough or damaged finish: light sanding and spot refinish.
If you want the safest path: start with gentle heat, then wax. Save abrasives and bleaching for when you know the stain is deeper.

Jose Brito
I’m Jose Britto, the writer behind The Country Store Farm Website. I share practical, down-to-earth gardening advice for home growers—whether you’re starting your first raised bed, troubleshooting pests, improving soil, or figuring out what to plant next. My focus is simple: clear tips you can actually use, realistic expectations, and methods that work in real backyards (not just in perfect conditions). If you like straightforward guidance and learning as you go, you’re in the right place.