Cactus cuttings are one of the easiest ways to get more plants fast, but they also have one common failure point: people treat them like regular houseplants and water too soon. If you nail the timing, use a gritty mix, and keep things clean, most common cacti will root with very little drama.
This guide covers the full process, plus gentle, low-tox solutions for preventing rot and dealing with pests without harsh chemicals.
Best cacti to propagate from cuttings
Most branching, paddled, or jointed cacti root well from cuttings. A few types are slow or tricky, but many popular house and yard cacti are very forgiving.
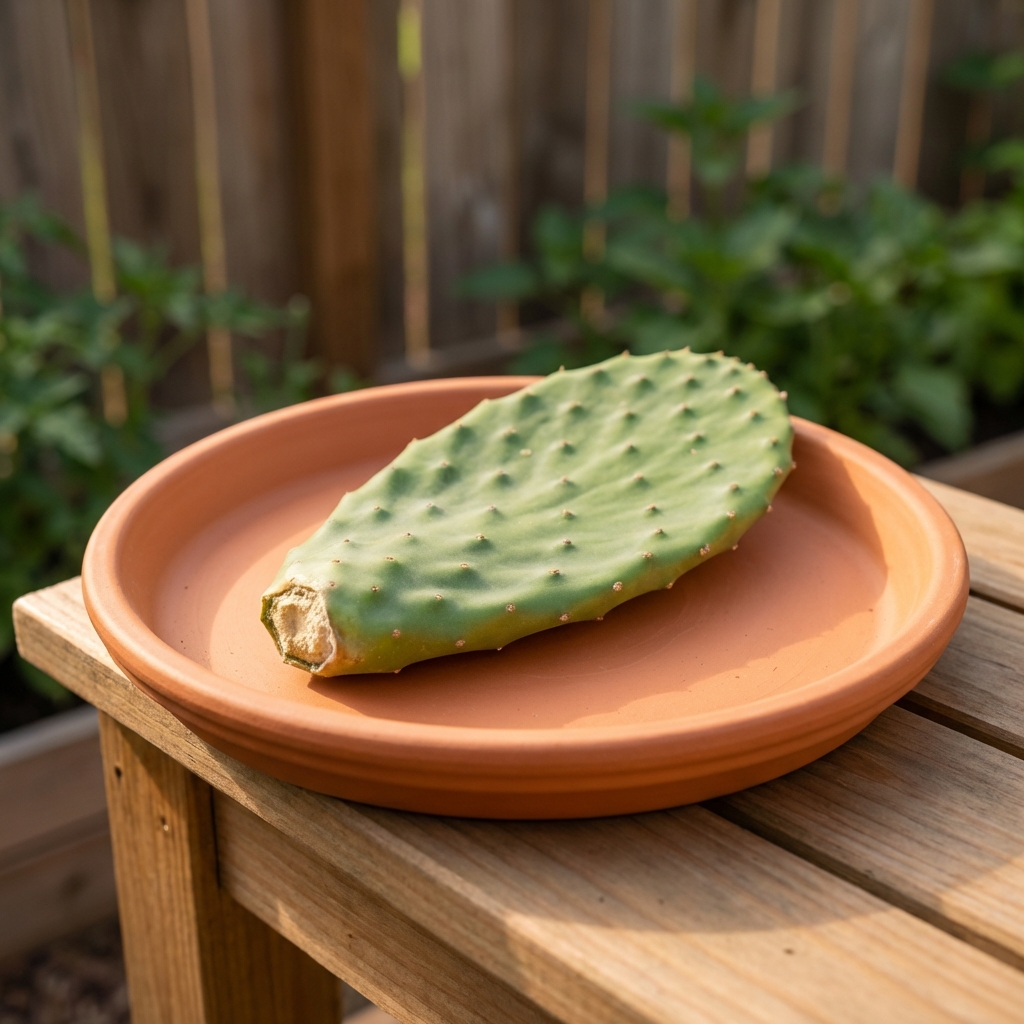
- Prickly pear (Opuntia): pads root easily.
- Columnar cacti (Cereus, San Pedro, many torch types): sections root reliably if fully callused.
- Holiday cacti: Christmas and Thanksgiving cactus are Schlumbergera. Easter cactus is commonly sold as Hatiora (often listed as Rhipsalidopsis). These root from segment cuttings, but they like a bit more moisture than desert cacti.
- Clumping cacti that make pups: offsets often root even faster than stem sections.
Good to know: Single-headed, globular cacti are often propagated by offsets, grafting, or seed rather than cutting the main body.
What you need
- Clean, sharp knife or pruners
- Rubbing alcohol for tool cleaning
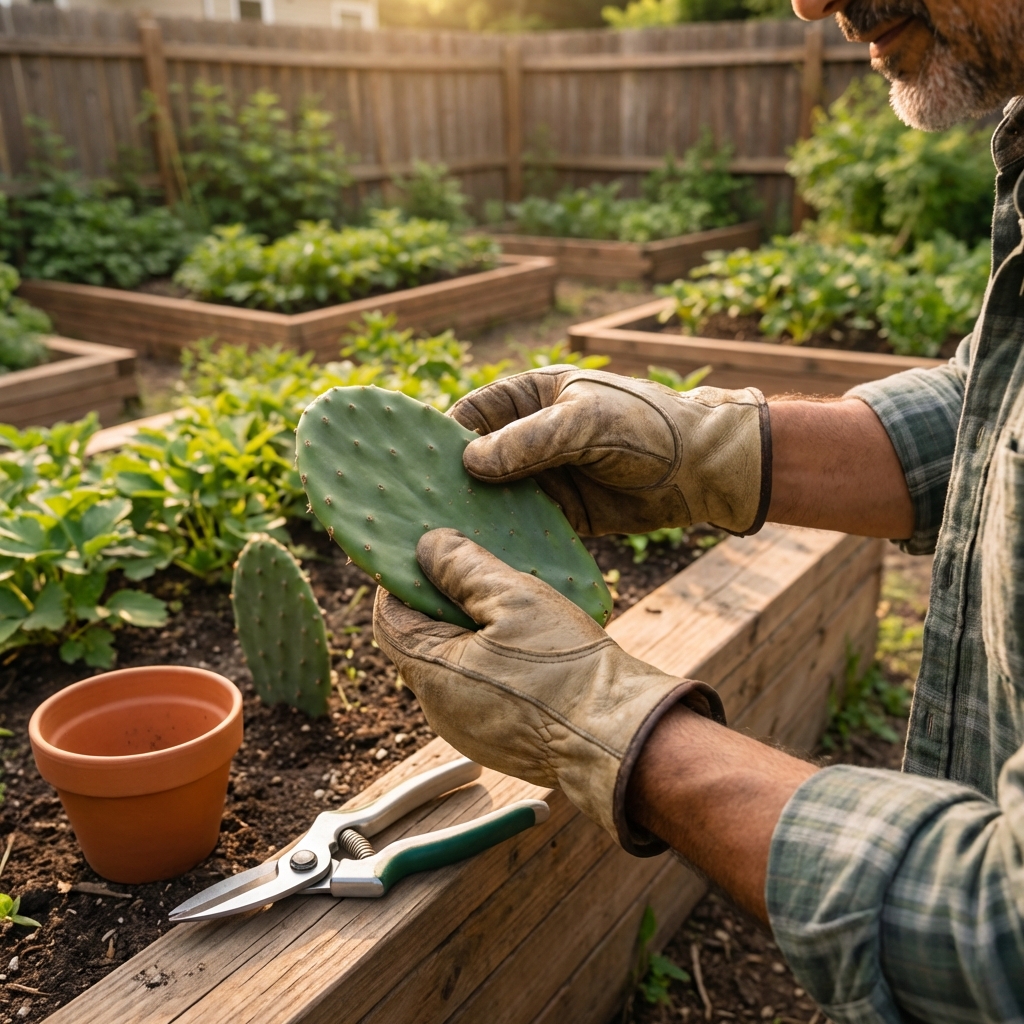
- Gloves and tongs (especially for spiny types)
- Small pot with drainage holes
- Gritty cactus mix (details below)
- Optional, low-risk helpers: horticultural charcoal, a light dusting of cinnamon
- Optional for Opuntia: tweezers and tape for removing tiny glochids
Step-by-step: how to take a cactus cutting
1) Pick the right piece
Choose a healthy section that is firm, evenly colored, and free of soft spots, scars that are spreading, or obvious pests. For columnar cacti, pick a section that is thick enough to stand on its own once planted.
2) Make a clean cut
Disinfect your blade with rubbing alcohol, then cut in one smooth motion. Jagged cuts heal slower and can invite rot.
- Pads (Opuntia): twist gently at the joint or cut at the joint line.
- Columnar types: cut a straight section. If it is top-heavy, you can bevel the base slightly so it sits better in the pot.
- Segmented holiday cactus: snap off 2 to 5 segments, keeping joints intact.
3) Mark the bottom
It sounds silly until you forget. Some cuttings look similar on both ends. Keep the orientation correct so you do not plant it upside down.
- For column cuttings, an easy trick is to make the bottom cut slightly angled and keep the top cut flat. It helps you remember which end goes down.
Quick safety note for spines and glochids
Opuntia glochids are the tiny hair-like spines that stick in skin and itch like crazy. Use gloves and tongs, and if you get them, try tweezers for the visible ones and tape to lift the fine ones.
The key step: callus the cutting
Callusing is letting the cut end dry and seal before planting. It is one of the simplest ways to reduce rot because it closes off open tissue that fungi and bacteria can invade.
How to callus correctly
- Place the cutting in a dry spot with bright indirect light and good airflow.
- Keep it out of rain and away from humid rooms.
- Do not set the cut end on damp soil while it is still fresh.
How long to callus
- Small pads and thin cuttings: 3 to 7 days
- Thicker column sections: 7 to 21 days
- Holiday cactus segments: 1 to 3 days (they dry fast)
Best rule: the calendar is less important than the finish. You are looking for a dry, sealed end that is slightly leathery. If it still looks wet or glossy, wait longer.
Optional callusing helpers (use lightly)
These are popular in the gardening world and generally low-risk when used sparingly, but they are not magic. Good airflow and patience matter more.
- Cinnamon: some growers dust a tiny amount on the cut end. Keep it light so it does not cake and trap moisture.
- Horticultural charcoal: a pinch can help keep the cut end drier and cleaner. Optional, not required.
- Aloe vera gel: anecdotal only. It can also stay wet and encourage rot, so most beginners are better skipping it.
Soil that works (simple, gritty)
Rooting fails when the potting mix holds moisture for too long. You want a mix that drains fast and dries evenly, because new cuttings do not have roots yet to drink water.
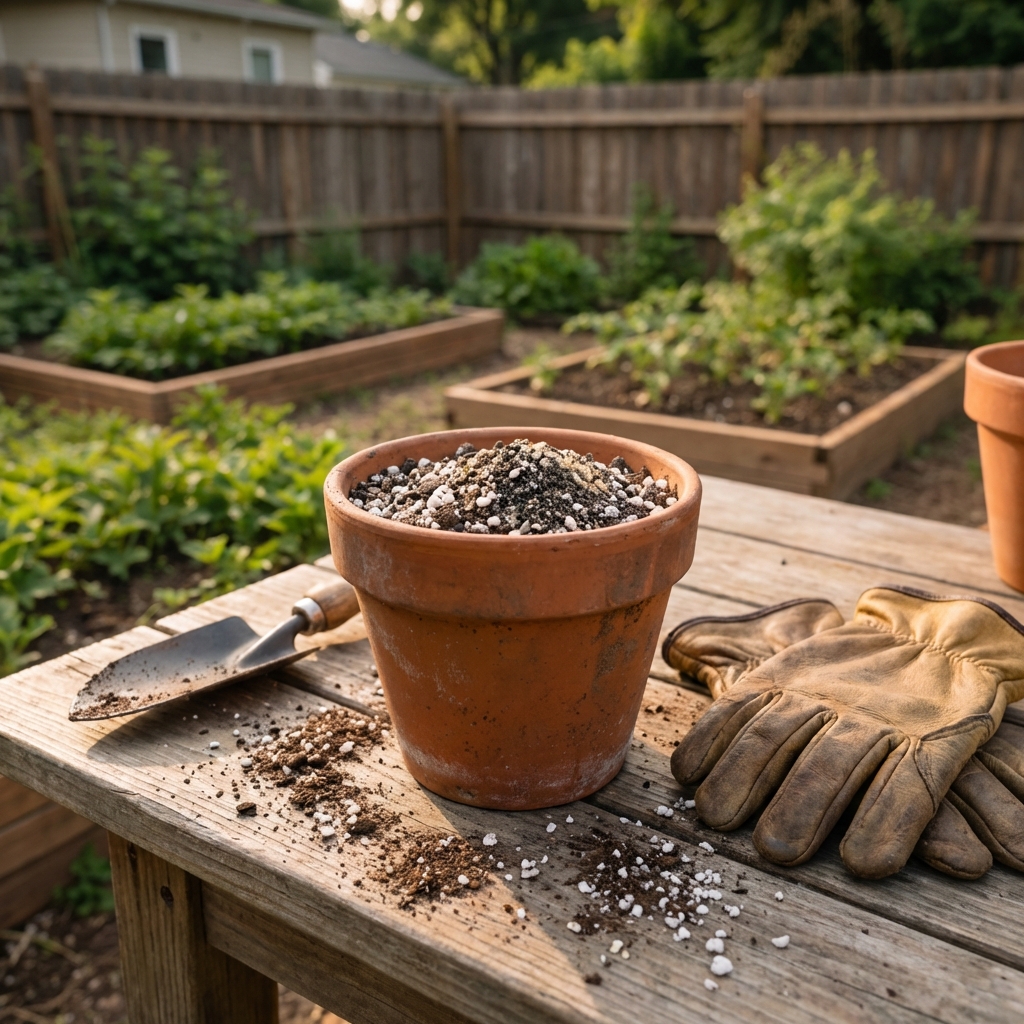
A reliable DIY mix
- 1 part cactus soil (or regular potting soil)
- 1 part pumice or perlite
- 1 part coarse sand or fine gravel (avoid salty beach sand)
If your climate is humid or your indoor space runs cool, go even grittier: increase the pumice and gravel so it dries faster.
Planting the cutting
How deep to plant
- Pads: bury the bottom edge 1 to 2 inches, just enough to stand.
- Columnar sections: bury 1 to 3 inches depending on size. Add a few stones on top for stability if needed.
- Holiday cactus: insert the bottom segment about 1/2 inch to 1 inch.
Pot choice
Terracotta helps the mix dry faster and is a great option for beginners. Any pot is fine as long as it has drainage holes and you are not overwatering.
Watering: when to water a cactus cutting
This is where most people lose their cutting. A fresh cutting with no roots is basically a sponge sitting in soil. If the soil stays wet, rot has an easier time taking over.
Desert cacti (pads and columns)
- After planting: wait 7 to 14 days before the first light watering.
- First watering: moisten only the outer edge of the pot, not a full soak.
- After that: water lightly every 10 to 21 days, only when the mix is bone dry.
Even safer option: if your space is cool, humid, or the mix dries slowly, you can wait to water until you feel gentle resistance (roots forming) or you see new growth.
Holiday cactus
- After 2 to 4 days, water lightly, then let the top inch dry before watering again.
- They prefer slightly more moisture than desert cacti, but still do best with airflow and a mix that never stays soggy.
How to tell if it is rooting
- Gentle resistance: after a few weeks, wiggle very lightly. If it feels anchored, roots are forming.
- New growth: fresh segments, plumper tips, or new spines are a great sign.
- Avoid digging: only lift and check after several weeks, and only if you truly need to troubleshoot.
Light and temperature for rooting
Light
Bright indirect light is the sweet spot while rooting. Too little light slows growth. Harsh direct sun can stress a cutting before it has roots to support itself.
- Indoors: near a bright window, but avoid scorching midday sun on the glass.
- Outdoors: morning sun and afternoon shade, or bright shade under a patio cover.
Temperature
Most cacti root best around 70 to 85°F. Cool, damp conditions slow callusing and increase rot risk.
Natural solutions for common problems
Problem: the base turns soft or black (rot)
What to do: remove it from the soil immediately. Cut back to firm, healthy tissue with a disinfected blade. Let it callus again and restart in dry, gritty mix.
- Use a smaller pot so the mix dries faster.
- Increase airflow and light.
- Water later, not sooner.
Problem: shriveling or wrinkling
Some shrivel is normal while the cutting lives off stored water. If it is severely collapsing, it may be too hot, too sunny, or has been left dry for too long after planting.
- Move to bright indirect light.
- Check the mix. If it is bone dry and the cutting is fully callused, give a small watering around the edge.
Problem: fungus gnats
Gnats are a sign the mix is staying wet. Let it dry longer between waterings and top-dress with coarse sand or fine gravel to discourage egg laying.
Problem: mealybugs or scale
- Spot treat with a cotton swab dipped in 70% isopropyl alcohol.
- For heavier infestations, use insecticidal soap or neem oil (test a small area first and avoid hot sun the same day).
- Quarantine the plant for 2 to 3 weeks and re-check weekly.
Problem: ants farming pests
Ants often show up because they are harvesting honeydew from mealybugs or scale. Treat the pest first. If ants persist outdoors, use sticky barriers on the pot or place the pot legs in shallow water trays.
How long does it take to root?
- Opuntia pads: 2 to 6 weeks in warm, bright conditions
- Columnar cacti: 4 to 12 weeks (sometimes longer)
- Holiday cactus: 2 to 5 weeks
Rooting time depends on warmth, light, cutting size, and how dry the mix stays between waterings. Slow does not mean failed. It often means it is safe.
Aftercare: transitioning to normal cactus care
When to start watering normally
Once the cutting is anchored and shows new growth, you can shift to a standard routine: deep watering, then let the pot dry fully.
When to fertilize
Skip fertilizer until you see active growth. Then use a diluted cactus fertilizer or a gentle organic option like worm castings mixed lightly into the top layer. Keep it light. Overfeeding makes weak, fast growth.
When to repot
If you rooted in a small pot, repot after a full growing season or once roots fill the pot. Disturbing a barely rooted cutting can set it back.
Quick checklist (save this)
- Cut cleanly with a disinfected blade
- Keep spines and glochids off your hands (tongs, gloves, tweezers, tape)
- Callus fully in dry air and bright indirect light
- Use gritty, fast-draining soil in a pot with drainage
- Plant shallow, keep stable, and keep the original top end up
- Wait to water, then water lightly until rooted
- Increase sun gradually after new growth appears
If you want the simplest success strategy, it is this: keep the cutting dry longer than you think you should. Cacti are built for patience, and propagation rewards it.

Jose Brito
I’m Jose Britto, the writer behind The Country Store Farm Website. I share practical, down-to-earth gardening advice for home growers—whether you’re starting your first raised bed, troubleshooting pests, improving soil, or figuring out what to plant next. My focus is simple: clear tips you can actually use, realistic expectations, and methods that work in real backyards (not just in perfect conditions). If you like straightforward guidance and learning as you go, you’re in the right place.