Garlic is one of those crops that feels almost too easy, until it isn’t. Most problems come from a few predictable issues: planting the wrong garlic, planting at the wrong time, soil that stays wet, or reusing grocery store cloves that may carry disease or simply be too old and tired to perform well.
This page walks you through a reliable, low-risk way to grow garlic from a single clove, with practical facts and fixes you can use in a real backyard or raised bed.
Quick facts before you plant
- One clove makes one bulb. Plant a clove, harvest a whole head of garlic.
- Garlic prefers cool starts. In many climates, fall planting gives the biggest bulbs.
- Drainage matters more than fertilizer. Soggy soil is the fastest path to rot.
- Seed garlic is the most reliable. Grocery garlic can work, but it is a common source of disease, weak cloves, and disappointing results.
- Most garlic needs 6 to 8 hours of sun. Less sun usually means smaller bulbs.
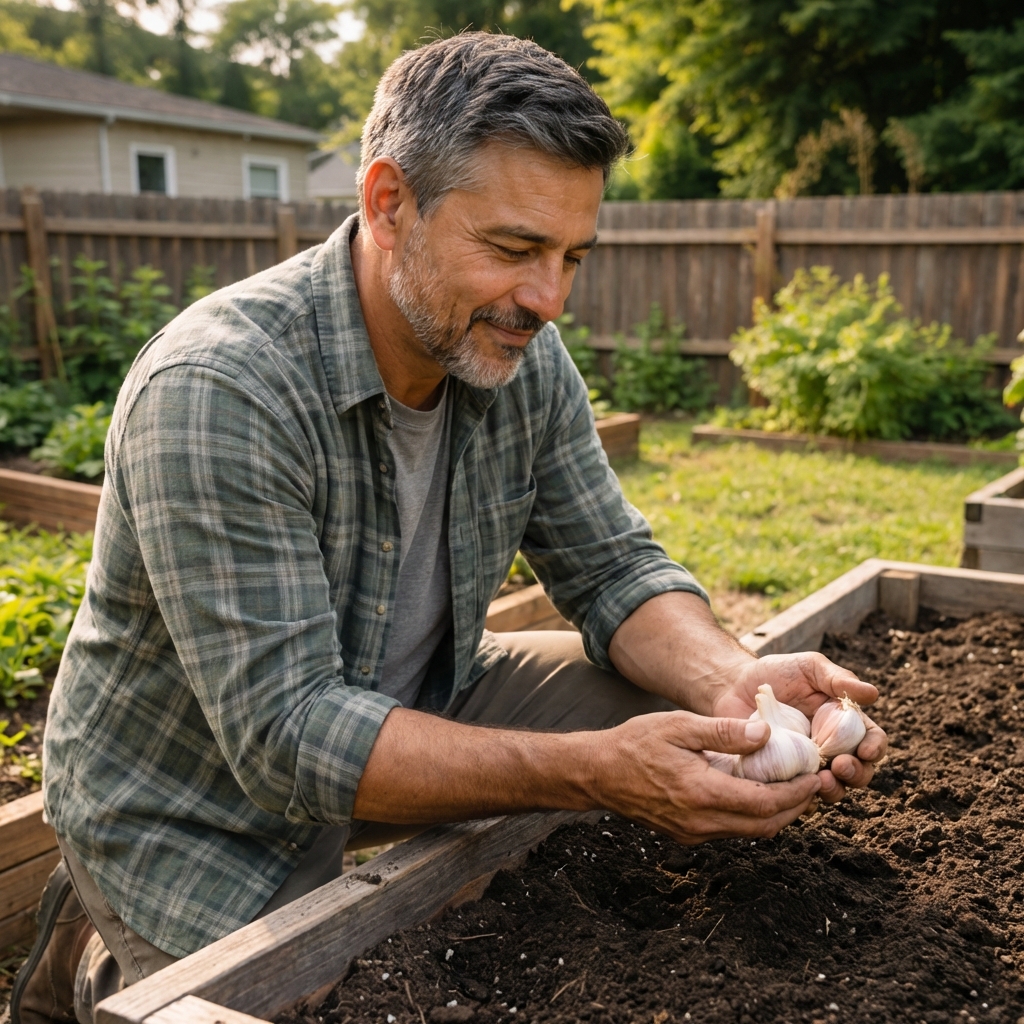
Choose cloves well (this is where most failures start)
Best option: seed garlic
If you want the lowest-risk route, buy seed garlic from a reputable grower. It is selected for planting and typically fresher than grocery bulbs. Some seed garlic is also sold as certified or inspected stock, which offers extra reassurance against certain diseases.
Can you plant grocery store garlic?
Sometimes, yes. But it is riskier because it may be:
- Treated to reduce sprouting (this varies by supplier and country), which can slow or prevent growth.
- Stored for a long time, so cloves are weak or dehydrated.
- Carrying diseases like fungal rot that can spread into your garden bed.
Better grocery store rules: choose organic if possible, pick firm heads with tight skins, avoid anything soft, moldy, or with brown sunken spots on cloves. If you have had garlic disease before, skip grocery garlic and start with clean planting stock.
Hardneck vs softneck
- Hardneck: great flavor, produces scapes, often better for colder winters. Usually fewer but larger cloves per head.
- Softneck: stores longer, often does better in mild winter areas, and is the type you see braided.
If you are unsure, start with softneck in warmer zones and hardneck in colder zones, or ask a local nursery which type performs best in your area.
When to plant (and what to do if you missed fall)
Fall planting for bigger bulbs
In many regions, garlic is planted in fall, about 2 to 6 weeks before the ground freezes. The clove grows roots before winter, then takes off in spring. This usually produces the largest bulbs.
Spring planting still works (but plan for cold)
If you missed fall, plant as early in spring as you can work the soil. Expect smaller bulbs, but still worth it. For spring planting, using the biggest, healthiest cloves matters even more.
Important: Many garlic types, especially hardneck, need a cold period (vernalization) to form separate cloves. If you plant in spring without enough cold exposure, you may harvest a round (one solid bulb) instead of a head of cloves.
- In mild winter climates, choose softneck varieties or types recommended locally.
- For spring planting, you can pre-chill cloves in the refrigerator for about 4 to 8 weeks (dry, in a breathable bag), then plant.

Soil prep to prevent rot
Garlic wants soil that holds moisture but drains well. If your garlic fails, it is usually because the soil stays wet too long.
What good garlic soil looks like
- Loose and crumbly, not sticky
- Rich in organic matter
- Neutral to slightly acidic pH (roughly 6.0 to 6.8, and up to about 7.0 is usually fine)
Simple bed prep
- Mix in 1 to 2 inches of compost before planting.
- If soil is heavy clay, add compost and consider a raised bed for drainage.
- Avoid fresh manure right before planting. It can push too much leafy growth and increase disease risk.
How to plant a clove
Step-by-step
- Separate cloves right before planting. Keep the papery skins on.
- Choose the biggest cloves for planting. Small cloves usually produce small bulbs.
- Plant pointy end up, root end down.
- Depth: 2 to 3 inches deep in most gardens. In colder areas, 3 to 4 inches can help protect cloves from heaving.
- Spacing: 4 to 6 inches apart. Rows 8 to 12 inches apart.
- Water in after planting to settle soil. After that, keep soil lightly moist during active growth, not soaked. In fall plantings, nature usually handles winter moisture.
Mulch for winter and weeds
Add 2 to 4 inches of straw or shredded leaves after planting. Mulch keeps soil temperatures steadier and reduces spring weeds, which is a big deal because garlic does not like competition.
In very wet, slow-to-warm springs, pull mulch back a bit once shoots are up to help the soil dry and improve airflow.
Watering and feeding basics
Watering rule that prevents rot
Garlic likes steady moisture while it is growing leaves in spring. But it hates soggy soil. A good target is about 1 inch of water per week from rain plus irrigation, adjusted for your soil and weather.
- If your soil stays damp several days after watering, water less and improve drainage.
- If leaves look thin and growth stalls in spring, you may need deeper watering.
When to ease off watering
As bulbs finish and more leaves start browning, gradually reduce watering. Many gardeners stop watering entirely 1 to 2 weeks before harvest to improve curing and storage, especially in dry climates where irrigation is routine.
Fertilizer basics
Garlic is a moderate feeder, especially for nitrogen in spring. Too much nitrogen late in the season can delay bulb formation.
- In early spring, a small boost of nitrogen can help leaf growth, which supports bulb size.
- Stop high-nitrogen feeding once bulbing starts, usually when days get longer and plants have several strong leaves.
Pest and disease prevention
You do not need harsh chemicals to grow garlic successfully. Most reliable garlic growing is about prevention and cleanliness.
Simple prevention that works
- Rotate crops: avoid planting garlic or onions in the same spot for 3 to 4 years if you have had disease issues.
- Start with clean planting stock: reputable seed garlic, and certified stock if you can find it, is your best defense.
- Keep beds weeded: weeds steal water and nutrients and increase humidity around plants.
- Avoid overhead watering when possible to reduce leaf diseases.
Common issues and realistic fixes
Cloves rot in the ground
- Cause: soil too wet, planted too deep in heavy soil, or infected cloves.
- Fix: improve drainage, plant in a raised bed, use clean planting stock, reduce watering, avoid low spots.
Lots of leaves, tiny bulbs
- Cause: too much shade, too much nitrogen late, crowding, or late planting.
- Fix: plant in full sun, space properly, feed early not late, plant on time.
Yellowing leaves early
- Cause: overwatering, underwatering, poor soil, or natural aging later in the season.
- Fix: check moisture first. If it is late spring or early summer, lower leaves yellowing can be normal as the bulb sizes up.
Garlic has hollow stems and a flower stalk (scapes)
That is typical for hardneck garlic. The curled stalk is the scape.
- What to do: cut scapes when they curl once, usually in late spring or early summer. This encourages larger bulbs.
Harvest timing for better storage
Harvest too early and bulbs are small and do not store well. Harvest too late and the wrapper skins split, which also hurts storage.
The leaf rule
A reliable rule is to harvest when about one-third to one-half of the leaves have turned brown, but several green leaves remain. Those remaining green leaves are still feeding the bulb.
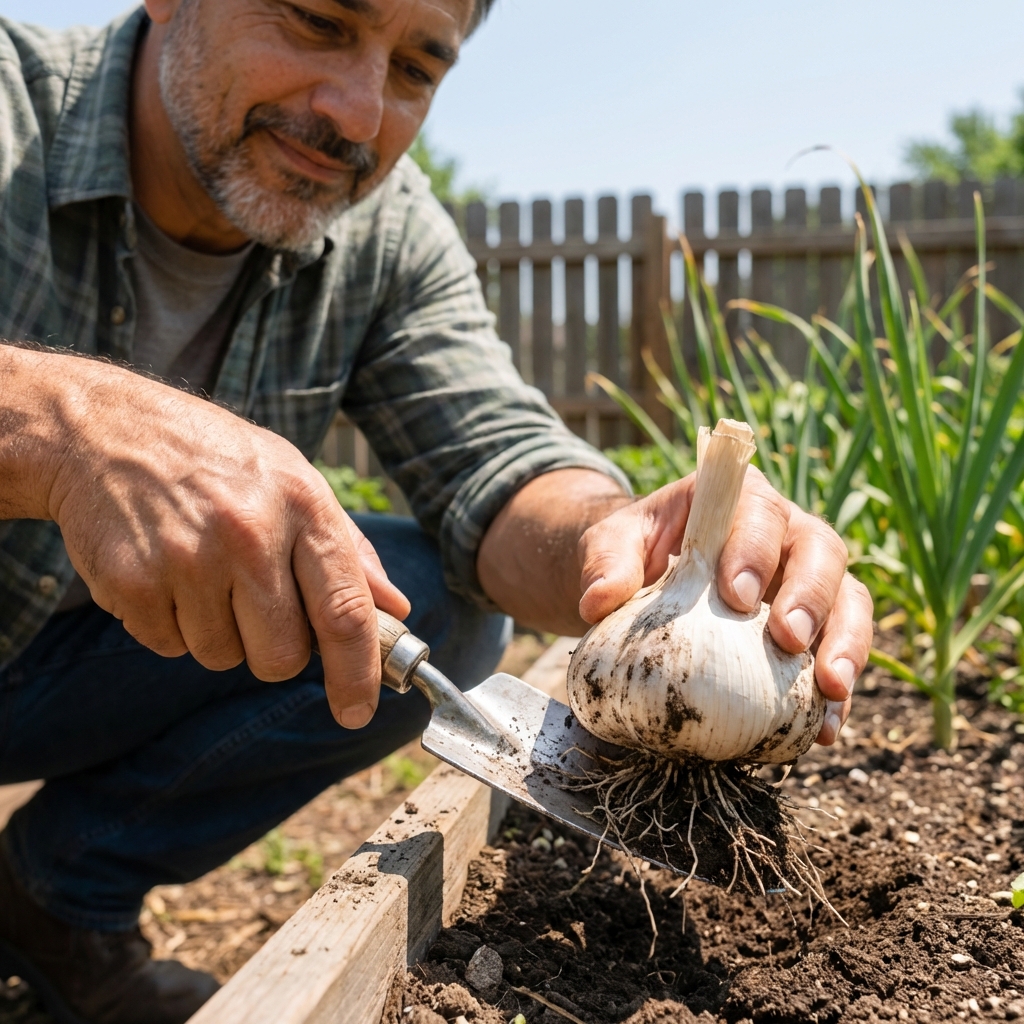
How to harvest without damage
- Loosen soil with a garden fork or trowel.
- Lift bulbs gently. Do not yank by the stem in hard soil.
- Brush off loose dirt. Do not wash bulbs before curing.
Curing and storing
Curing dries the outer layers and neck so your garlic stores well and is less likely to mold.
How to cure garlic
- Keep bulbs intact with leaves and roots attached.
- Lay them in a single layer or hang in small bundles in a shady, dry, well-ventilated place.
- Cure for 2 to 4 weeks depending on humidity.
Trim and store
- Once necks are dry, trim roots and cut stems (or braid softneck types).
- Store in a cool, dry spot with airflow. Many homes do well around 50 to 60°F (10 to 16°C), dark, and ventilated.
- Avoid sealed plastic bags and high-humidity areas.
- Do not store in the refrigerator long-term. It can trigger sprouting.
FAQs and solutions
Should I soak garlic cloves before planting?
Usually, no. Soaking is not required for good results and can add risk if cloves sit wet too long. The most reliable move is starting with clean, firm cloves and well-draining soil.
Can I plant a clove that has already sprouted?
Yes. A sprouted clove can still form a bulb. Plant it carefully, pointy end up, and keep soil evenly moist during spring growth. Expect slightly more variability in bulb size.
Is garlic safe to eat if it got a little mold on the outer skin?
If mold is only on the outside wrappers and the cloves inside are firm and smell normal, you can often peel down to clean cloves. If cloves are soft, discolored, or smell off, compost the bulb. When in doubt, do not eat it.
Why did my garlic make one big round instead of separate cloves?
That is often called a round. It commonly happens when garlic does not get enough cold exposure (vernalization), or when it is planted too late. It can also happen with very small planting stock, variety mismatch, or stress. For fewer rounds, plant at the recommended time, use large healthy cloves, and choose a variety suited to your climate (or pre-chill cloves for spring planting).
Is it safe to store garlic in oil at room temperature?
No. Garlic in oil stored at room temperature can support botulism growth. Keep garlic-in-oil refrigerated and use quickly, or follow a tested, acidified canning recipe designed for safety.
Simple success checklist
- Use reputable seed garlic, or the healthiest, firmest cloves you can find.
- Plant at the right time for your climate, ideally in fall for big bulbs.
- Prioritize drainage, mulch for weed control, and pull mulch back in wet springs if needed.
- Water steadily in spring, then ease off as bulbs finish.
- Harvest when several leaves are still green, then cure in shade with airflow.
For local planting dates and variety recommendations, check with your local extension office, a trusted nursery, or a regional garlic grower. Local timing and variety choice make a bigger difference than most people expect.

Jose Brito
I’m Jose Britto, the writer behind The Country Store Farm Website. I share practical, down-to-earth gardening advice for home growers—whether you’re starting your first raised bed, troubleshooting pests, improving soil, or figuring out what to plant next. My focus is simple: clear tips you can actually use, realistic expectations, and methods that work in real backyards (not just in perfect conditions). If you like straightforward guidance and learning as you go, you’re in the right place.