If you want a green lawn now, sod is the fastest route. The catch is that sod only stays “instant” if it roots into your soil quickly. Most sod problems trace back to a few predictable issues: rushed prep, seams that dry out, or watering that does not match the weather and sprinkler output.
Below is the straightforward, backyard-tested way to install sod so it knits together, roots down, and stays healthy.

Before you start
Best time to lay sod
Cooler weather is easiest on new sod. Spring and early fall are ideal in many regions, but sod can be installed in summer if you can stay on top of watering. Avoid frozen ground.
Choose the right sod
- Match the grass to your yard: sun vs shade, traffic level, and your climate matter more than what looks good on the pallet.
- Cool-season vs warm-season: cool-season grasses root best in cooler temps; warm-season sod loves heat but still needs consistent moisture to establish.
- If in doubt: ask your sod supplier or local extension office what performs best in your zip code and site conditions.
Order the right amount
- Measure the area (length × width) and subtract beds, patios, and driveways.
- Add 5 to 10 percent extra for trimming and odd shapes.
- Schedule delivery for the day you can lay it. Sod is perishable.
Do not let sod sit on the pallet
Sod heats up fast, especially in sun. Plan to install it the same day, ideally within a few hours of delivery.
- Keep pallets shaded if you are not ready to lay immediately.
- If you are delayed, lightly mist the rolls so they do not dry out. Do not soak the stack.
- In hot weather, prioritize laying the first pallet before opening the next.
Tools that make it easier
- Soil rake and landscape rake
- Flat shovel or sod cutter (for removal)
- Wheelbarrow, broom, and sturdy knife with extra blades
- Starter fertilizer (optional but helpful)
- Lawn roller (water-filled) or a heavy push roller
- Sprinklers and a hose-end timer (highly recommended)
- A few empty tuna cans or straight-sided cups (for sprinkler calibration)

Step 1: Remove old grass and weeds
New sod cannot compete with living grass, thick thatch, or aggressive weeds underneath. You want clean soil as the base.
- Best method: Use a sod cutter to remove the old lawn.
- Small areas: A flat shovel works, just expect it to take longer.
- Weed pressure: If you have nutsedge, bermudagrass, or other tough weeds, deal with them before install. Pulling is rarely enough. Follow label directions for any herbicide and wait the recommended time before laying sod.
Rake up roots, dead clumps, and debris. The cleaner the start, the smoother the finish.
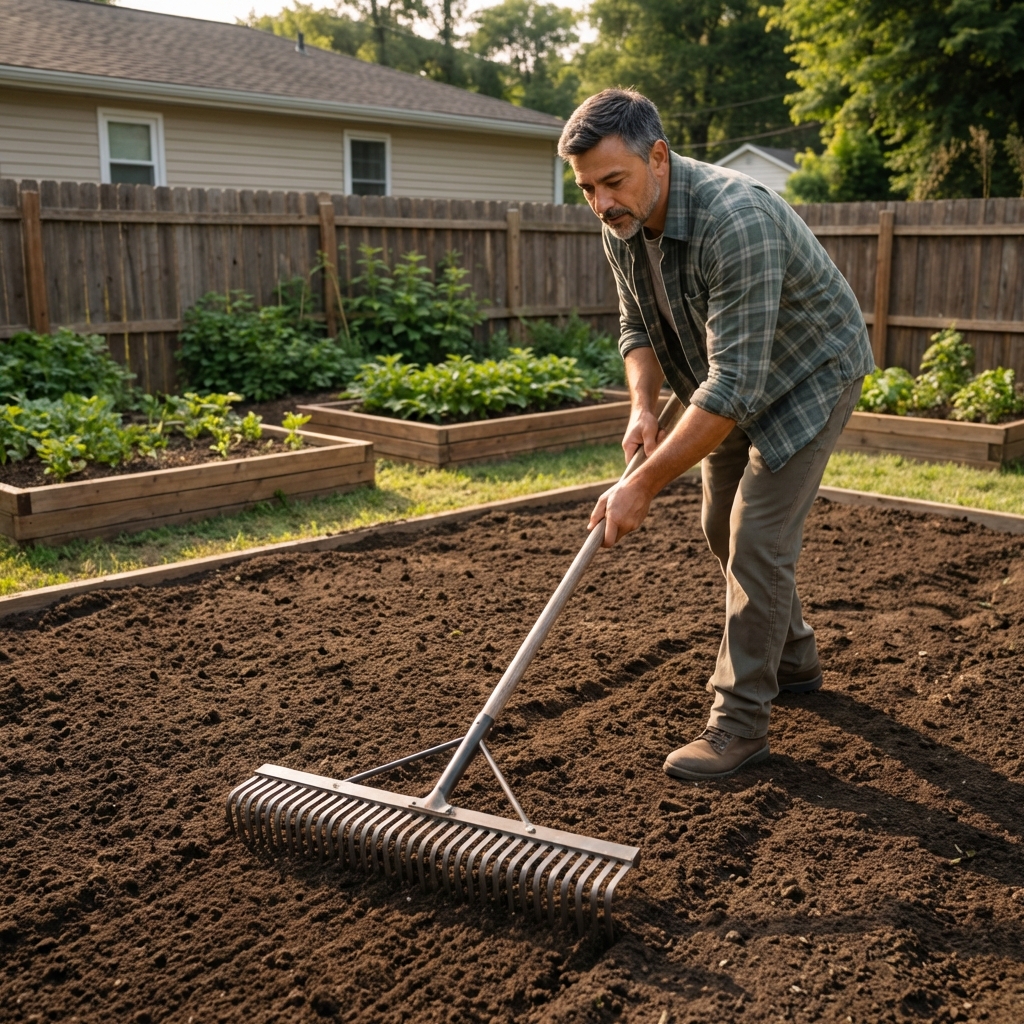
Step 2: Grade and prep the soil
Loosen the top layer
Loosen the top 3 to 6 inches of soil if it is compacted. This helps roots penetrate and improves drainage.
Fix low spots and slope away from the house
Your goal is a smooth surface that drains. Aim for a gentle slope away from foundations so water does not pool near your home.
- Fill dips so puddles do not form.
- Knock down high spots so the mower does not scalp later.
Soil test (optional, but worth it)
If you can, do a basic soil test before you install sod. It tells you pH and nutrient needs so you are not guessing.
- Add lime or sulfur only if the test recommends it.
- If you are on a tight timeline, you can still test after installation and adjust once the sod is established.
Add amendments only if needed
If your soil is sandy, mixing in compost can help hold moisture. If it is heavy clay, compost can improve structure. Keep it realistic though: you are improving the top layer, not rebuilding the yard.
Final rake and firm
Rake the surface smooth, then lightly firm it. You want firm soil that still has texture for roots to grab, not fluffy potting mix.
Step 3: Water the soil right before laying sod
Moist soil helps the sod make contact and reduces immediate drying. Water the prepared soil until it is damp a few inches down, not muddy.
- If your footprint leaves a deep impression, it is too wet.
- If it looks dusty and dries immediately, it is too dry.
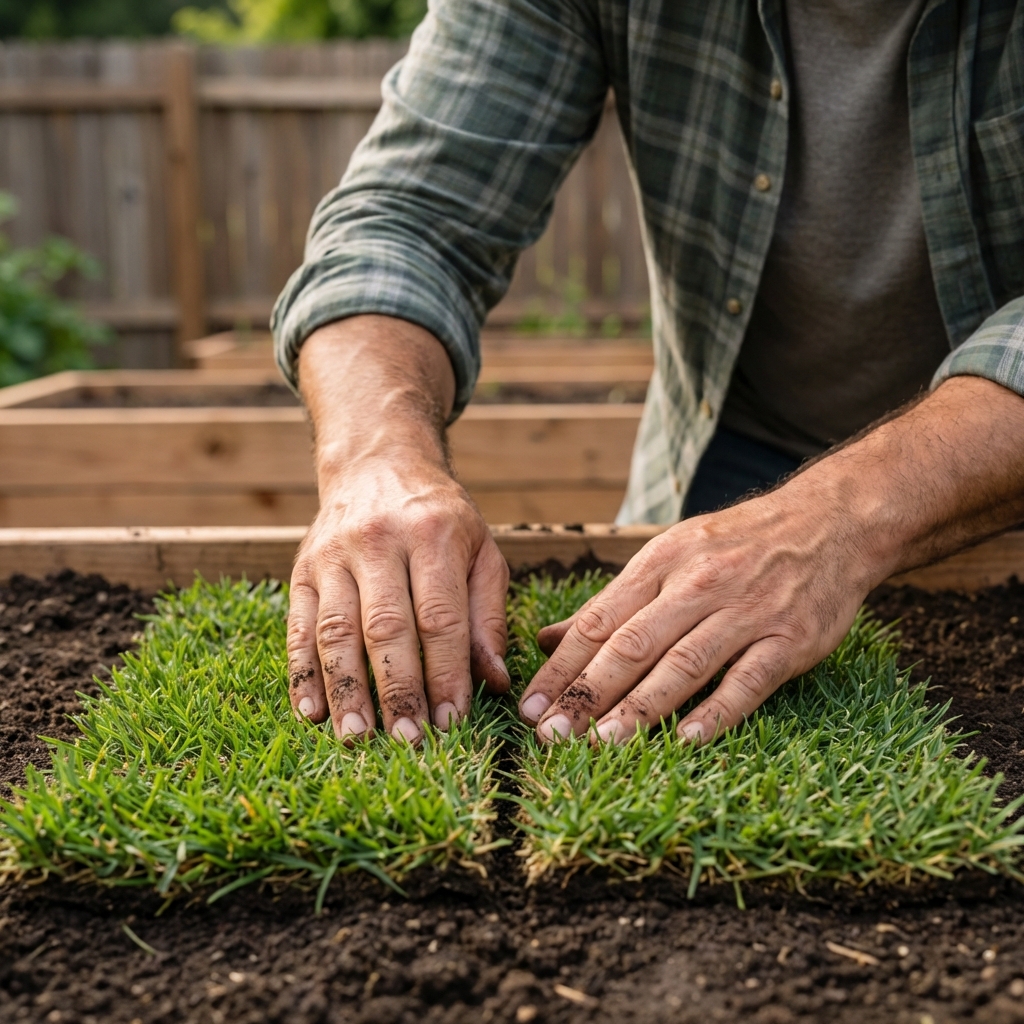
Step 4: Lay sod fast and tight
Start with a straight edge
Begin along a driveway, sidewalk, or the longest straight border. This keeps the whole job from drifting out of alignment.
Stagger seams like bricks
Staggering seams helps the lawn knit together and avoids long, continuous lines that can open up.
Keep seams tight but do not overlap
- Push edges snugly together.
- Do not stretch sod. It will shrink as it dries and leave gaps.
- Trim with a sharp knife for clean edges.
Handle slopes and edges
- Slopes: Lay pieces across the slope when possible, then pin with sod staples on steeper sections so they do not slide.
- Sprinkler heads and hard edges: Cut clean holes and notches so heads sit flush and sod fits without tenting.
- Joining to existing turf: Cut a straight line, butt the new sod tight to the old edge, and topdress the seam lightly so it stays moist.
Work on boards if possible
If the soil is soft, place a board down to kneel or stand on as you work. This prevents footprints and low spots.
Step 5: Roll it for good contact
Rolling presses the sod roots into the soil and removes air pockets. This is one of the simplest steps that makes a big difference.
- Use a water-filled roller so it is heavy but manageable.
- Roll in one direction, then cross-roll lightly if needed.
- If you see a low spot after rolling, lift the sod, add soil, and reset it.
Step 6: Water immediately, then water by goal
The first two weeks are all about keeping the sod and the top layer of soil consistently moist. Start watering within 30 minutes of laying, sooner if it is hot or windy.
Calibrate your sprinklers once
This takes 10 minutes and saves a lot of guesswork.
- Set out 6 to 10 tuna cans (or straight-sided cups) around a zone.
- Run sprinklers for 15 minutes, then measure how much water collected.
- Use that to estimate run time for your target. Example: if you collect 1/4 inch in 15 minutes, you are applying about 1 inch per hour.
- Fix dry spots by adjusting heads or adding temporary sprinklers. New sod fails in stripes when coverage is uneven.
Day 1 (right after install)
- Water until the sod is soaked and the soil beneath is wet about 3 to 4 inches down.
- To check depth, push a screwdriver or trowel into the soil through a seam. It should slide in easily where the soil is wet.
- Pay extra attention to edges, corners, and seams.
Days 2 to 7
- Water often enough to keep the sod and the top 1 to 2 inches of soil consistently moist.
- In hot, dry, or windy weather, that can mean 2 to 4 short cycles per day.
- In cool or humid weather, it may be 1 to 2 cycles. The goal is moisture, not a set number.
- If the surface stays soggy or you see disease pressure, back off slightly and water earlier in the day. Avoid nightly watering when possible.
Week 2
- Reduce frequency and increase depth. Typically once per day or every other day depending on weather, soil type, and sprinkler output.
- You are encouraging roots to chase moisture downward.
Weeks 3 to 4
- Transition to normal lawn watering: deep and less often.
Quick check: Lift a corner. If it resists and you see new white roots, you are on track. If it lifts easily and feels dry underneath, tighten up your watering consistency. If it feels swampy, shorten run times or reduce cycles.

First mowing and early care
When to mow
Mow when the sod is rooted enough that it does not shift under your feet and it passes the tug test. Gently pull up on a corner or edge. If it resists, you can mow. For many lawns, that is often around 10 to 14 days, but weather and grass type can push it earlier or later.
- Make sure the grass is dry to avoid tearing.
- Use a sharp blade.
- Cut high on the first mow, removing no more than one-third of the blade.
Fertilizer timing
If your sod supplier included instructions, follow them. Some sod is delivered with fertilizer already in it, and piling on extra can do more harm than good when you are watering frequently.
- A common approach is a light starter fertilizer at install, then a regular feeding schedule after the sod is established.
- Avoid heavy nitrogen early if you are struggling to keep up with watering or you are seeing disease pressure.
- When in doubt, use your soil test results or local extension guidance.
Keep traffic off it
Limit foot traffic for the first couple of weeks. Compaction and shifted seams slow rooting.
Hold off on herbicides
Avoid weed killers until the sod is established and you have mowed a few times. Many products, including some pre-emergents, can stress new roots. Read labels carefully and follow local guidance for timing in your region.
Troubleshooting common sod problems
Gaps opening at seams
- Cause: Sod was stretched, shrank as it dried, or seams dried out.
- Fix: Keep watering consistent, topdress small gaps with a thin layer of screened soil or compost, and reseat loose edges if possible.
Yellowing sod
- Cause: Often watering issues, heat stress, or poor soil contact. It can also be mild transplant shock.
- Fix: Check moisture under the sod, roll again lightly if needed, and adjust watering based on how quickly the surface is drying.
Mushrooms
- Cause: Moist conditions and organic matter are common early on.
- Fix: Usually none needed. Let the surface dry slightly between cycles as roots establish.
Dry, crispy edges
- Cause: Edges dry faster than the center.
- Fix: Add short edge-only watering cycles or hand-water corners.
Fast checklist
- Remove old grass and weeds completely
- Grade for drainage and smoothness
- Moisten soil before laying
- Lay tight seams and stagger rows
- Roll for solid contact
- Water immediately and keep consistently moist at the surface
- Calibrate sprinklers and fix coverage gaps
- First mow after the tug test
If you do the prep and stay disciplined with watering, sod goes from “rolled-up grass” to a real lawn surprisingly fast. Most yards look stitched together in a week or two and feel rooted in by around a month, depending on weather and grass type.

Jose Brito
I’m Jose Britto, the writer behind The Country Store Farm Website. I share practical, down-to-earth gardening advice for home growers—whether you’re starting your first raised bed, troubleshooting pests, improving soil, or figuring out what to plant next. My focus is simple: clear tips you can actually use, realistic expectations, and methods that work in real backyards (not just in perfect conditions). If you like straightforward guidance and learning as you go, you’re in the right place.