Hydrangeas are fairly tough plants, but winter can still knock them back in three main ways: it can kill flower buds, dry out stems in harsh wind, and heave roots out of the soil during freeze and thaw cycles. The good news is that most winter protection is simple once you know what type of hydrangea you have and where it forms flower buds.
This page covers safe, realistic winter prep steps that home gardeners can actually pull off, plus quick solutions if winter already did some damage.

Start with your hydrangea type
Winter prep depends on whether your hydrangea blooms on old wood (buds formed last season) or new wood (buds formed on this season’s growth). If you prune the wrong one at the wrong time, you can remove next year’s flowers.
Quick ID cheat sheet
- Bigleaf hydrangea (Hydrangea macrophylla): mophead or lacecap blooms. Often needs the most winter bud protection, especially in colder zones. Usually blooms on old wood, though some reblooming types bloom on both.
- Mountain hydrangea (Hydrangea serrata): similar to bigleaf, often lacecap. Also typically old wood.
- Oakleaf hydrangea (Hydrangea quercifolia): oak-shaped leaves, cone blooms. Blooms on old wood.
- Panicle hydrangea (Hydrangea paniculata): cone-shaped blooms, very cold hardy. Blooms on new wood.
- Smooth hydrangea (Hydrangea arborescens): round white or pink blooms like ‘Annabelle’. Blooms on new wood.
If you are not sure, do not panic. You can still do winter prep safely by focusing on mulching and wind protection and saving hard pruning for spring. If you can, check the plant tag or cultivar name, since that often settles the old wood vs new wood question quickly.
Fall timing
Think of winter prep as a two-step process.
- Early to mid fall: stop pushing new growth, tidy lightly, and plan insulation.
- Late fall after several freezing nights: add mulch, consider covers, and water one last time if it has been dry.
A good rule: wait until the plant has started to go dormant before you wrap or cover. Covering too early can trap warmth and moisture and encourage rot and pests.
Safe winter prep steps
1) Stop fertilizing at the right time
Stop fertilizing about 6 to 8 weeks before your average first frost. Fertilizing late encourages soft, tender growth that is more likely to get zapped by cold.
2) Water deeply before the ground freezes
Hydrangeas can dry out in winter, especially in windy areas or where snow is light. If fall has been dry, give the shrub a slow, deep watering before the soil freezes. Moist soil holds heat longer than dry soil and helps protect roots.
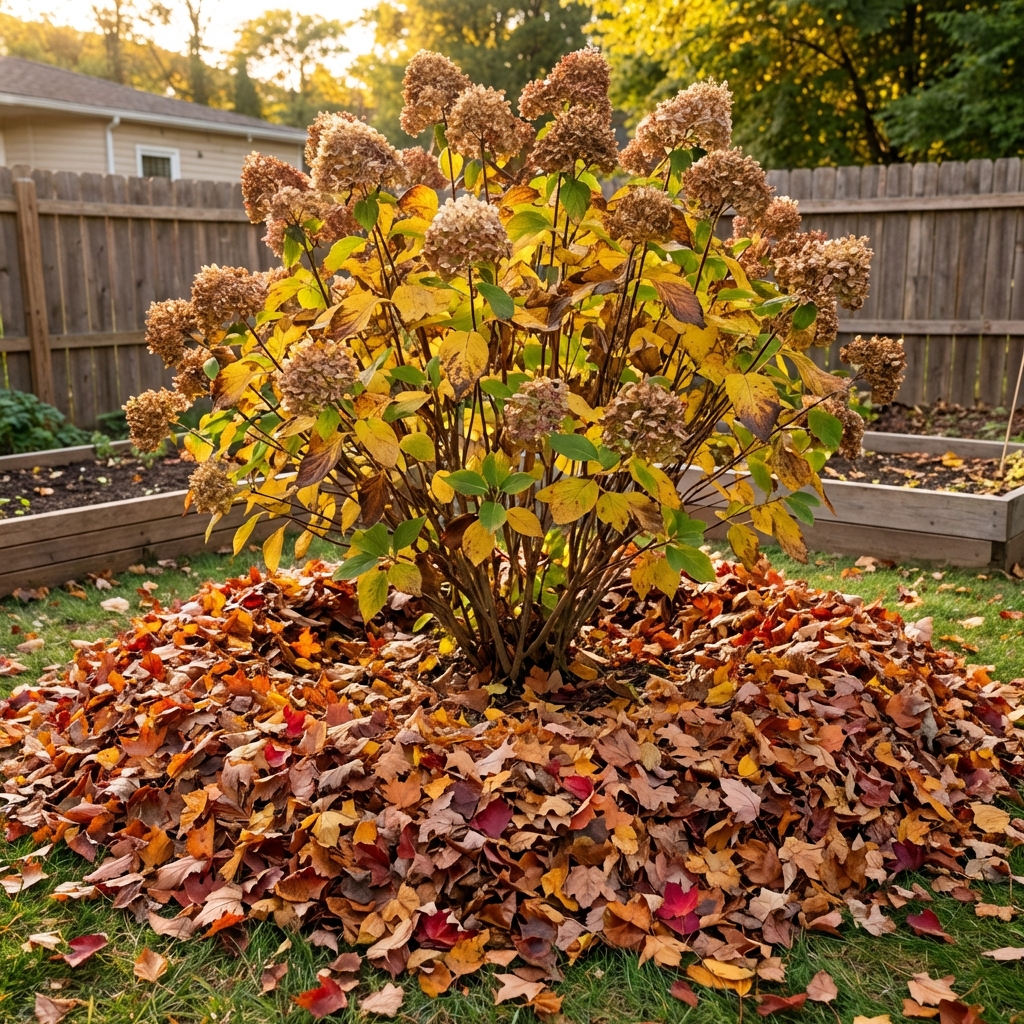
3) Mulch like you mean it
Mulch is the safest winter protection for almost every hydrangea because it stabilizes soil temperature and reduces freeze and thaw heaving.
- Apply 3 to 6 inches of shredded bark, leaf mold, pine needles, or straw around the root zone.
- Keep mulch 2 to 3 inches away from the stems to prevent rot and vole damage.
- Widen the mulch ring to at least the drip line if possible (the ground under the outermost branches).
4) Skip heavy pruning in fall
This is where most winter bloom loss happens. For bigleaf, mountain, and oakleaf hydrangeas, fall pruning often removes next year’s flower buds. Even for new wood bloomers, heavy fall pruning can leave stems more exposed to winter injury.
Safe fall pruning is usually limited to:
- Removing dead or diseased wood
- Cutting broken stems that could tear in wind
- Snipping spent blooms only if you want, but leave plenty of stem length
5) Leave some flower heads for winter
On bigleaf and oakleaf types, leaving spent blooms can add a little protection to buds below and also helps catch insulating snow. You can always clean them up in spring.
Should you cover or wrap?
Sometimes yes, often no. Covers are most useful for bigleaf and mountain hydrangeas in colder zones or exposed sites where buds commonly die back.
When a cover helps
- You routinely lose buds on bigleaf hydrangeas and get leafy growth but few flowers
- Your plant is in a windy, open spot or in a south or west exposure with drying winter sun
- You are near the edge of the plant’s hardiness range
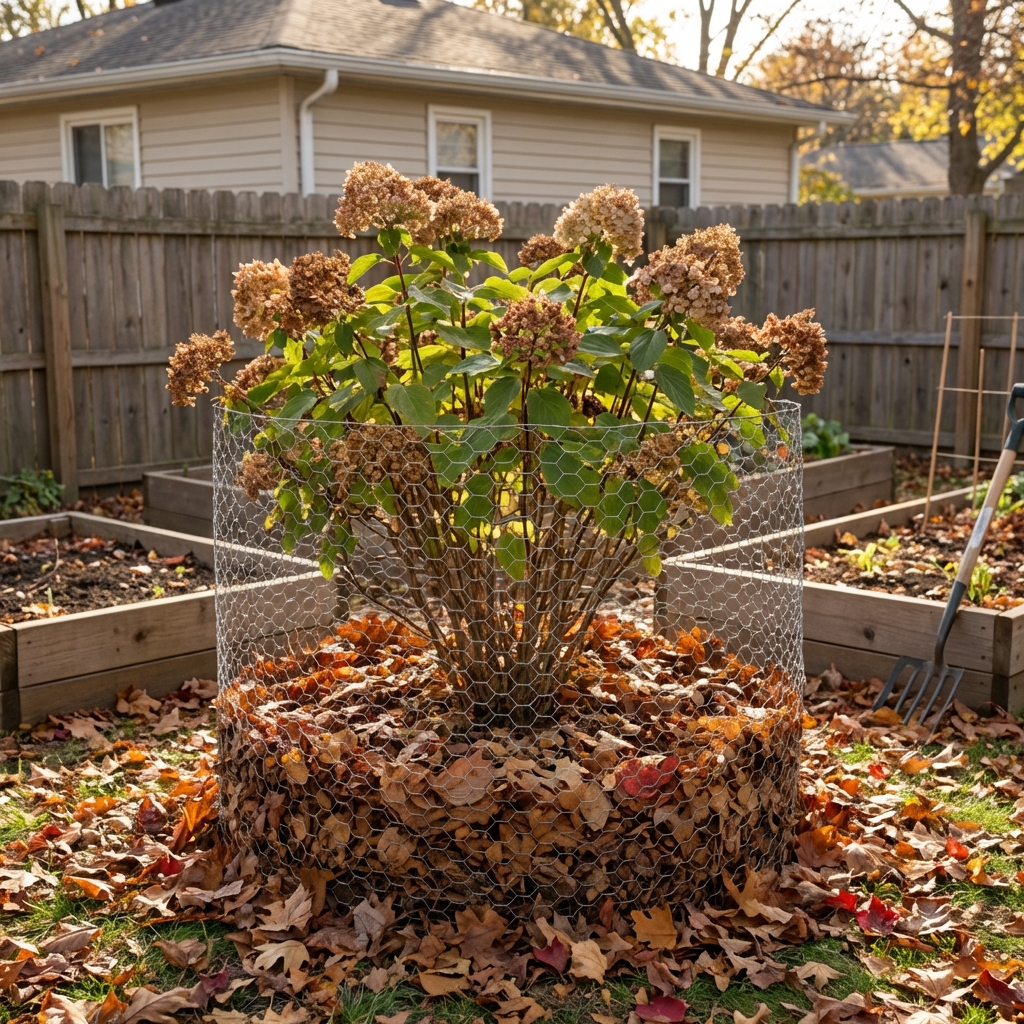
Simple, safer cover options
- Wind screen: stake burlap on the windward side. This reduces drying without trapping heat.
- Mulch cage: place a ring of chicken wire around the plant and fill loosely with dry leaves after dormancy.
- Light wrap: loosely wrap burlap around stakes, not tight against stems.
Avoid sealing the plant in plastic. Plastic traps moisture and can cause rot during winter thaws.
Pruning rules by type
Bigleaf and mountain (old wood or reblooming)
- Do not hard prune in fall.
- In spring, wait until you see buds swelling and new green growth before removing winter-killed tips.
- If it is a reblooming type, you can be a little more aggressive in spring, but still avoid heavy fall cuts.
Oakleaf (old wood)
- Do not hard prune in fall.
- Prune right after flowering in summer if shaping is needed.
- In colder areas, focus on mulch and site protection rather than pruning.
Panicle (new wood)
- You can prune in late winter or early spring before growth starts.
- For bigger blooms, reduce stems by about one third. For a taller, more natural look, prune lightly.
- Fall pruning is optional, but spring is usually easier and safer.
Smooth (new wood)
- Prune in late winter or early spring.
- You can cut back to 12 to 24 inches if you want a shorter plant, but do not feel required to cut to the ground.
- Leaving some height can reduce flopping in summer.
Extra protection for new plants
Newly planted hydrangeas are more vulnerable because their roots have not fully settled in. Give them a little extra help their first winter:
- Mulch closer to the higher end, around 5 to 6 inches
- Add a simple burlap wind screen if the site is exposed
- Water weekly during dry fall weather until the ground begins to freeze
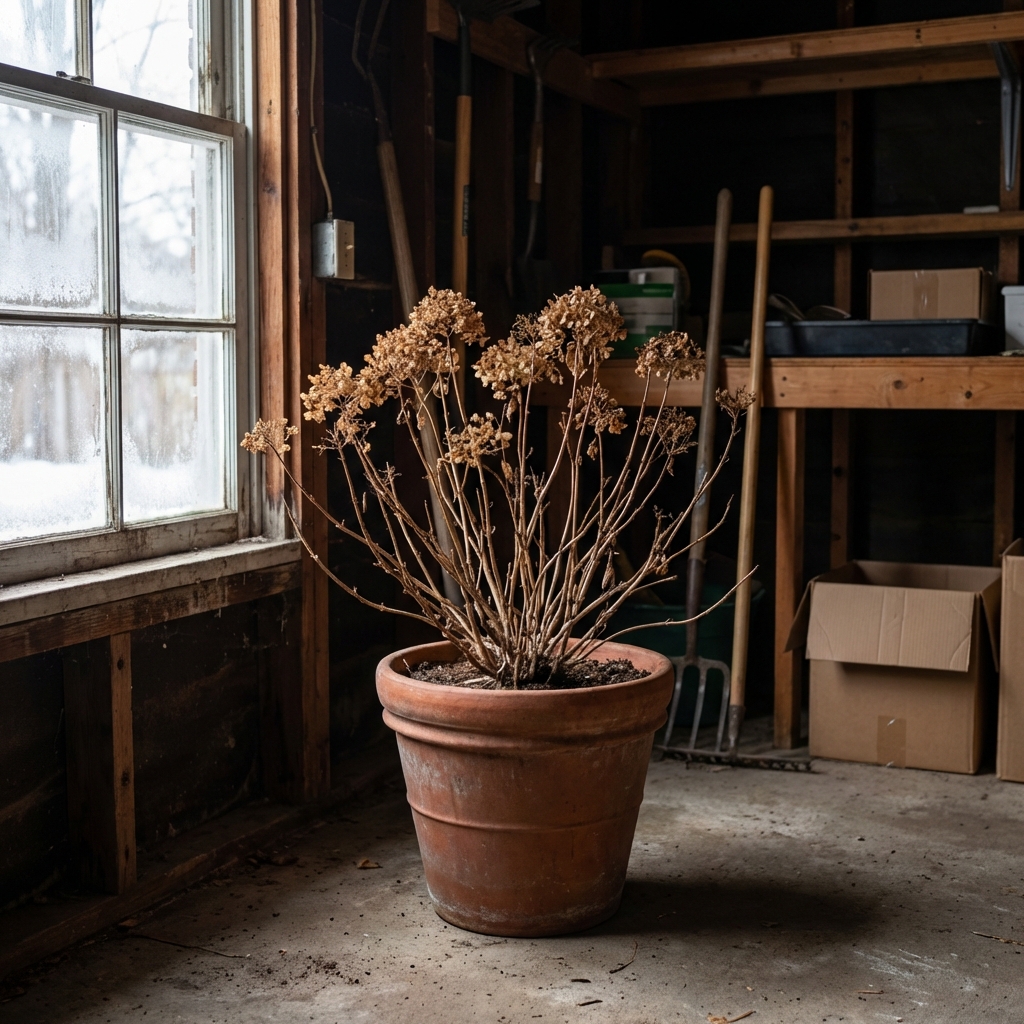
Overwintering in containers
Potted hydrangeas are at higher risk because roots freeze faster in a container than in the ground. Also, the roots in a pot are usually less cold hardy than the same plant in the ground.
Safer options
- Move to an unheated garage or shed once the plant is dormant. Aim to keep it cold but above prolonged deep freezes. A common target range is roughly 25 to 40°F.
- Sink the pot into the ground and mulch around it heavily.
- Cluster pots together against a sheltered wall, then wrap the pots with burlap and surround them with leaves or straw.
Check the pot about once a month while dormant and water only if the mix is dry a few inches down. You want the soil barely moist, not soggy.
Common winter mistakes
Mistake: pruning in fall because it looks messy
Fix: leave stems and buds alone, then do cleanup in spring after you can see what survived. For old wood types, this protects next year’s blooms.
Mistake: piling mulch against the stems
Fix: pull mulch back a few inches from the base. Stem contact can invite rot and rodents.
Mistake: wrapping too early
Fix: wait until the plant is dormant and nights are consistently cold. Covers should protect from wind and extreme swings, not keep the plant warm.
Mistake: using plastic as a winter cover
Fix: switch to breathable burlap or a leaf-filled cage. You want airflow.
Mistake: assuming no flowers means the plant died
Fix: many bigleaf hydrangeas survive winter but lose buds. You get leaves without blooms. Improve bud protection next winter and consider moving the plant to a more sheltered spot.
Mistake: ignoring snow and ice load
Fix: if heavy, wet snow bends branches, gently brush it off. Avoid snapping or shaking frozen stems, since they break more easily.
Spring check
When temperatures start to warm, resist the urge to cut everything back immediately. Hydrangeas can leaf out slowly, and buds can be hard to read early.
Simple bud and stem test
- Scratch a small area of bark with your fingernail.
- Green beneath means the stem is alive.
- Brown and dry means that section is dead. Cut back to healthy tissue.
For bigleaf and oakleaf hydrangeas, wait until you see new growth lower on the stem before deciding how far to cut.
Quick FAQ
Do I need to cut hydrangeas back for winter?
Usually no. Most hydrangeas do best with minimal fall pruning. Heavy pruning is best saved for late winter or early spring, especially for panicle and smooth types.
What is the best mulch for winter?
Shredded bark, leaf mold, pine needles, and straw all work. Choose what stays put in your yard and does not mat into a soggy layer.
Will covering guarantee blooms next year?
Not always, but it can make a big difference for bigleaf and mountain hydrangeas in colder zones. Bud survival depends on cold snaps, wind, winter sun, and temperature swings.
When can I uncover hydrangeas?
Uncover gradually in early spring once the harshest cold has passed. If a late freeze is forecast, re-cover for the night.
Winter prep checklist
- Identify your hydrangea type or skip fall pruning if unsure
- Stop fertilizing 6 to 8 weeks before first frost
- Water deeply during dry fall weather
- Apply 3 to 6 inches of mulch, kept off the stems
- Add burlap or a leaf cage only if you routinely lose buds
- Wait for spring to do major pruning
If you tell me your hydrangea type and your general winter temps, I can recommend the safest protection level so you do not do more harm than good.

Jose Brito
I’m Jose Britto, the writer behind The Country Store Farm Website. I share practical, down-to-earth gardening advice for home growers—whether you’re starting your first raised bed, troubleshooting pests, improving soil, or figuring out what to plant next. My focus is simple: clear tips you can actually use, realistic expectations, and methods that work in real backyards (not just in perfect conditions). If you like straightforward guidance and learning as you go, you’re in the right place.