Repotting an orchid can feel risky, but it is one of the best things you can do for long-term health. Most orchid problems I see in real homes come down to the potting mix breaking down, roots staying wet too long, or the plant outgrowing its container. The goal is simple: airy roots, a stable plant, and a mix that drains fast but does not dry out in a few hours.
When to repot an orchid
Repot when it helps the plant, not just because the calendar says so. Many common household orchids (especially Phalaenopsis) are repotted about every 1 to 2 years, but the real trigger is media breakdown and root growth. In some homes it is yearly. In others, a sturdy mix can go closer to 2 to 3 years.
Best times
- When new root tips start, often in spring or early summer. This is the safest timing for most orchids.
- After blooming finishes (especially for Phalaenopsis), if it lines up with new root growth.
Clear signs it is time
- Potting mix smells sour or stays wet for many days.
- Bark looks like soil, feels soft, or crumbles easily. That means it is breaking down and holding too much water.
- Roots are overcrowded with lots of healthy roots circling and pushing the plant up.
- Root issues like mushy roots, blackened sections, or persistent dehydration even though you water correctly.
- Wobbling plant that will not anchor well in the pot.
Try not to repot during peak blooming unless the mix is rotting or the plant is in trouble. A repot during bloom is not always a disaster, but it can shorten the show.
Quick note on flower spikes: You do not have to cut a healthy green spike just because you are repotting. If it is still green, you can leave it. If it is brown and dry, trim it.
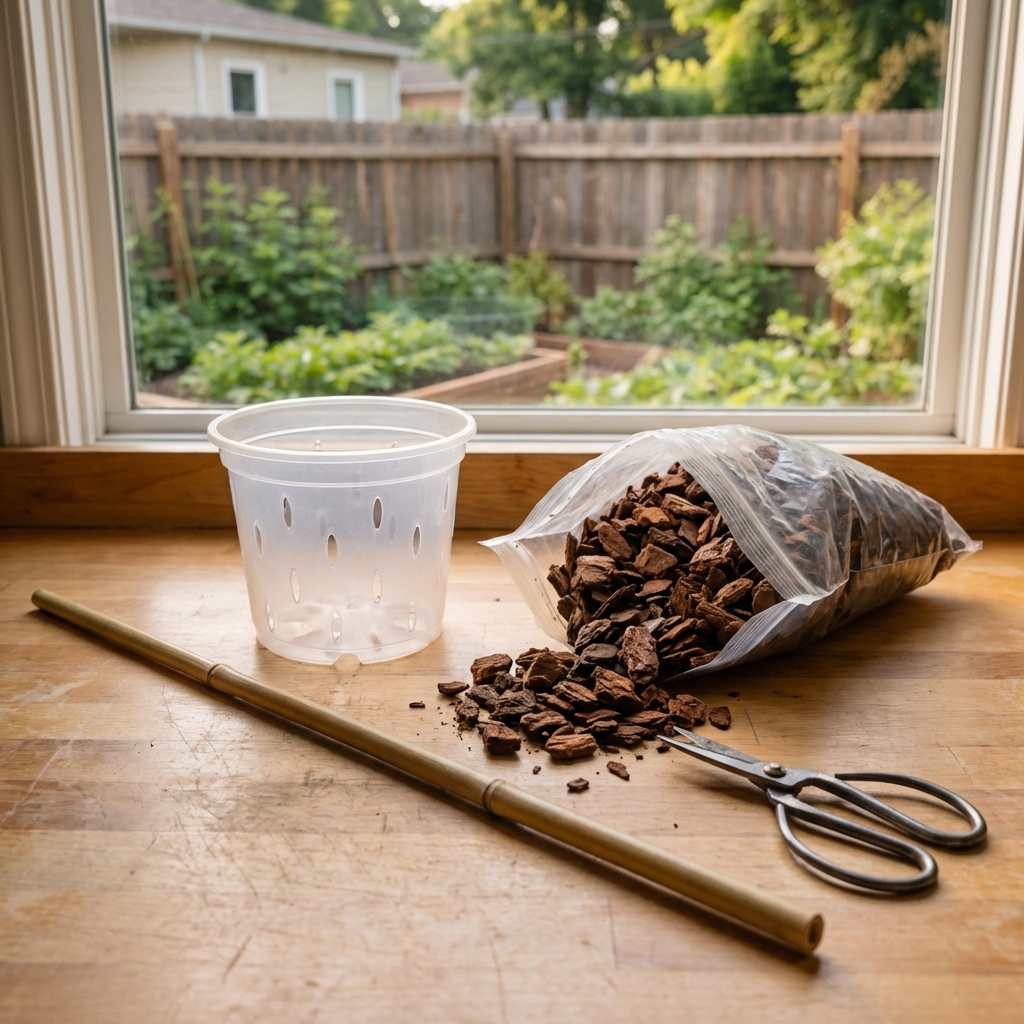
What you need
- New pot: clear plastic pots are great for Phalaenopsis because you can see root health and moisture. Choose only 1 size up.
- Orchid mix: a quality bark-based mix for most common orchids. Avoid regular potting soil.
- Clean scissors or pruners: sanitize with isopropyl alcohol.
- Optional: fresh sphagnum moss (to blend in small amounts if your home is very dry), a chopstick to tuck mix around roots, and a stake if the plant is top-heavy.
If you are reusing a pot: wash with soap and water first, then disinfect (for example, a brief soak in a diluted bleach solution), and rinse well. Clean pots help prevent repeat problems.
Choosing the right pot and mix
Pot size
Orchids like a snug pot. If you jump to a big container, the center stays wet longer and roots rot faster. As a rule, go up only 1 pot size or reuse the same pot if roots fit and the issue was old mix.
Drainage and airflow
Look for plenty of side and bottom holes. If you are reusing a decorative cachepot, keep the orchid in a slotted inner pot and never let it sit in water.
Which mix is best?
- Phalaenopsis (moth orchid): medium bark works for most homes. Add a small amount of sphagnum if you struggle with fast drying.
- Cattleya: chunkier bark and extra airflow.
- Oncidium: slightly finer mix than Cattleya, often with some moisture-holding material if your air is dry.
There are other options, too (full sphagnum, semi-hydro/LECA), but they only work if your watering habits match the medium. If you are not sure what orchid you have, a bark-based mix in a well-ventilated pot is the safest starting point for most common grocery store orchids.
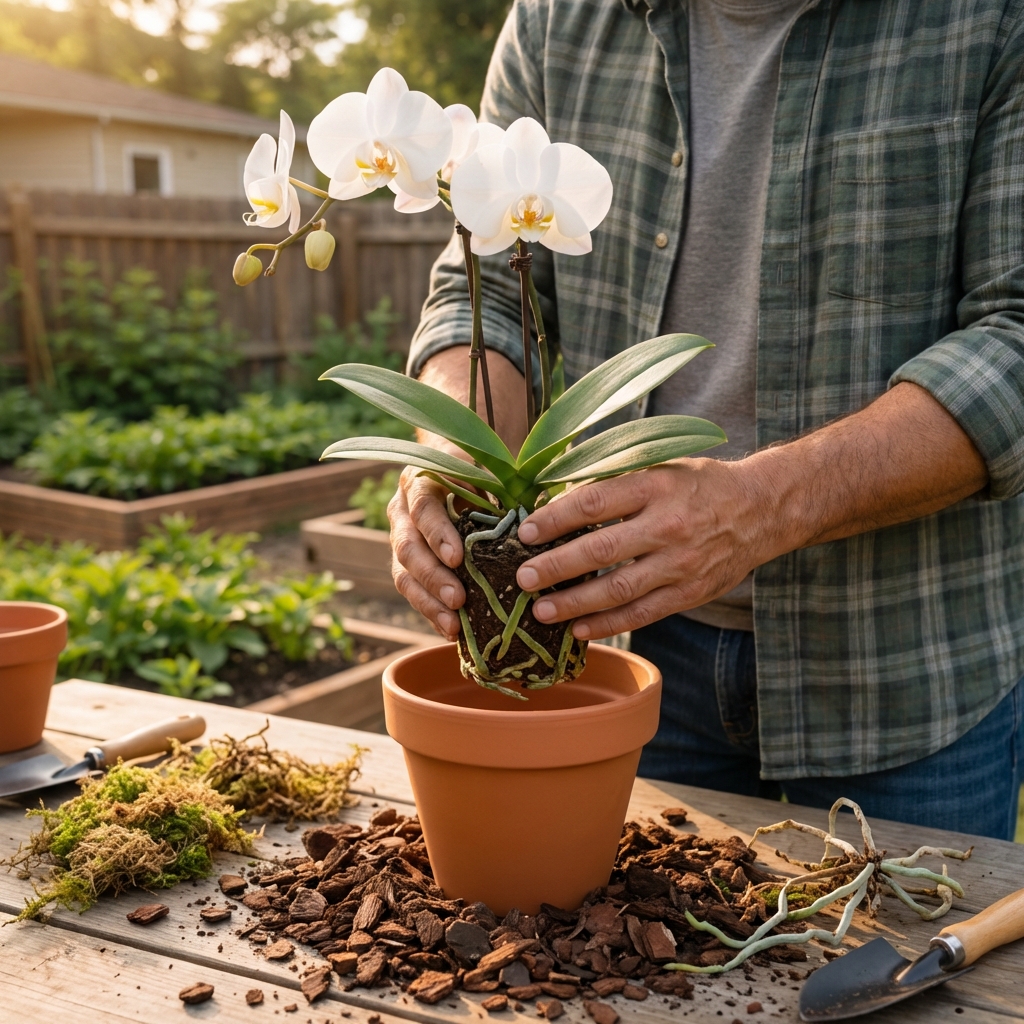
Step-by-step: how to repot an orchid
1) Water first (usually)
Lightly water the day before or a few hours before repotting. Slightly hydrated roots bend instead of snapping. If you suspect active root rot and everything is soggy, skip this and repot dry.
2) Remove the orchid from the pot
Gently squeeze the pot to loosen roots. If roots are stuck to the pot, work slowly. Tearing a few roots is not the end of the world, but avoid ripping the whole root mass.
3) Take off old mix
Pick out old bark and moss from between roots. This part takes patience. Old mix trapped in the center is a common reason orchids stay too damp after repotting.
Important: Many grocery-store Phalaenopsis have a dense moss core or peat plug tucked under the base. It can keep the center wet and quietly rot roots. If you find one, remove it completely.
4) Inspect roots and trim the bad ones
Healthy roots are firm. They can be green (when wet) or silvery (when dry). Dead roots are mushy, hollow, papery, or black and soft.
- Trim only the dead or clearly rotting parts.
- Keep firm roots even if they look stained.
- If a root is partly bad, cut back to firm tissue.
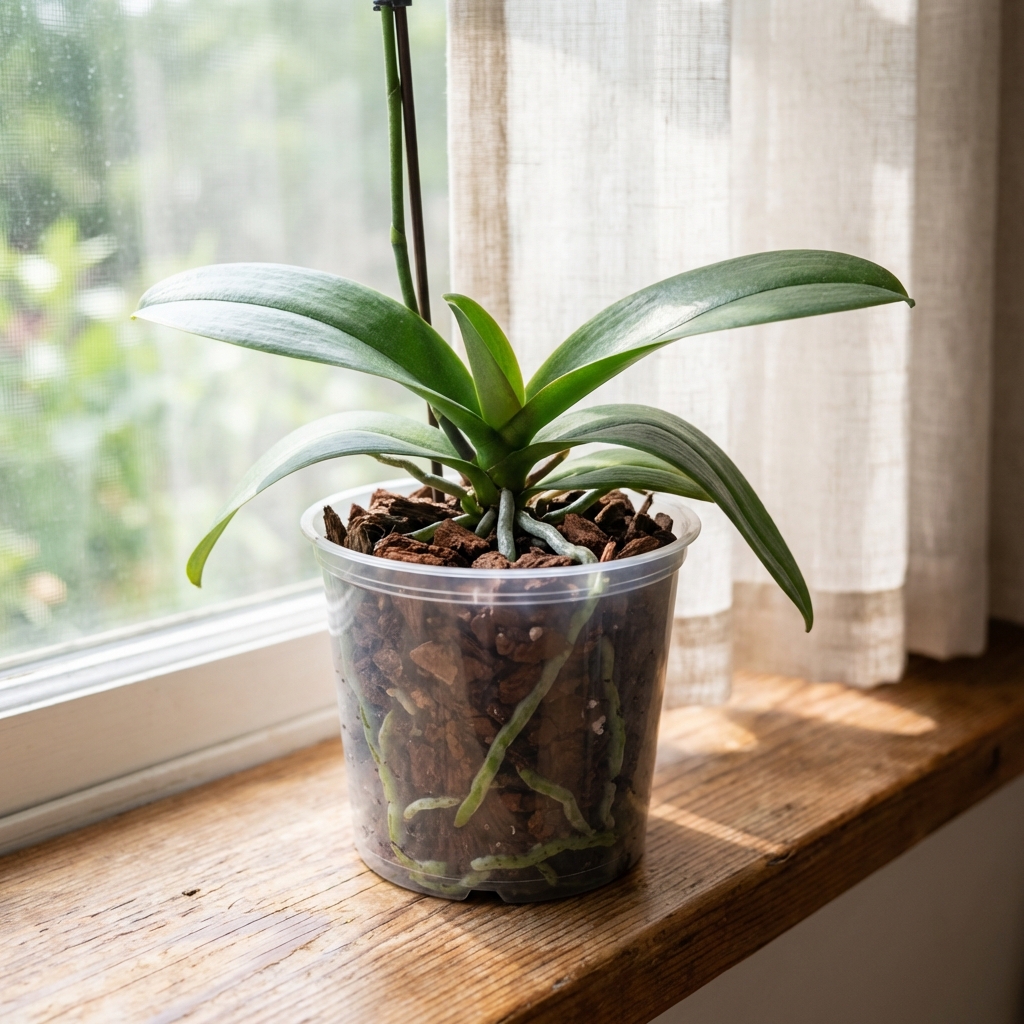
5) Set the orchid at the right height
Hold the plant so the base (where leaves meet roots) sits just above the mix line. Do not bury the crown. A buried crown is a fast path to crown rot.
6) Add fresh mix and stabilize
Fill around the roots with bark, tapping the pot and using a chopstick to tuck mix into gaps. You want the plant stable, not packed tight like soil. If it still wobbles, use a stake until new roots anchor.
7) Aftercare right after repotting
- Light: bright indirect light, avoid harsh direct sun for a week or two.
- Water: water thoroughly (until water runs freely from the drainage holes), then let it drain completely. If you trimmed a lot of roots, many growers wait about 2 to 4 days before a deep watering so cuts can dry a bit. In very dry homes, do not let the roots shrivel. A light rinse or earlier watering is better than prolonged bone-dry stress.
- Fertilizer: hold off 1 to 2 weeks, then resume at a light strength.
Smart solutions to common repotting problems
Problem: leaves are limp or wrinkled after repotting
This usually means the roots are not taking up water well yet. It can happen after root trimming or if the new mix dries differently than the old one.
- Check roots through the pot. If they are silvery and dry, water thoroughly and let it drain fully.
- Increase humidity slightly for a couple weeks if your home is very dry.
- Do not overcorrect by watering daily. Constantly wet mix slows root recovery.
Problem: the orchid wobbles and will not stay upright
- Use a stake and soft ties to stabilize the plant.
- Make sure the pot is not oversized. A snug pot helps stability.
- Tuck mix under and around the root mass, but do not crush the roots.
Problem: roots keep rotting even after repotting
This points to a staying-wet setup.
- Switch to a chunkier bark mix.
- Use a slotted pot with better airflow.
- Reduce watering frequency and water only when roots turn silvery.
- Always drain completely. Never leave water in a saucer for long periods.
Problem: no blooms the next cycle
Repotting itself can delay blooming if the plant put energy into roots. Also, many orchids need a clear light and temperature cue to bloom.
- Focus on steady leaf and root growth first. Blooms follow health.
- For Phalaenopsis, try slightly cooler nights in fall: about a 5 to 10°F (3 to 6°C) drop for 2 to 4 weeks. A common target is nights around 60 to 65°F (16 to 18°C), with warmer days.
- Make sure the plant gets bright light, not dim room light.
Problem: yellowing lower leaves after repotting
One older bottom leaf yellowing can be normal. Several leaves yellowing quickly is not.
- Check for soggy mix or rotting roots.
- Confirm you did not bury the crown.
- Look for pests hiding at the base and under leaves.
Repotting tips that prevent mistakes
- Do not use ice cubes to water. It can chill roots and often leads to inconsistent watering. Some branded orchids are marketed this way, and it can work in some setups, but it is not a great all-purpose method. A thorough watering that drains freely is more reliable.
- Do not pack the mix tight. Orchids need air around roots.
- Keep the crown dry for Phalaenopsis. Water the mix, not the center of the leaves.
- Label the date on the pot. It helps you track when the mix is likely to break down.
- Skip heavy disinfectants on roots. Clean cuts, fresh mix, and good airflow do more than powders and home remedies.
Quick FAQ
Should I cut aerial roots?
No. Aerial roots are normal. Only trim roots that are clearly dead or rotting. If an aerial root is healthy but awkward, you can guide it into the pot if it bends easily. Do not force it.
Can I repot an orchid in regular potting soil?
Do not. Most common orchids are epiphytes and need air around roots. Soil stays too wet and suffocates them.
Do I need to soak bark before repotting?
It helps. Soaking bark for 15 to 30 minutes reduces initial dryness so the first few waterings are more even. Let it drain before using.
How long does repot shock last?
Often 1 to 3 weeks. If the plant keeps declining after that, re-check roots and your watering rhythm.
Bottom line
Repotting is not about giving your orchid a bigger home. It is about giving it a fresh, airy root zone. Use a snug pot, a bark-based mix that drains fast, trim only what is truly dead, and keep aftercare simple. Most orchids bounce back quickly once roots can breathe again.

Jose Brito
I’m Jose Britto, the writer behind The Country Store Farm Website. I share practical, down-to-earth gardening advice for home growers—whether you’re starting your first raised bed, troubleshooting pests, improving soil, or figuring out what to plant next. My focus is simple: clear tips you can actually use, realistic expectations, and methods that work in real backyards (not just in perfect conditions). If you like straightforward guidance and learning as you go, you’re in the right place.