Bed bugs are tiny, stubborn, and really good at hiding. The trick is not just looking at your sheets and hoping you will spot one. You want a method that helps you confirm what you are seeing and avoids false alarms like mosquito bites or lint.
This page walks you through what bed bugs look like, the most reliable signs, where to search, and what to do right away if you find evidence.
What bed bugs look like
Seeing one is the fastest way to confirm an infestation, but you need to know the basics because bed bugs change appearance depending on age and whether they have fed.
- Adult bed bugs: About the size of an apple seed (roughly 5 to 7 mm), flat and oval, reddish brown. After feeding, they look more swollen and darker.
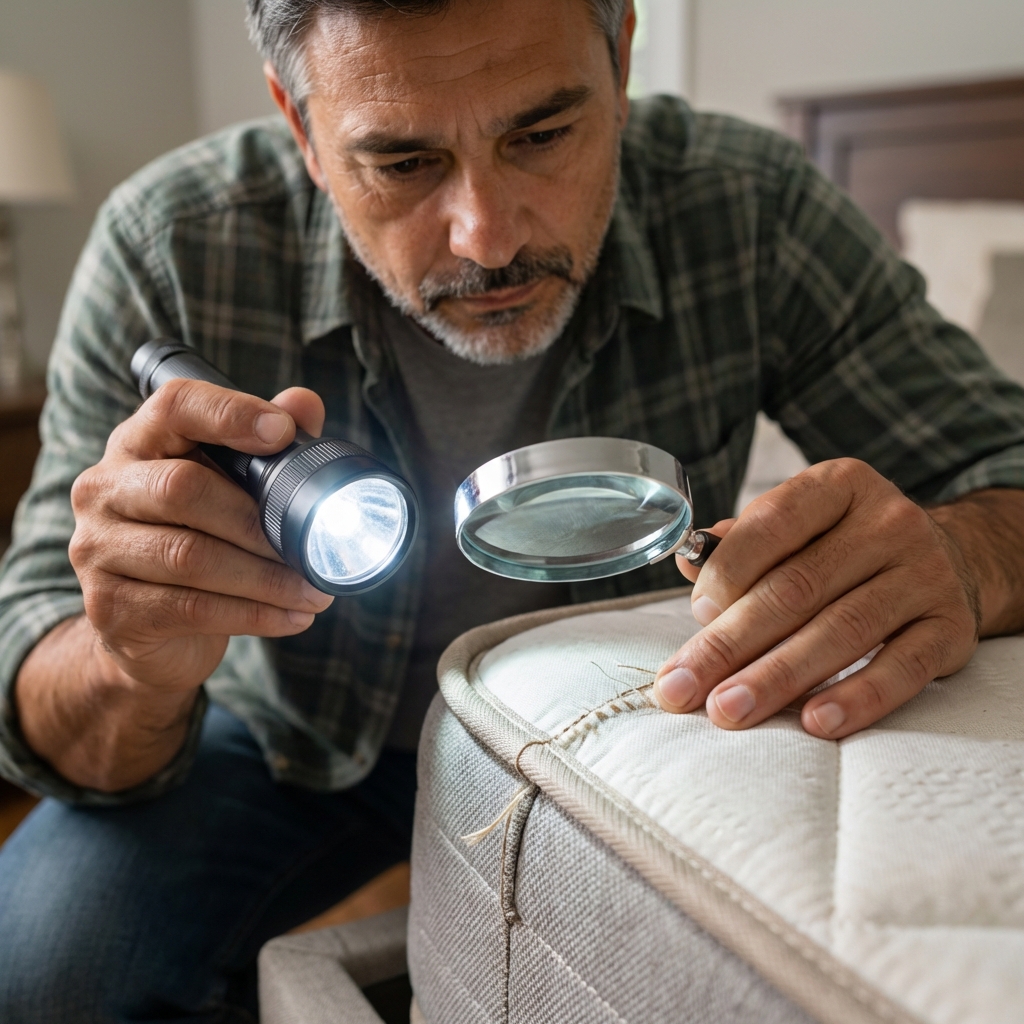
- Nymphs (young bed bugs): Smaller and lighter. Very young nymphs can look pale or nearly translucent until they feed.
- Eggs: Tiny, white, and about the size of a pinhead. Often glued into crevices.
- Shed skins: Bed bugs molt as they grow, leaving behind papery, tan shells that look like a hollow bug.
If what you find has wings, jumps like a flea, or looks fuzzy, it is probably not a bed bug. If you are unsure, save a sample and get it identified, since look-alikes like bat bugs and carpet beetles can confuse the picture.
The most reliable signs (in order)
In real homes, people usually notice secondary signs before they ever see a live bug. Use this list like a simple scoring system. The more signs you find in the same area, the higher the likelihood you are dealing with bed bugs. One sign alone can be misleading. Two or more signs in the same area are when you should treat it seriously.
1) Live bugs in seams and cracks
Look for them where fabric folds meet wood or metal. Bed bugs prefer tight, protected spaces where their bodies touch surfaces on both sides.
2) Dark spotting on fabric or wood
These look like tiny black ink dots or marker specks. They often show up along mattress seams, on the edge of the box spring fabric, or on the bed frame near where your body rests. If you dab a fresh spot with a damp cotton swab, it may smear reddish brown.
3) Rusty or reddish stains on sheets
These can be crushed bed bugs or blood smears. They are usually small and irregular, not a neat circle.
4) Eggs, shed skins, and a musty odor
Eggs and shed skins are strong evidence when found together. A sweet, musty odor can happen in heavier infestations, but it is not a dependable early sign.
Where to look first (the 15-minute search)
If you want quick results, focus on the spots closest to where a sleeping person stays still for hours. Bed bugs do not typically live on you. They usually hide near you and come out to feed.
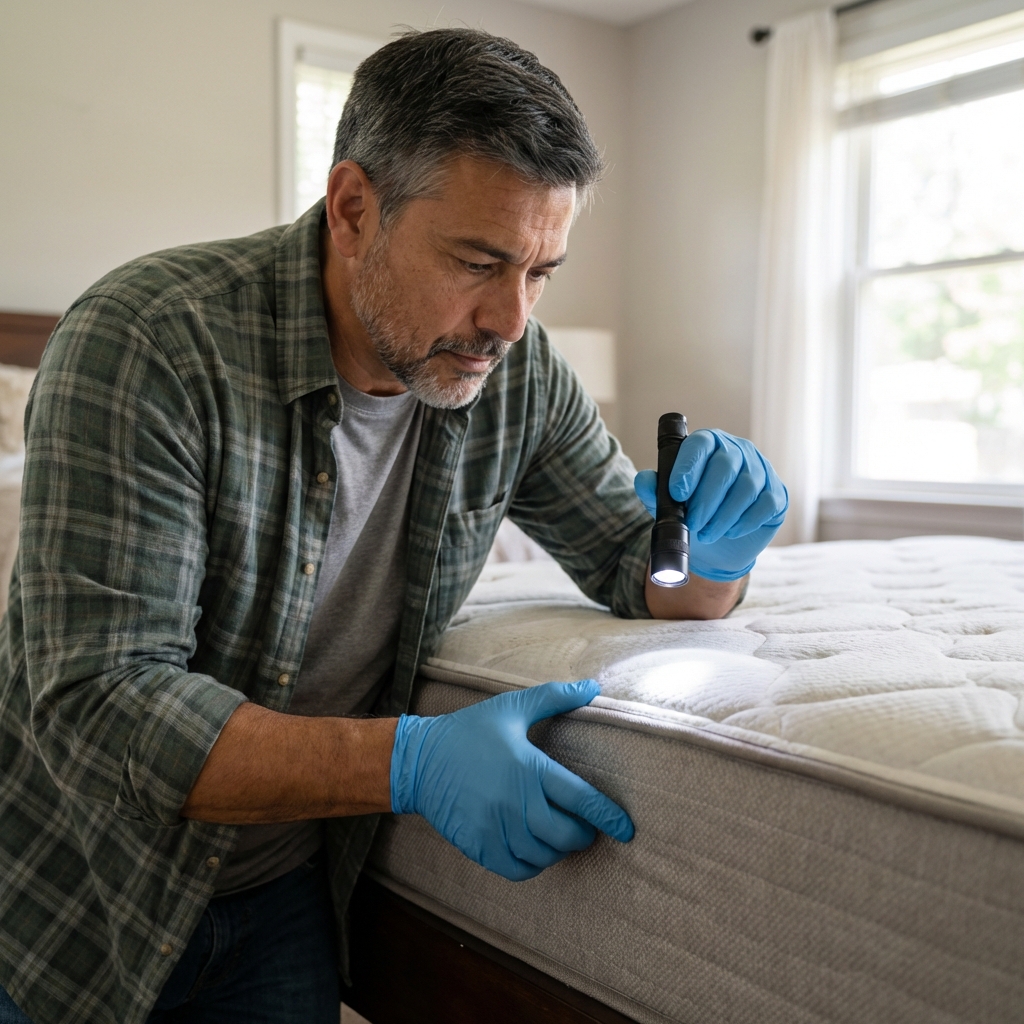
Start with the bed
- Mattress seams and piping: Run a credit card or old gift card along seams to open the fold while you shine a flashlight.
- Tags and corners: Bed bugs love folds near tags.
- Box spring: Check the underside. If there is a thin dust cover, inspect along staples and tears.
- Headboard and bed frame: Especially where the headboard meets the wall and where rails join.
Then check the closest clutter zone
- Nightstands: Corners, drawer joints, and underneath.
- Baseboards and carpet edge: Where the bed meets the wall.
- Behind wall hangings: Picture frames near the bed.
- Upholstered furniture: If people nap on the couch, check seams and under cushions.
If signs look widespread
If you are seeing spotting in more than one place or you suspect a more established problem, expand your search to curtain seams, luggage and bags near the bed, cracks behind baseboards, and around electrical outlets (look only, do not open anything).
Tools that make bed bugs easier to see
You do not need fancy gadgets, but a few basics make a huge difference.
- Bright flashlight: A narrow beam helps you scan crevices.
- Disposable gloves: For handling seams, fabric, and dusty areas.
- Old card: To scrape along seams and reveal eggs or bugs tucked inside.
- Clear tape or a small jar: To capture a specimen for identification.
- Magnifying glass: Helpful for eggs and tiny nymphs.
If you are unsure, a single captured bug in a sealed bag or jar is often enough for a pest professional to confirm. Some local extension offices and public health resources can also help with identification.
Bed bug bites: clue, not proof
Bites are one of the most common reasons people suspect bed bugs, but bites alone cannot confirm them. Some people do not react at all, and other insects can cause similar marks.
- Often on: Arms, shoulders, neck, and exposed skin.
- Sometimes appear: In a line or cluster, but not always.
- Timing: Reactions can show up hours or days later.
If you have bites but cannot find physical signs after a careful search, keep looking for evidence rather than jumping straight to treatments.
How to confirm without guessing
If you want a practical, low-stress confirmation routine, do this for 7 to 10 nights. Keep in mind that a very light infestation can be hard to detect, so a lack of captures does not always rule bed bugs out.
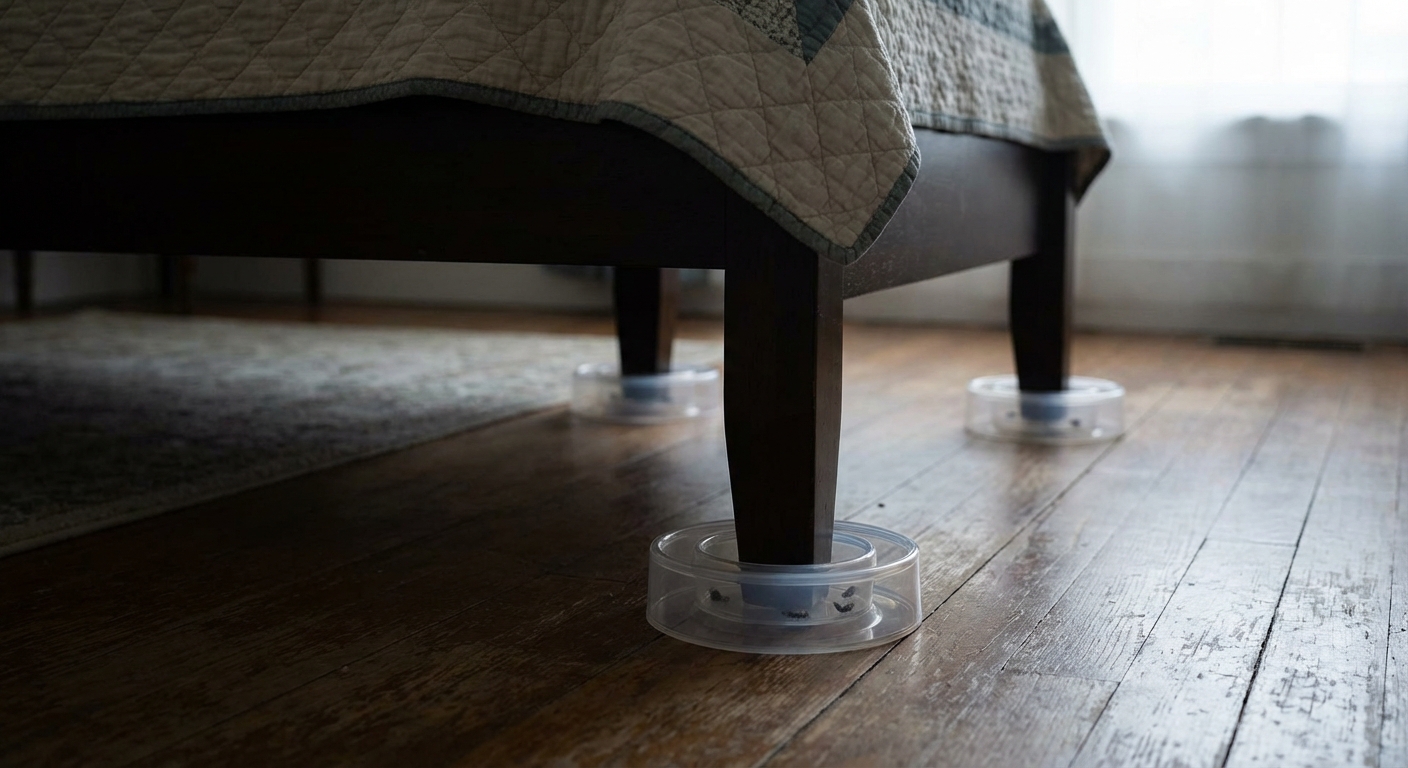
Step 1: Install interceptors
Place bed bug interceptors under each bed leg. They are small plastic cups that trap bugs trying to climb up or down.
Step 2: Pull the bed slightly away from the wall
Make it harder for bugs to reach the bed except via the legs, which is where the interceptors help.
Step 3: Reduce bridges
Make sure bedding does not drape onto the floor. Keep laundry and storage bins away from the bed while you monitor.
What to do right away if you find bed bugs
This is the part where people accidentally make things worse. The goal is to contain, document, and start reducing the population without spreading them to other rooms.
Do
- Capture a sample: Use tape or a jar and keep it sealed.
- Wash and dry on heat: Bedding and clothing from the bed area. The dryer on high heat is the workhorse here. A common rule of thumb is 30 to 60 minutes on high once items are fully hot, but always follow the care label and your appliance guidance.
- Bag items before moving them: Put fabrics in sealed bags to carry them to the laundry.
- Vacuum carefully: Mattress seams, bed frame cracks, baseboards. If you have a bagged vacuum, use it. When finished, seal and discard the bag right away. If you have a bagless vacuum, empty the canister into a sealed bag immediately and take it outside. Wipe attachments so you do not accidentally spread bugs to the next room.
- Encase the mattress and box spring: Use bed bug rated encasements to trap bugs and make future inspections easier.
Do not
- Do not move to another room to sleep: That can spread the problem.
- Do not drag an infested mattress through the house: You can drop bugs and eggs along the way.
- Do not rely on bug bombs: Foggers rarely work on bed bugs and can cause them to scatter into new hiding spots.
- Do not overuse sprays: Especially on mattresses where people sleep. Follow labels strictly.
Next step
Think in layers: keep laundering and drying what you can, keep interceptors in place for monitoring, reduce hiding spots (clutter), and use targeted treatment methods or professional help for cracks, crevices, and furniture. Follow up matters more than a one-time deep clean.
When to call a pro
Bed bugs are doable for some homeowners, but there are times when bringing in help is the smartest move.
- You found bugs in multiple rooms.
- You live in an apartment, duplex, or shared building where units connect. Notify your landlord or property manager early.
- You have tried basic containment and still see new signs week after week.
- Someone in the home has health concerns that make DIY treatments risky.
When you call, share what you found and where, and mention whether you have encasements and interceptors in place. Good information helps a lot.
Quick checklist for tonight
- Flashlight and gloves ready
- Inspect mattress seams, corners, and tag area
- Check box spring underside along staples and edges
- Inspect headboard, bed frame joints, and wall side cracks
- Look for dark spots, shed skins, eggs, and live bugs
- Bag bedding, dry on high heat, and reduce clutter around the bed
- Set interceptors under bed legs to confirm activity
If you want the most practical approach, focus on two things: find physical evidence and keep the problem contained to the sleeping area while you plan your next step.
Publishing note: The image src fields above are currently blank. Add real image URLs before publishing, or remove the image tags.

Jose Brito
I’m Jose Britto, the writer behind The Country Store Farm Website. I share practical, down-to-earth gardening advice for home growers—whether you’re starting your first raised bed, troubleshooting pests, improving soil, or figuring out what to plant next. My focus is simple: clear tips you can actually use, realistic expectations, and methods that work in real backyards (not just in perfect conditions). If you like straightforward guidance and learning as you go, you’re in the right place.