Roaches are stubborn for one main reason: they do not just show up. They settle in where they can find food, water, warmth, and hiding spots. If you only spray what you can see, you might kill a few, but the colony keeps going behind the walls, under appliances, and inside cabinets.
This page walks you through simple solutions, but in a way that actually works long-term. You will start with quick wins, then move into the deeper fixes that keep them from returning.
Safety note: Any time you use a pesticide product (including baits and dusts), read and follow the label. Keep products away from kids and pets, and do not apply anything on food-prep surfaces.
First, confirm what you are dealing with
Different roaches behave differently. If you treat a German roach problem like an outdoor roach problem, you can waste weeks.
Quick ID cheat sheet
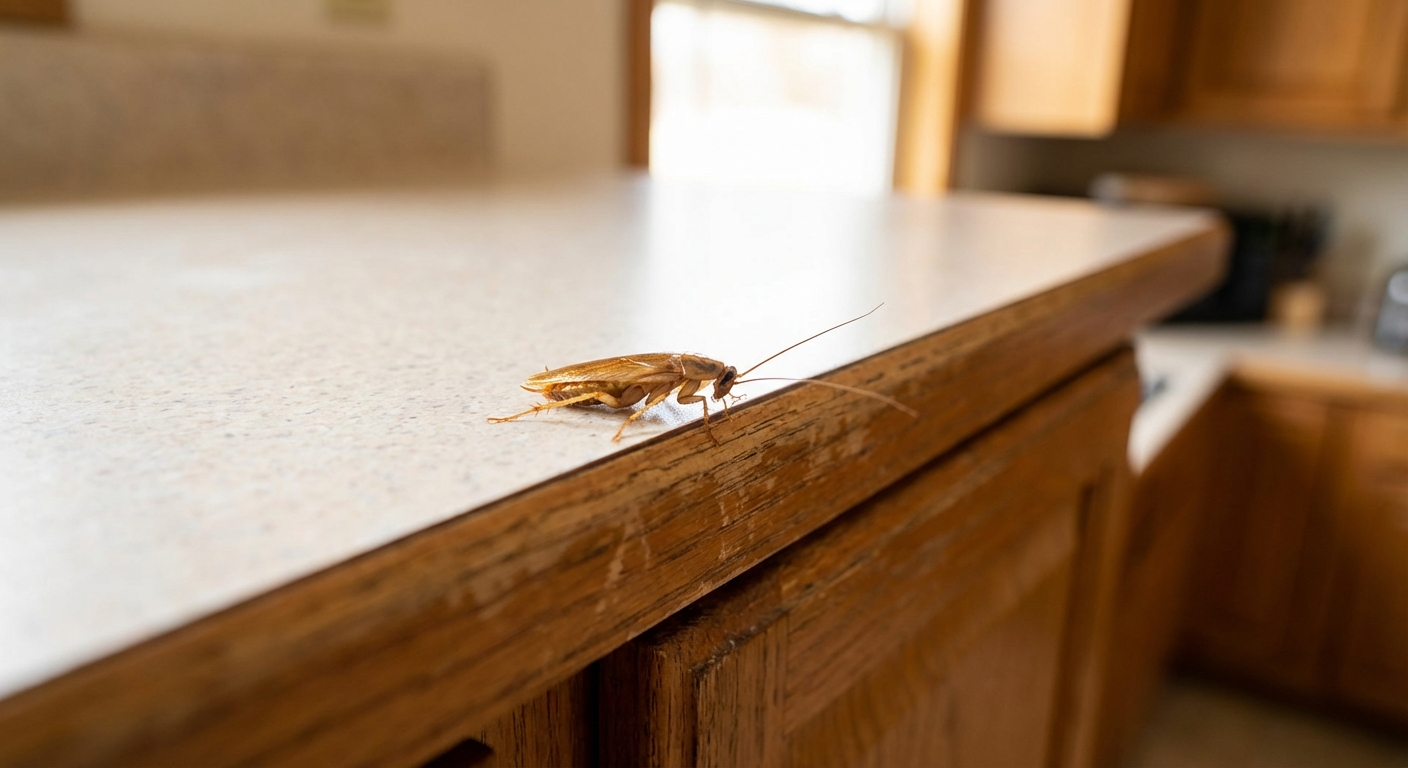
- German roaches (common indoors in many areas): small, light brown, usually found in kitchens and bathrooms. They breed fast and love tight cracks near food and moisture.
- American roaches: larger, reddish-brown, often linked to basements, crawlspaces, sewers, and damp utility areas.
- Smokybrown roaches: large, dark brown, often come from outdoors, attics, garages, woodpiles, and humid areas.
- Oriental roaches: darker and slower, commonly tied to damp, cool areas like basements and drains.
If you are seeing lots of small roaches in the kitchen at night, assume German roaches and go straight to baiting and deep sanitation.
Do a 15-minute roach audit (before you treat)
Your goal is to find where they are feeding, where they are hiding, and how they are getting water.
Look for these signs
- Droppings: pepper-like specks or coffee-ground dots in corners, drawers, cabinet hinges, and under sinks.
- Egg cases: small brown capsules tucked into cracks, behind appliances, or in drawer slides.
- Smear marks: dark streaks along baseboards and edges where they travel.
- Musty odor: stronger smell usually means a bigger infestation.
Hot spots to check
- Under and behind the refrigerator (especially the drip pan area)
- Behind the stove and under the range hood area
- Inside cabinet corners and around plumbing under the sink
- Dishwasher sides and the gap under the counter lip
- Bathroom vanity and around toilet supply lines
- Pantry corners, pet food storage, and trash can area
Add simple monitoring (highly recommended)
Put a few sticky monitors (glue traps) under the sink, behind the fridge, and near the stove. They do not solve the problem by themselves, but they tell you where the hot spots are and whether your plan is working. Check them weekly and replace as needed.
Step 1: Sanitation and prep (do this first)
This is the part people skip because it feels boring. But it is what makes baits and other treatments work faster and last longer.
Food control that actually matters
- Wipe counters and stove edges nightly. Focus on grease and crumbs, not just visible mess.
- Store dry foods in sealed containers, including cereal, flour, and snacks.
- Do not leave pet food out overnight. Feed, then pick it up.
- Empty kitchen trash nightly if roaches are active, and rinse cans and recycling.
Water control that makes a big difference
- Fix drips under sinks and at toilet supply valves.
- Dry the sink and drain area before bed. Roaches forage most at night.
- Do not leave wet sponges out. Put them in a sealed container or run them through the dishwasher.
- If humidity is high, run a dehumidifier in basements or damp rooms.
Declutter their hiding spots
- Reduce cardboard storage. Roaches love it, and it holds moisture and food dust.
- Pull items away from cabinet walls so you can clean corners.
- Vacuum cracks and crevices (then take the vacuum bag outside or empty the canister).
Deep-clean the two main zones
Most roach problems revolve around two things: grease and water. Do this deep-clean before you go heavy on baiting, or at least at the same time.
Kitchen priority checklist
- Pull the refrigerator out and clean the floor and sides. Degrease if needed.
- Clean under the stove. Crumbs collect along the sides and back.
- Vacuum inside drawer tracks and cabinet corners.
- Store fruit in the fridge if roaches are active.
- Check small appliances. Toasters and coffee makers can harbor crumbs.
Bathroom priority checklist
- Fix slow leaks and sweating pipes.
- Seal around pipe penetrations inside the vanity (after you start treatment, see Step 3).
- Keep bath mats and towels dry and off the floor overnight.
- Use a drain cover if you suspect activity near drains (especially in older buildings).
Step 2: Use the right kill method
If you want simple and effective, focus on baits and dusts. Sprays have a place, but they are not the backbone of a long-term plan.
Gel bait: the best all-around option indoors
Gel baits work because roaches feed on them. Depending on the product and conditions, baiting can also help affect more roaches than the ones that feed directly through shared harborages, droppings, and carcasses. This is how you move from I killed a few to they are gone.
- Place tiny dots of bait in cracks, corners, and hinges, not big globs.
- Hit warm, tight areas: behind the fridge, under sink edges, cabinet corners, and around dishwasher gaps.
- Refresh bait when it dries out, gets dusty, or is eaten.
- Do not spray insecticide near bait. Many sprays repel roaches and make them avoid bait.

Bait stations: clean and low-maintenance
Bait stations are easier for many homes, especially with kids or pets. They can be slower than gel in heavy infestations, but they are simple and safer when placed correctly.
- Use multiple stations per room as the label allows, and concentrate them in kitchens and bathrooms.
- Place them along walls, under appliances, and inside cabinet edges.
- Replace on schedule, even if they look fine.
Boric acid or insecticidal dust: powerful when applied lightly
Dusts work best in places you cannot reach daily, like wall voids, under appliances, and behind toe-kicks. The key is a barely visible layer. If it looks like powdered sugar, it is too much and it can reduce effectiveness.
- Apply behind the refrigerator and stove, under cabinet bases, and into cracks.
- Keep dust out of areas where kids and pets can contact it.
- Never pile it on countertops or open shelves.
IGR (insect growth regulator): the stop breeding tool
An IGR does not kill roaches instantly. It disrupts their development and reproduction, which is a big deal for German roaches. Pairing an IGR with bait is one of the most reliable strategies for long-term control.
- Common DIY formats include small point-source discs you place or stick in cabinets and under appliances, and liquid concentrates applied to cracks and crevices (per label).
- Place IGRs near hot spots you found during your audit and where your monitors are catching activity.
If you are not seeing improvement
If you have done sanitation plus baiting for 2 to 3 weeks and trap counts are not dropping, consider switching to a bait with a different active ingredient and double-check that sprays, strong cleaners, or heavy grease are not contaminating or competing with your bait.
Step 3: Seal entry points and hiding cracks
This is where prevention really happens. Even if you knock down the current batch, open gaps invite the next one.
Where to seal
- Gaps around plumbing under sinks (use caulk or expanding foam depending on the gap)
- Cracks where backsplash meets wall, and where countertops meet the wall
- Baseboards and flooring edges, especially behind appliances
- Cabinet seams and voids around dishwasher installation
- Door sweeps and weather stripping around exterior doors
- Window gaps and utility line entry points
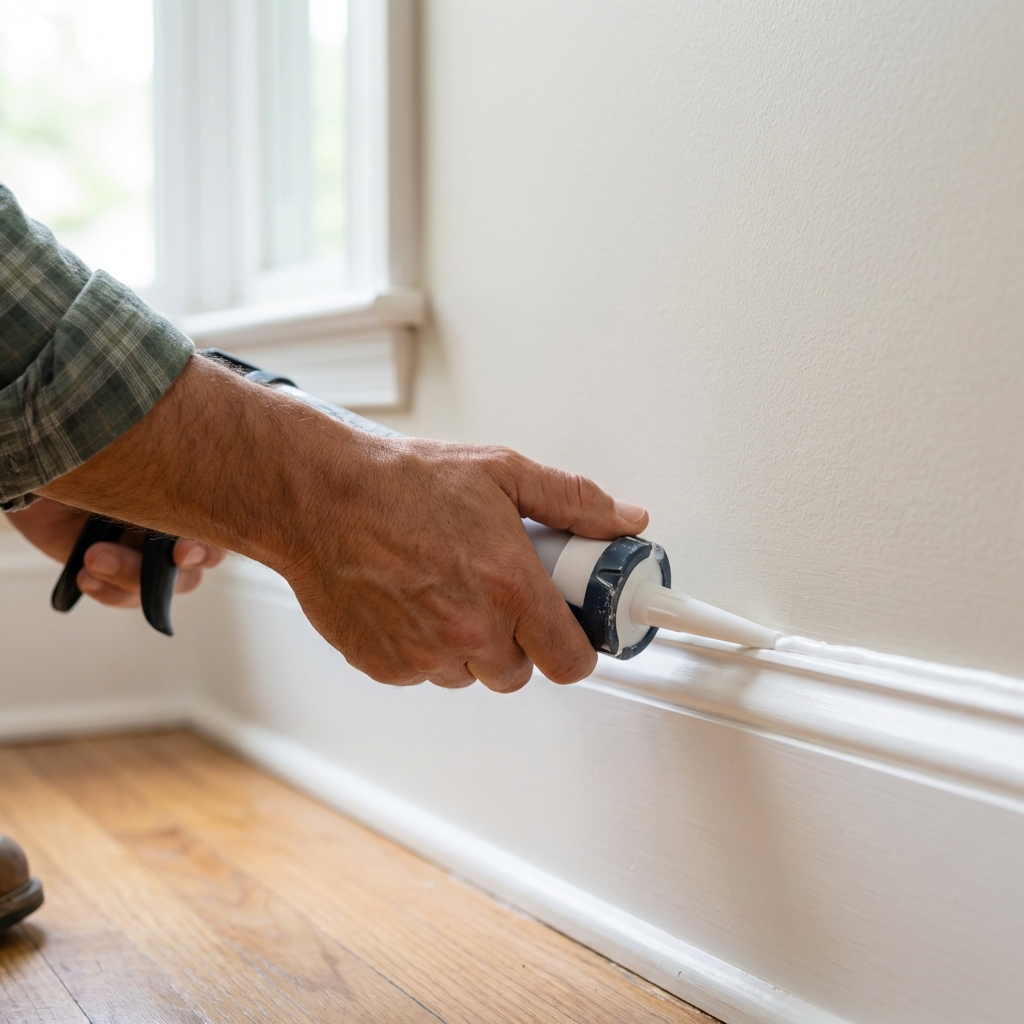
Tip: In heavier infestations, it can help to bait first, then seal. A practical window is 7 to 14 days of baiting while you monitor activity, then focus on closing the biggest gaps. Sealing can temporarily shift where you see roaches as they adjust to blocked routes. Work in a well-ventilated area and follow the caulk or foam instructions.
Step 4: Outside control (so they do not march back in)
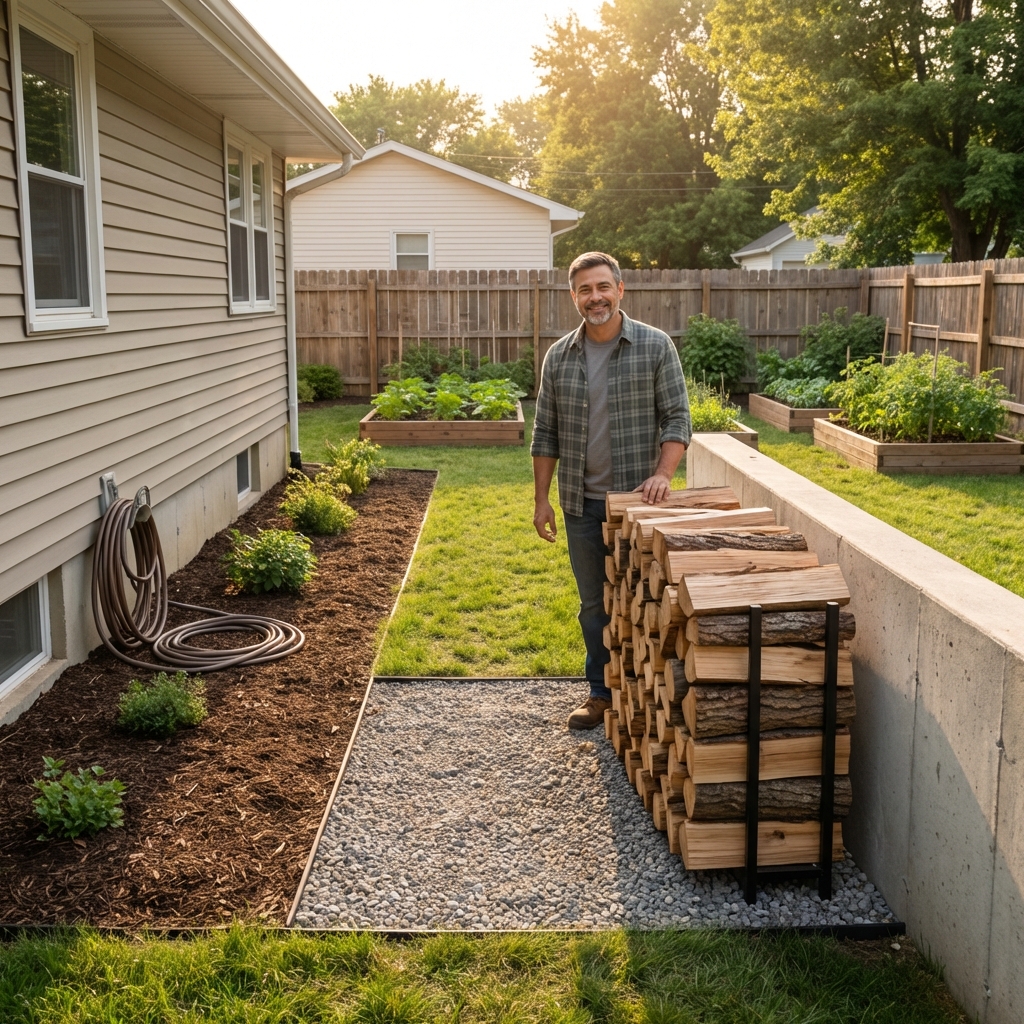
If your issue is mostly big roaches, outdoor conditions often matter as much as what you do inside.
- Keep leaf litter, mulch, and woodpiles away from the foundation.
- Trim vegetation so it does not touch the house.
- Reduce moisture around the home: fix spigots, improve drainage, clean gutters.
- Use exterior crack sealing and door sweeps to block entry.
What not to do (common mistakes that slow everything down)
- Do not rely on foggers. They rarely reach where roaches hide and may drive them into deeper harborages.
- Do not spray over bait. Repellent sprays can make bait less effective.
- Do not use heavy dust piles. A light film works better than a thick layer.
- Do not ignore water. A single slow leak can keep a colony alive even with good baiting.
- Do not leave just a few. Roaches rebound fast if you stop too early.
How long does it take to get rid of roaches?
It depends on species and infestation level, but here is a realistic timeline if you are baiting and cleaning consistently:
- Light infestation: noticeable improvement in 3 to 7 days, often resolved in 2 to 4 weeks.
- Moderate infestation: improvement in 1 to 2 weeks, typically 4 to 8 weeks to get control.
- Heavy German roach infestation: it can take 2 to 3 months of steady work, especially in apartments where neighbors may also have activity.
Expect to see some activity after baiting. Roaches often come out to feed more as the bait begins working, then numbers drop.
Use your monitors to measure progress: your goal is fewer trap catches each week, not just fewer sightings.
When to call a professional
You can absolutely do a lot yourself, but there are times a pro is the fastest, cheapest option in the long run.
- You see roaches in multiple rooms daily, especially during daytime.
- You have tried baiting for 3 to 4 weeks with no improvement.
- You live in an apartment or townhouse and suspect shared walls are a source.
- You find roaches in electrical outlets, wall voids, or HVAC areas where targeted treatment is needed.
- Anyone in the home has asthma or severe allergies and symptoms are worsening.
If you are in a multi-unit building, coordinate with your landlord or management if you can. Treating one unit while the next unit stays active often turns into an endless loop. Focus your sealing around shared plumbing penetrations and any gaps where pipes and wires enter the unit.
Clean-up and what done looks like
As numbers drop, vacuum dead roaches and droppings to reduce allergens. Wipe surfaces with normal cleaning products, but avoid blasting baited areas with strong degreasers or sprays that could contaminate bait placements.
You are usually in good shape when your sticky monitors show zero to near-zero catches for 2 to 4 weeks and you are not seeing fresh droppings in the usual hot spots.
Simple weekly routine to keep them gone
Once you get control, staying roach-free is mostly about staying boring and consistent.
- Wipe counters and stovetop nightly.
- Vacuum kitchen edges and under small appliances weekly.
- Check under sinks monthly for moisture and new gaps.
- Refresh bait stations every few months or sooner if you see activity (follow the label).
- Keep outdoor debris away from the foundation and fix drainage issues.
If you want one takeaway: control water, then bait, then seal. Do those three in that order and you will be miles ahead of the spray-and-pray approach.

Jose Brito
I’m Jose Britto, the writer behind The Country Store Farm Website. I share practical, down-to-earth gardening advice for home growers—whether you’re starting your first raised bed, troubleshooting pests, improving soil, or figuring out what to plant next. My focus is simple: clear tips you can actually use, realistic expectations, and methods that work in real backyards (not just in perfect conditions). If you like straightforward guidance and learning as you go, you’re in the right place.