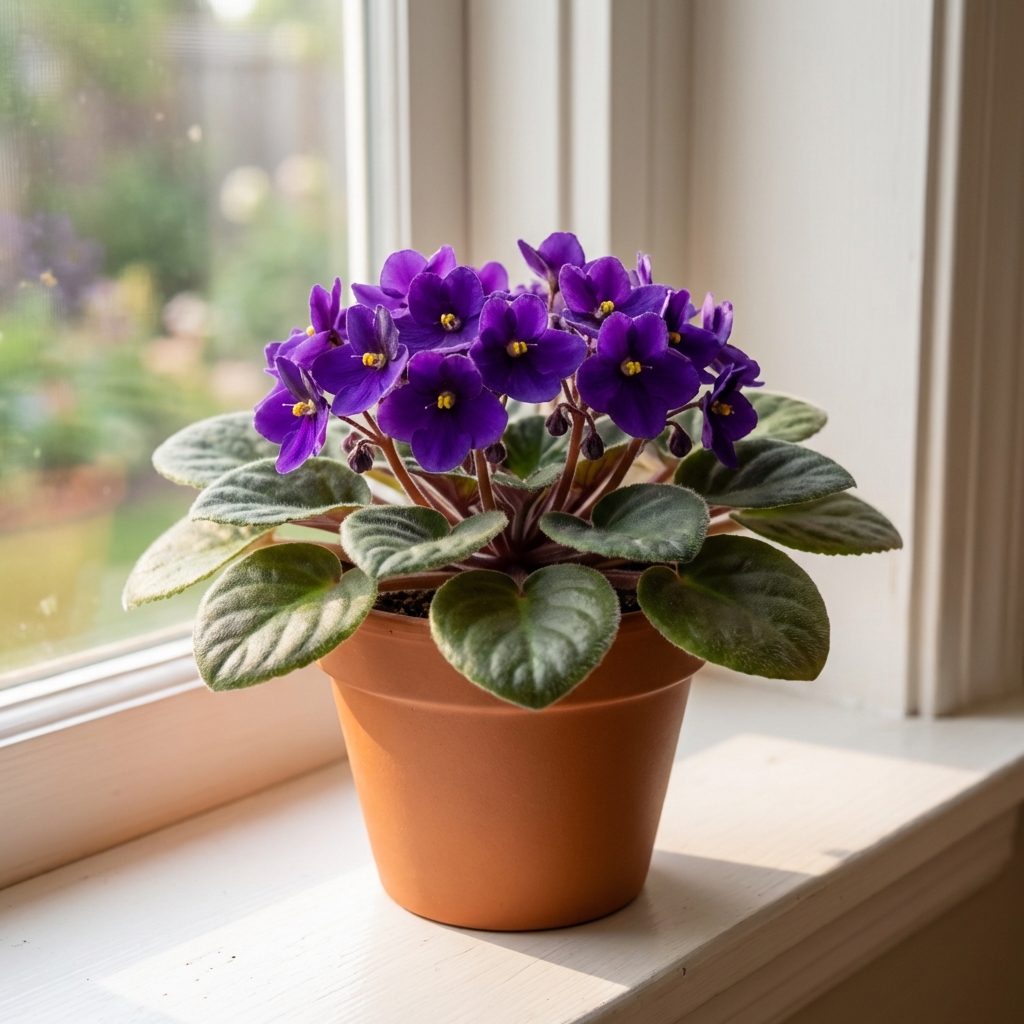
African violets are one of those houseplants that look fussy until you learn their few non-negotiables. The “natural” approach works great here because most violet problems come from the basics: too much water, not enough light, or leaves that stay damp. Get the environment right, then use mild remedies only when you actually need them.
What African violets actually need
Light (bright, not harsh)
Give your violet bright, indirect light for most of the day. An east window is often perfect. In a south or west window, pull it back from the glass or use a sheer curtain.
- Too little light: long leaf stems, slow growth, few flowers.
- Too much light: pale, tight leaves and scorched spots.
Watering (steady, not soggy)
The goal is evenly moist soil that still has air in it. Let the top 1/2 inch to 1 inch of mix dry before watering again. If you always water “on schedule,” you will eventually overdo it.
- Use room-temperature water. Cold water can contribute to stress and leaf spotting.
- Water the soil, not the fuzzy leaves and crown.
- Empty any saucer after 20 to 30 minutes if you top-water.
Bottom-watering and self-watering pots
Bottom-watering works well for African violets, as long as it does not turn into “always wet.” Set the pot in a shallow dish of room-temperature water for about 15 to 30 minutes, then let it drain fully.
- Wick or self-watering setups: use a very airy mix and a small reservoir. The soil should be lightly moist, not saturated.
- Check weekly: if the top stays wet for days, downsize the reservoir, shorten wick time, or repot into a lighter mix.
Humidity and airflow
African violets do well in average to moderately higher indoor humidity (roughly 40 to 60%), but they hate stale air and wet leaves. If you use a pebble tray, keep the pot above the water line so the roots never sit in water.
Temperature (steady, not chilly)
They bloom best in typical “comfortable room” temps, about 65 to 75°F (18 to 24°C). Avoid cold drafts, cold windowsills at night, and sudden drops. If your plant sits near glass, pull it back a few inches in winter.
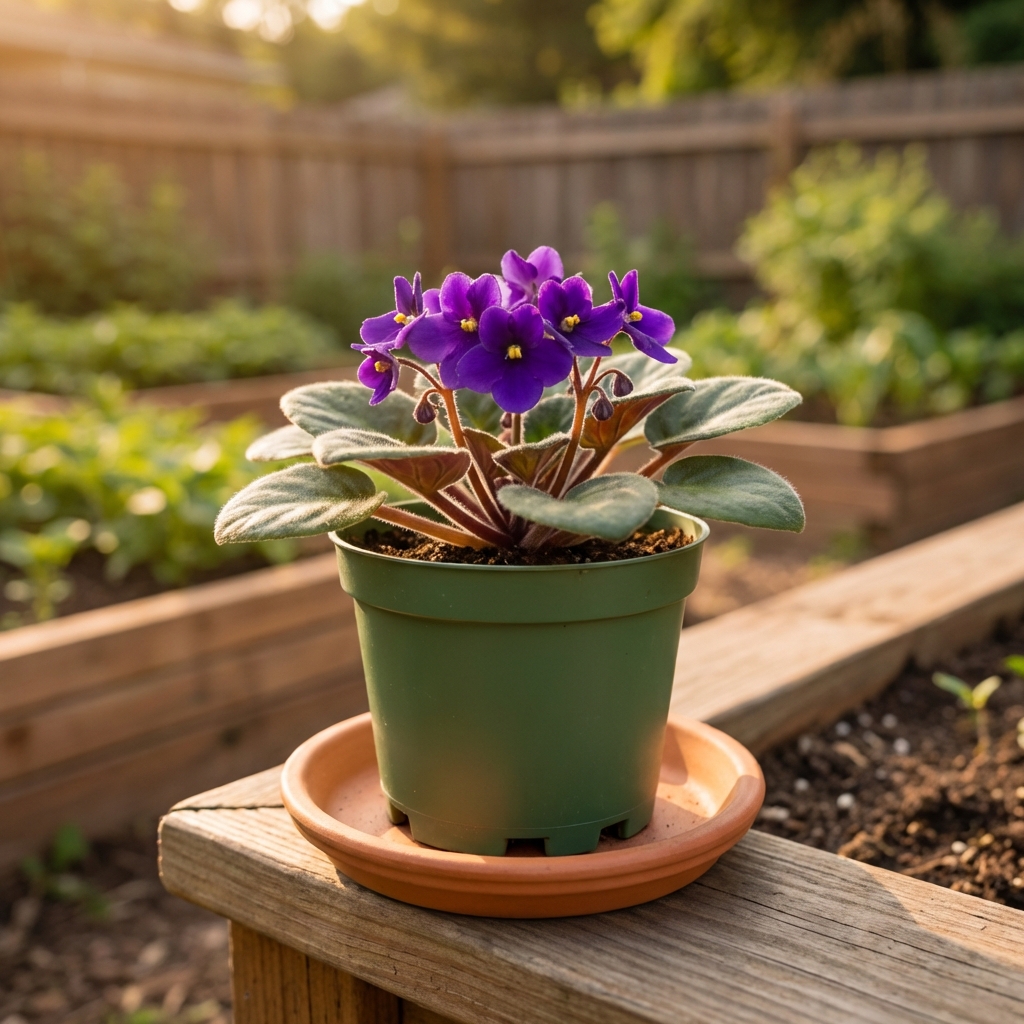
Soil and pot choice
Natural care starts with a mix that drains fast. A good rule is a light African violet mix cut with extra perlite.
- Simple mix: 2 parts African violet potting mix + 1 part perlite.
- Pot size: violets bloom best slightly snug. Many do well in 4-inch pots.
- Best pots: plastic pots with drainage holes are easy to manage. Terra cotta can work but dries faster.
Natural feeding for steady blooms
If you want blooms, you usually need some nutrition. “Natural” does not have to mean “no fertilizer.” It means using gentle rates and not overloading the soil.
- Best low-stress approach: a balanced houseplant fertilizer or African violet fertilizer at 1/4 strength every 2 to 4 weeks during active growth.
- Flush salts naturally: once every 6 to 8 weeks, water thoroughly until extra drains out, then discard runoff. This helps prevent crusty buildup.
Skip these common “home hacks”: coffee grounds in the pot, eggshell chunks, and banana peels. They break down slowly indoors, can invite fungus gnats, and do not reliably feed the plant in a container.
Once the basics and feeding are steady, most “problems” become easy to diagnose and, if needed, treat gently.
Natural remedies for common African violet problems
Before you treat anything, confirm the problem. Many “pests” are really watering or light issues. When you do treat, start with the mildest option, spot-test first, and keep sprays and splashes off the crown.
Fungus gnats (tiny black flies around the pot)
Gnats usually mean the mix stays wet too long. Fix that first.
- Let the top layer dry: allow the top inch to dry between waterings.
- Yellow sticky traps: catch adults and confirm you are dealing with gnats.
- Better top layer (optional): a thin layer (about 1/2 inch) of horticultural sand or diatomaceous earth can help reduce egg-laying, but only if you also correct watering and keep the layer dry.
- BTI (natural bacteria): use a BTI product (often sold for mosquito control) as a soil drench to target larvae. Follow label directions.
Mealybugs (white cottony clumps)
Mealybugs hide in leaf joints and under lower leaves. Catch them early.
- Manual removal: dab bugs with a cotton swab dipped in 70% isopropyl alcohol.
- Gentle clean-up: if needed, wipe leaves with a soft cloth lightly dampened with plain water. Avoid soaking the crown.
- Quarantine: keep the plant away from others for 2 to 3 weeks and recheck weekly.
Spider mites (fine webbing, stippled leaves)
Mites thrive in warm, dry, dusty conditions. Nudge humidity upward, improve airflow, and keep leaves dust-free.
- Rinse method: rinse leaves gently with lukewarm water, then let them dry in good airflow.
- Insecticidal soap: a true insecticidal soap is usually safer than DIY dish soap mixes, which can burn leaves.
Powdery mildew (white powder on leaves or flowers)
Powdery mildew is more common when nights are cool, airflow is low, and leaves stay damp.
- First step: remove badly affected blooms and leaves.
- Airflow fix: give the plant more space and avoid misting.
- Last resort spray (use carefully): baking soda can burn leaves and leave residue. If you try it, go light: mix 1/2 teaspoon baking soda in 1 quart of water with a few drops of mild liquid soap as a spreader. Mist lightly on affected areas, avoid drenching, and test one leaf first. Repeat weekly only if the plant tolerates it.
If mildew keeps returning, focus on conditions. Sprays are a bandage if the plant is always staying too cool and damp. If you need a stronger option, use a labeled houseplant fungicide and follow the label exactly. (Sulfur products are sometimes used for mildew, but they can be messy indoors and are not a casual fix.)
Crown rot and root rot (wilting with wet soil, mushy crown)
This is the big one. African violets rot when the crown stays wet or the soil never gets oxygen.
- Early signs: limp leaves even though the soil is wet, foul smell, soft stem at soil level.
- Natural rescue: unpot, trim mushy roots and any rotten tissue with a clean blade, then repot into fresh, airy mix in a clean pot.
- Aftercare: water lightly and keep in bright indirect light. Do not fertilize until you see new growth.
- When to discard: if the crown is fully mushy and collapses, the plant usually will not recover. Take healthy leaves for propagation and start fresh.
Leaf spots and wet leaves
The “don’t get the leaves wet” rule is mostly about cold water, mineral-heavy water, and slow drying. If droplets sit on fuzzy leaves, they can leave rings or encourage disease.
- If you splash leaves, blot gently with a soft paper towel.
- Use room-temperature water and give the plant airflow so it dries quickly.
- If your tap water is hard and you see spotting or crusty buildup, use filtered, RO, or rainwater when possible. Letting water sit out overnight can help chlorine dissipate in some areas, but it does not remove hardness minerals.
Grooming for more blooms
A little grooming keeps the plant putting energy into flowers instead of maintenance.
- Remove spent blooms: pinch or snip old flowers and stems at the base.
- Thin old outer leaves: remove the oldest lower leaves if the plant gets crowded. This improves airflow and light to the center.
- Remove suckers: small side shoots can steal energy from flowering. Pinch them out unless you want to propagate.
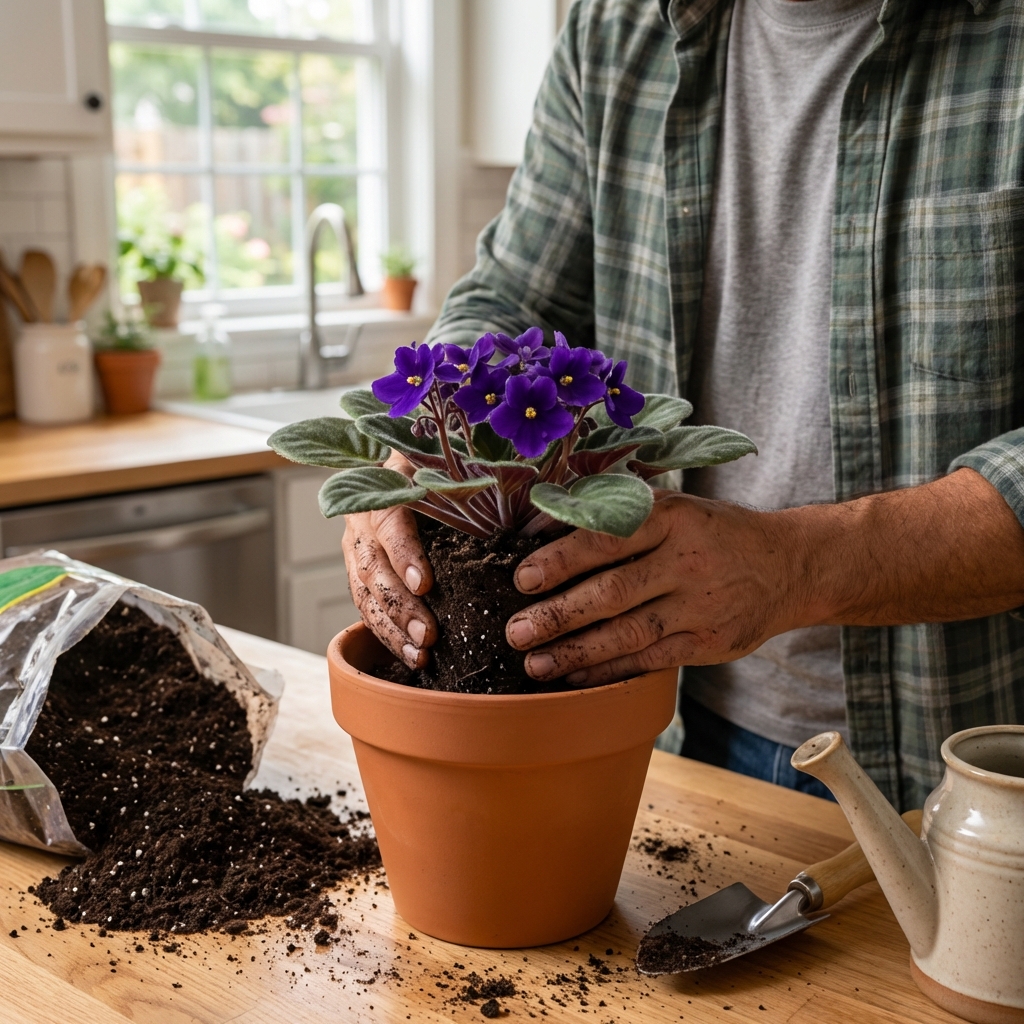
Necks, tight crowns, and when to repot
Over time, African violets can develop a “neck,” a bare stem between the soil line and the lowest leaves. You may also see the crown get tight and crowded, with small new leaves stacking up.
- Neck showing: repot and set the plant slightly deeper so the neck is covered. Use fresh, airy mix.
- Crown too tight: check light first, then consider repotting if the mix is old or compacted. Remove a few older outer leaves to open the center.
- Do not bury the crown: keep the growing point above the soil line to avoid rot.
A simple natural routine
- Weekly: rotate the pot 1/4 turn so growth stays even. Check the soil with your finger before watering.
- Every watering: aim water at the soil and let the pot drain fully. Do not leave it sitting in water.
- Every 2 to 4 weeks: feed lightly during active growth.
- Monthly: brush dust off leaves with a dry, soft brush so the plant can photosynthesize well.
- Every 6 to 12 months: refresh the potting mix, especially if it has compacted or drains slowly.
Quick troubleshooting
No blooms
- Light is usually the issue. Increase brightness first.
- Pot may be too large. Violets often bloom better slightly tight.
- Overfeeding can push leaves instead of flowers. Use a gentle, consistent plan.
- Temperature may be too cool, especially at night. Keep it steady.
Leaves curling down or getting limp
- Check for soggy soil and poor drainage.
- Look for pests under leaves.
- Confirm the plant is not sitting in a cold draft or against cold glass.
Long stems and stretched plant
- Not enough light. Move closer to a bright window or add a small grow light.
Safety notes for home remedies
African violet leaves can be sensitive. When using any spray or wipe-down, keep it mild and do a quick test on one leaf first.
- Avoid oily sprays on leaves. They can clog pores and cause spotting.
- Avoid strong vinegar mixes. They can burn tissue and change soil pH fast.
- If you must treat repeatedly, consider switching to a labeled product like insecticidal soap or BTI instead of increasing DIY strength.

Jose Brito
I’m Jose Britto, the writer behind The Country Store Farm Website. I share practical, down-to-earth gardening advice for home growers—whether you’re starting your first raised bed, troubleshooting pests, improving soil, or figuring out what to plant next. My focus is simple: clear tips you can actually use, realistic expectations, and methods that work in real backyards (not just in perfect conditions). If you like straightforward guidance and learning as you go, you’re in the right place.