If you have weeds popping up in driveway cracks, patio joints, or gravel paths, you do not always need a store-bought herbicide to get them under control. A good natural mix can work well for small problem areas, especially on young weeds, when you apply it the right way and keep expectations realistic.
This page walks you through a dependable natural weed killer recipe, how to use it for the best results, and where you should not spray it. I will also share a few safer options for garden beds where you want healthy soil and plants.
Before you spray: what “natural” means
Natural does not automatically mean harmless. Most DIY weed killers work by burning and drying out leaf tissue on contact. That same action can damage any plant it touches, including your lawn, flowers, and vegetables.
- These mixes are non-selective. If it is green, it can be harmed.
- This is a contact spray. It typically does not move down into roots like systemic herbicides, so established weeds may resprout.
- They work best on young weeds and weeds in hardscape areas like cracks and gravel.
- They usually do not kill established perennials’ roots in one spray. Expect repeat applications.
- Salt can linger. If you use salt, it can build up and prevent future growth where it lands. Vinegar is usually short-lived once diluted and neutralized in soil, but it can still cause short-term damage where it contacts plants.
Natural weed killer recipe
This is the classic “vinegar + salt + soap” recipe, with a couple of details that make it perform better.
Ingredients
- 1 gallon white vinegar (5% acidity is common)
- 1 cup table salt
- 1 tablespoon liquid dish soap (plain, not bleach or heavy degreaser types)
Yield: Makes about 1 gallon of spray.
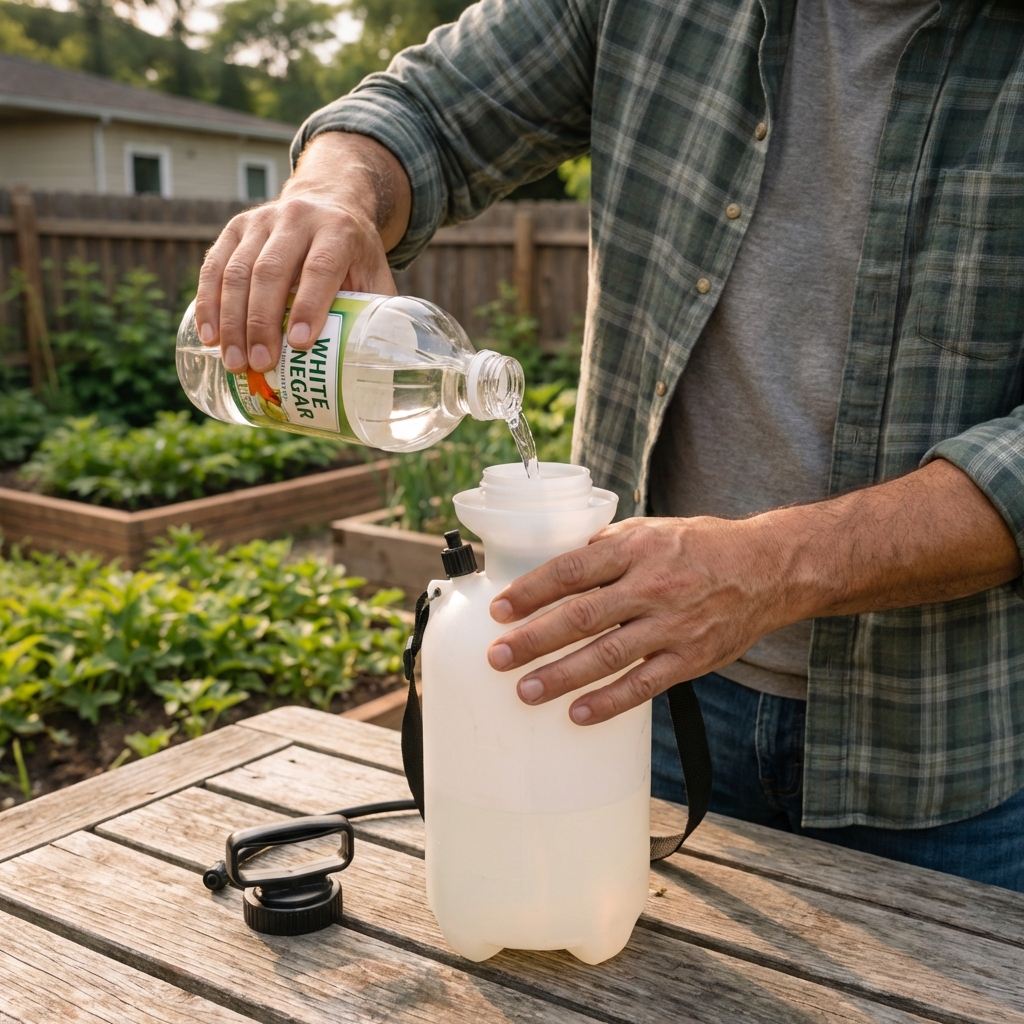
Mixing directions
- Warm a small amount of vinegar (or use warm water separately) to help dissolve the salt.
- Stir the salt in until fully dissolved.
- Pour into a pump sprayer, then add the dish soap last.
- Gently swirl. Do not shake hard or you will make foam that is annoying to spray.
Why these ingredients work: Household vinegar mainly burns leaves through acidity and rapid drying. Salt pulls moisture from plant tissue and disrupts water balance. The soap helps the liquid cling to leaves instead of beading up and rolling off.
A quick note on stronger vinegar
You may see “horticultural vinegar” sold at higher acidity (often 20% or more). It can be more effective, but it is also much more hazardous for eyes and skin and can damage surfaces more easily. If you choose to use it, follow the label carefully and step up your PPE.
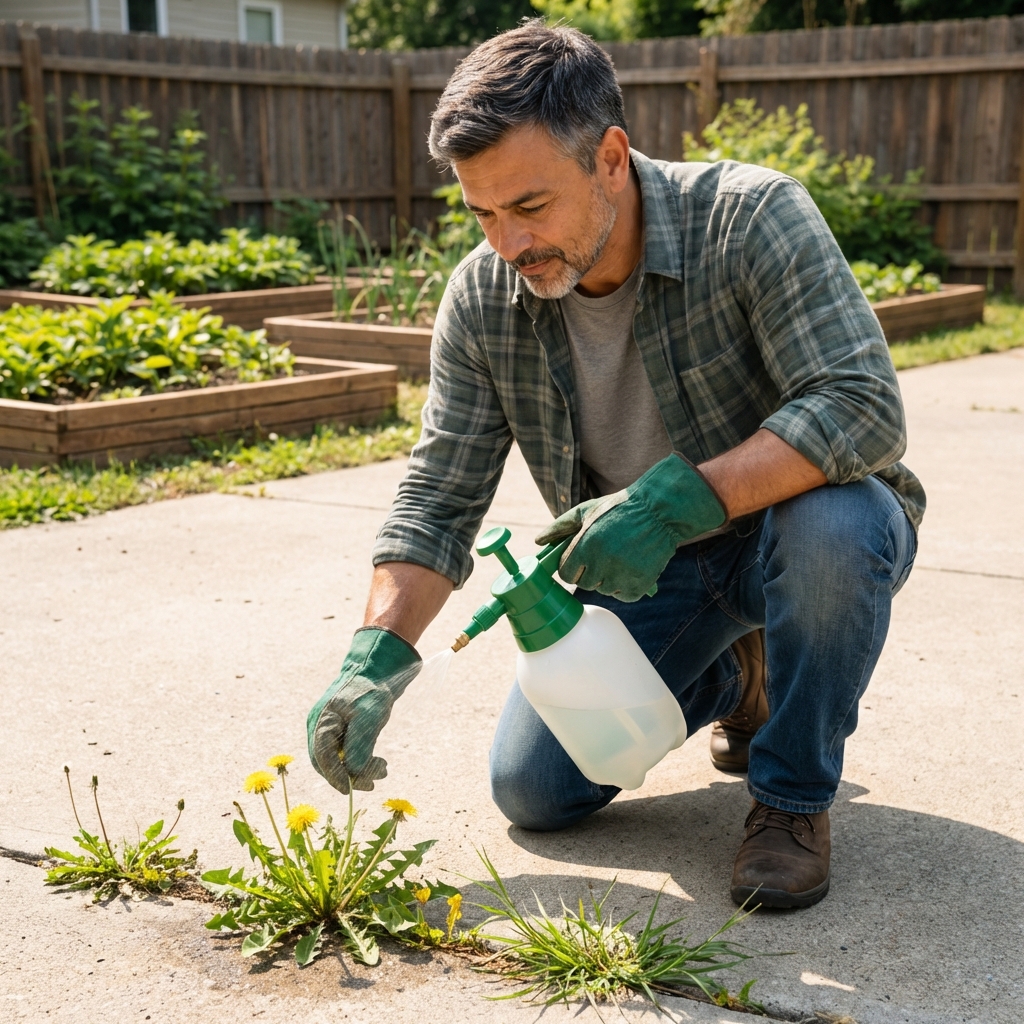
Where it works best
Use this type of weed killer where you want bare ground or where plants are not supposed to grow.
- Driveway and sidewalk cracks
- Paver patios and stone paths
- Gravel driveways (spot spray, avoid runoff)
- Along fence lines where you plan to keep it clear
Avoid spraying open soil in your vegetable garden, around shrubs, or anywhere you want to plant soon. The biggest long-term soil risk here is salt accumulation. Vinegar tends to dilute and neutralize relatively quickly, but it can still burn nearby plants on contact and can temporarily affect the immediate area.
Watch runoff and local rules
Be extra careful near lawns, tree roots, and storm drains. In some areas, salt use is discouraged or restricted because of runoff and water quality concerns. If you live in an HOA or a municipality with stormwater guidelines, it is worth checking local rules.
Tips for better results
1) Pick the right day
Timing matters more than people think.
- Spray on a hot, sunny day for faster burn-down.
- Aim for no rain for 24 hours so it does not wash off.
- Spray when weeds are dry, not covered in morning dew.
2) Use a dedicated sprayer and a tight nozzle
Once you use a sprayer for weed killers, do not use it later for foliar feeding or misting your vegetables. A small fan pattern or a stream setting helps you target cracks without drifting onto good plants.
3) Spray to coat, not to flood
You want a good leaf coating, not runoff. Runoff is where you get accidental damage to nearby plants and more salt in places you did not mean to treat.
4) Hit weeds when they are small
Young weeds with a few leaves are easier to knock back. If the weed is tall and tough, mow or trim it first, let it regrow a bit, then spray the fresh growth.
5) Know what it struggles with
This is most reliable on small annual broadleaf weeds. Tough perennials and deep-rooted weeds like dandelion, bindweed, and nutsedge often resprout because the spray mainly burns what it touches.
6) Reapply strategically
Check the spot after 24 to 48 hours. Many annual weeds will collapse fast. For stubborn weeds, reapply once a week for a couple of rounds, then pull what is left. The goal is to weaken roots over time.
Common mistakes
- Spraying windy days: drift can spot-burn nearby plants. Wait for calm air.
- Using too much salt: it can keep that area from growing anything later. Stick to the recipe, and do not blanket spray.
- Expecting it to replace all weeding: this is best for hardscape and spot treatments. For beds, prevention works better.
- Spraying right before rain: it dilutes the mix and reduces sticking power.
Surface and runoff warnings
Vinegar and salt solutions are not just hard on plants. They can also be hard on your home surfaces.
- Stone and concrete: vinegar can etch or dull some natural stone (and some concrete finishes) and may leave blotchy results.
- Metal: salt accelerates corrosion. Avoid spraying near metal edging, brackets, and door hardware.
- Nearby turf and beds: runoff can flow into lawn edges and planting areas and cause damage you did not intend.
If you are unsure, test a small hidden spot first and keep the spray tight and low.
Safer options for garden beds
If your weeds are in a vegetable bed or around ornamentals, skip the salt-and-vinegar approach. Here are options that solve the weed problem without making your soil pay the price.
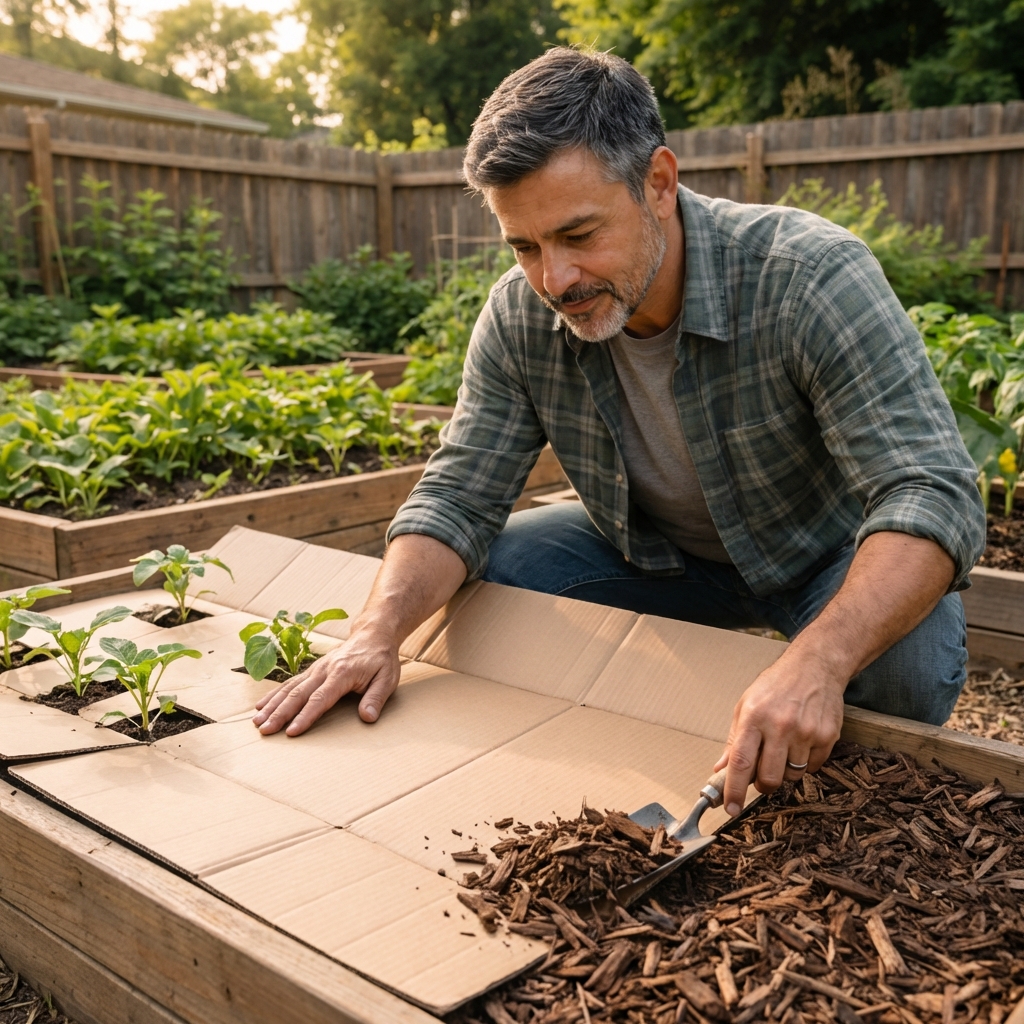
Mulch
A 2 to 4 inch layer of mulch blocks light and prevents new weed seeds from sprouting. Use shredded leaves, straw (seed-free), or wood chips around perennials.
Cardboard sheet mulching
Lay plain cardboard over weeds, overlap seams, wet it down, then cover with mulch or compost. It smothers weeds while breaking down over time.
Boiling water for small patches
For weeds in cracks or at the edge of beds, boiling water can be a surprisingly effective spot treatment. Pour carefully and avoid splashing.
Hand pulling after rain
This is not glamorous, but it works. Pulling when the soil is damp removes more roots with less effort.
FAQ
Will this kill grass?
Yes. This mix can burn grass quickly. Treat it like a total vegetation killer and spray only what you want gone.
Does vinegar alone work?
It can, especially on tiny weeds, but 5% household vinegar is often inconsistent and may require repeat applications. Salt boosts drying power and soap improves contact, which is why the full recipe tends to work better for hardscape weeds.
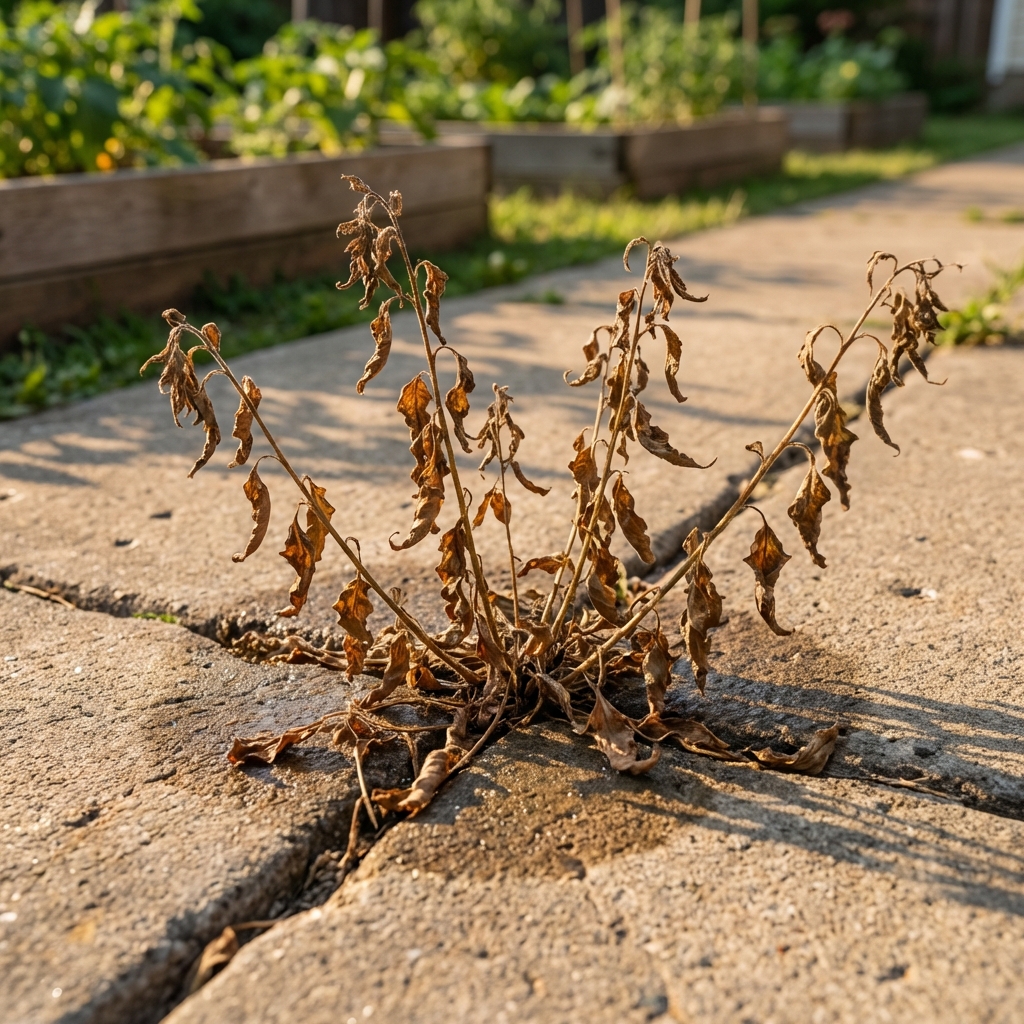
How long until I see results?
On a hot sunny day, you might see wilting within a few hours. A full day or two gives you a clearer picture of what survived.
Can I use this around vegetables if I am careful?
I do not recommend it. Drift and runoff happen, and salt can cause longer-term soil issues. Use mulch, cardboard, hand pulling, or boiling water in beds instead.
Storage and cleanup
- Label it clearly so it stays “weed killer only.”
- Do not store long-term in metal containers or sprayers since salt can speed up corrosion.
- Rinse your sprayer after use with warm water and a little soap, then spray clean water through the nozzle.
- Store safely out of reach of kids and pets.
Quick safety checklist
- Wear gloves and closed-toe shoes.
- Protect eyes if you are using a sprayer with pressure.
- Keep kids and pets away until the area is dry.
- Do not spray near desirable plants or where runoff can reach them.
Bottom line
If your goal is cleaning up weeds in cracks, gravel, and hardscape edges, this natural weed killer recipe can do the job with smart timing and careful spraying. Just remember what it is: a contact burn-down spray that is best on small weeds, and may take repeat treatments on anything established. For garden beds, focus on mulch and smothering methods so you solve the weed problem without harming the soil you are trying to improve.

Jose Brito
I’m Jose Britto, the writer behind The Country Store Farm Website. I share practical, down-to-earth gardening advice for home growers—whether you’re starting your first raised bed, troubleshooting pests, improving soil, or figuring out what to plant next. My focus is simple: clear tips you can actually use, realistic expectations, and methods that work in real backyards (not just in perfect conditions). If you like straightforward guidance and learning as you go, you’re in the right place.