Orchids have a reputation for being fussy, but most indoor problems trace back to a handful of repeat offenders, most commonly too much water and not enough light. Cold drafts and sudden temperature swings are also frequent troublemakers, especially while buds are forming. Once you get the basics steady, orchids are surprisingly reliable houseplants. This how-to walks you through the basics and the details that matter, without asking you to turn your home into a greenhouse.
Start by knowing what orchid you have
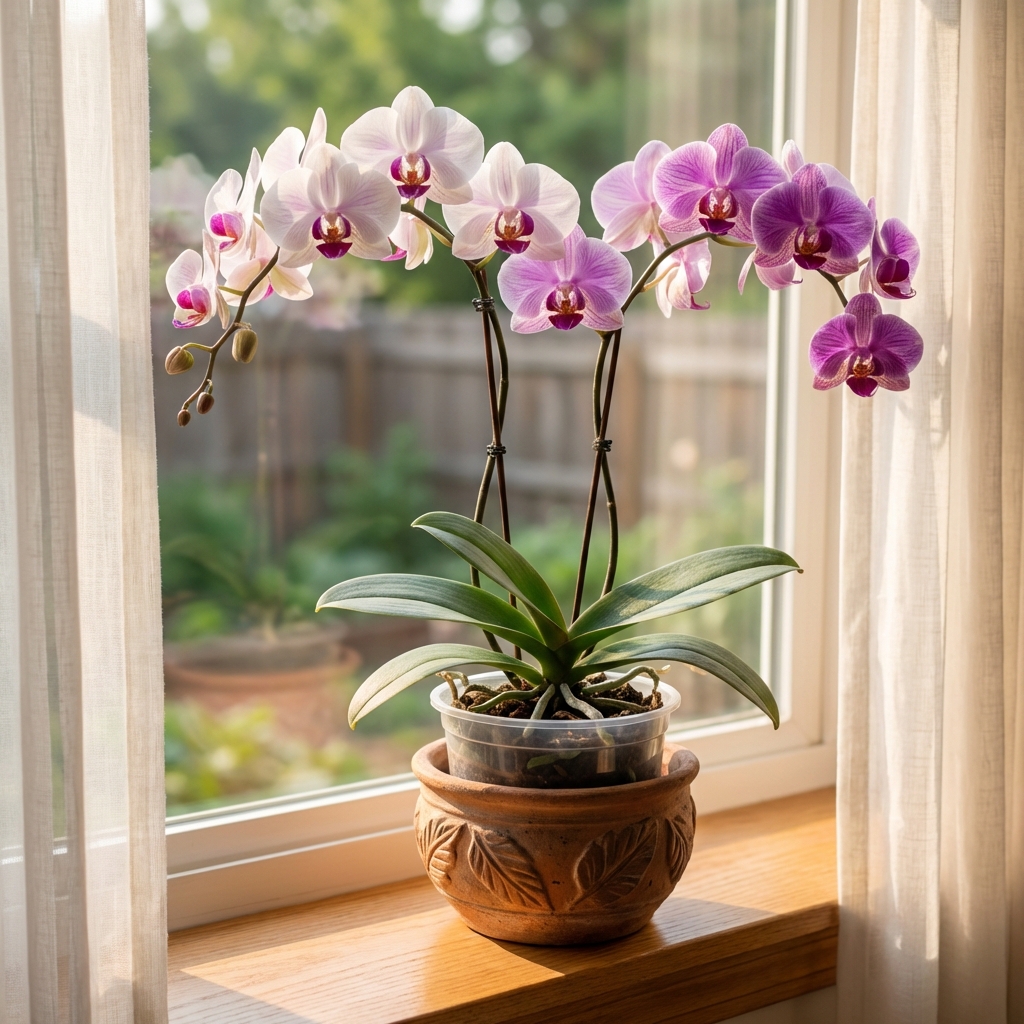
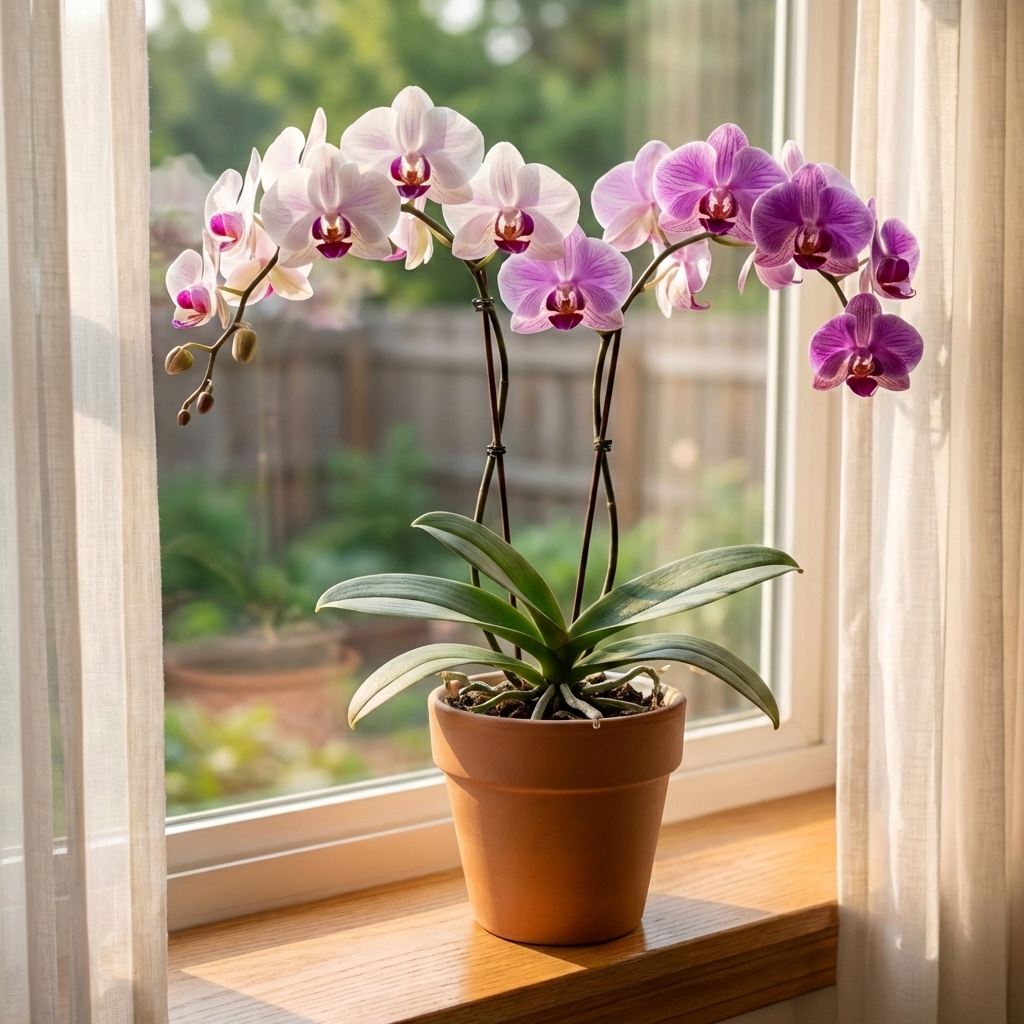
Care depends on the type, but the good news is that most indoor orchids sold in grocery stores and garden centers are Phalaenopsis, also called moth orchids. They are among the easiest to keep in a home.
- Phalaenopsis: Broad leaves, arching flower spike. Likes warm temps and bright, indirect light.
- Cattleya: Thicker pseudobulbs, often fragrant blooms. Likes brighter light and a dry-down between waterings.
- Dendrobium: Cane-like stems. Some need a cooler, drier rest to rebloom.
- Oncidium: “Dancing lady” flowers. Likes even moisture, bright light, and good airflow.
If you are not sure, treat it like a Phalaenopsis until you identify it. That approach is safer than watering like a typical houseplant.
Light: the number one indoor orchid care lever
Orchids need brighter light than most people think, just not harsh midday sun. Indoors, your goal is bright, indirect light for most of the day.
Best window placement
- East window: Usually ideal. Gentle morning sun.
- South or west window: Works well with a sheer curtain, or set the plant back from the glass.
- North window: Often too dim for reliable blooming.
Simple signs your light is right
- Good: Leaves are medium green and sturdy, new leaves appear steadily, roots look active.
- Too little light: Very dark green leaves, slow growth, no rebloom.
- Too much light: Yellowing, red or purple stress tint, dry scorched patches.
If your home is dim, a small LED grow light placed 12 to 18 inches above the plant for 10 to 12 hours a day can make the difference between “alive” and “blooming.”
Watering: how to do it without rotting roots
Orchids are not planted in soil for a reason. Most indoor orchids are grown in bark or moss that holds moisture and air at the same time. When that media stays soaked, roots suffocate and rot.
How often should you water?
Use a simple rule: water when the potting media is close to dry, not by the calendar. The day ranges below are just common examples.
- In many homes, bark mixes dry in about 7 to 10 days.
- In sphagnum moss, it might be 7 to 14 days, depending on how tightly it is packed and your conditions. Moss can look dry at the surface while staying wet in the center, so check carefully.
- Hot, bright rooms dry faster. Cool, dim rooms dry slower.
The best way to water
Take the orchid to the sink.
Run room-temperature water through the pot until water runs freely from the bottom, usually 20 to 30 seconds (a little longer for larger pots or dense media).
Let it drain completely. No standing water in the decorative cachepot.
Tip: If your orchid is in a decorative outer pot, lift the inner pot out after watering and drain it for a few minutes before putting it back.
Use the roots as your guide
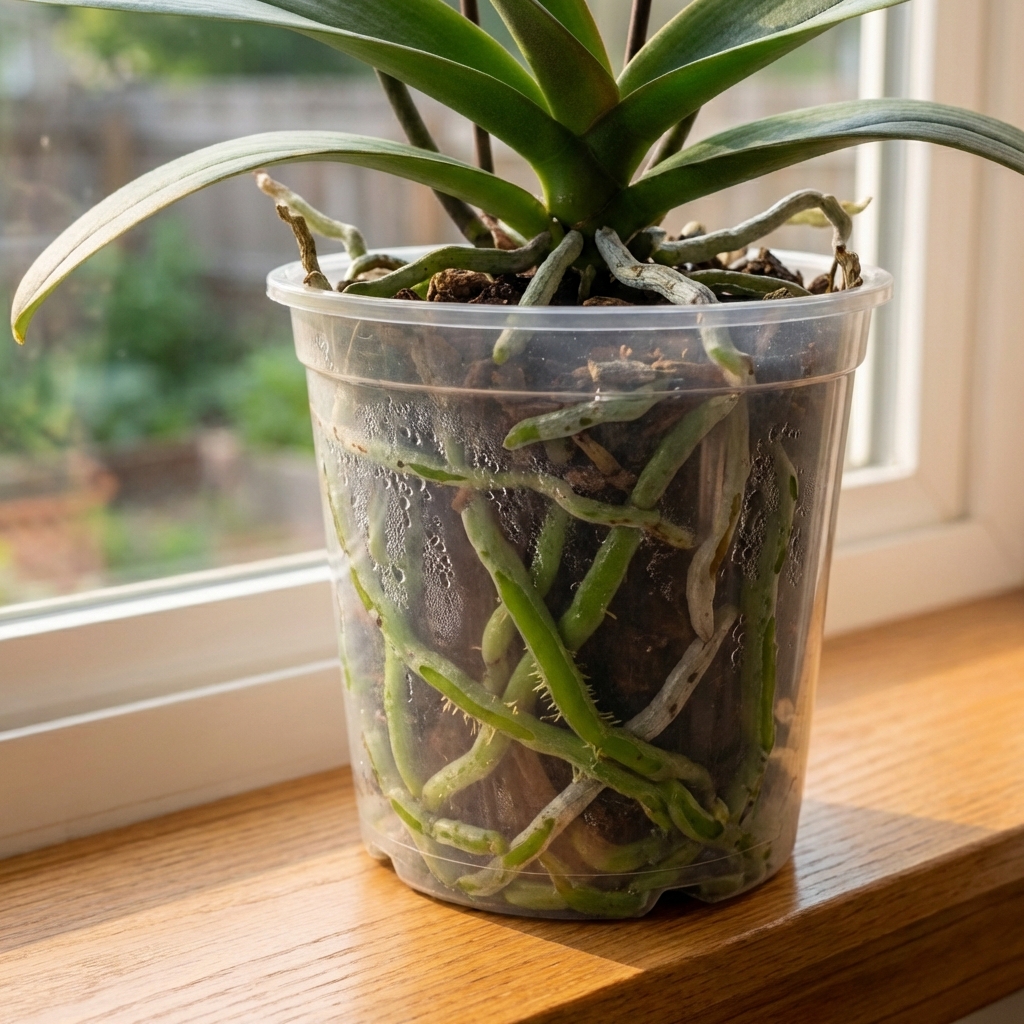
Many orchids come in clear pots. That is helpful.
- Silvery gray roots: often ready for water.
- Bright green roots: recently watered, still moist.
- Brown, mushy roots: rot from staying wet too long.
Root color is a great shortcut, but it is still a shortcut. Lighting, root age, and potting mix can change how roots look. When in doubt, combine the root look with a quick media check or the lift test (a dry pot feels noticeably lighter).
Water quality: a small detail that matters
If your water is very hard, or if you use softened water, minerals can build up in the pot over time and stress roots. If you keep seeing crusty buildup on the media or leaf tip burn, try switching to rainwater, distilled water, or filtered water.
Skip the ice cube method. Cold water on tropical roots is unnecessary, and it encourages inconsistent watering.
Humidity and airflow: the indoor balance
Orchids like moderate humidity, but they also need airflow so leaves dry and roots breathe.
Target range
Phalaenopsis usually does well around 40 to 60% humidity. Some orchids, including many Oncidium types, may prefer it a bit higher, roughly 50 to 70%, as long as airflow is good.
Easy ways to raise humidity without creating problems
- Humidity tray: A shallow tray with pebbles and water. Keep the pot above the waterline.
- Small humidifier: Best for consistent results in winter.
- Group plants together: Helps slightly, especially in bright rooms.
Avoid misting as your main humidity strategy. It is brief and can encourage leaf spots if water sits in the crown.
Airflow matters more than people think
Stagnant air plus damp media equals trouble. A gentle fan in the room, not blowing directly on the plant, can help prevent fungal issues and keep roots healthier.
Crown rot: prevent the fastest failure
For Phalaenopsis, water sitting in the crown (where the leaves meet) can cause crown rot, which can kill the plant quickly.
- When watering, aim water at the potting mix, not into the crown.
- If water gets into the crown, tilt the plant and blot it out with a paper towel.
- Keep plants out of cold drafts, especially when leaves are wet.
Temperature: how orchids decide to bloom
Most indoor orchids are comfortable where people are comfortable.
- Daytime: 70 to 80°F (21 to 27°C)
- Night: 60 to 70°F (16 to 21°C)
For Phalaenopsis, a sustained night temperature drop in early fall often triggers a flower spike. Aim for about a 5 to 10°F (3 to 6°C) drop at night for 2 to 4 weeks. Keeping the plant near a slightly cooler window at night can do the job, as long as it is not in a cold draft.
Potting mix and pots: what works indoors
Orchids need air at the roots. The pot and mix should support that.
Common indoor orchid mixes
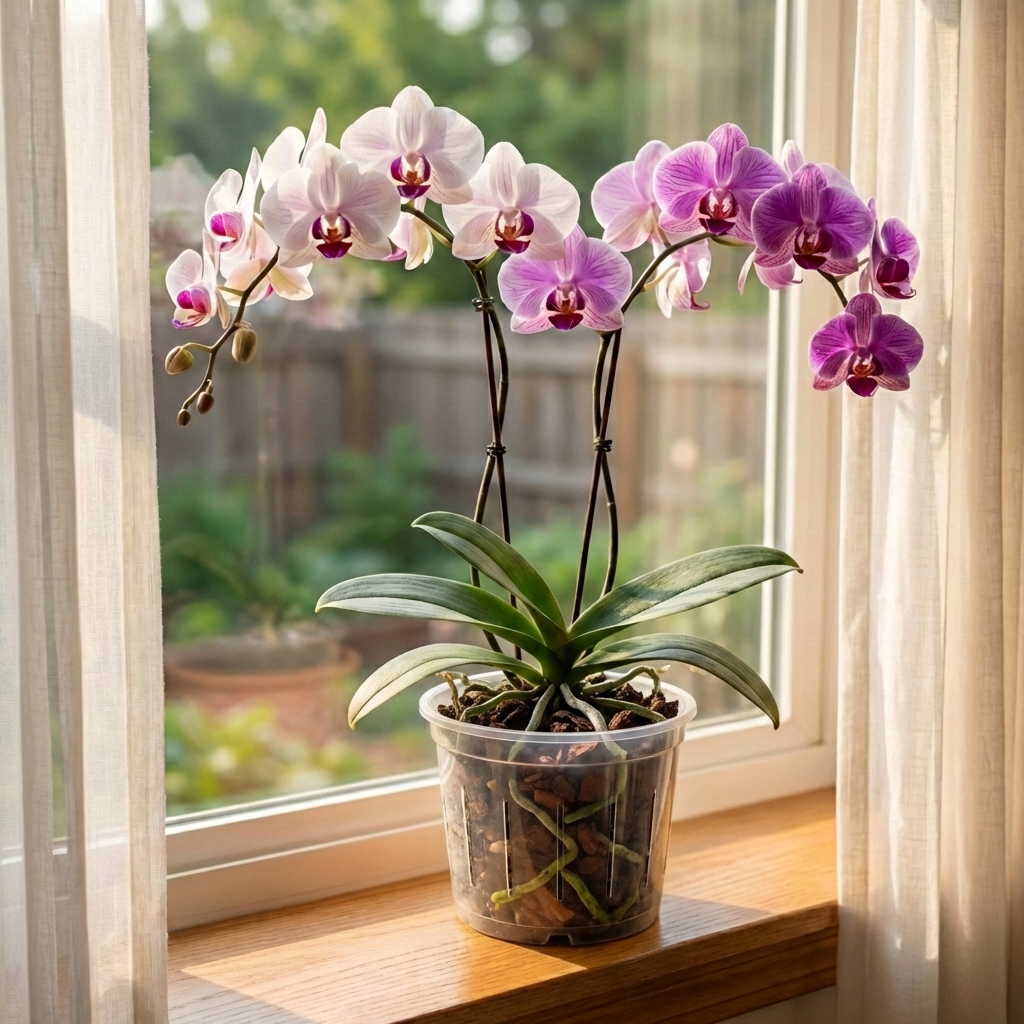
- Bark mix: Great all-around choice. Drains quickly, less risk of rot.
- Sphagnum moss: Holds moisture longer. Works well in dry homes, but easier to overwater if packed tight.
- Bark + perlite + charcoal: Adds air pockets and helps with drainage and freshness.
Choose a pot that drains fast
- Use a pot with multiple drainage holes.
- Clear plastic inner pots are useful for monitoring roots.
- Orchid pots with side vents improve airflow in humid conditions.
Fertilizer: feed lightly, consistently
Orchids are light feeders. The goal is steady support for roots and leaves, not fast growth.
A practical feeding routine
- Use a balanced orchid fertilizer, diluted to quarter to half strength.
- Feed every 2 to 4 weeks during active growth, often spring through early fall.
- In winter, reduce frequency if growth slows.
Flush salts occasionally
About once a month, water thoroughly with plain water to flush fertilizer salts out of the potting media. Salt buildup can burn roots and leaf tips.
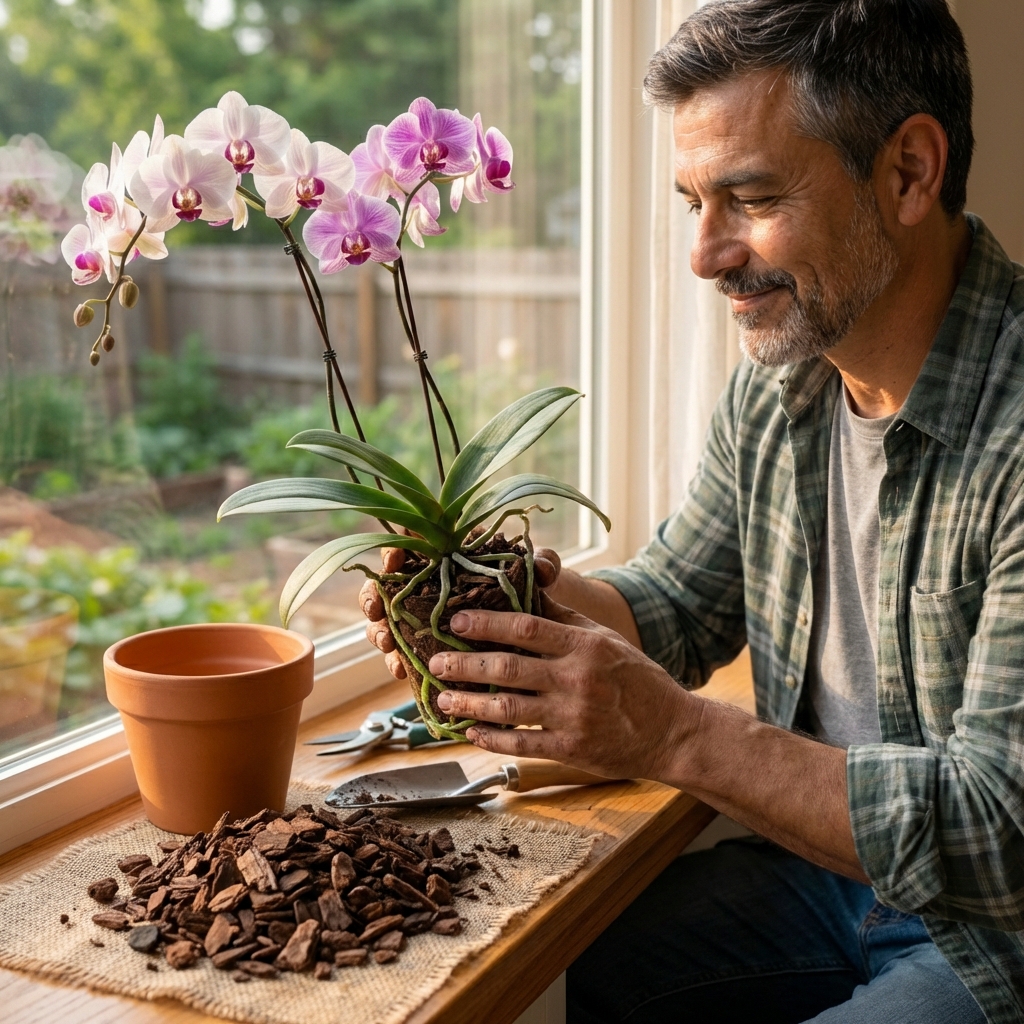
Repotting: when and how to do it
Repotting is not about giving the plant a bigger home. It is about refreshing old media that breaks down, holds too much water, and blocks airflow.
When to repot
- Every 1 to 2 years for bark mixes, sometimes sooner in warm, humid homes.
- When media smells sour or looks broken down.
- When the mix stays wet too long, compacts, or starts behaving oddly (like drying unevenly while the center stays soggy).
- After flowering is finished is usually easiest for Phalaenopsis.
Quick repot steps
Gently remove the orchid from the pot.
Trim dead roots (brown, hollow, mushy) with clean scissors.
Keep firm, plump roots even if they look long.
Set the orchid so the base sits at the top of the mix, not buried.
Fill with fresh bark, tapping the pot to settle mix without packing it tight.
If you remove many roots, water a bit less for the next week or two while the plant recovers.
After blooms: what to do next
When the flowers drop, keep caring for the plant like a foliage plant. That is when it rebuilds roots and leaves for the next blooming cycle.
- Keep light bright and watering consistent.
- Continue light feeding during active growth.
- Avoid repotting mid-bloom unless you suspect rot or the mix is breaking down badly.
Getting your orchid to bloom again
Keeping an orchid alive is step one. Reblooming is usually about light and seasonal cues.
For Phalaenopsis (most common indoor orchid)
- Increase light gradually if the plant never spikes.
- Give a night temperature drop for a few weeks in early fall, around 5 to 10°F (3 to 6°C).
- Keep watering consistent, but do not keep it wet.
Should you cut the flower spike?
After blooms fade:
- If the spike is green and healthy, you can trim it just above a node to encourage a side branch. This can work, but flowers may be fewer.
- If the spike turns brown and dry, cut it at the base.
My preference indoors is to let the plant rest and build strength. Strong roots and one good spike next season beat a weak, drawn-out bloom cycle.
Common orchid problems and simple fixes
Wrinkled leaves
- Most likely: Dehydration from root loss or underwatering.
- Fix: Check roots. If many are rotten, repot and water carefully. If roots are healthy, water a bit more consistently.
Yellow leaves
- One older bottom leaf yellowing: Often normal aging.
- Multiple leaves yellowing: Too much sun, cold damage, or root issues. Inspect placement and roots.
Bud blast (buds drop before opening)
- Causes: Drafts, heater vents, sudden temperature swings, very dry air, moving the plant repeatedly.
- Fix: Keep conditions steady and avoid placing near doors, vents, or cold windows at night.
Black spots on leaves
- Causes: Water sitting on leaves, low airflow, fungal or bacterial issues.
- Fix: Improve airflow, keep water out of the crown, remove badly damaged tissue with sterile tools if needed.
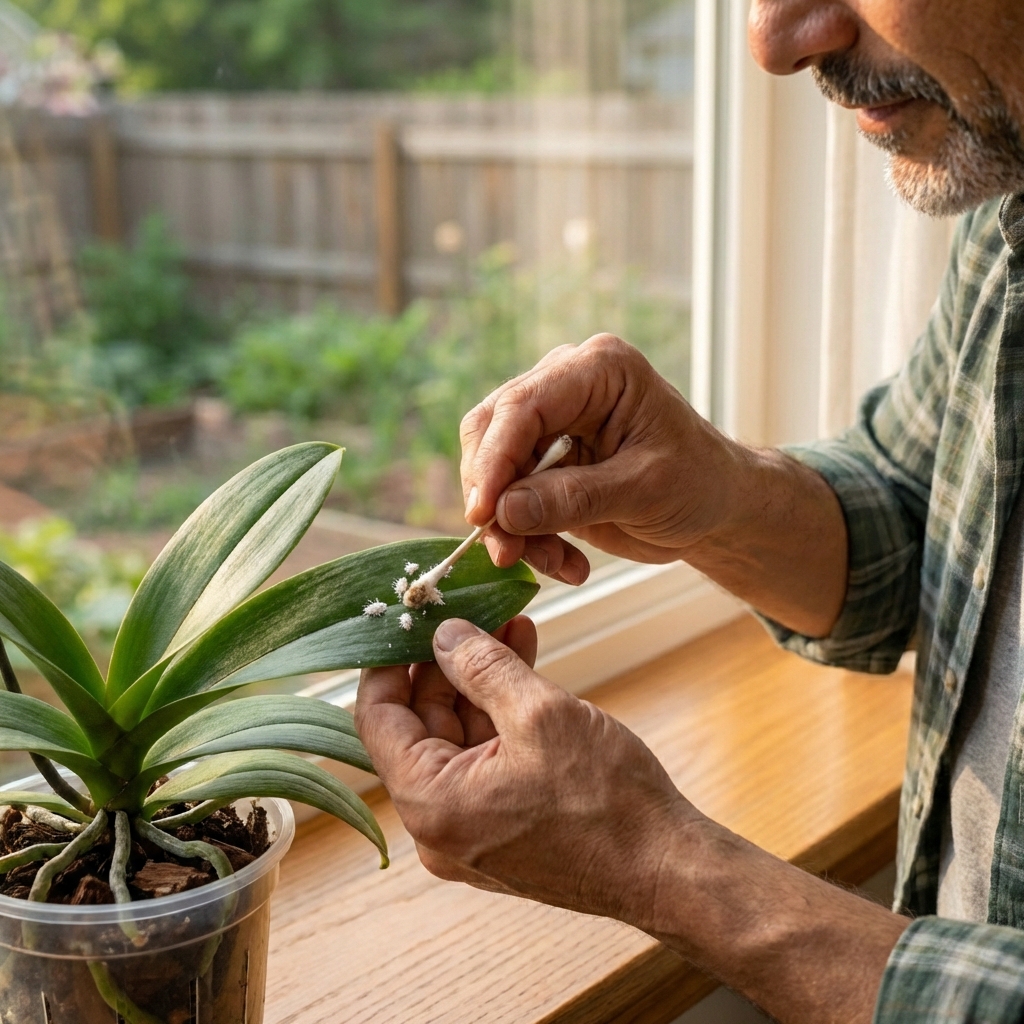
Mealybugs or scale
- What you will see: White cottony clusters (mealybugs) or brown bumps (scale), sticky residue.
- Fix: Isolate the plant. Wipe pests off with cotton swabs dipped in isopropyl alcohol, but test a small spot first since some plants are sensitive. Avoid letting alcohol pool in the crown, and consider a gentle rinse afterward. Repeat every 7 to 10 days for at least a month and inspect leaf joints and undersides.
A simple weekly orchid care routine
- Check moisture: Lift the pot, look at the roots, or feel the media. Water only when close to dry.
- Scan the crown and leaves: Look for pests and spots, and make sure no water is sitting in the crown.
- Rotate the pot: Quarter turn to keep growth even, but not when buds are forming if your plant is sensitive.
- Keep it bright: Adjust position with the seasons as sunlight shifts.
If you only take one thing from this page, make it this: orchids like a rhythm of thorough watering followed by air and drying time. That is the whole game indoors.

Jose Brito
I’m Jose Britto, the writer behind The Country Store Farm Website. I share practical, down-to-earth gardening advice for home growers—whether you’re starting your first raised bed, troubleshooting pests, improving soil, or figuring out what to plant next. My focus is simple: clear tips you can actually use, realistic expectations, and methods that work in real backyards (not just in perfect conditions). If you like straightforward guidance and learning as you go, you’re in the right place.