Repotting orchids sounds scary until you realize what you are really doing: swapping out broken down media, checking roots, and giving the plant a stable home again. If you keep it clean, gentle, and a little patient, many common house orchids recover well, especially healthy plants with decent roots.
This page focuses on organic, low-chemical repotting with quick tips you can use in a normal kitchen or backyard setup. That means no routine “just in case” chemical soaks. Clean tools, fresh media, and good aftercare usually do the job. If you see spreading black rot, foul-smelling mush, or pests you cannot control, that is when a targeted treatment may be warranted.
When to repot an orchid
Most common home orchids, especially Phalaenopsis (moth orchids), like a refresh about every 12 to 24 months. The exact timing depends on how fast your mix breaks down, which varies with bark quality, watering habits, warmth, and airflow.
Do not repot just because you feel like it. Repot because the plant is telling you it needs it.
Best timing
- Phalaenopsis: right after blooming is usually safest.
- Most orchids: repot when you see new root tips or fresh growth starting. That is your recovery engine.
- Quick caveat: some sympodial orchids (like many Cattleya and Oncidium types) are often best repotted as new growth starts rooting, which may not line up perfectly with “after bloom.”
Clear signs it is time
- The potting mix smells sour, stays soggy, or looks like soil.
- Bark pieces are soft, crumbling, or packed tight.
- Roots are circling hard, climbing out, or the plant wobbles easily.
- You see frequent root rot even though you water carefully.
- There is visible salt buildup on the pot or media.
Quick tip: If the orchid is in full bloom and generally healthy, wait until flowers drop unless the media is rotten or the plant is unstable.
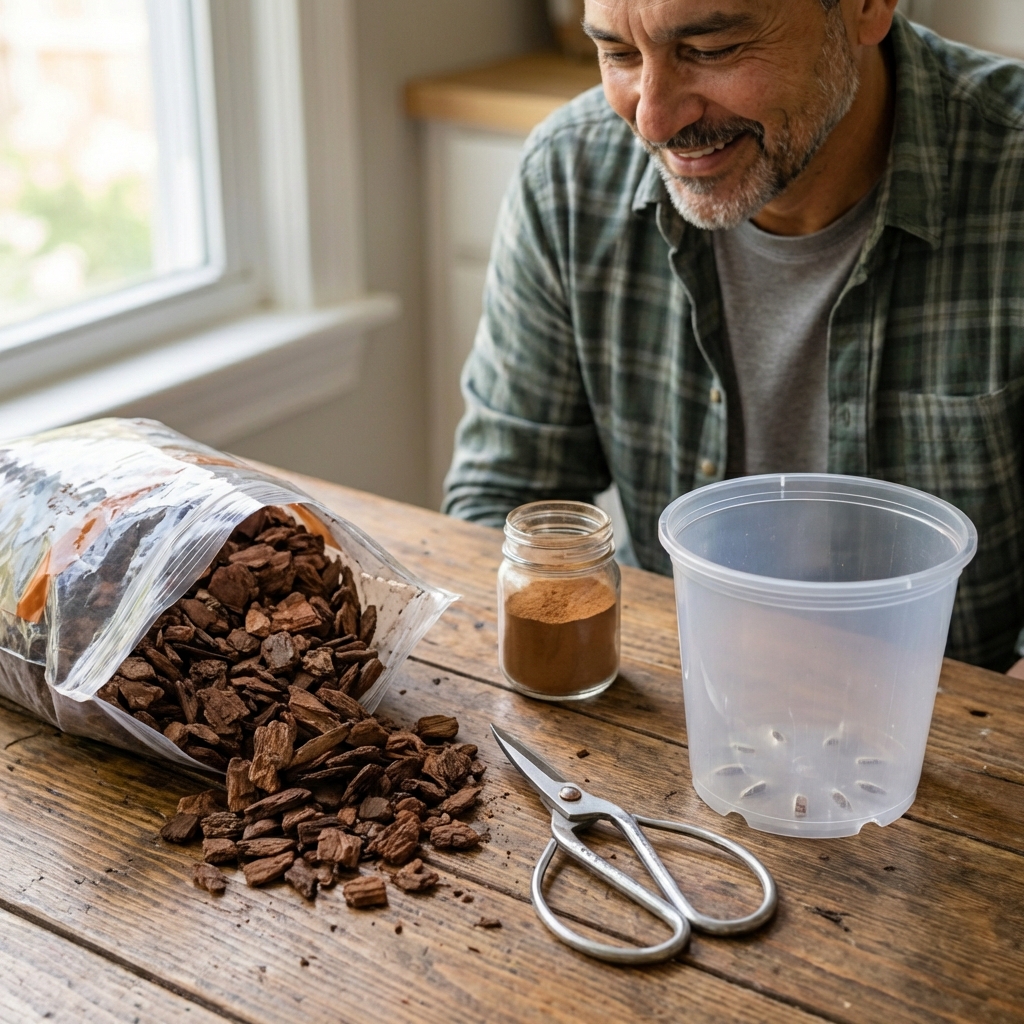
Organic supplies you will need
You do not need a huge orchid kit. You need clean tools and the right medium.
- Potting mix: orchid bark (fir or pine), plus optional add-ins like chunky perlite, horticultural charcoal, or a small amount of long-fiber sphagnum.
- Pot: a clear plastic pot with side holes is ideal for Phalaenopsis, or any pot with excellent drainage and airflow.
- Clean snips or scissors for root trimming.
- Rubbing alcohol for tool sterilizing (simple and effective).
- Cinnamon as a spot treatment for cuts (use lightly and keep it off healthy roots).
Organic note: For orchids, “organic” usually means avoiding harsh pesticides and unnecessary chemicals, and choosing natural media and gentle sanitation practices. Sterilizing tools with alcohol is still a smart move.
Choose the right orchid potting mix
Orchids are not soil plants. Their roots need air as much as they need moisture. The goal is a mix that drains fast, holds a little moisture, and does not collapse into mush.
Quick mix options (pick one)
- Most homes: 80 to 100 percent medium bark. Simple and reliable.
- Dry indoor air: bark plus a small handful of sphagnum tucked near the top, not packed around all roots.
- Humid homes or heavy waterers: bark plus chunky perlite and a bit of charcoal for extra airflow.
Quick tip: Avoid fine “orchid soil” blends that look like potting soil. Fine particles hold water too long and are a fast track to root problems.
How to repot orchids step by step
1) Prep the mix and pot
If your bark is very dry and dusty, rinse it in a colander. You can soak it for 15 to 30 minutes so it hydrates evenly, then drain well. The mix should be damp, not dripping.
Rinse the new pot (especially if it is reused), and make sure drainage holes are clear. Toss old, decomposed media in the trash or compost it only if it is not diseased.
2) Pick the right pot size
Use the same pot size or go up one size at most. Oversized pots stay wet longer, which slows rooting and invites rot.
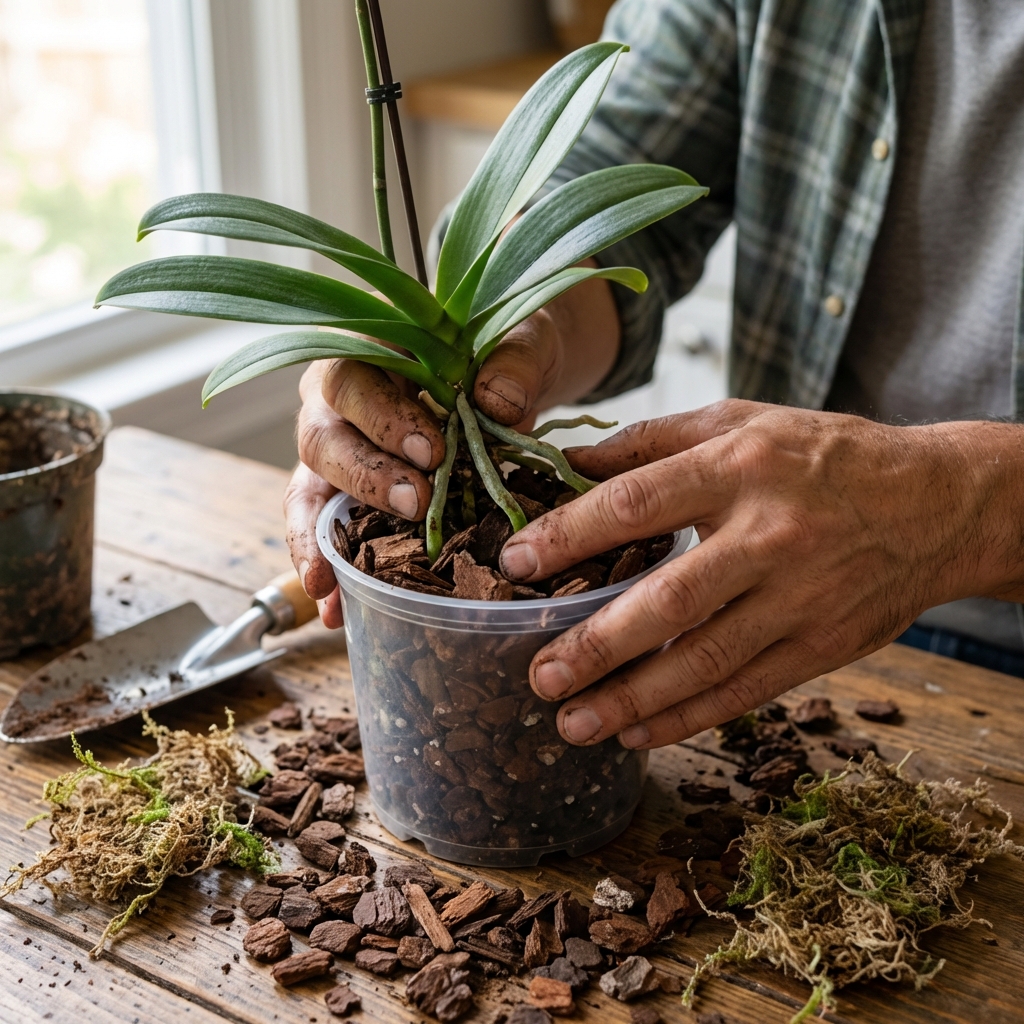
3) Remove the orchid
Gently squeeze the pot to loosen roots. If roots are stuck, take your time. Tearing roots is the quickest way to set the plant back.
Aerial roots: do not force stiff aerial roots into a pot. If you want them inside, soak or mist them first so they flex. Otherwise, let them stay out.
4) Clear out old media
Pick out old bark from between roots. Broken down media holds too much water and cuts airflow, which is usually the main reason repotting helps.
5) Inspect and trim roots
- Healthy roots: firm, plump, green when wet, silvery when dry.
- Dead or rotting roots: brown or black, mushy, hollow, or papery.
Trim only what is clearly dead. Sterilize your snips with alcohol before and during trimming if you are cutting a lot.
Quick tip: If you are unsure about a root, leave it. Orchids can use slightly ugly roots. They cannot use roots you cut off.
Cinnamon note: Cinnamon is a drying powder. If you use it, dab a tiny amount on a cut on the base or stem area, not on live roots or anywhere you want active growth.
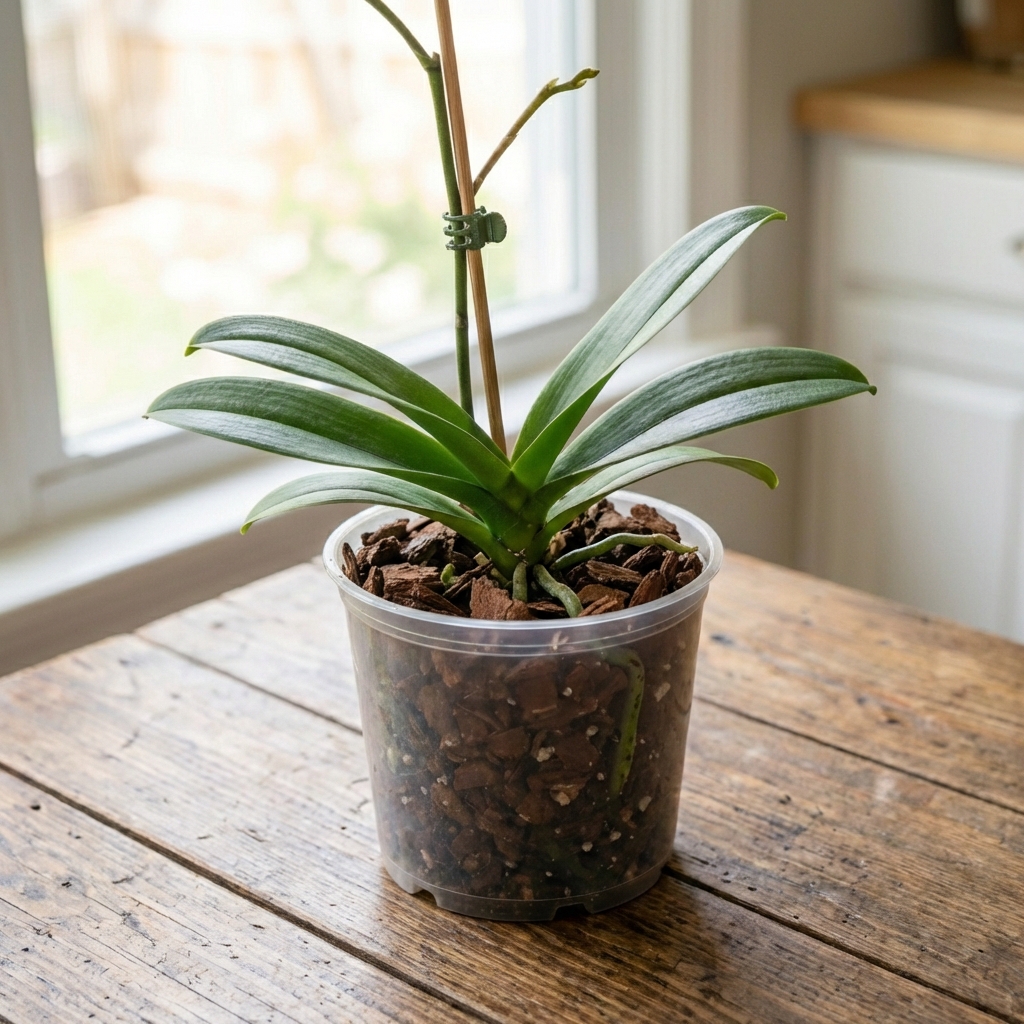
6) Set the orchid at the right height
Keep the base of the plant (the crown on Phalaenopsis) above the media line. The media line is the top surface of the bark mix. Do not cover the crown. Burying it invites rot.
Flower spikes: You can leave a green spike if you want to see if it reblooms. If the spike is brown or you want the plant to focus on roots, trim it with clean snips.
7) Add mix without packing it
Hold the orchid steady and fill around roots with bark. Tap the pot lightly to settle pieces. Do not cram it tight. Air pockets are good.
8) Stabilize if needed
If the orchid wobbles, use a simple stake or clip until new roots anchor. A stable plant grows roots faster.
Low-chemical aftercare that prevents rot
Most repotting failures happen after repotting, not during it. The plant needs time to heal tiny root nicks and adjust to new airflow.
Watering after repotting
- If you trimmed many roots, many growers wait a few days before watering so cuts can dry.
- If roots were mostly healthy and intact, you can usually water lightly within a day or two.
- Adjust to your conditions. Warm temps and good airflow dry faster. Cool rooms and low light dry slower.
- Always let water drain completely. Never leave the pot sitting in water.
Light and location
- Keep in bright, indirect light.
- Avoid hot sun for 1 to 2 weeks while it settles in.
- Warmth plus gentle airflow helps rooting. Avoid cold drafts and soggy corners.
Fertilizer
Hold fertilizer for about 2 to 3 weeks after repotting, especially if you cut roots. When you restart, go light. Orchids prefer gentle feeding.
Gentle feeding options: Use a low-salt, urea-free orchid fertilizer and flush the pot with plain water occasionally to prevent buildup. If you prefer an organic-leaning option, look for an OMRI-listed orchid fertilizer or use very diluted fish or kelp based feed, noting it can smell and may attract fungus gnats in some homes.
Fast troubleshooting
Leaves look wrinkled after repotting
This usually means the roots are not taking up water yet. Some wrinkling can be normal until new roots establish. Keep light steady, avoid overwatering, and give it time. If the mix is extremely chunky and your home is dry, add a small amount of sphagnum near the top at the next watering cycle, not packed against the crown.
Media stays wet too long
Switch to chunkier bark, add more drainage holes, or move to a pot with better airflow. Wet media plus low light is a common rot combo.
Crown rot concerns
Do not let water sit in the crown (the center of the leaves). Water in the morning, and if water splashes into the crown, blot it with a paper towel.
Quick tips recap
- Repot when the mix breaks down or roots need air, not on a whim.
- Phalaenopsis often repot well after bloom, but many orchids prefer repotting as new growth and roots start.
- Use chunky bark-based media, not soil-like mixes.
- Trim only dead, mushy roots with sterilized snips.
- Keep the crown above the top of the mix.
- Do not pack the mix tight. Airflow is the point.
- Use the same pot size or just one size up.
- Go easy on water and fertilizer for the first couple weeks.
If you tell me what orchid you have (Phalaenopsis, Cattleya, Oncidium, Dendrobium) and your indoor humidity level, I can suggest the best low-chemical mix ratio for your conditions.

Jose Brito
I’m Jose Britto, the writer behind The Country Store Farm Website. I share practical, down-to-earth gardening advice for home growers—whether you’re starting your first raised bed, troubleshooting pests, improving soil, or figuring out what to plant next. My focus is simple: clear tips you can actually use, realistic expectations, and methods that work in real backyards (not just in perfect conditions). If you like straightforward guidance and learning as you go, you’re in the right place.