If you want a new lawn fast, sod is hard to beat. The trick is doing the work before the rolls hit your driveway. Sod is basically “instant grass” with a short window before it heats up, dries out, and gets stressed, sometimes within hours in hot weather. These organic quick tips focus on the parts that make sod take root quickly in real backyards.
Before you buy sod
Match sod to your yard
The biggest mistake is installing the wrong grass for your light and climate. Before you order, confirm:
- Sun vs shade: Many warm-season grasses need full sun. If your yard gets only a few hours of sun, ask for a shade-tolerant option that fits your region.
- Region fit: Use a grass type commonly grown in your area. Local farms grow what works locally.
- Water reality: Sod needs consistent watering the first few weeks. If restrictions are common where you live, plan timing carefully.
Order the right amount
Measure your area in square feet and add 5 to 10 percent for trimming and odd angles. If your yard has a lot of curves or beds, lean closer to 10 percent.
Plan delivery like it is a living product
Sod is perishable. Schedule delivery for a day you can install immediately, ideally early morning. If sod sits rolled up in heat, it can start to yellow, overheat, or rot inside the roll.
Organic site prep that makes sod root fast
Remove old grass and weeds fully
Organic sod success starts with a clean slate. If you lay sod over living turf or tough weeds, the sod roots struggle to penetrate and you get uneven drying and patchy spots.
- Best quick method: Strip the old lawn with a sod cutter or flat shovel.
- Organic weed pressure: Dig out perennial weeds and their roots. If you are deciding between methods, know that nonselective herbicides can also affect non-target plants and may temporarily reduce soil microbial activity. In an organic approach, you skip those and rely on removal and good prep.
Grade and smooth the soil
You want a gentle slope away from the house and a surface that is smooth, not fluffy. Fill low spots and remove high spots now. It is much harder after sod is down. Also avoid building up soil against siding or covering weep holes. Keep finished grade below the foundation line and any wood trim.
Quick check: Walk the area. If your heel sinks deeply, the soil is too loose and will settle later. Another easy check is this: when you pass a roller or walk across it, you should see light footprints, not deep prints and not a crusty surface.

Loosen compacted soil, then firm it back
It sounds backward, but it works: loosen soil so roots can enter, then firm the surface so the sod has solid contact. Try not to over-till right before you lay sod. A puffy bed settles and can create low spots.
- Loosen the top 3 to 6 inches with a tiller or garden fork if soil is compacted.
- Rake out rocks and debris.
- Lightly firm the surface by walking on it or using a lawn roller half-filled with water.
Add compost the simple way
For organic installs, compost is one of the best soil amendments you can add. It improves moisture holding and supports soil life, which helps roots settle in.
- Spread 1 to 2 inches of finished compost.
- Mix it into the top few inches if possible, then smooth and firm again.
Topsoil or compost?
Compost is great for improving existing soil, but it is not meant to replace missing soil. If you need to fix major low spots or you are working with very rocky fill, add screened topsoil first, then top-dress with compost. Keep final grade in mind so you do not bury edges, hardscapes, or the house foundation line.
Soil test if you can, but do not let it stall you
A soil test is ideal, especially for pH and phosphorus. pH targets vary by grass type and region, so lime or sulfur decisions should be driven by a test. If you do not have time, compost plus a gentle organic starter fertilizer can help at install, but only apply what the label calls for. Avoid overdoing nitrogen at install. Too much top growth can happen before roots are established.
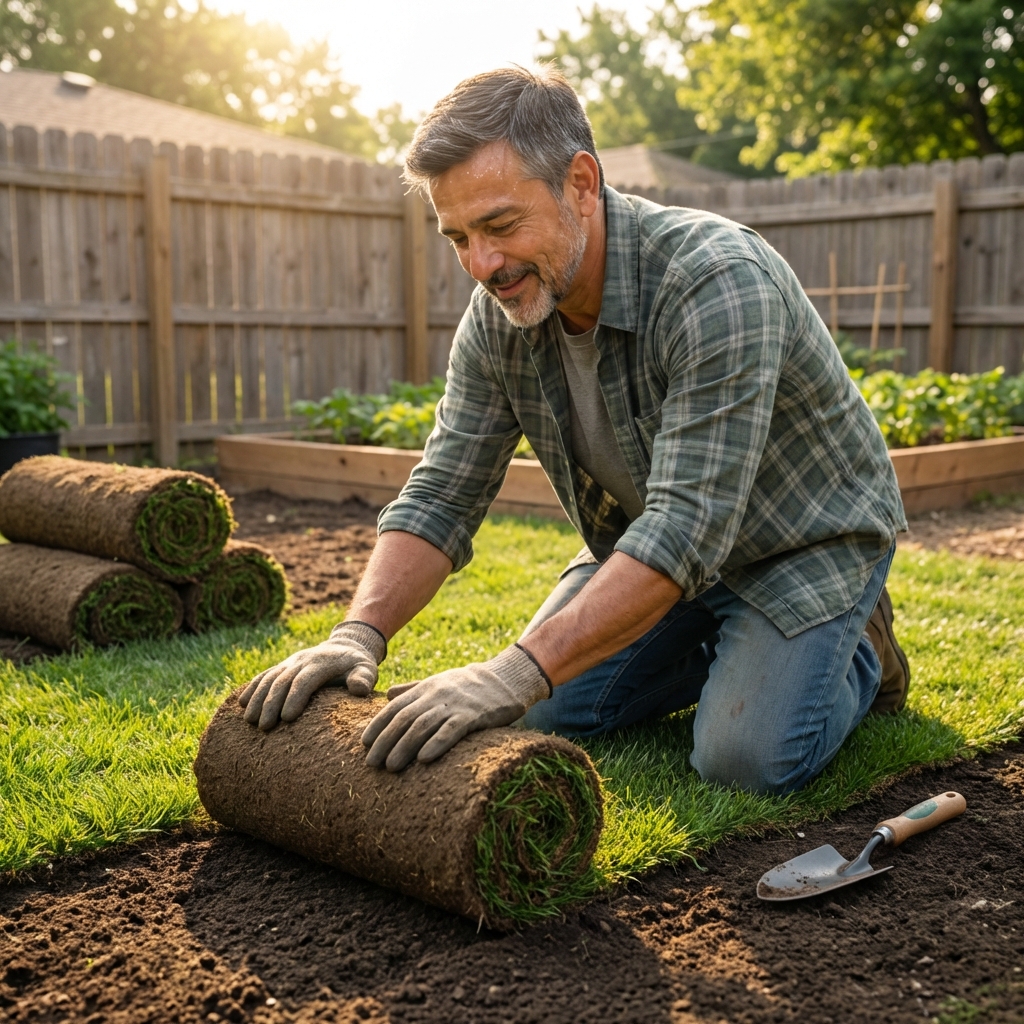
Fast layout tips
Stage tools and materials first
Have everything in place before you start unrolling:
- Sharp utility knife with extra blades
- Landscape rake
- Garden hose with a sprinkler
- Wheelbarrow (for scraps and soil touch-ups)
- Lawn roller (optional but helpful)
Start on a straight edge
Begin along the longest straight edge such as a driveway, sidewalk, or patio. Straight first rows keep everything tight later.
Stagger seams like brickwork
Do not line up end seams. Staggering reduces visible seam lines and helps the lawn knit together faster.
Keep pieces tight, not stretched
Butt edges snugly so there are no gaps, but do not stretch sod to “make it fit.” Stretched pieces shrink as they dry and leave cracks.
Use whole pieces on edges when possible
Place full strips along borders and slopes, then cut the inside pieces to fit. This keeps edges from drying out as quickly.
Slopes need special handling
Lay sod across the slope, not up and down. This helps resist sliding and erosion. On steep slopes, secure with biodegradable sod staples until rooting begins.

Soil contact matters most
Roll it or tamp it
After a section is laid, lightly roll it to press roots into the soil surface. If you do not have a roller, you can gently tamp with your feet, but do it evenly. The goal is contact, not compaction.
Fill seams with compost if needed
If you have small gaps, brush a little finished compost into them. Do not bury the grass blades. Just fill the crack so it does not dry out.
Water right after each section
On warm or windy days, do not wait until the entire yard is done. Water in stages to keep installed sod from drying while you work.
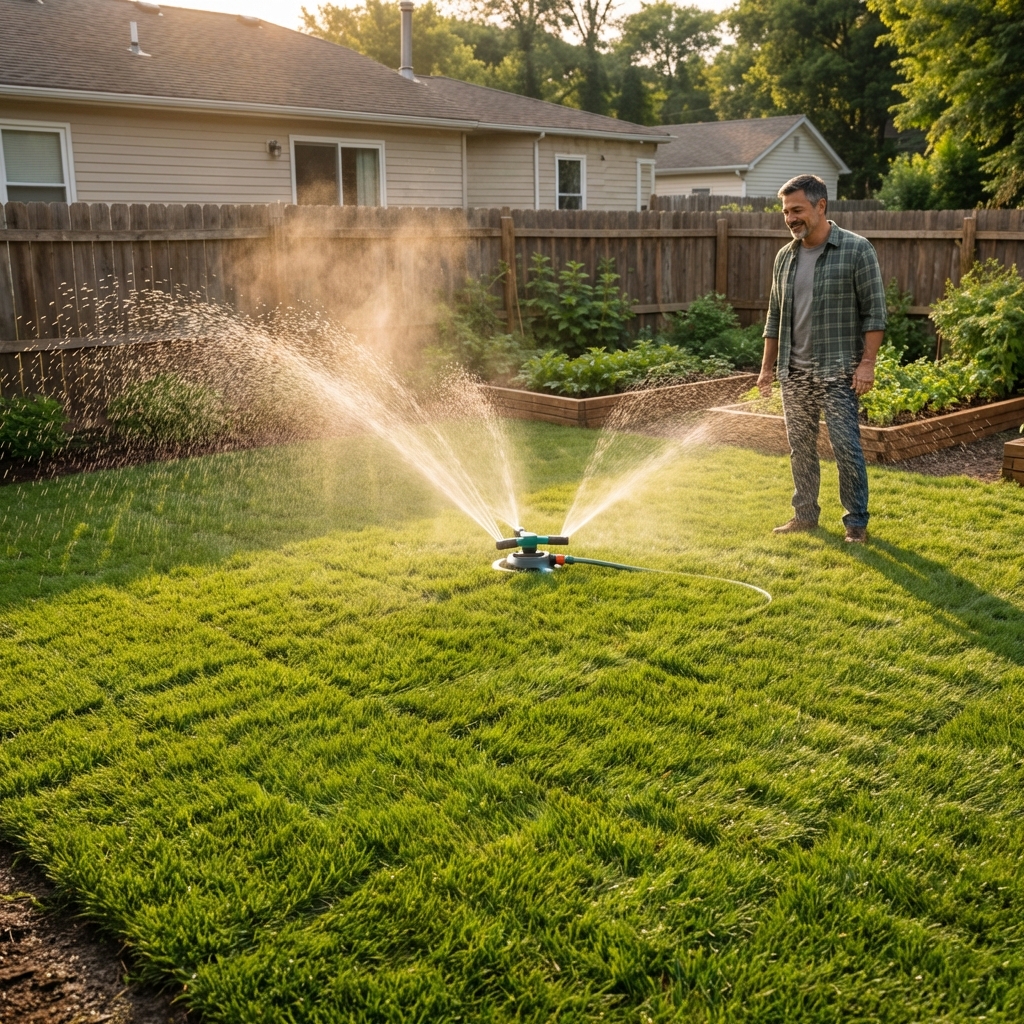
Watering schedule that works
Watering is what turns sod from a green carpet into a rooted lawn. New sod needs frequent, gentle watering at first, then a gradual transition to deeper watering. Adjust based on heat, wind, sun, and how fast the surface dries. Your goal is moist soil under the sod, not puddles.
Day 1: Soak it in
- Water right after install until the soil beneath is moist several inches down.
- Lift a corner and check. The underside should be wet, and the soil below should be damp, not dusty.
Days 2 to 7: Keep it consistently moist
- Water 1 to 4 times per day depending on conditions. Hot, windy, sunny weather needs more. Cool, cloudy, or shaded areas need less.
- Short cycles are better than one long flood if water runs off.
- Water early morning when possible. Reduce watering if you see persistent mushy spots, slime, or fungus pressure.
Week 2: Fewer waterings, deeper each time
- Drop to 1 to 2 waterings per day.
- Increase duration so moisture reaches deeper into the soil.
Weeks 3 to 4: Transition to normal lawn watering
- Water every 2 to 3 days, deeper each time.
- Then move toward 1 to 2 deep waterings per week (as your climate allows).
Quick rooting test: After about 10 to 14 days, gently tug a corner. If it resists, roots are grabbing.
Organic feeding and mowing tips
Feed lightly, if at all
If you prepped with compost, you improved the soil, but compost is not a guaranteed fast nutrient source. If you want to feed, use a mild starter fertilizer (organic or conventional) based on a soil test when possible. Otherwise, wait until the sod has rooted and use a slow-release organic lawn fertilizer around week 3 to 4. Follow the label rate and do not double it “for speed.”
Mow at the right time
- Wait until the sod is rooted enough that the mower will not pull it up, usually 2 to 3 weeks.
- A simple rule: mow when the grass is about one-third taller than your target height.
- Never cut more than one-third of the blade height at once.
- Keep mower blades sharp to reduce stress.
Skip herbicides early on
New sod is still settling in. If weeds pop up, hand-pull what you can and focus on good watering and mowing. A thick lawn is your best long-term weed control.
Keep traffic off
Avoid heavy foot traffic, kids, and pets for about 2 to 3 weeks. You can walk on it to water and check seams, but do not hold parties on it until it is anchored.
Common mistakes that slow sod down
- Installing on dry soil: Lightly water the bare soil before laying sod if it is dusty or powdery.
- Leaving air pockets: Poor contact leads to dry patches. Roll or tamp.
- Gaps between pieces: They dry out fast and turn into brown lines.
- Overwatering with runoff: If water is running down the driveway, you are not soaking the root zone, you are wasting water. Use shorter cycles.
- Watering too often in cool shade: Constantly wet sod can invite disease. Adjust down if the surface stays wet for hours.
- Mowing too soon: This can shift or tear sod before it is anchored.
- Ignoring grade issues: Low spots become soggy, high spots dry out. Fix before install.
Quick checklist for install day
- Soil prepped, smooth, and lightly firm
- Compost worked in or top-dressed
- Grade kept below siding and foundation lines
- Sod delivered fresh and kept shaded if waiting
- Start on a straight edge, stagger seams
- Roll or tamp for full contact
- Water immediately, then keep consistently moist for the first week (adjust to weather)
- Keep people and pets off for 2 to 3 weeks
If you follow that checklist, you do not need harsh chemicals to get a thick, fast-starting lawn. You need good prep, tight seams, and smart watering. That is what makes sod “take” quickly in normal backyard conditions.

Jose Brito
I’m Jose Britto, the writer behind The Country Store Farm Website. I share practical, down-to-earth gardening advice for home growers—whether you’re starting your first raised bed, troubleshooting pests, improving soil, or figuring out what to plant next. My focus is simple: clear tips you can actually use, realistic expectations, and methods that work in real backyards (not just in perfect conditions). If you like straightforward guidance and learning as you go, you’re in the right place.