Orchids get a reputation for being fussy, but most “won’t rebloom” stories come down to a handful of fixable basics: not enough light, inconsistent watering, or a plant that never gets a seasonal cue to set buds. The good news is you can correct all of that with eco-friendly habits that are easier on your home, your wallet, and the plant.
This page focuses mainly on Phalaenopsis (moth orchids) since they are the most common grocery store and gift orchids. I will also point out where other types like Dendrobium and Cattleya differ.
Know what “rebloom” means
Most orchids bloom on a cycle. After flowering, they rest, grow roots and leaves, then set a new spike (or new canes, depending on the type). That resting phase is normal, and it can take several months.
- Phalaenopsis: typically blooms about once a year indoors, and sometimes twice if conditions are great.
- Cattleya: often blooms once per year after it matures a new pseudobulb, though some types and hybrids bloom more than once.
- Dendrobium: nobile-type dendrobiums often need a cooler, drier winter rest to bloom well (phalaenopsis-type dendrobiums do not want the same dry rest).
If your plant looks healthy but is not blooming, you are not failing. You are just missing one of the cues that tells it to switch from “grow” to “flower.”
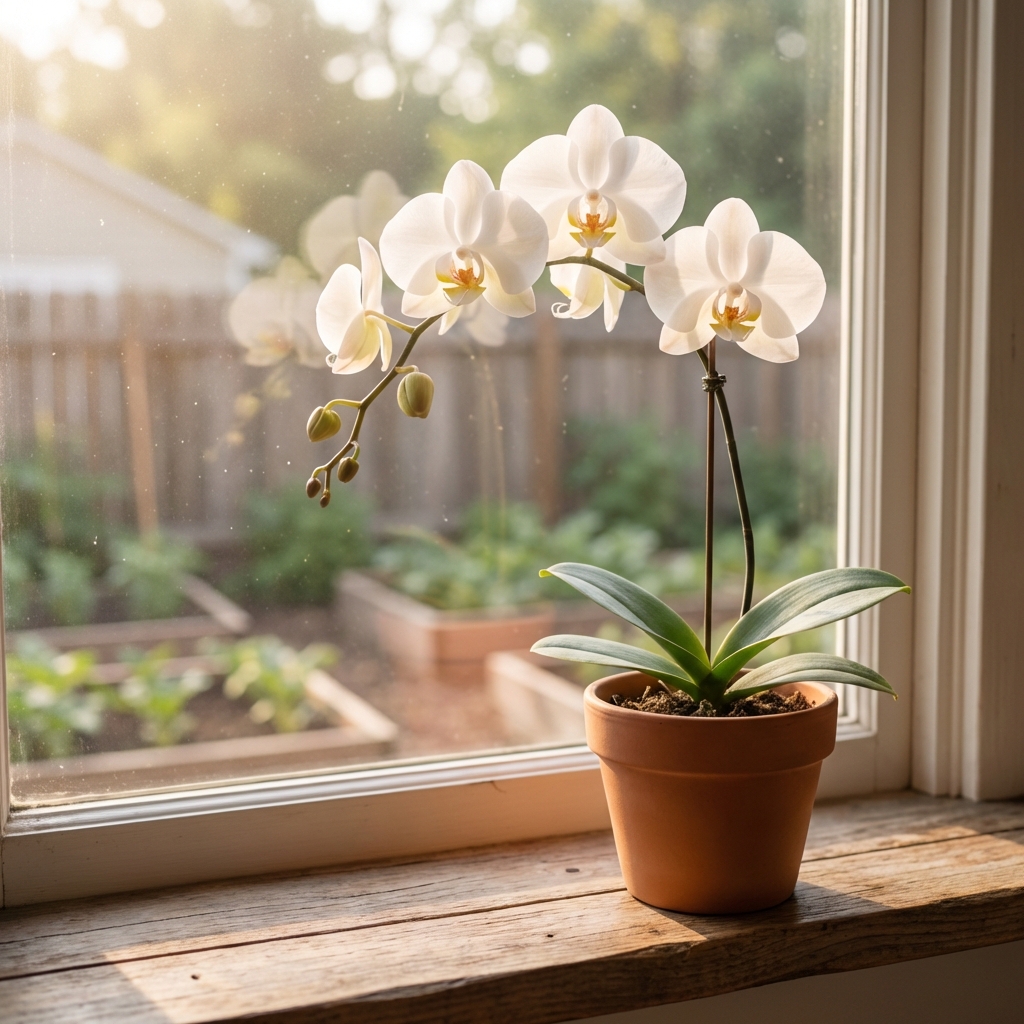
Step 1: Right light
Orchids rarely rebloom in low light. They can survive in dim rooms, but blooming takes energy.
Low-waste light setup
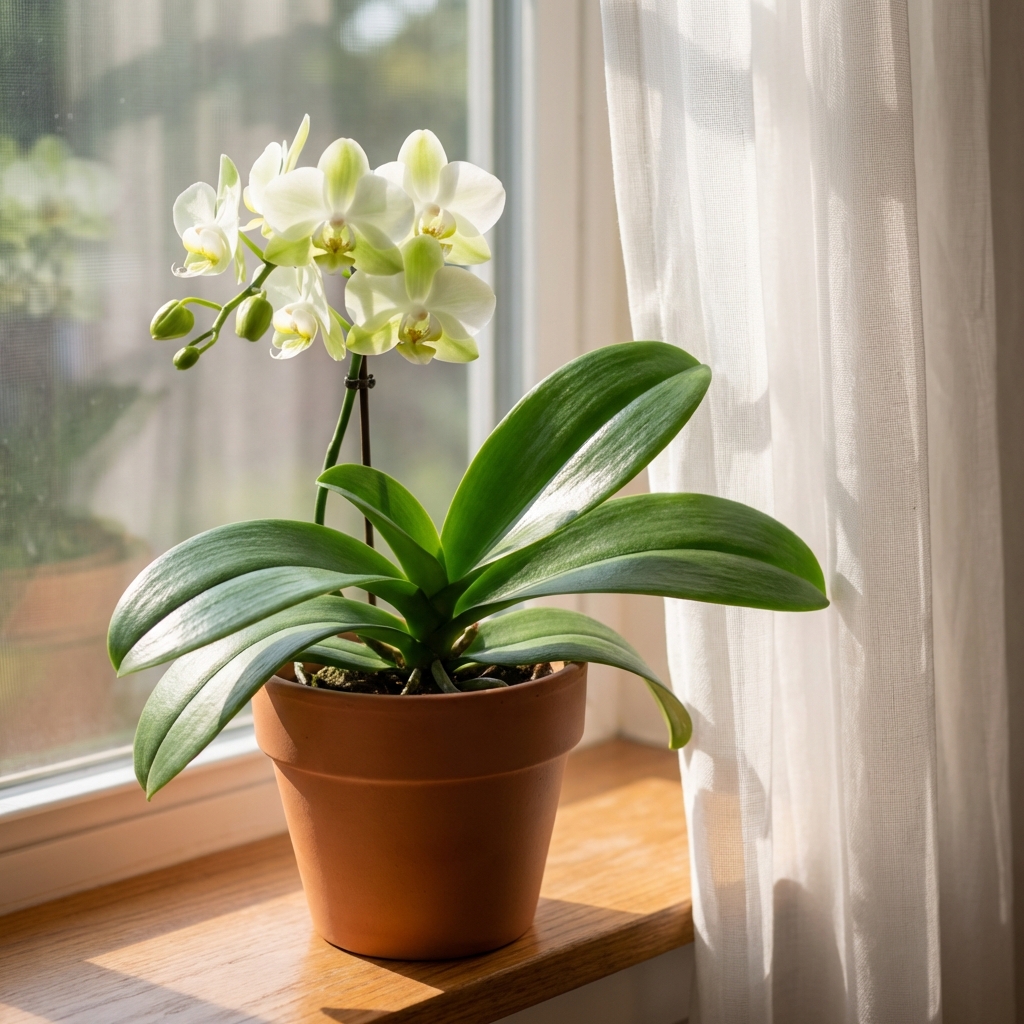
- Bright, indirect light is ideal for Phalaenopsis. An east window is often perfect.
- If you use a south or west window, use a sheer curtain or place the orchid a bit back from the glass to avoid leaf scorch.
- Rotate the pot a quarter turn weekly so the plant grows evenly. Once a new spike is clearly developing, stop rotating so it can orient toward the light without twisting.
Quick light check
At midday, look for a soft shadow on the wall or table near your orchid. No shadow usually means too dim. A sharp, dark shadow often means too intense.
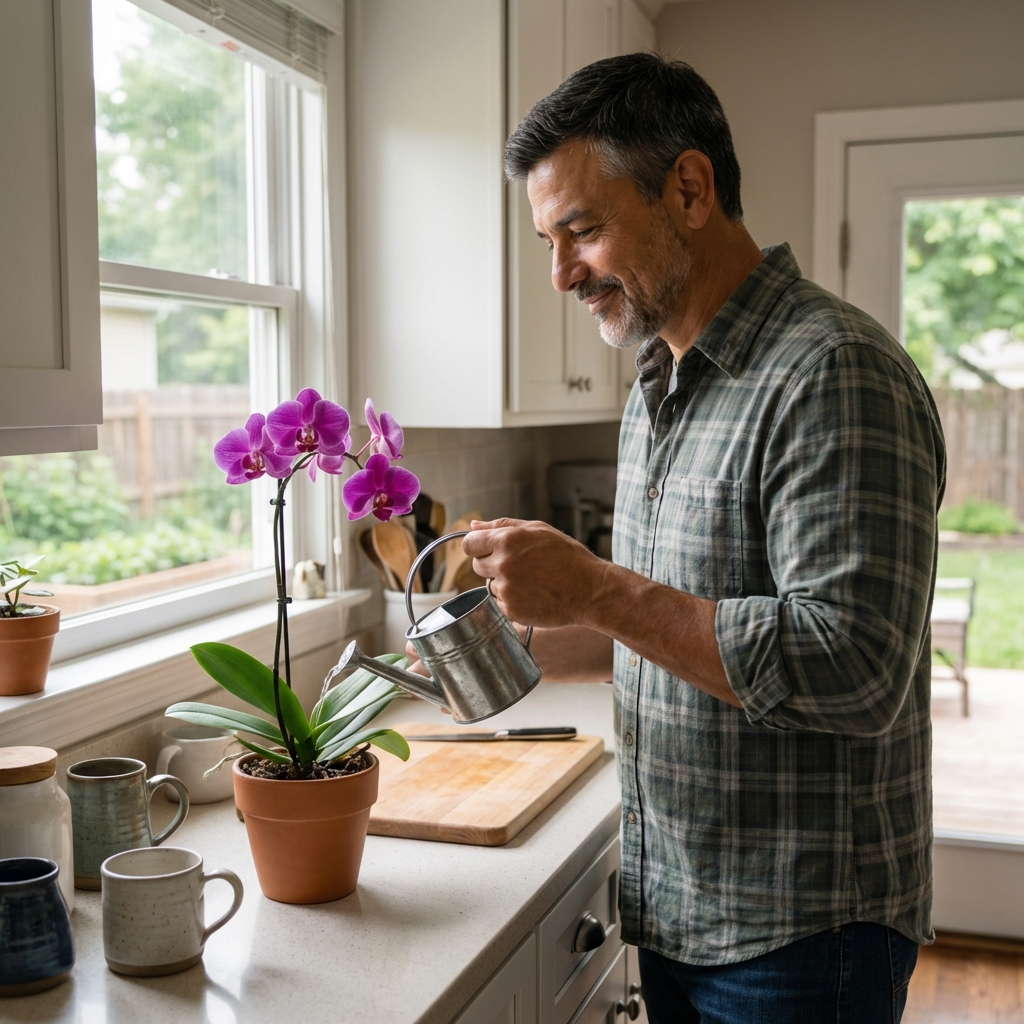
Step 2: Water smarter
Overwatering is the easiest way to lose roots, and weak roots mean no blooms. Eco-friendly care here is mostly about timing and efficiency, not buying special products.
How to water with minimal waste
- Water in the morning so the crown dries by night.
- Take the pot to the sink, water thoroughly until it runs through, then let it drain fully.
- Avoid watering into the crown (the center where leaves meet). Sitting water there can cause crown rot.
- Reuse collected runoff when it is safe: if you catch the runoff in a clean bowl, it is fine to use on most non-edible houseplants, even if it contains weak fertilizer. Do not reuse runoff if the orchid is sick, if you suspect rot, or if you have recently treated with pesticides or other pest products (to avoid spreading pathogens or residues).
When to water
Use the pot weight test and root color as your guide:
- Silvery roots (in a clear pot) usually mean it is time to water.
- Green roots often mean there is still moisture.
- A pot that feels noticeably lighter than usual is another good cue.
A common rhythm is every 7 to 10 days, but your home temperature, humidity, pot size, and mix type can change that a lot. Bark dries faster than sphagnum moss, for example.
Avoid: ice cubes. They chill tropical roots and encourage uneven watering.
Step 3: Feed lightly
Orchids do not need heavy fertilizer to bloom, but they do need consistent nutrition while they are actively growing (new leaves and roots). Over-fertilizing can burn roots and build salts in the potting mix.
Eco-friendly feeding rules
- Choose a balanced orchid fertilizer and use it at quarter strength.
- Feed during active growth, typically spring through early fall for many home setups.
- Once a month, flush the pot with plain water to reduce salt buildup.
Can you use compost tea or kitchen scraps?
I do not recommend putting kitchen scraps, compost, or rich homemade teas into orchid pots. Orchid roots need air, and organic brews can turn the pot into a soggy, smelly mess fast. If you want a greener route, stick with a measured, low-dose fertilizer and focus on light and watering first.
Step 4: Temperature cue
For Phalaenopsis, a small temperature drop is often what flips the switch from leaf growth to spike formation.
The simple home method
- Aim for cooler nights for 2 to 4 weeks in fall or winter.
- Target roughly 60 to 65°F (15 to 18°C) at night if you can, with warmer days.
- As a safety rule, avoid sustained nights below 55°F (13°C) for most common Phalaenopsis.
- Keep it away from cold drafts and heating vents.
This does not need to be extreme. Even moving the orchid a few feet closer to a cooler window at night can help, as long as leaves are not pressed against cold glass.
Step 5: Flower spike care
After blooms drop, you have two good options. The “best” choice depends on the plant’s strength and what you want.
Option A: Trim for a faster rebloom
- If the spike is still green, cut it back to just above a node (often the second or third node from the base).
- This can produce a side branch and flowers sooner, but they are sometimes fewer.
Option B: Cut to the base
- If the spike is brown or drying, cut it off near the base.
- If the plant is stressed (wrinkled leaves, poor roots), cutting to the base helps it focus on recovery.
Eco-friendly sanitation tip
Use clean scissors or pruners. If you want to disinfect, wash with soap and hot water, then wipe with rubbing alcohol. You do not need anything harsher.
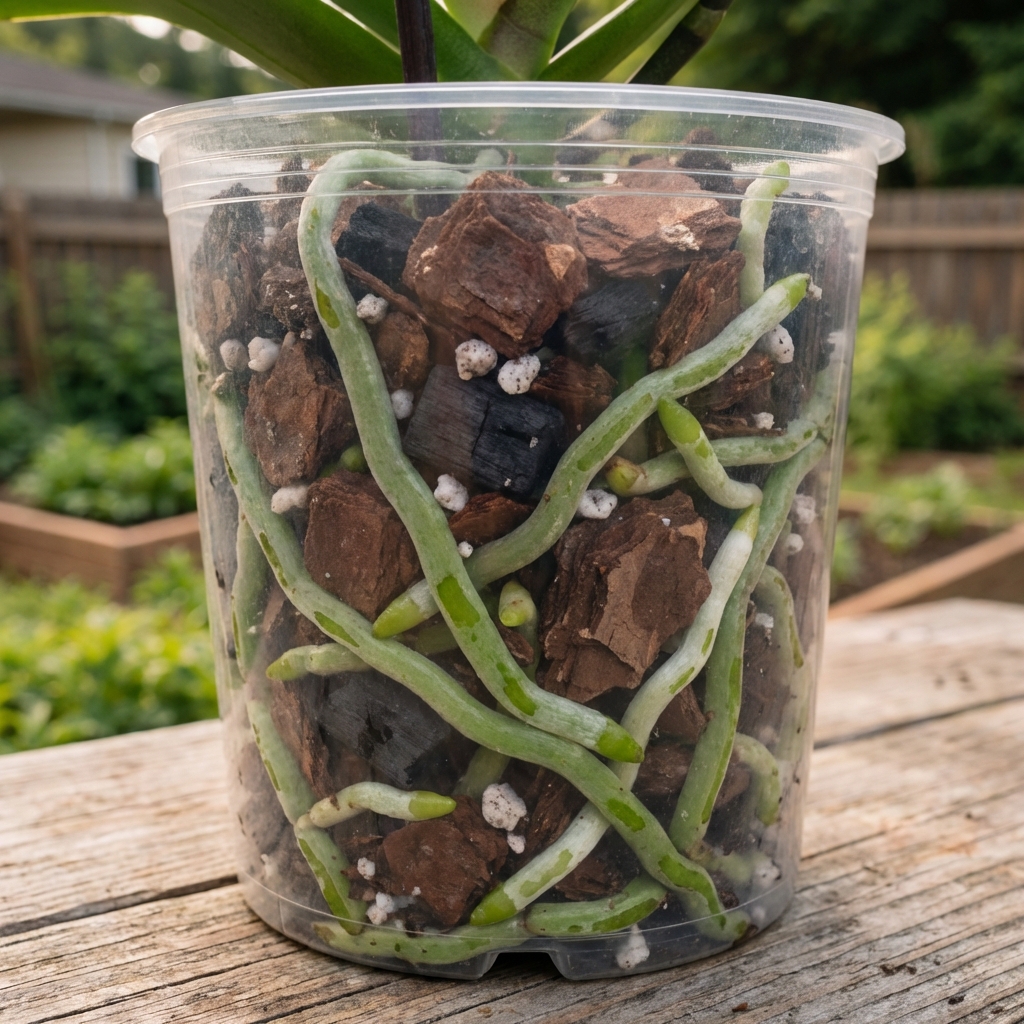
Repotting reset
If your orchid has been in the same pot for 2 or more years, the bark may be breaking down and holding too much water. That can smother roots and stall blooming.
When to repot
- Potting mix smells sour or looks very broken down.
- Roots are crowded, mushy, or the plant wobbles.
- Watering gets tricky because it stays wet too long.
Greener repot choices
- Use a quality bark-based orchid mix from a reputable source (or match what your orchid is already thriving in).
- Keep the same pot if it is in good shape, just wash it well.
- Choose a pot that is only slightly larger. Oversized pots waste mix and stay wet longer.
Repotting is best done when you see new roots starting, often after blooming for Phalaenopsis.
Beginner note: aerial roots are normal. Do not cut them just because they are outside the pot.
Eco-friendly pest prevention
Sticky leaves, speckled foliage, or tiny cottony clumps can point to pests like mealybugs, scale, or spider mites. A healthy orchid is more likely to rebloom, so it is worth dealing with pests early.
Low-impact control steps
- Isolate the plant.
- Wipe leaves with a damp cloth to physically remove pests.
- Use insecticidal soap or a light horticultural oil if needed, following label directions.
- Improve airflow and avoid keeping leaves constantly wet.
Skip routine spraying “just in case.” Targeted treatment is more eco-friendly and usually more effective.
Troubleshooting
Lots of leaves, no flowers
- Most likely: not enough light.
- Also possible: too much nitrogen fertilizer, no night temperature drop.
New spike starts then stalls
- Sudden changes in temperature, very dry air, or inconsistent watering can pause spike growth.
- Move it to stable bright light, water consistently, and avoid bumping the spike.
Wrinkled leaves
- Usually a root problem, not a “needs more water” problem.
- Check roots and potting mix. Repot if needed.
Dark green leaves
- Often means too little light for blooming. Healthy Phalaenopsis leaves are usually medium green.
Dry buds or crispy edges
- Often a mix of low humidity and poor airflow, or a plant that keeps drying out too far between waterings.
- Aim for comfortable home humidity (many orchids do well around 40 to 60 percent) and gentle airflow.
Weekly rebloom routine
- Light: bright, indirect, rotate weekly (pause rotation once a spike develops).
- Water: only when roots go silvery or pot feels light, drain well, keep water out of the crown.
- Feed: quarter-strength during growth, flush monthly with plain water.
- Seasonal cue: 2 to 4 weeks of cooler nights to encourage spikes (avoid sustained nights below 55°F/13°C for most Phals).
- Observe: check roots and leaf firmness before changing anything big.
If you take nothing else from this: increase light first, then tighten up watering. Those two alone solve most rebloom problems.

Jose Brito
I’m Jose Britto, the writer behind The Country Store Farm Website. I share practical, down-to-earth gardening advice for home growers—whether you’re starting your first raised bed, troubleshooting pests, improving soil, or figuring out what to plant next. My focus is simple: clear tips you can actually use, realistic expectations, and methods that work in real backyards (not just in perfect conditions). If you like straightforward guidance and learning as you go, you’re in the right place.