Christmas cactus (Schlumbergera) is one of those “easy until it isn’t” houseplants. Most of the time it just grows along, then one day it starts drying out too fast, wilting even after watering, or getting top-heavy and awkward. That is usually your sign it is time to repot.
The good news is repotting is not complicated, and you do not need a perfect setup. You just need the right timing, a small pot upgrade, and a mix that drains well but still holds a bit of moisture.
Quick vocab: those flat “leafy” pieces are segments (also called pads). They snap more easily than they look, so you will handle the plant by the base, not the stems.
When to repot (and when to leave it alone)
Christmas cactus likes being slightly snug in its pot. Repotting too often can slow growth and delay blooming. Many plants do well with a repot every 2 to 3 years, but very mature plants often prefer less frequent repotting. In those cases, you can sometimes top-dress (replace the top couple inches of mix) instead of fully repotting.
Best time of year
- Late winter to early spring is ideal, after blooming is finished.
- Early summer can also work if the plant is actively growing.
- Avoid repotting in fall when the plant is setting buds. Repotting stress can cause bud drop and can interrupt bloom timing, unless it is an emergency (rot, broken pot, serious pests).
Clear signs it is time
- Water runs through fast and the pot dries out much quicker than it used to (this can also happen when the root ball gets compacted or the mix turns water-repellent).
- Roots are circling the bottom or coming out of drainage holes.
- The plant is top-heavy and tips easily.
- The soil has broken down into a dense, muddy texture.
- Growth has stalled even with decent light and routine feeding.
When you can skip repotting
- If it was moved into a new pot within the last year.
- If it is blooming well and the soil still drains nicely.
- If it is about to bloom and the only issue is minor crowding.
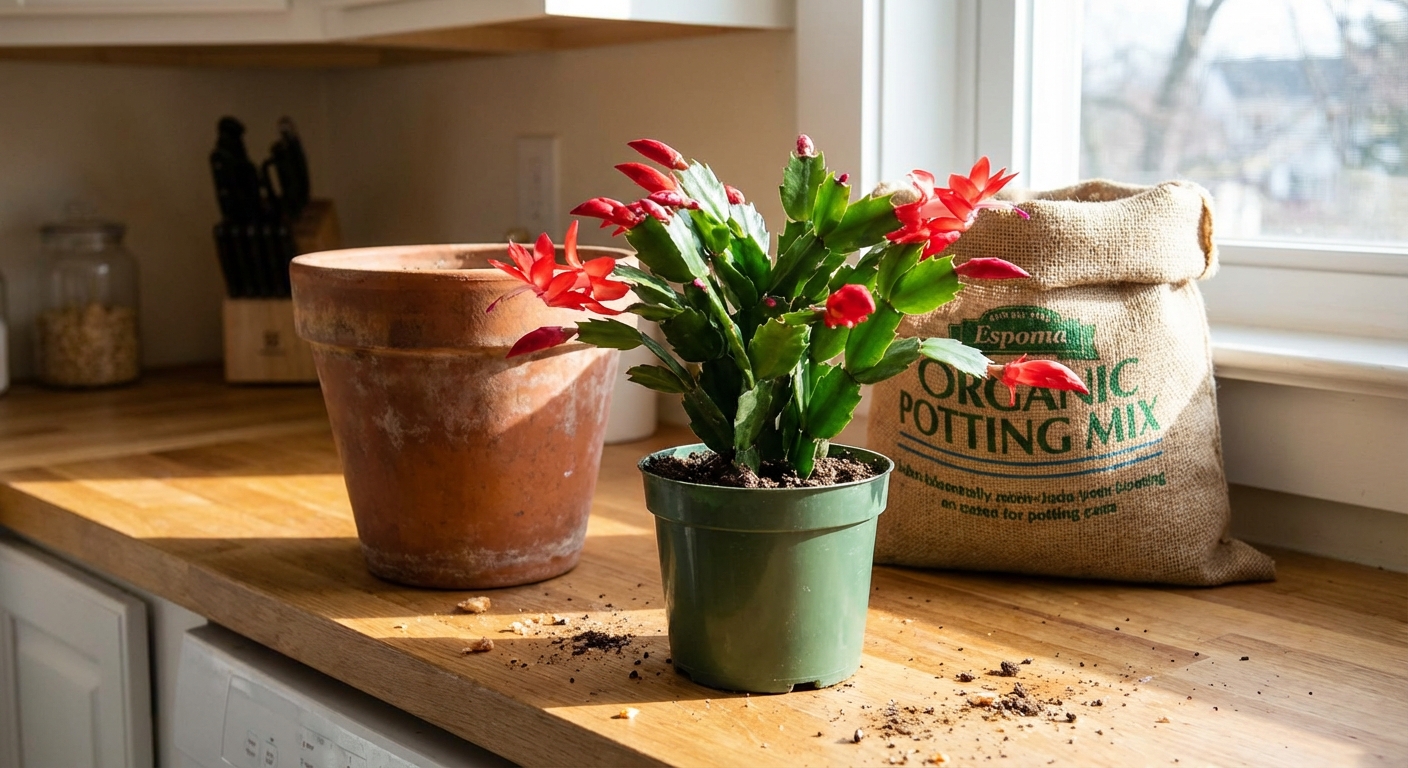
Pick the right pot size and type
The most common beginner mistake is going too big. Christmas cactus has a smaller root system than you would expect from all that foliage, and extra soil stays wet too long.
Pot size rule
- Go up 1 to 2 inches wider than the current pot.
- Keep the depth similar. A pot that is much deeper than the root ball can hold water at the bottom.
Drainage is not optional
- Choose a pot with at least one drainage hole.
- If you use a decorative cachepot (no holes), keep the plant in a nursery pot inside it.
Terracotta vs plastic
- Terracotta helps soil dry a bit faster, which is great if you tend to overwater.
- Plastic holds moisture longer, helpful in dry homes, but you must be careful not to keep it soggy.
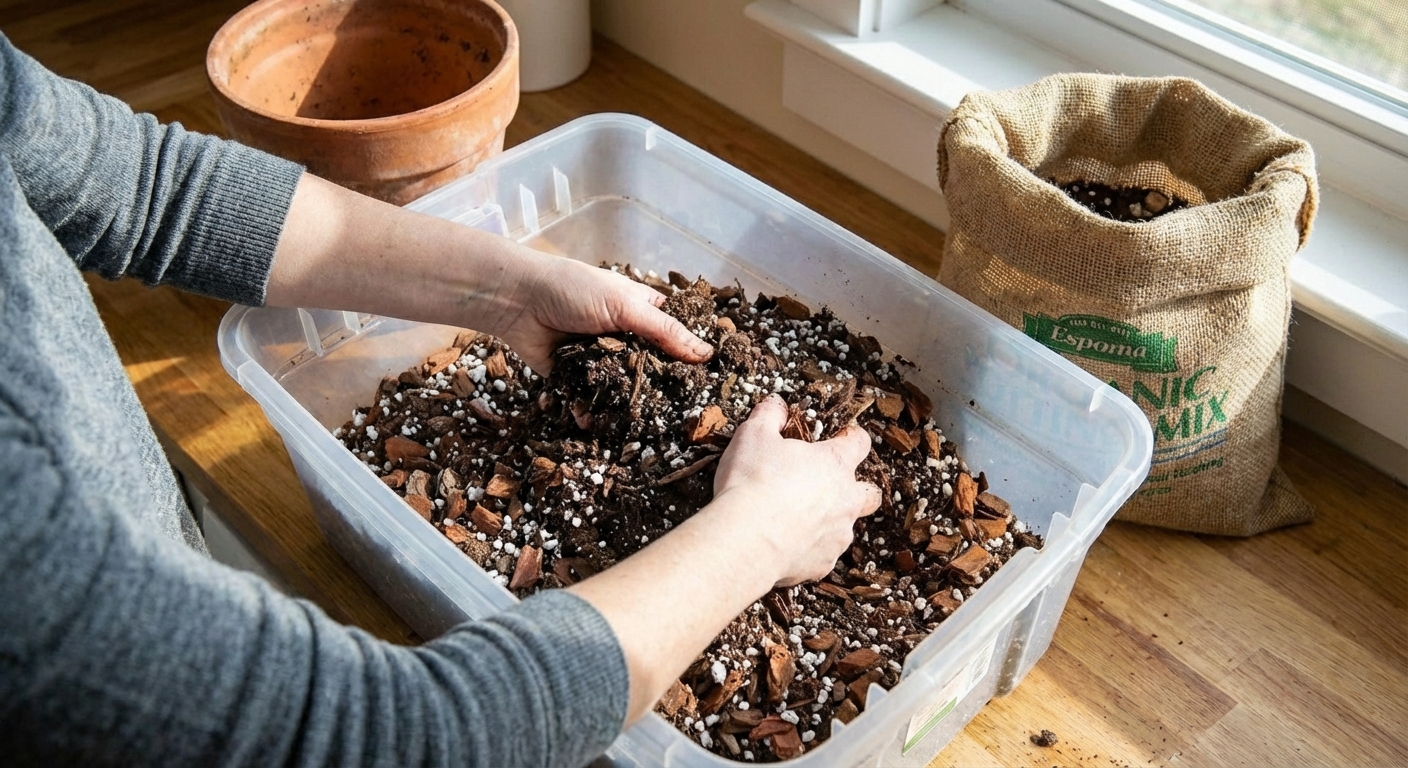
The best soil mix for Christmas cactus
Even though it is called a cactus, Christmas cactus is not a desert cactus. In nature it grows in tree crevices and leaf litter, so it likes a mix that drains well but is not bone-dry.
Easy beginner mix (no guesswork)
- 2 parts regular indoor potting mix
- 1 part perlite or pumice
- 1 part orchid bark (fine to medium)
If you do not have orchid bark, you can use coco coir chunks or extra perlite, but bark helps keep the mix airy longer.
What to avoid
- Heavy garden soil or topsoil
- Mixes that stay muddy or compacted
- Many commercial “cactus mixes” that dry too fast indoors, or that are peat-heavy and compact over time. What you want is a mix that stays airy and drains freely, not one that turns into a hard brick or a wet sponge.
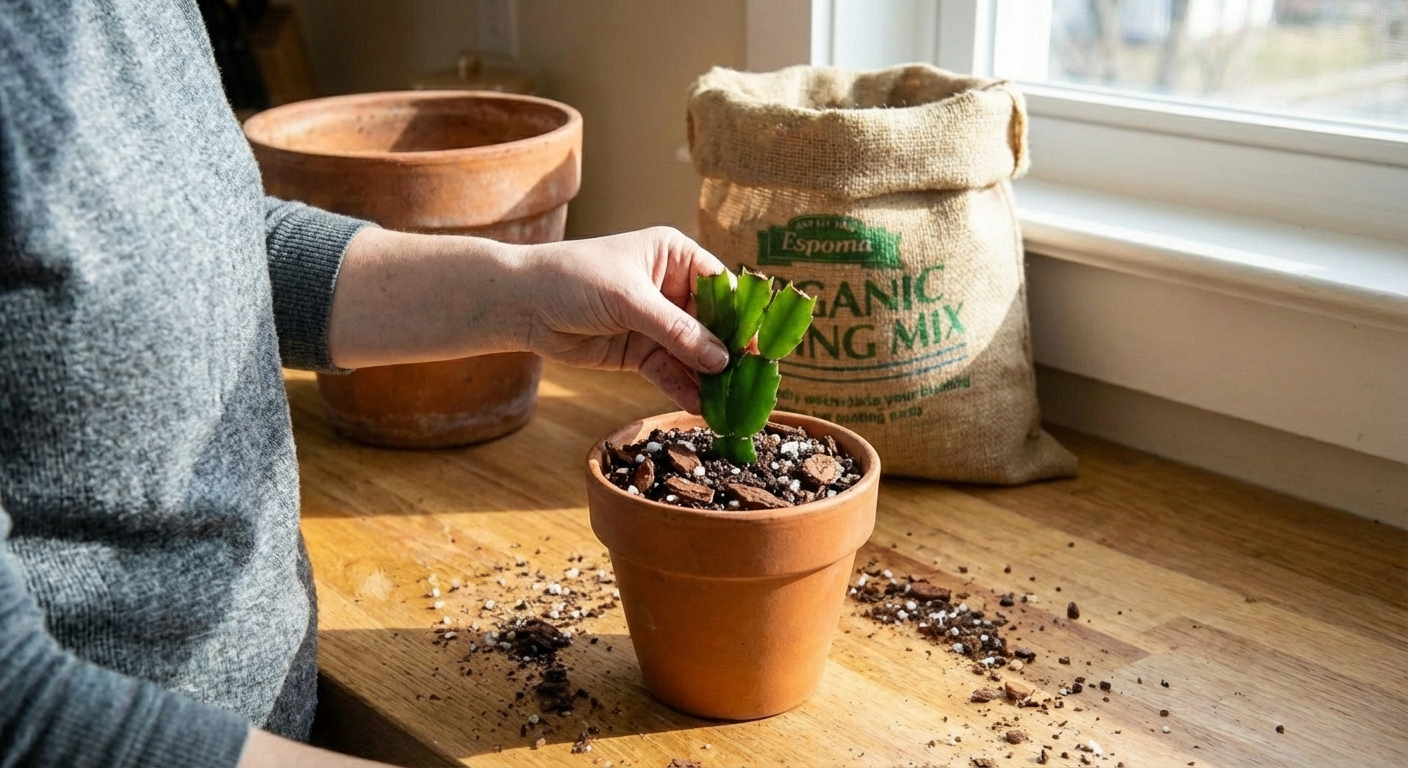
Step-by-step: How to repot without breaking segments
Those flat segments can snap if you handle the plant by the stems. The trick is to support the base and work slowly.
What you need
- New pot (1 to 2 inches wider)
- Fresh soil mix
- Small scoop or spoon
- Clean scissors (optional)
- Newspaper or a tray for mess
1) Water lightly the day before (optional, but helpful)
Slightly damp soil slides out easier and causes less root damage. Do not soak it. You just want it not bone-dry.
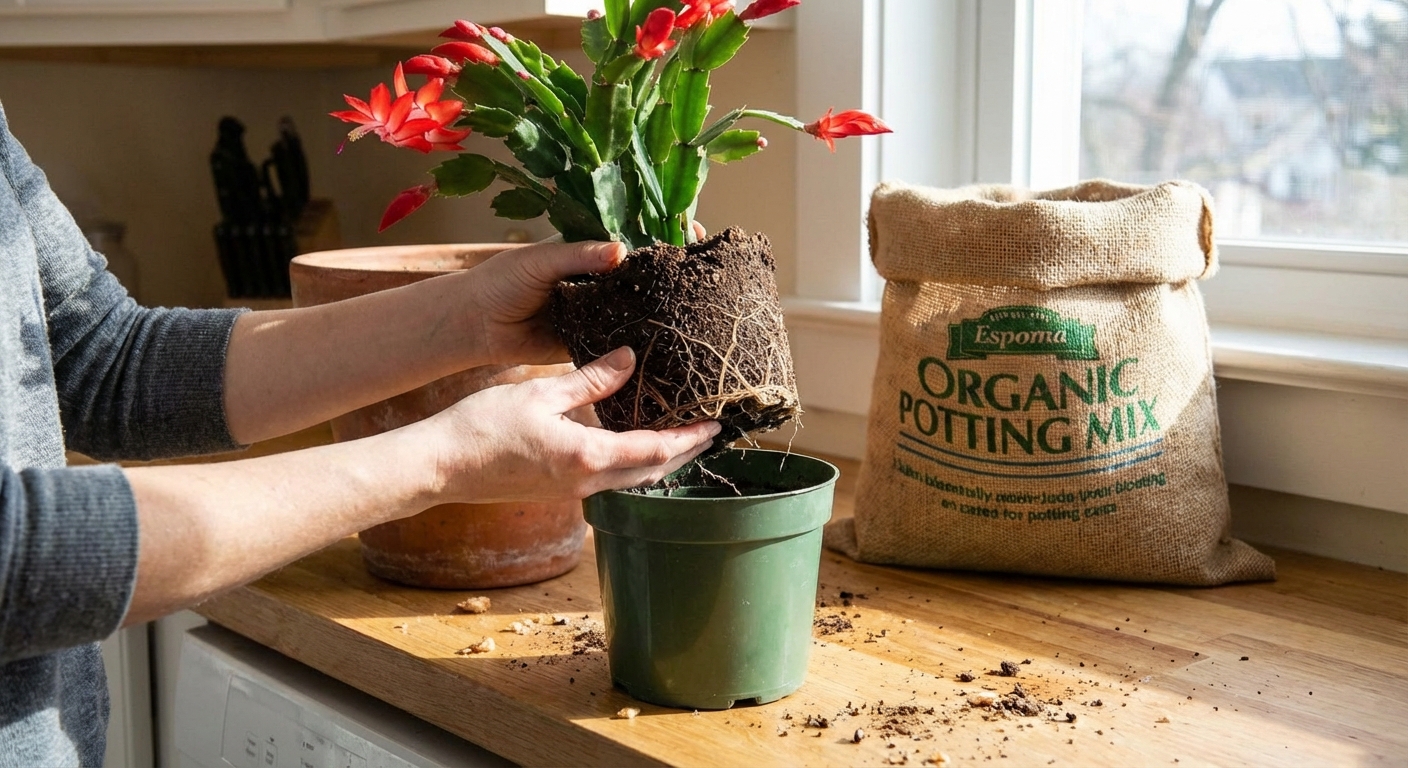
2) Slide the plant out
Tip the pot sideways, support the plant near the soil line, and squeeze the pot if it is plastic. If it is stuck, run a dull knife around the inside edge.
3) Loosen the outer roots
Gently tease the outside of the root ball with your fingers. You do not need to fully bare-root it. Just loosen the circling roots so they grow outward into the new mix.
4) Trim only what is clearly unhealthy
- Healthy roots look pale to tan and feel firm.
- Rotten roots look dark and feel mushy. Trim those with clean scissors. If you are cutting rot, it helps to wipe or rinse scissors between snips.
- Discard any old, sour-smelling, soggy mix instead of reusing it.
5) Set the height correctly
Add soil to the bottom of the new pot so the plant sits at the same level it was before. Do not bury the stems deeper than they were in the old pot.
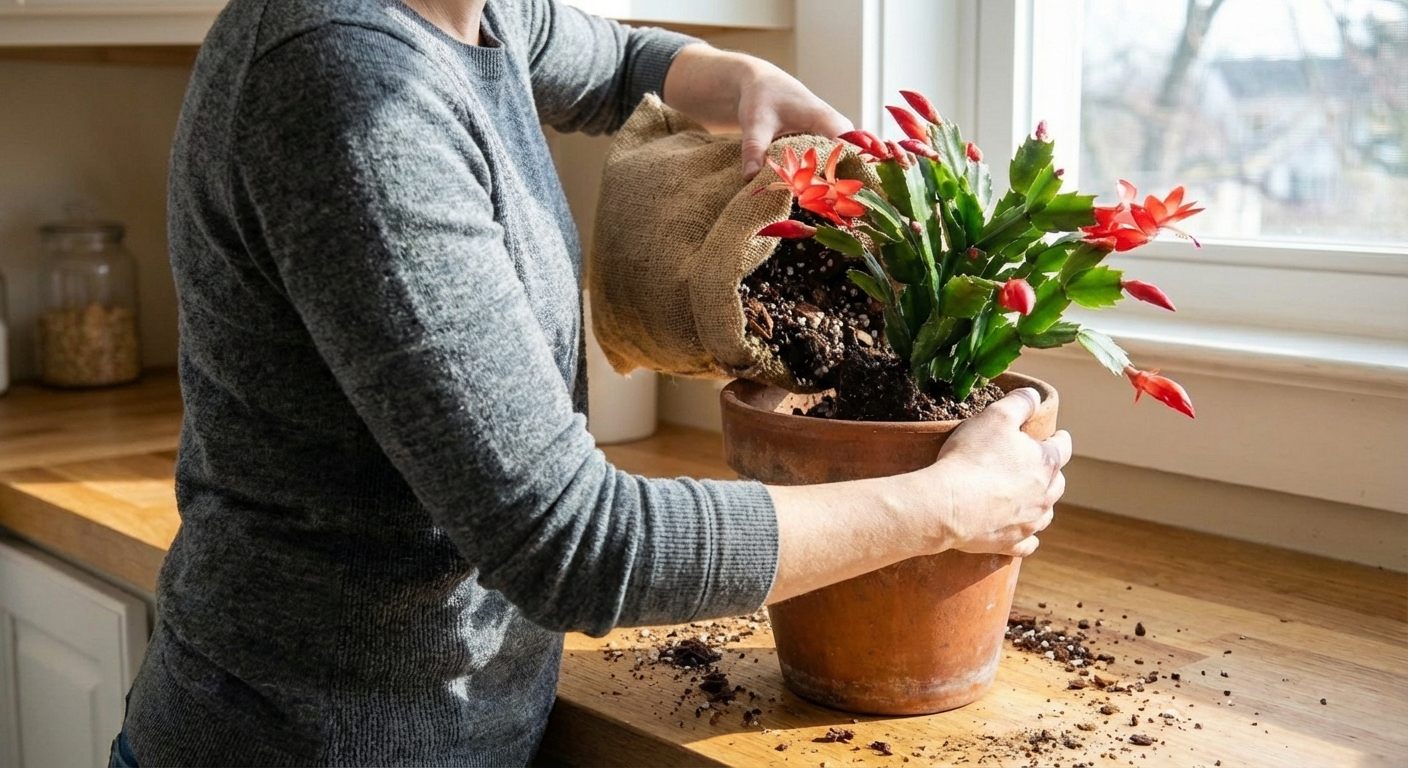
6) Fill and firm lightly
Fill around the sides with your mix, tapping the pot to settle it. Press lightly. Do not pack it down hard. Air pockets are good, big empty gaps are not.
7) Water the right amount
If roots were disturbed, give it a day or two before watering thoroughly. If the root ball stayed mostly intact, you can water lightly right away to settle the mix. Either way, avoid leaving it half-watered for weeks. When you do water, water enough that some runs out the drainage hole, then let it drain completely and empty the saucer.
Aftercare: The first 2 weeks matter most
Your goal after repotting is simple: let roots recover and start exploring the new mix without staying wet for too long.
Light
- Bright, indirect light is best.
- Avoid harsh direct sun for about a week if the plant is stressed.
Watering
- Water when the top inch of the mix feels dry.
- Then water thoroughly until it drains, and empty the saucer.
- If your home is cool and dim, expect the pot to dry slower.
Temperature and humidity
- Keep it in stable indoor temps and away from cold drafts or hot vents right after repotting.
- Average home humidity is fine, but moderate humidity helps reduce stress if your air is very dry.
Fertilizer
Wait 3 to 4 weeks before feeding. Fresh mix often has nutrients, and feeding too soon can stress newly disturbed roots. After that, a balanced houseplant fertilizer at half strength monthly during spring and summer is plenty.
Common repotting problems and quick fixes
Wilting after repotting
- Most likely: transplant shock, root disturbance, or the mix drying too fast.
- Fix: move to bright shade for a few days, keep conditions steady (no drafts), and keep watering gentle and consistent. Do not keep it soggy. Some temporary limpness is normal, so give it a little time.
Water runs through instantly and soil will not re-wet
- Most likely: the old root ball is compacted or hydrophobic (repels water).
- Fix: bottom-water for 15 to 30 minutes so the root ball can soak evenly, then drain well. If it keeps happening, repot into a fresher, airier mix.
Segments turning limp and translucent
- Most likely: overwatering and roots staying wet.
- Fix: let the mix dry more between waterings and confirm the pot drains freely. Consider switching to a lighter mix if it stays wet.
No blooms next season
- Most likely: repotting in fall, too much nitrogen, or not enough cool nights and darkness to set buds.
- Fix: in early fall, give bright days and longer dark periods at night, plus cooler temps if possible. Keep feeding light.
Plant feels loose in the new pot
- Most likely: mix is too chunky or not settled.
- Fix: add a bit more mix around the edges and tap the pot to settle. Firm gently at the surface.
Should you split or propagate while repotting?
If your Christmas cactus is huge, repotting is a good time to take a few cuttings. Splitting the whole plant is possible, but it is more stressful than taking cuttings.
Easy propagation method
- Twist off a piece with 2 to 4 segments.
- Let it dry for 1 to 3 days so the end calluses.
- Stick it about 1 segment deep into slightly damp, airy mix.
- Keep in bright, indirect light and water lightly until rooted.
Quick checklist for beginners
- Repot after blooming, ideally late winter or early spring.
- Only size up the pot by 1 to 2 inches.
- Use a chunky, well-draining mix that still holds a little moisture.
- Do not bury stems deeper than before.
- Go easy on water for the first week and wait a few weeks to fertilize.
If you keep those basics in mind, your Christmas cactus should settle in fast and reward you with stronger growth and better blooms down the road.

Jose Brito
I’m Jose Britto, the writer behind The Country Store Farm Website. I share practical, down-to-earth gardening advice for home growers—whether you’re starting your first raised bed, troubleshooting pests, improving soil, or figuring out what to plant next. My focus is simple: clear tips you can actually use, realistic expectations, and methods that work in real backyards (not just in perfect conditions). If you like straightforward guidance and learning as you go, you’re in the right place.