Rose propagation sounds fancy, but most of the “secret” is just timing, clean cuts, and keeping the cutting from drying out or rotting. On this page, I’ll walk you through the simplest solutions that work in real backyards: stem cuttings in a humid setup, easy layering, and a few backup options when conditions are less than perfect.
Quick reality check: not every cutting will root, even when you do everything right. Aim for multiple cuttings, keep notes, and treat it like a small experiment. Your success rate improves fast once you dial in moisture and temperature.
Start with the right rose and the right season
Some roses root more easily than others. Many shrub roses and old garden roses root readily. Some modern hybrids can be slower or fussier. The method still applies, but plan on taking extra cuttings.
One important note: timing shifts by climate and even by microclimate. Use the calendar as a guide, but trust what the plant is doing. The sweet spot is usually when new growth is firming up, still bends, and does not flop.
Best time to propagate roses from cuttings
- Softwood cuttings (late spring to early summer): fastest rooting and often the easiest window for home gardeners. Stems are flexible but not floppy.
- Semi-hardwood cuttings (mid to late summer): a solid second choice. Stems snap more cleanly, leaves are mature.
- Hardwood cuttings (late fall to winter): slow, but simple because the plant is dormant. Great if you can keep them sheltered from extremes.
If you only try one window, try softwood or semi-hardwood. You will usually see roots sooner and lose fewer cuttings to rot.
Tools and supplies that make this easier
You do not need a greenhouse. You do need a few basics that control moisture and reduce disease.
- Sharp, clean pruners (wipe with rubbing alcohol between plants)
- Small pots with drainage holes (clean pots help, even a quick wash goes a long way)
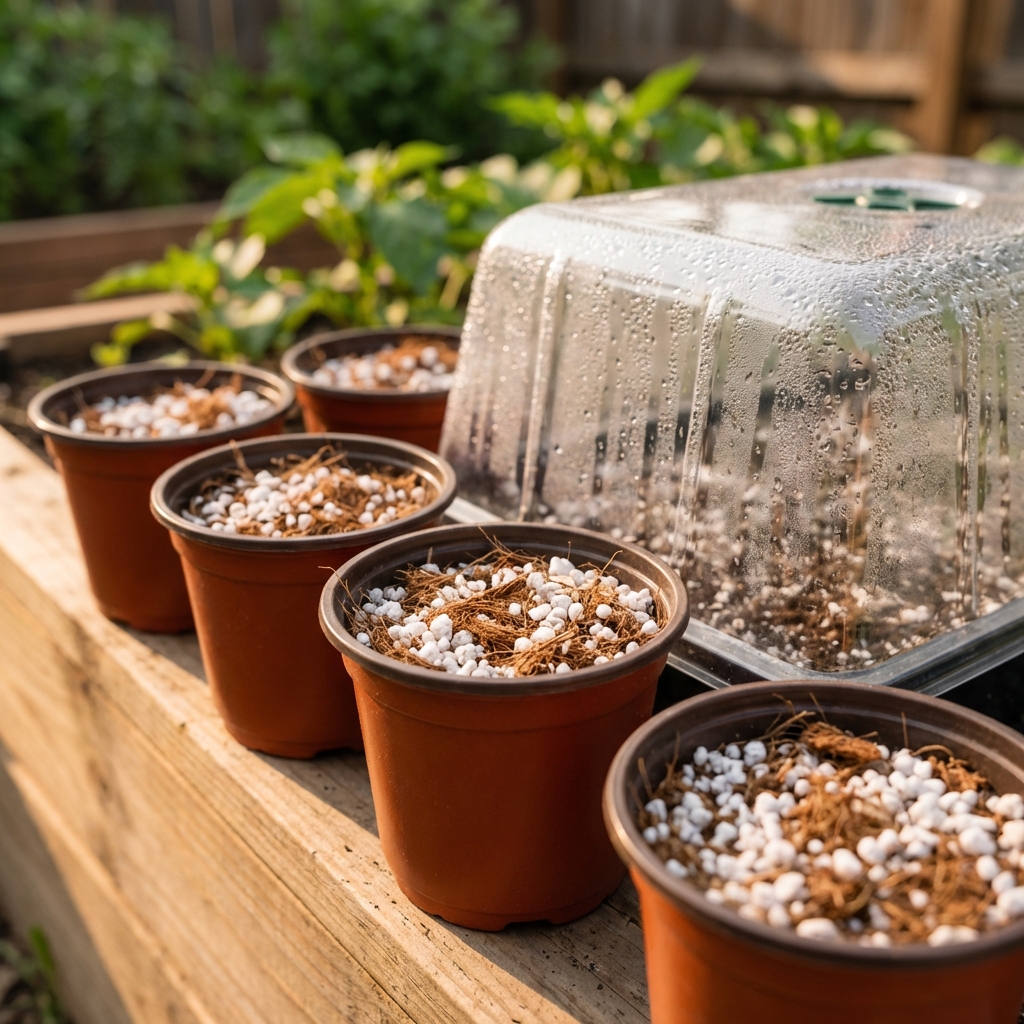
- Rooting medium: 50% perlite + 50% peat/coir, or straight perlite for high humidity setups (fresh medium reduces rot and damping-off)
- Clear humidity cover: a clear plastic bag, a large jar, or a cut plastic bottle
- Rooting hormone (optional, but helpful for consistency)
- Plant labels (date matters more than you think)
Quick definition: “bright shade” means lots of ambient light, but no hot direct sun. Morning sun is usually fine. Midday and afternoon sun through plastic is where cuttings get cooked.
Simple method #1: Stem cuttings in a humid pot
This is the most dependable home gardener approach because it balances moisture and airflow. The goal is to keep leaves slightly turgid while the cutting grows roots.
Step-by-step
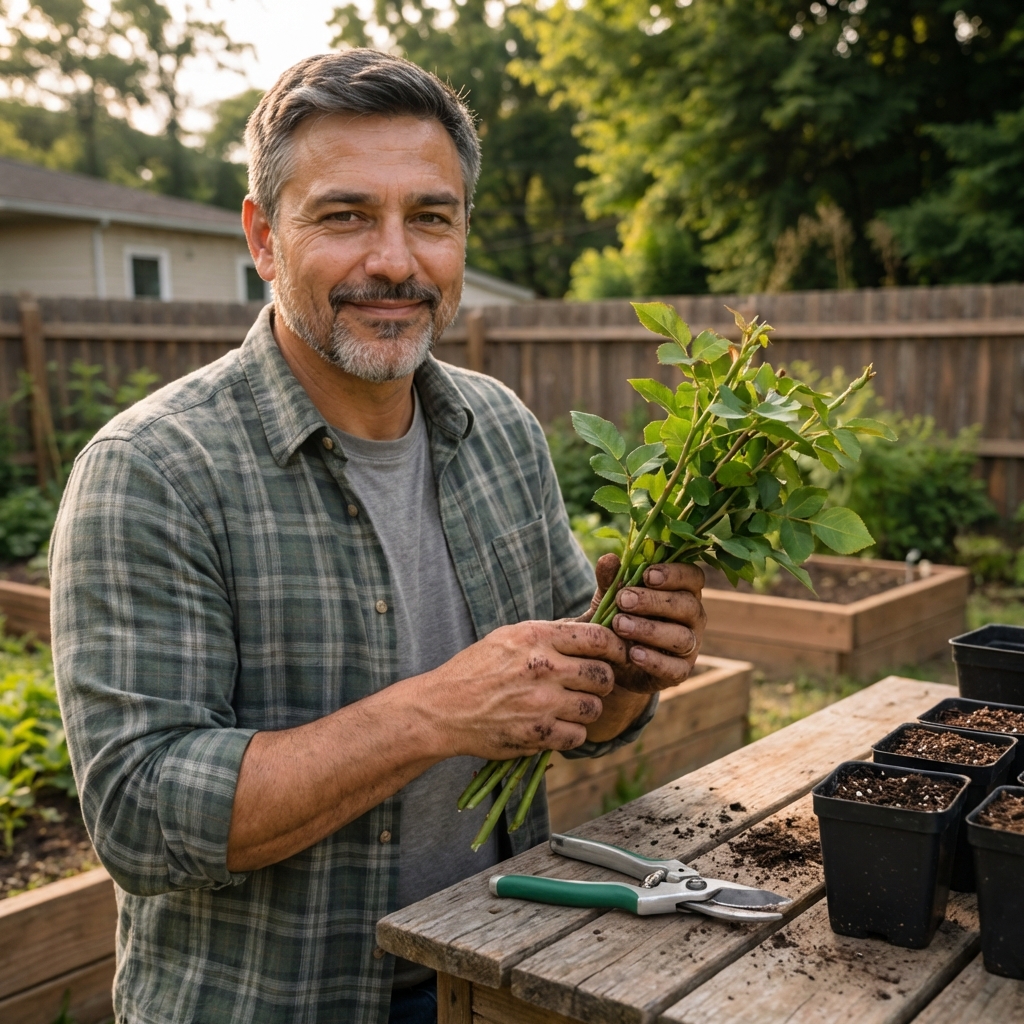
- Select a healthy stem about pencil thickness. Avoid flowers and buds if you can. If it has a bloom, remove it. Flowers and buds pull energy away from rooting, and they can also rot under humidity covers.
- Cut a 6 to 8 inch section just below a node (where a leaf joins the stem). That node is a common rooting zone.
- Strip the lower leaves so no foliage sits under the soil line. Leave 1 to 2 sets of leaves at the top. If the remaining leaves are large, trim them in half to reduce moisture loss.
- Wound lightly (optional): scrape a thin sliver of bark on one side near the base to expose cambium. This can speed rooting on tougher varieties.
- Dip in rooting hormone (tap off excess). Too much can actually slow things down.
- Stick into pre-moistened medium 2 to 3 inches deep. Firm it in so the cutting does not wobble.
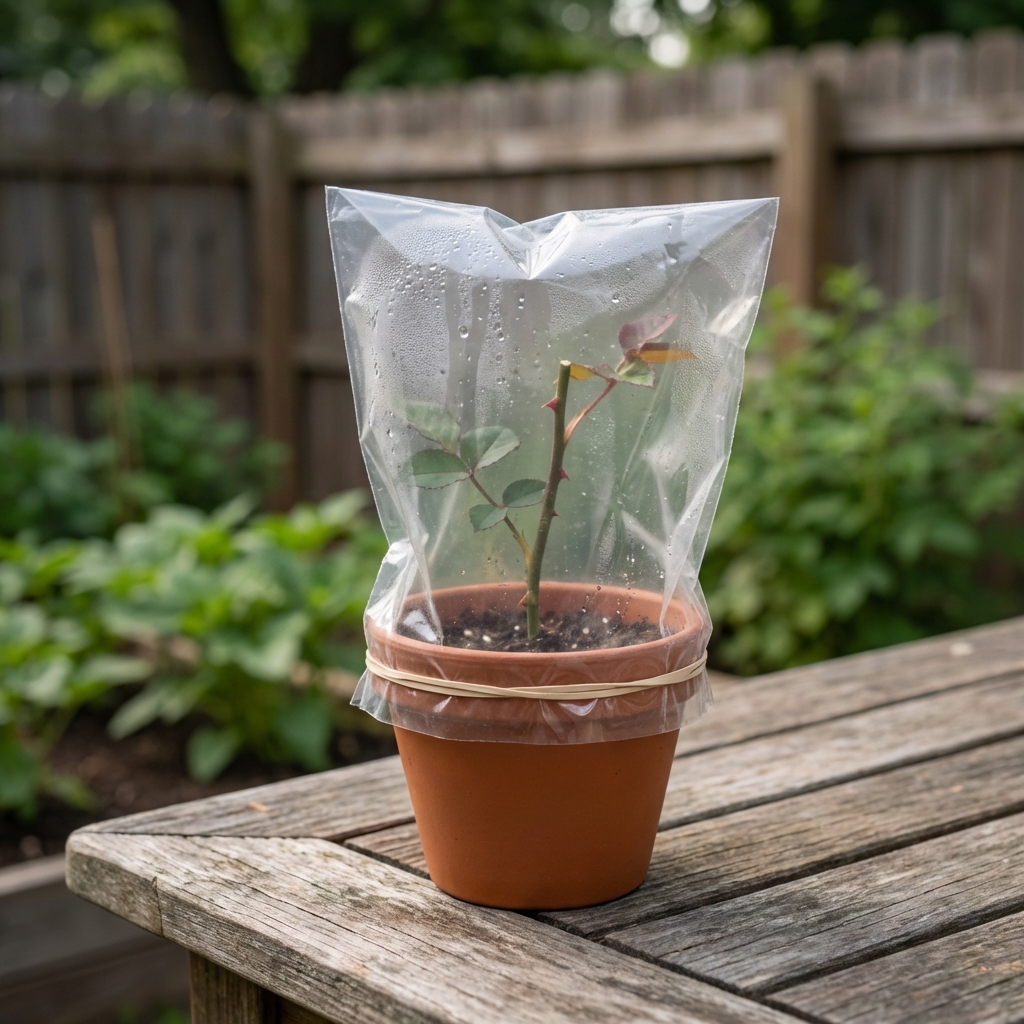
- Cover for humidity using a clear bag or dome. Keep plastic from touching leaves by using sticks or a wire hoop.
- Bright shade, not full sun. Morning light is fine.
Moisture and airflow: the part most people miss
Inside the cover should look lightly humid, not dripping wet. If you see heavy condensation and the medium stays soggy, vent it. Crack the bag or dome for 10 to 20 minutes daily, or poke a few small holes. Rot is usually “too wet, too still.”
Watering tip in covered setups: resist the urge to keep watering. If your medium was pre-moistened, you may not need to water for a while. When you do, water the medium lightly, do not mist constantly. Misting can be fine in very dry climates, but nonstop leaf wetness plus still air is an open invitation to fungus.
How long until roots?
Softwood cuttings can root in 2 to 6 weeks. Semi-hardwood often takes 4 to 10 weeks. Temperature, variety, and humidity control matter a lot.
Do not tug hard. If you feel resistance after a few weeks, that is a good sign. Even better signs are roots at the drainage holes, or new growth that looks sturdy and starts to harden off (not pale and stretchy).
Quick success checklist
- Temperature: many roses root best around 65 to 75°F (18 to 24°C).
- Bottom heat: helpful but optional, especially if your nights are cool.
- Light: bright shade, not baking sun.
- Medium: airy and clean, never swampy.
Simple method #2: Layering (low effort, high success)
If you have a rose with long, flexible canes, layering is one of the easiest ways to get a new plant because the stem stays attached to the mother plant while it forms roots.
How to do simple ground layering
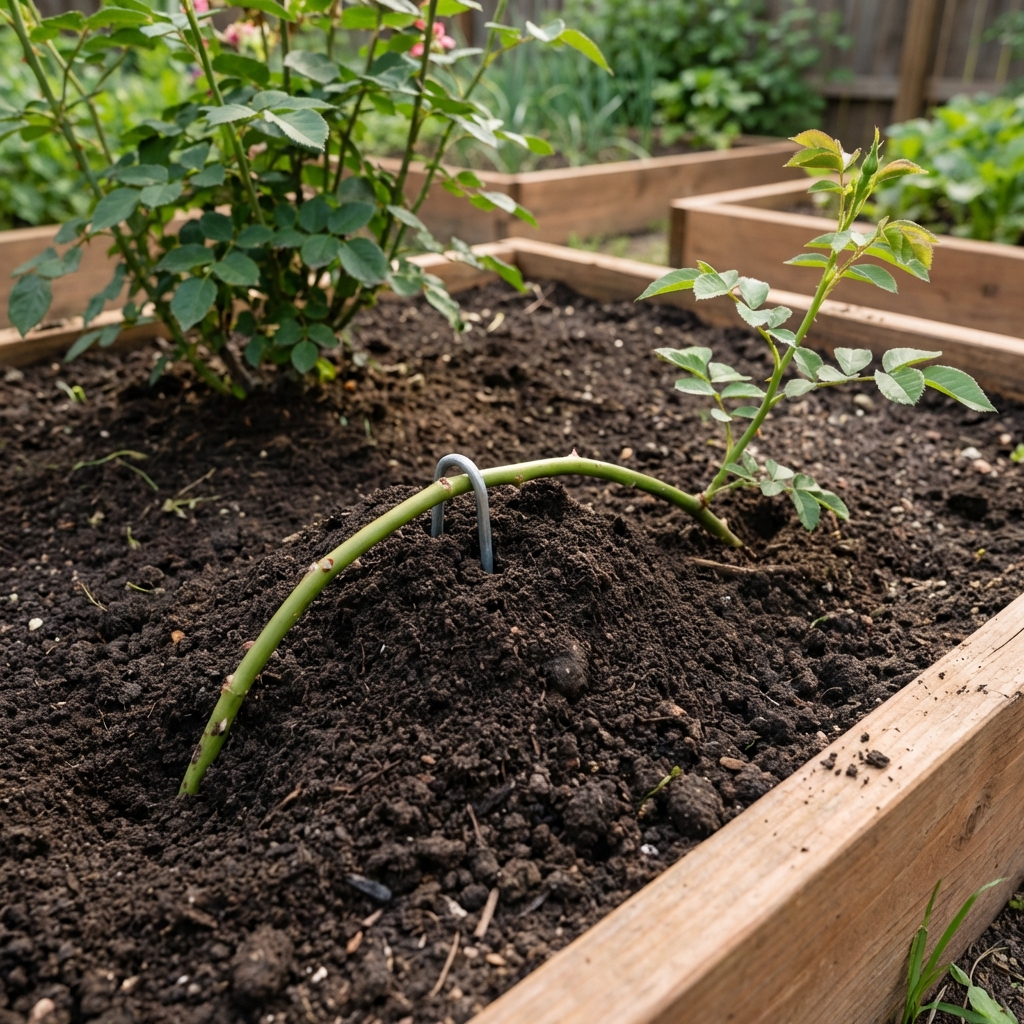
- Pick a low cane that can bend to the ground without snapping.
- Choose a spot where you can bury part of the cane 2 to 4 inches deep.
- Make a small wound on the underside of the cane where it will sit in the soil (a shallow scrape is enough).
- Pin it down with a landscape staple, a bent wire, or a small rock.
- Cover with soil and water it in. Keep it evenly moist.
- Wait. Many layered stems root in a few months, sometimes by the end of the growing season.
- Sever and transplant once it has its own root system. I like to wait until I see strong new shoots and the rooted section holds firm in the soil.
This method is especially useful if your climate is hot and dry, because cuttings can struggle when humidity is hard to maintain.
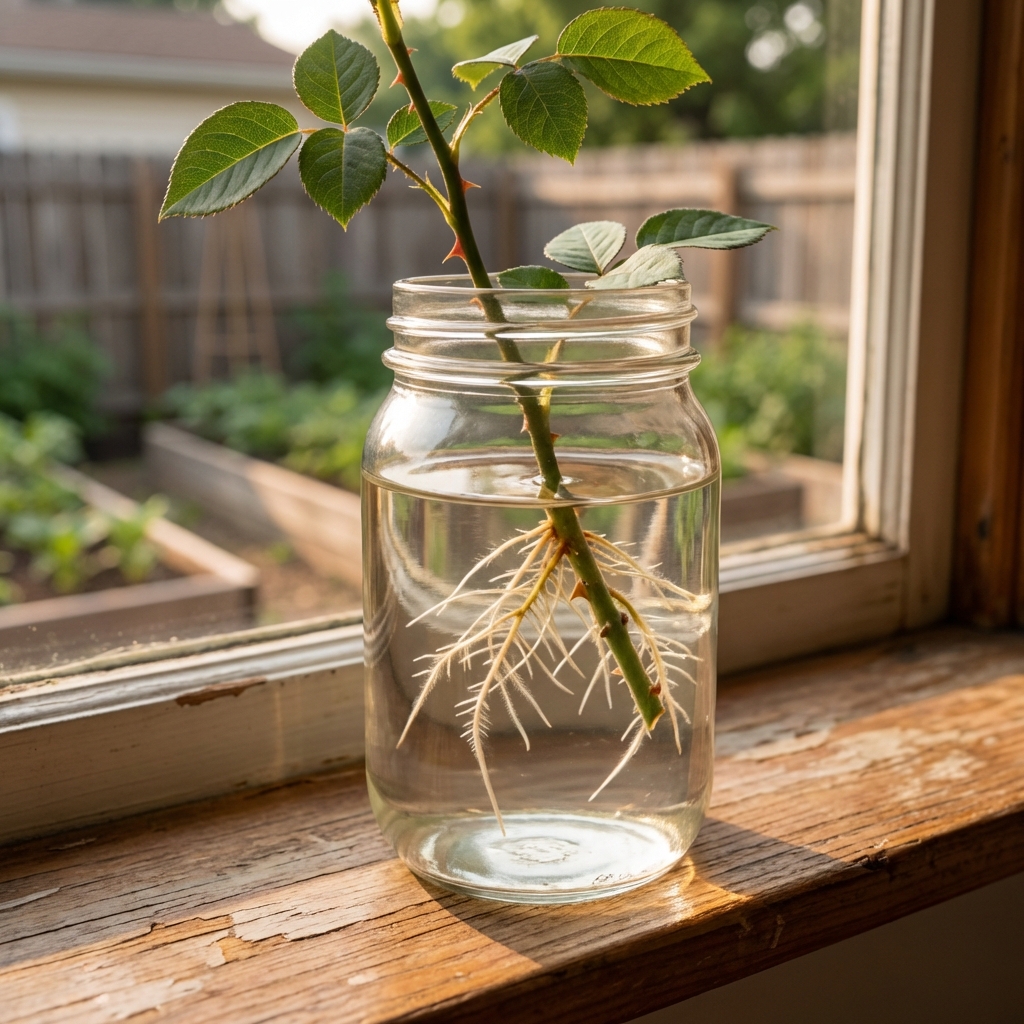
Simple method #3: Water rooting (when it helps and when it backfires)
Water rooting is popular because it is easy to watch. It can work well for some cultivars, but roots formed in water are often more fragile when moved to soil. I treat it as a short-term step, not the finish line.
If you want to try water rooting
- Use a clean jar and change water every 2 to 3 days.
- Keep it in bright, indirect light.
- Move to a light potting mix as soon as you see roots about 1 inch long.
- Harden off gently by keeping humidity higher for the first week in soil.
If you have had repeated failures in soil due to rot, water rooting can be a useful reset to confirm that the stem is still viable. Just do not leave it in water for a very long time.
Hardwood cuttings: the winter set and forget option
Hardwood propagation is slower, but it is simple and fits into the off-season. It works well for many shrub roses and old varieties.
How to do it
- After leaf drop, cut healthy stems into 8 to 12 inch sections.
- Make the bottom cut straight just below a node, and the top cut angled above a node. This helps you remember which end goes down.
- Stick the bottom half into a well-drained outdoor bed or deep pot in a sheltered spot.
- Water to settle, then keep lightly moist through winter if the soil dries out.
They can sit for months looking like nothing is happening. Rooting often kicks in as temperatures warm in spring.
If your winter is very cold, very wet, or freeze-thaw heavy: hardwood cuttings can heave, freeze, or rot outdoors. A cold frame, an unheated garage, or a sheltered spot against the house (out of harsh wind and winter sun) can make a big difference.
Own-root vs grafted: a quick heads-up
Many roses sold in stores are grafted onto a rootstock. When you propagate from a cutting, you get an own-root rose (the top and the roots are the same plant). That is not bad at all, but it can grow differently than the original grafted plant. Own-root roses may be slower to size up at first, but they can also be tougher long-term because there is no graft union to protect.
Aftercare: turning a rooted cutting into a real plant
Rooting is only half the job. Most losses happen during the transition from “protected cutting” to “outdoor rose.”
Potting up
- Once you have roots and steady new growth, move the cutting to a quality potting mix with good drainage.
- Keep it in bright shade for 7 to 10 days after potting up.
- Water when the top inch of soil is dry. Do not keep it constantly wet.
Hardening off
Over 1 to 2 weeks, gradually expose the plant to more sun and airflow. Start with morning sun only. If leaves wilt, back up a step and increase exposure more slowly.
When to plant in the ground
I prefer planting once the new rose has a small but established root ball and can handle normal watering cycles. For many gardeners, that means planting in early fall or the following spring for the strongest start.
Troubleshooting: common problems and simple fixes
The cutting turns black or mushy at the base
- Cause: rot from too much moisture and poor airflow, or contaminated containers and media.
- Fix: use a chunkier medium (more perlite), vent the cover daily, and water less. Start with fresh cuttings, clean pots, fresh medium, and sterilize tools.
Leaves wilt and dry up fast
- Cause: not enough humidity, too much sun, or too many leaves.
- Fix: add a humidity cover, move to bright shade, and reduce leaf area (trim large leaves in half).
New growth appears but the cutting never roots
- Cause: the cutting is living off stored energy but conditions are not triggering root formation.
- Fix: try slightly warmer temps, fresh hormone, or take cuttings at a different stage (softwood often performs better). Also make sure the medium is moist, not wet.
White fuzzy mold on the soil or stem
- Cause: stagnant air and constant moisture.
- Fix: vent more, scrape off the top layer of medium, and keep leaves from touching plastic. Mild mold is common in closed setups, but it is a warning sign to increase airflow.
Cuttings fail repeatedly
When nothing works, simplify and stack the odds:
- Take 8 to 12 cuttings, not 2.
- Use semi-hardwood stems from a healthy, well-watered plant.
- Use clean, perlite-heavy mix, a humidity cover, and bright shade.
- Try layering as your “sure thing” method while you practice cuttings.
Safety and plant health notes
- Gloves help. Thorns and clean cuts do not mix.
- Start with disease-free plants. Do not propagate from roses with active black spot, powdery mildew, or heavy pest pressure.
- Know your local rules. Propagating a patented rose without permission is typically illegal during the patent term (often around 20 years, but it varies by country). Trademarks are separate from patents, so a branded name does not always tell you what you need to know. If you are unsure, check the plant tag for a patent number or choose older varieties sold as propagation-friendly.
Simple propagation plan you can follow this week
If you want a straightforward path:
- Take softwood or semi-hardwood cuttings in the morning.
- Root them in perlite-heavy mix under a clear humidity cover in bright shade.
- Vent daily, keep the medium lightly moist, and wait 4 to 8 weeks.
- At the same time, do one layered cane as a backup.
That combo gives you speed plus reliability, which is exactly what most home gardeners need.

Jose Brito
I’m Jose Britto, the writer behind The Country Store Farm Website. I share practical, down-to-earth gardening advice for home growers—whether you’re starting your first raised bed, troubleshooting pests, improving soil, or figuring out what to plant next. My focus is simple: clear tips you can actually use, realistic expectations, and methods that work in real backyards (not just in perfect conditions). If you like straightforward guidance and learning as you go, you’re in the right place.