Tree stumps look harmless, but they can be a tripping hazard, a mower killer, and a cozy home for pests and fungi. The good news is you have more than one way to deal with them, and the “best” method depends on one thing: how fast you need the stump gone.
Below are the safest, easiest stump removal facts and solutions I recommend for real backyards, including when to call a pro and what to do with the area once the stump is out.
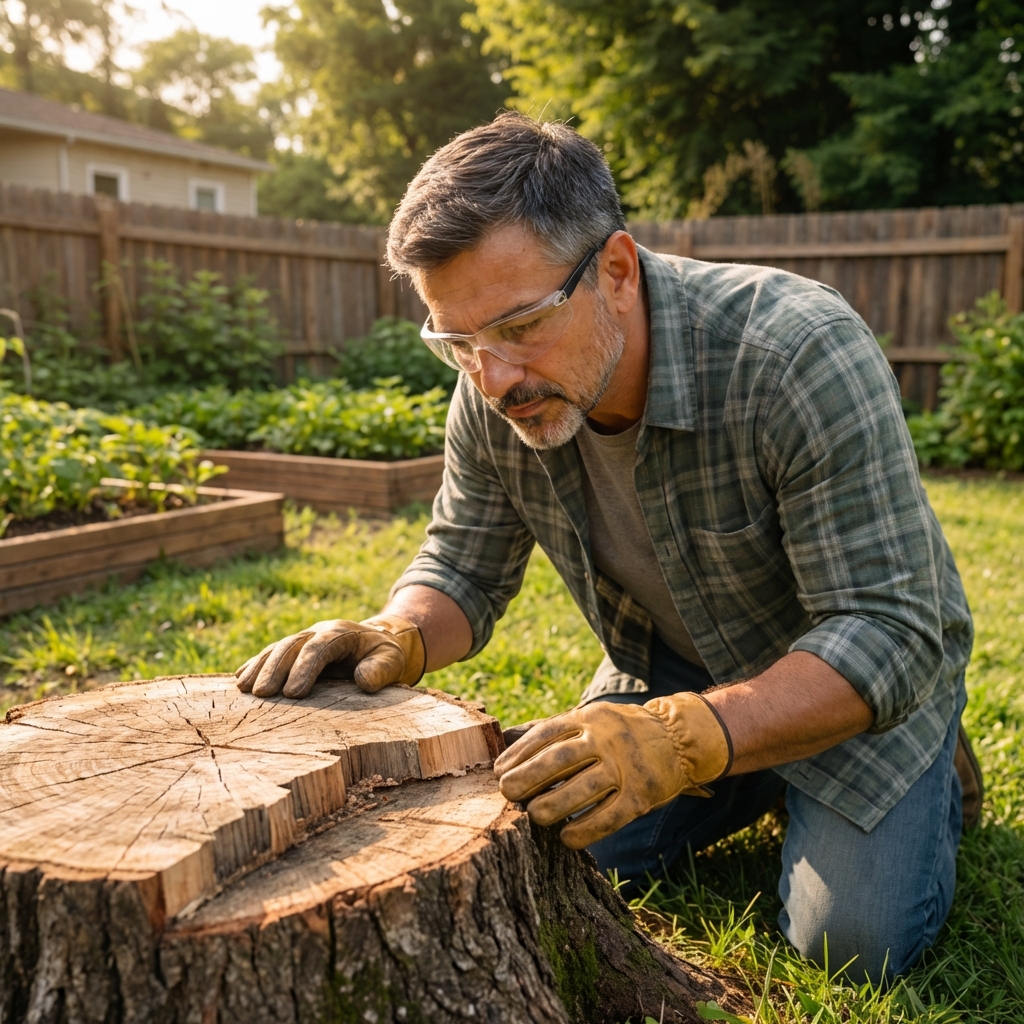
Before you start: key safety facts
Most stump problems happen before the first shovel goes in. A few checks up front can save you from injury or property damage.
1) Check for utilities and hidden hazards
- Call 811 (in the US) a few days before digging or grinding. Marked lines help you avoid gas, electric, water, and communication cables.
- Look for irrigation lines and landscape lighting wires that may not be marked.
- Scan for metal if you can. Old stumps sometimes hide nails, fencing staples, or bolts that can damage tools or grinders.
2) Know what you should not do
- Do not burn a stump in-place unless local codes explicitly allow it and you know how to do it safely. Underground roots can smolder for days and later reignite.
- Do not use homemade explosives or unsafe chemicals. Besides being dangerous, it can contaminate soil and groundwater.
- Do not cut below grade with a chainsaw in dirt. Soil dulls chains instantly and increases kickback risk.
3) Wear the right protection
At minimum: gloves, eye protection, sturdy boots, and hearing protection for any power equipment. For stump grinding, use a face shield, long pants, and keep bystanders and pets well away from flying chips.
Pick your goal: remove it fast, or make it disappear over time
Here is the realistic way to think about stump solutions:
- Fastest removal: stump grinding or full excavation (hours to a day)
- Balanced option: manual digging for smaller stumps (half-day to weekend)
- Lowest effort: speed up natural rot (months to a couple years)
- No-removal option: cut low, cover, or repurpose (immediate, but stump remains)
If the stump is near a patio, a walkway, a fence, or you need the space for planting soon, it is usually worth going with grinding or digging.
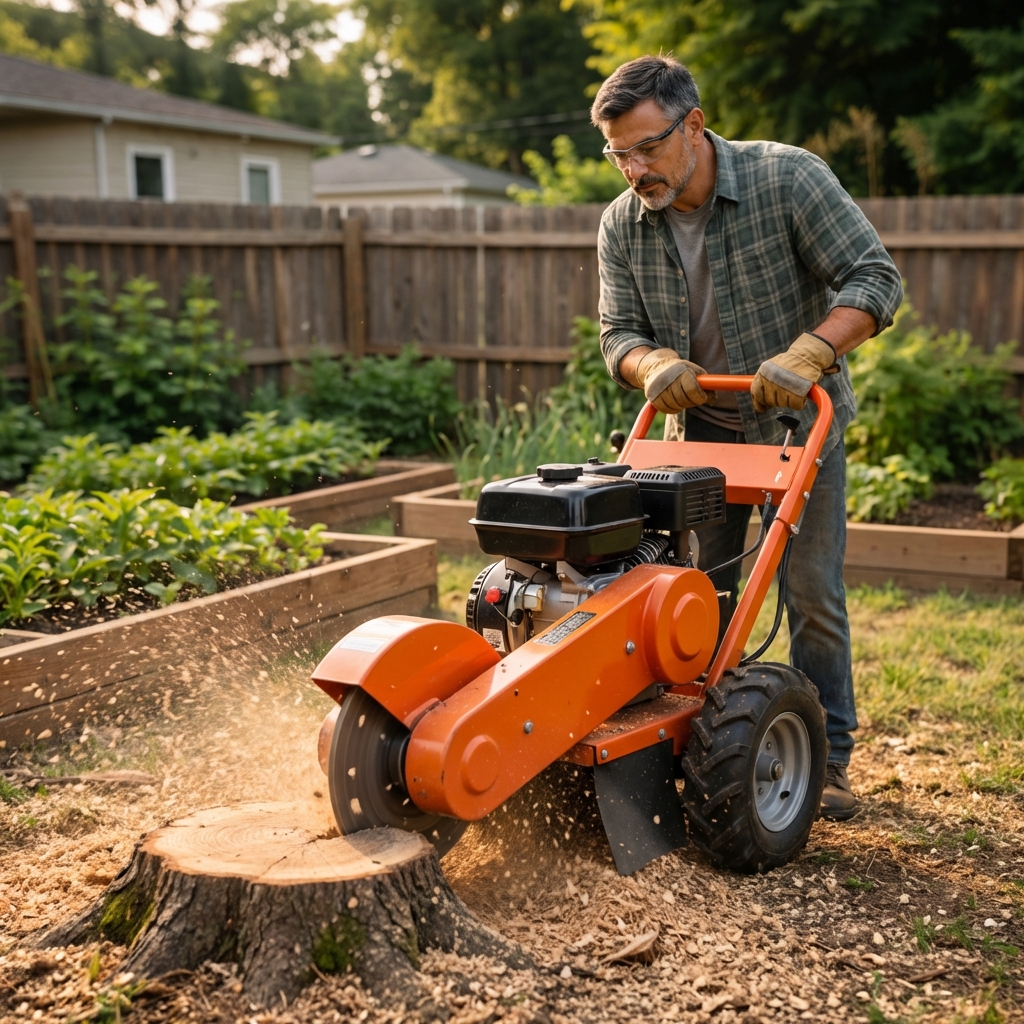
Solution 1: Stump grinding (safe and quick for most yards)
Stump grinding removes the stump down below the soil surface using a specialized machine. This is often the safest “easy button” because it avoids major excavation and the huge hole that comes with it. That said, grinders can still hit shallow lines, like irrigation and low utilities, so do the utility checks even if you are not digging much.
Best for
- Medium to large stumps
- Stumps near structures where you do not want to disturb soil too much
- Homeowners who want it done quickly with minimal physical labor
What to expect
- Time: anywhere from 15 minutes for a small, soft stump to several hours for a large hardwood or tough access. Many average yard stumps land in the 1 to 3 hour range.
- Depth: many services default around 4 to 6 inches below grade. Common ranges are 4 to 12 inches, and you can request deeper (often for extra cost).
- Result: stump becomes wood chips mixed with soil; major roots remain underground and decay slowly
Access checklist (so there are no surprises)
- Gate width: measure it. Some grinders need more space than you expect.
- Slope and footing: steep or soft areas can limit what a crew can safely do.
- Sprinklers and lighting: flag heads, lines, and wires so they do not get clipped.
- Nearby windows and cars: chips can fly. Ask how the operator will shield structures and vehicles.
- Neighbor proximity: a heads-up is nice, and it can prevent complaints about noise and chips.
Safety and yard tips
- Keep kids and pets inside. Chips can shoot farther than you think.
- Plan for cleanup. You will have a mound of chips that may settle over time.
Cost reality check
Pricing depends on stump diameter, number of stumps, accessibility, and how deep you want it ground. If access is tight (gates, slopes, soft soil), costs go up. If you have multiple stumps, you can often get a better per-stump rate.
Solution 2: Dig it out by hand (best for small stumps)
If the stump is small and you do not mind some sweat, manual removal is straightforward and avoids renting heavy equipment.
Best for
- Stumps roughly under 8 to 12 inches in diameter (bigger is possible, but it gets miserable fast)
- Shallow-rooted trees
- Places where you want to replant a tree right away and want the roots gone
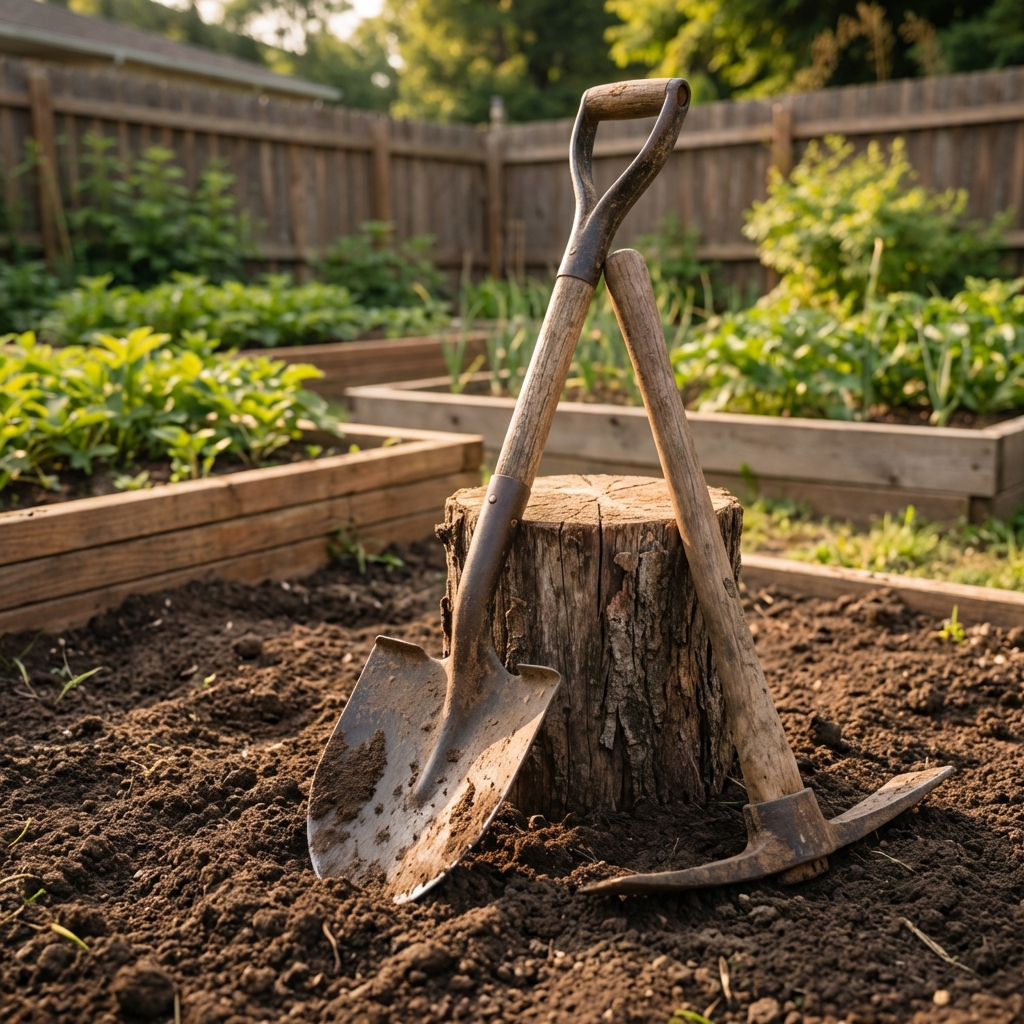
Tools that make it easier
- Sharp shovel and a digging bar
- Mattock or grub hoe for roots
- Loppers or a pruning saw for smaller roots
- Reciprocating saw with a pruning blade (use carefully and keep soil off the blade)
- Tarp for soil and debris
Basic steps
Cut the stump low (leave a few inches above the ground to grab and rock).
Dig a trench around the stump, 8 to 12 inches out from the base, exposing the main roots.
Sever roots one by one. Work methodically and keep the trench clear.
Rock and lift the stump as roots release. A long pry bar helps.
Backfill the hole, water to settle, and top off again after a week.
Safety note
Take breaks and keep your footing stable. Root cutting is where slips happen. If you feel like you are forcing it, you probably are. That is the moment to switch methods.
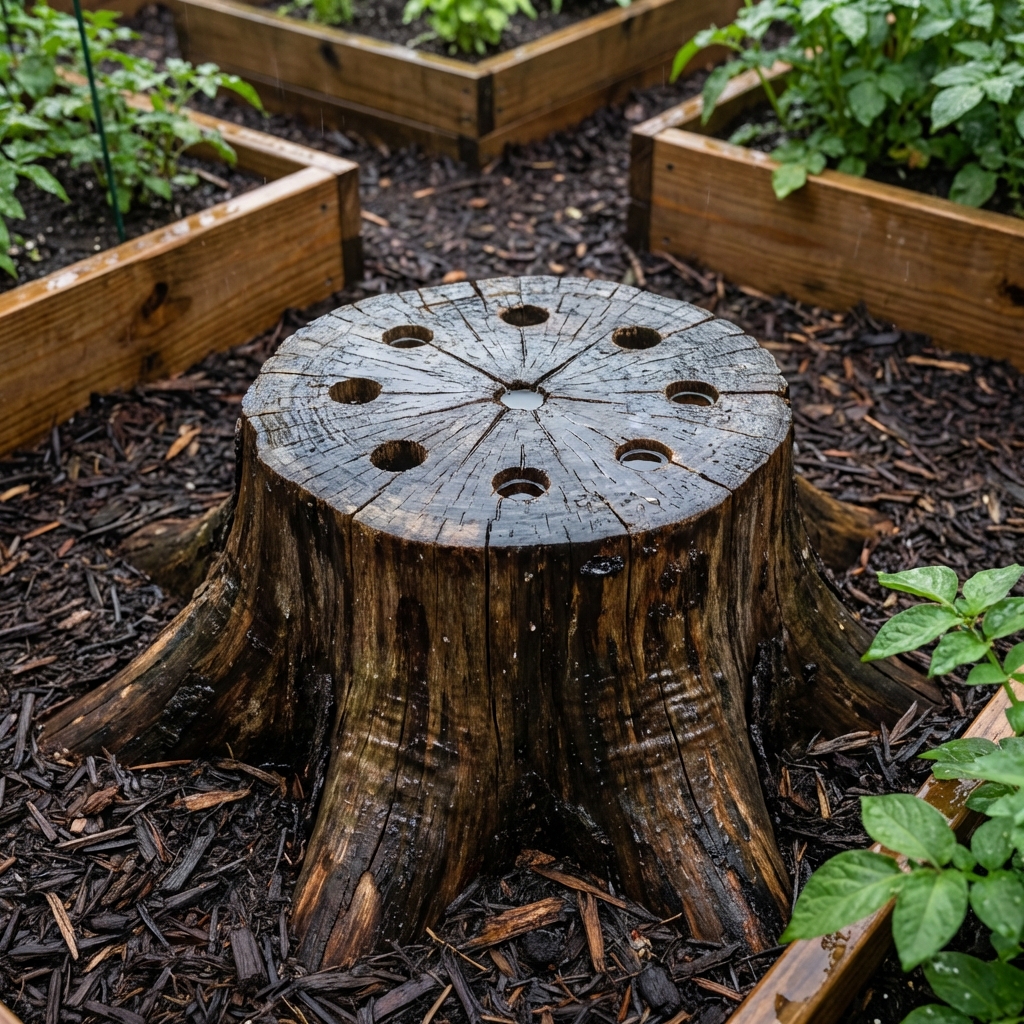
Solution 3: Speed up natural rot (low effort, slow but effective)
If you can live with the stump for a while, letting it decay is the lowest-effort approach. You can make rot happen faster by increasing moisture, increasing surface area, and feeding the microbes that break wood down.
Best for
- Stumps in out-of-the-way areas
- Homeowners who want minimal labor and minimal equipment
- Situations where grinding access is difficult
What actually works
- Drill holes across the top surface (and angled holes on the sides) to let water in.
- Keep it damp. In dry climates, cover with mulch or a tarp that still allows some airflow.
- Add nitrogen. High-nitrogen fertilizer or composted manure can help microbes break down carbon-heavy wood faster.
- Top with compost and mulch to keep conditions favorable for decay.
Timeline reality check
Small stumps can get punky in 6 to 18 months in favorable moisture and soil conditions. Dense hardwoods, big stumps, or dry sites can take several years. Weather, wood species, and how much of the root mass remains all matter.
What to avoid
Skip harsh chemicals that are not labeled for stump decay, and do not assume “more is better.” Your goal is to encourage biology, not sterilize the soil.
Solution 4: Cover it, hide it, or reuse it
Sometimes the easiest solution is not removal. If the stump is stable and not sprouting, you can work with it.

Options that look good
- Cut it close to grade (as low as practical) and cover with mulch in a bed.
- Turn it into a planter base by setting a container on top. Avoid hollowing it out deeply if you are worried about pests.
- Create a shade garden around it with hostas, ferns, or native woodland plants.
When hiding is not a good idea
- If the stump is in lawn where you will hit it with a mower.
- If it is close to a walkway where it is a trip hazard.
- If it is from a tree that had certain diseases and you plan to replant the same species in the same spot.
Chemicals and common myths
A lot of stump searches lead to DIY “recipes.” Here is the practical truth.
What to skip
- Diesel, motor oil, bleach, and salty mixes: these can damage soil, harm nearby plants, and create runoff issues. They also do not reliably speed decay in a meaningful way.
- Anything not labeled for the job: if it is not labeled for stump decay or vegetation control, do not put it in your yard soil.
If you use a stump decay product
Many stump “removers” are actually decay accelerators (often potassium nitrate). They can help, but they still take time and work best combined with drilled holes, moisture, and patience. Follow the label exactly, wear gloves and eye protection, and store products away from kids and pets.
Do stumps attract pests or cause problems?
Sometimes. A decaying stump can provide habitat for insects and fungi. That does not always mean trouble, but here are the common issues homeowners notice:
- Termites and carpenter ants: They prefer damp, decaying wood. Keeping the stump dry is tough, so removal is the safer play if your area has termite pressure.
- Mushrooms: Fungi are part of decomposition. Mushrooms can pop up around a stump for years as roots break down.
- New shoots and suckers: Some species resprout aggressively. Cutting repeatedly can eventually exhaust the stump, but it takes persistence.
If the stump is close to your house, or you have a history of termite activity, consider grinding or full removal instead of waiting for rot.
Stopping regrowth
If your stump keeps sending up shoots, you have two basic paths:
- Mechanical: cut shoots as soon as you see them, every time. Consistency matters more than force.
- Cut-stump treatment: for some species, a targeted herbicide applied to a fresh cut surface can prevent resprouting. This is label-sensitive and location-sensitive. Follow local rules, follow the product label, and avoid use near water or where runoff is likely. If you are unsure, ask an arborist or licensed applicator.
Which method should you choose?
Choose stump grinding if:
- You want it gone fast
- You do not want to dig a huge hole
- You are okay with roots decomposing underground
Choose manual digging if:
- The stump is small
- You want to replant in the same spot soon
- You have time and decent soil to work in
Choose natural rot if:
- You do not need the space immediately
- You want minimal cost and minimal effort
- The stump is not causing safety issues
Choose cover or reuse if:
- You can keep it out of the mower path
- You want a quick cosmetic fix
- You like the look of a natural garden feature
What to do after the stump is removed
This part is easy to overlook, but it makes the difference between a clean finish and a sunken spot in your yard.
1) Expect settling
After grinding or digging, the area often sinks as soil and chips settle. Plan to top it off once or twice over the next month or two.
2) Handle wood chips the right way
- Do not mix a thick layer of fresh chips into planting soil. As they break down, they can temporarily tie up nitrogen.
- Do use chips as mulch on paths or around established shrubs and trees, keeping mulch a few inches away from stems and trunks.
- Extra chips: spread them thinly as mulch, compost them, offer them to neighbors, or check if your city accepts clean yard waste.
3) Restore lawn or beds
- For grass: remove or rake back the chunkiest grindings, add topsoil, level, then seed or sod. Keep the area evenly moist until established.
- For a garden bed: add compost and topsoil as needed, then mulch. Expect some settling and top up later.
4) Replanting in the same spot
If you plan to plant a new tree exactly where the stump was, full root removal is ideal but not always practical. At minimum, remove the bulk of the grindings and replace with quality topsoil and compost. Also consider planting a few feet away from the original trunk location to avoid large, decaying roots and compacted soil.
When it is worth calling a pro
DIY is great until it is not. Consider professional help if any of the following are true:
- The stump is large, old, or from a dense hardwood
- It is near foundations, retaining walls, sidewalks, or septic systems
- You suspect utilities run close by (or you cannot confirm where they are)
- You cannot safely access the stump with tools
- You need the area ready for landscaping quickly
A good stump grinding service can remove the stump quickly, minimize damage, and save you from a weekend of root wrestling.
Quick FAQ
Is stump removal safe to DIY?
Small stumps can be safe to dig out with proper gear and utility checks. Grinding is usually safer when done by an experienced operator, especially for larger stumps.
Will a stump regrow?
Some species can resprout from the stump or roots. If you see suckers, cut them promptly and repeatedly. Grinding low enough reduces regrowth potential. For stubborn resprouters, cut-stump treatment (done correctly) can help.
Can I plant a garden over an old stump?
You can, but expect settling and possible nutrient issues if a lot of fresh wood is mixed into the soil. Raised beds or adding extra soil depth helps.
Bottom line
For most homeowners, stump grinding is the safest and easiest “done today” solution. Manual digging works well for small stumps if you have the time. If you are in no rush, encouraging natural rot is low effort and surprisingly effective, as long as you set realistic expectations.
If you tell me the stump diameter, tree type (if known), and where it sits in your yard, I can help you pick the most practical method.

Jose Brito
I’m Jose Britto, the writer behind The Country Store Farm Website. I share practical, down-to-earth gardening advice for home growers—whether you’re starting your first raised bed, troubleshooting pests, improving soil, or figuring out what to plant next. My focus is simple: clear tips you can actually use, realistic expectations, and methods that work in real backyards (not just in perfect conditions). If you like straightforward guidance and learning as you go, you’re in the right place.