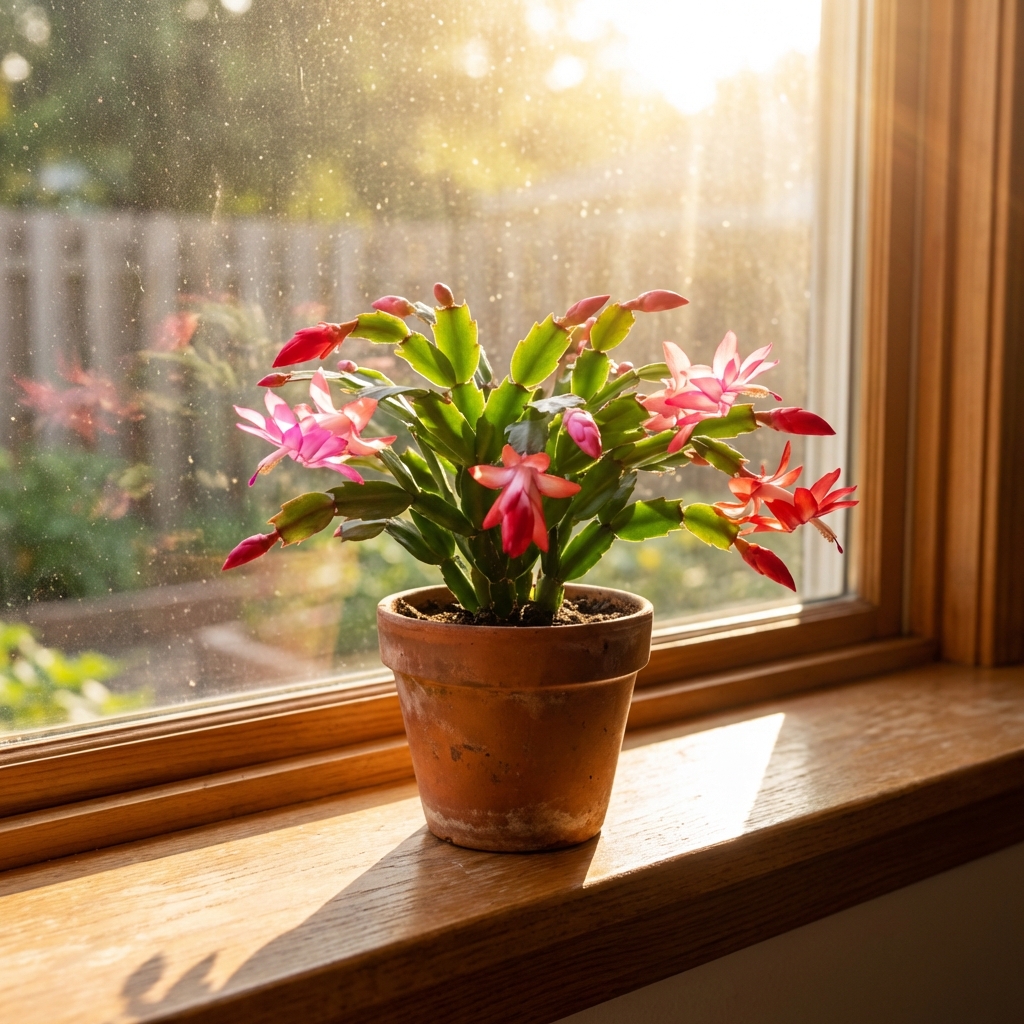
Christmas cactus (Schlumbergera) is one of those plants that looks “easy” until watering gets slightly off. Too dry and it wrinkles. Too wet and it turns limp, drops buds, or starts to rot. The trick is to water when the plant needs it, not on a fixed calendar.
Below is a seasonal guide that works in real homes, plus a handful of simple home fixes you can use when things go sideways.
The quick rule: check the pot, not the date
Before we get into seasons, here is the most reliable method for most households. Think of the “top 1 to 2 inches” rule as a starting point, not a law.
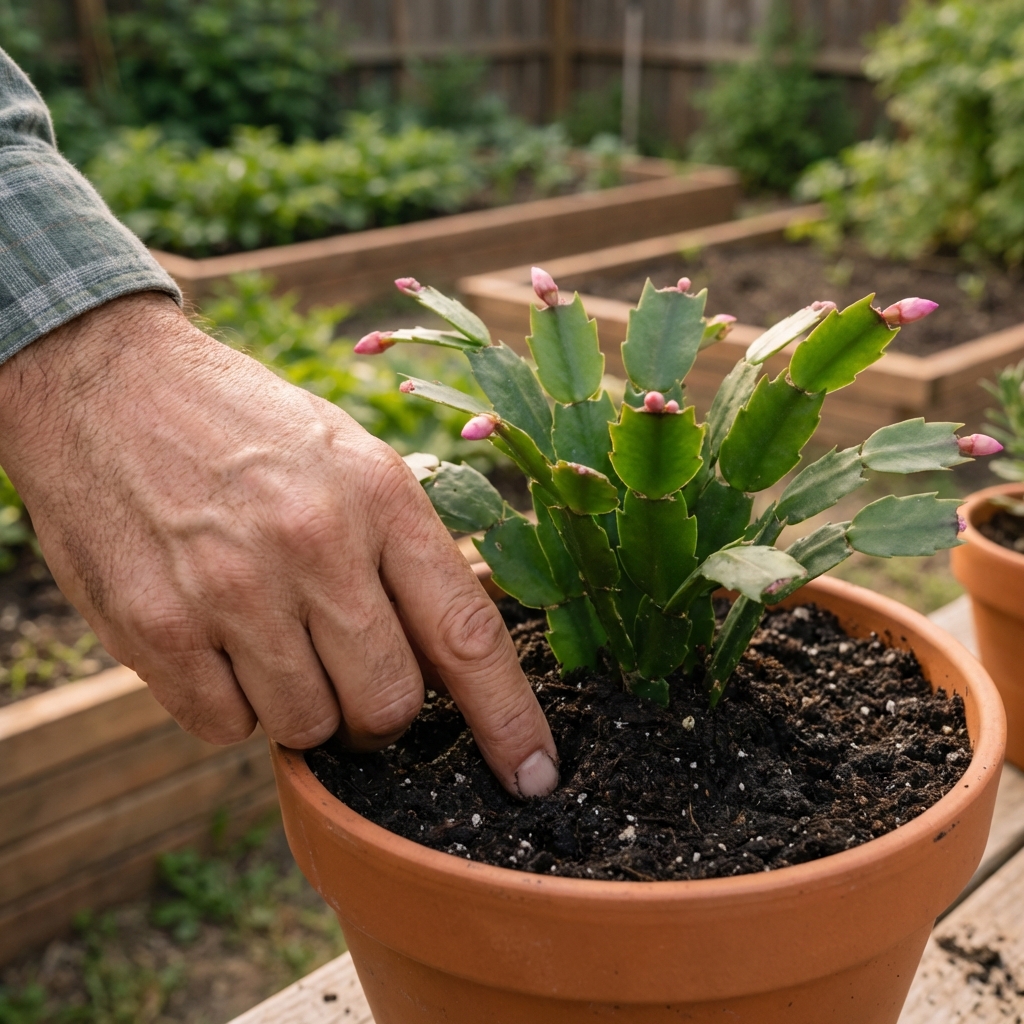
- Water when the top 1 to 2 inches of soil feels dry, then confirm the root zone is not still wet.
- Quick ways to double check: push your finger a little deeper if the pot allows, use a wooden chopstick as a dipstick, or lift the pot. Light pot usually means it is time, heavy pot usually means wait.
- Water thoroughly until a little drains from the bottom.
- Empty the saucer after 10 to 15 minutes so the roots are not sitting in water.
If you only remember one thing, remember this: Christmas cactus likes a cycle of slightly dry, then fully watered. It does not like constantly damp soil.
Seasonal: how often to water a Christmas cactus
These ranges assume a typical indoor plant in a pot with drainage, in a well-draining mix, and average home humidity. Use them as starting points, then adjust based on light, pot size, and indoor heat.
Spring (active growth)
Typical frequency: every 7 to 14 days
In spring, your cactus usually starts pushing new segments. It will drink more than it did in winter.
- Check soil weekly, especially if it gets brighter light as days lengthen.
- If you repot in spring, expect the new mix to dry a bit differently for the first month.
Summer (fast drying, higher risk of underwatering)
Typical frequency: every 5 to 10 days
Summer heat and stronger light can dry pots quickly, even indoors.
- If it is near a bright window or in a warm room, it may need water closer to the 5 to 7 day side.
- If your home is humid or the plant is in medium light, it may still be closer to 10 days.
- Bright light helps, but avoid harsh direct sun through glass in the hottest part of the day. It can scorch segments and stress buds.
Fall (bud set season)
Typical frequency: every 7 to 14 days, sometimes a bit less
Fall is when many plants form buds. The goal is steady moisture, not soggy soil and not bone dry.
- Let the top inch dry, then water well.
- Avoid big swings like letting it dry hard, then soaking repeatedly. That is a common cause of bud drop.
Realistic expectation: If you are keeping it cooler to encourage blooming, it will likely need water less often because the soil dries more slowly.
Winter (blooming and post bloom)
Typical frequency: every 10 to 21 days
In winter, most homes have lower light, and many have dry air from heating. Those two things can pull you in opposite directions: the plant uses less water, but the pot can still dry at the surface.
- Always check deeper than the dry surface layer. If the mix is dry 1 to 2 inches down (and the pot feels lighter), water.
- Keep it away from heating vents. Hot air can dry the plant fast without actually drying the soil evenly.
What changes your watering schedule the most
- Pot size: small pots dry faster than large ones.
- Pot material: terracotta dries faster than plastic or glazed ceramic.
- Light level: bright indirect light increases water use.
- Soil mix: dense peat-heavy mixes stay wet longer and can cause root issues.
- Temperature: warmer rooms dry faster. Cooler rooms slow everything down.
If you want a simple upgrade, use a chunky, well-draining mix that drains fast but still holds a little moisture. A Christmas cactus is not a desert cactus, but it still likes oxygen around its roots.
Easy DIY mix idea: potting mix or cactus mix cut with extra perlite or pumice, plus a handful of orchid bark for air pockets. The exact recipe matters less than the feel: it should drain quickly and never stay swampy.
Water quality note: room-temperature water is best. If you have very hard water or you fertilize often, occasional deep watering can help reduce mineral buildup, but only if your pot drains well.
Home fixes that actually help (and what to avoid)
These are gentle, practical “at home” fixes. They are not magic, but they can stabilize the plant while you correct the real issue, usually watering and soil.
Home fix: rehydrate a wrinkled Christmas cactus safely
Best for: limp, wrinkled segments from underwatering
- Water thoroughly until it drains.
- Wait 10 to 15 minutes, then empty the saucer.
- If the soil became very dry and water runs straight through, bottom water: place the pot in a bowl of water for 15 to 20 minutes, then let it drain completely.
Avoid: watering a little bit every day. That keeps the top damp and the lower soil inconsistent.
Home fix: “paper towel dry-out” for mild overwatering
Best for: soil that is wet for days, but no mushy stems yet
- Remove the pot from its decorative outer pot (cachepot).
- Place the nursery pot on several layers of paper towel or a dry rag for a few hours.
- Increase airflow and light slightly, but keep it out of harsh direct sun.
Why it works: it encourages evaporation and prevents the pot from sitting in trapped water.
Home fix: emergency root-rot rescue (trim and re-root)
Best for: mushy base, bad smell, blackened roots, stems collapsing
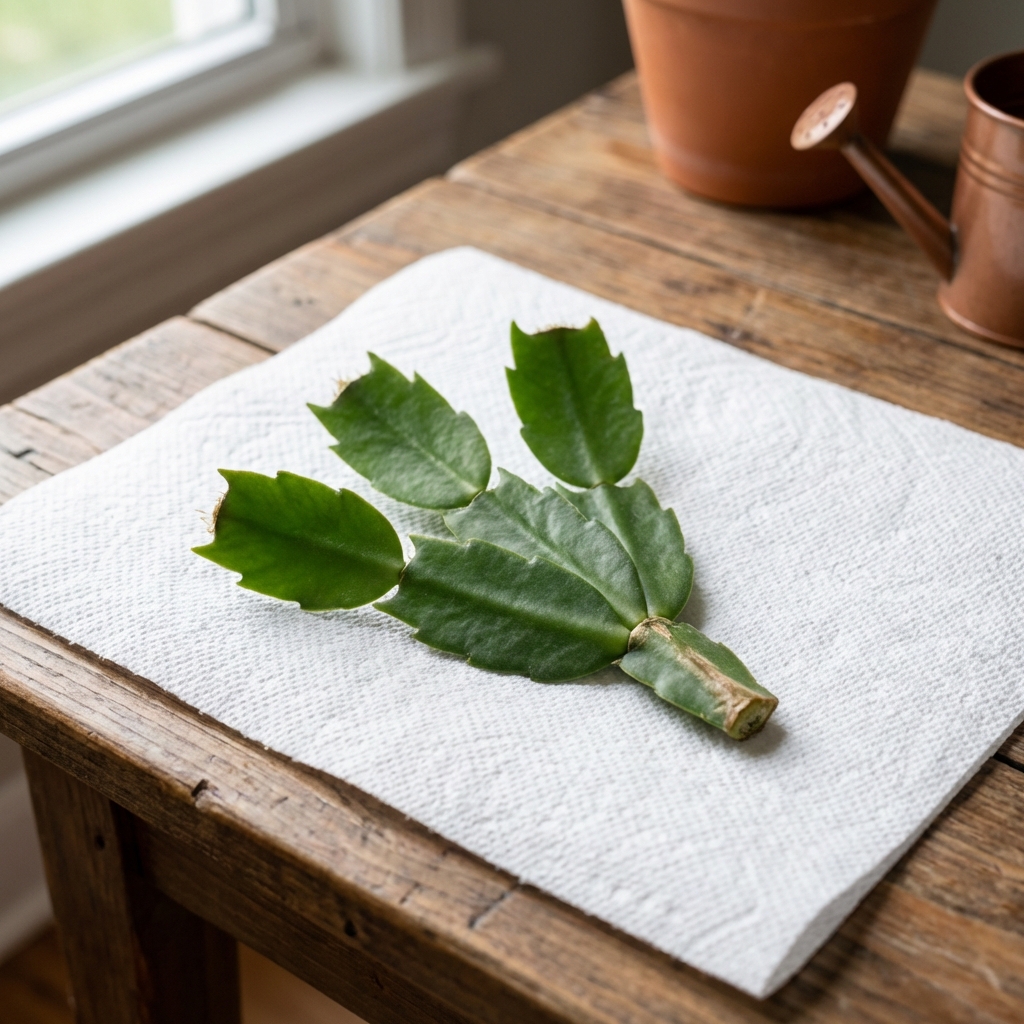
This is less “remedy” and more “save what you can.” Christmas cactus re-roots easily from healthy segments.
- Unpot the plant and gently remove wet soil.
- Trim away any black, mushy roots and any soft stem tissue.
- Let the healthy cut ends dry and callus. Overnight is often enough, but in humid homes give it 24 to 48 hours.
- Repot into fresh, well-draining mix in a clean pot with drainage.
- Water lightly once, then wait until the top inch dries again before watering normally.
If the base is gone, take healthy cuttings (2 to 4 segments), let them dry, then insert into barely moist mix.
Home fix: cinnamon for cut surfaces only (optional)
Best for: after trimming rot or taking cuttings
Ground cinnamon is a popular at-home add-on. It is not a guaranteed fungicide, but some growers use it as a light, optional dusting on fresh cuts.
- Dust a tiny amount on the fresh cut end only.
- Let it dry, then pot up.
Do not: dump cinnamon across the soil surface. It can clump, repel water, and it does not fix waterlogged soil.
Home fix: bud drop prevention with “steady moisture”
Best for: buds that shrivel or fall off
- Keep the plant in one spot. Moving it can trigger bud drop.
- Water when the top inch dries, not after it goes completely bone dry.
- Avoid cold drafts, heat blasts from vents, and sudden temperature swings.
- Keep light consistent while buds develop, and keep it away from ripening fruit (ethylene can cause buds to drop).
Most bud drop is a stress response, not a disease.
Signs you are watering too much vs too little
Too much water
- Segments feel soft and limp, sometimes yellowing
- Soil stays wet for many days
- Moldy smell, fungus gnats, or black mushy roots
Too little water
- Wrinkled or shriveled segments
- Plant looks thin and slightly deflated
- Soil pulls away from pot edges and dries very fast
Important: Limp does not always mean dry. Overwatered plants can also look limp. Always check the soil moisture at least a little below the surface before watering again.
A simple watering routine you can stick with
- Once a week: do a quick moisture check (top layer plus a deeper check with your finger, chopstick, or pot weight).
- When dry: water thoroughly, then drain the saucer.
- Every 4 to 8 weeks during active growth (spring and summer), or if you fertilize regularly: flush the pot with a deep watering to reduce fertilizer salt buildup. Skip this if your soil tends to stay wet for long periods or drainage is marginal.
If you want the easiest “set it and forget it” improvement, use a pot with a drainage hole and a fast, well-draining mix. Most Christmas cactus watering problems start with a pot that cannot breathe.
Frequently asked questions
Do I water a Christmas cactus more when it is blooming?
Not automatically. Keep moisture steady. If the plant is in a warmer room or brighter spot during bloom, it may dry faster. Still, use the moisture check instead of increasing water on purpose.
Should I mist a Christmas cactus?
Misting is not a reliable substitute for watering. If your home is extremely dry, a small humidifier nearby helps more than misting, and it does not leave water sitting on stems.
Is ice cube watering a good idea?
No. Christmas cactus prefers room-temperature water. Ice can chill roots and does not soak the soil evenly.
What is the best time of day to water?
Morning is ideal so excess moisture has time to evaporate and the plant can use water during the day. That said, the bigger issue is how wet the soil stays, not the hour on the clock.
Is Thanksgiving cactus care different from Christmas cactus?
Most people grow either Christmas cactus or Thanksgiving cactus, and they get mislabeled all the time. The good news is their care is very similar: bright indirect light, a well-draining mix, and watering based on soil moisture, not a rigid schedule.

Jose Brito
I’m Jose Britto, the writer behind The Country Store Farm Website. I share practical, down-to-earth gardening advice for home growers—whether you’re starting your first raised bed, troubleshooting pests, improving soil, or figuring out what to plant next. My focus is simple: clear tips you can actually use, realistic expectations, and methods that work in real backyards (not just in perfect conditions). If you like straightforward guidance and learning as you go, you’re in the right place.