Snake plants (formerly Sansevieria; now generally placed in the genus Dracaena, including Dracaena trifasciata) are popular for one reason: they are hard to kill. But “hard to kill” is not the same as “always thriving.” Most indoor issues come down to one thing: watering too often. This guide keeps it simple so your plant looks good, grows steadily, and stays trouble-free.
Quick care checklist
- Light: Bright, indirect light is best, but it tolerates low light.
- Water: Only when the soil is dry all the way down. Less in winter.
- Soil: Fast-draining cactus or succulent mix.
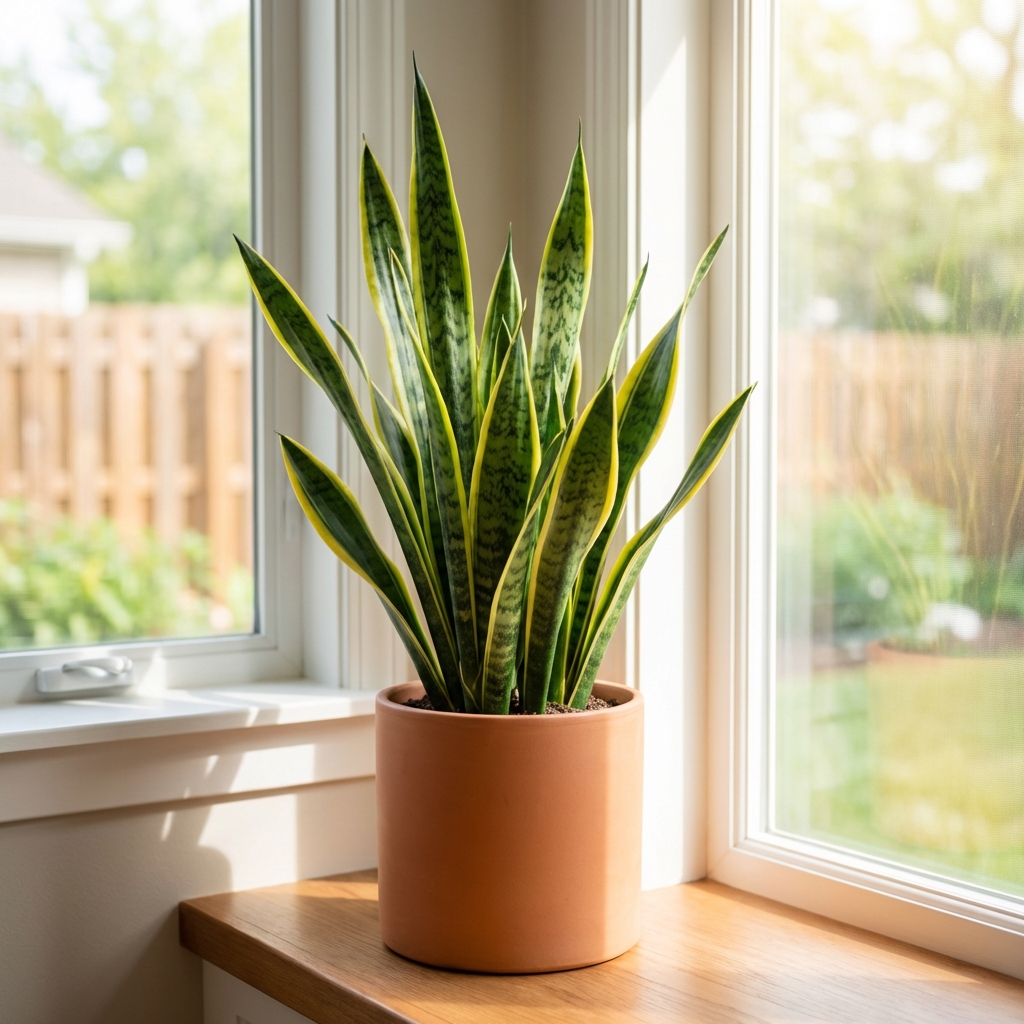
- Pot: Drainage hole required. Terra cotta helps the soil dry faster.
- Temperature: Comfortable room temps. Keep away from cold drafts and cold windows.
- Fertilizer: Light feeding in spring and summer only.
Choosing the best spot (light needs)
Snake plants are flexible, but they do best when you match the light to your goals.
Best light for steady growth
Place your snake plant where it gets bright, indirect light most of the day, like a few feet back from a sunny window or near an east-facing window. This encourages firmer leaves, stronger color, and faster new growth.
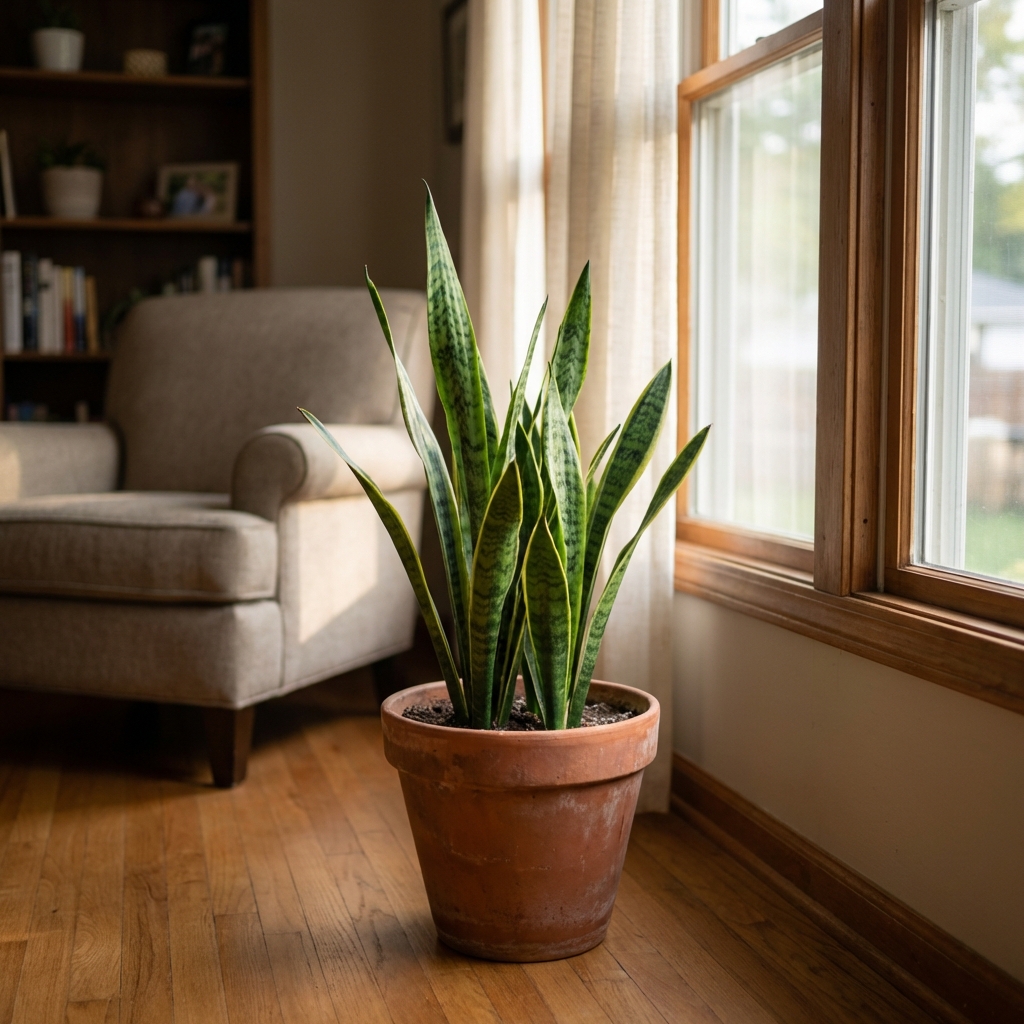
Can it live in low light?
Yes, a snake plant can survive in low light, but growth will slow and the plant may stretch a bit. If you are moving it from bright light to a dim corner, expect it to “pause” for a while.
What about direct sun?
Gentle morning sun is usually fine. Harsh, hot afternoon sun through glass can scorch leaves, especially on variegated types. If you see pale, crispy patches, pull it back from the window or use a sheer curtain.
Watering: the rule that saves most snake plants
If you remember one thing, make it this: snake plants prefer dry soil to wet soil. Overwatering is the fastest way to cause root rot.
How often to water
Instead of watering on a schedule, use the soil as your guide.
- Spring and summer: Usually every 2 to 4 weeks, depending on light and pot type.
- Fall and winter: Typically every 4 to 6+ weeks. In low light, it can be even less.
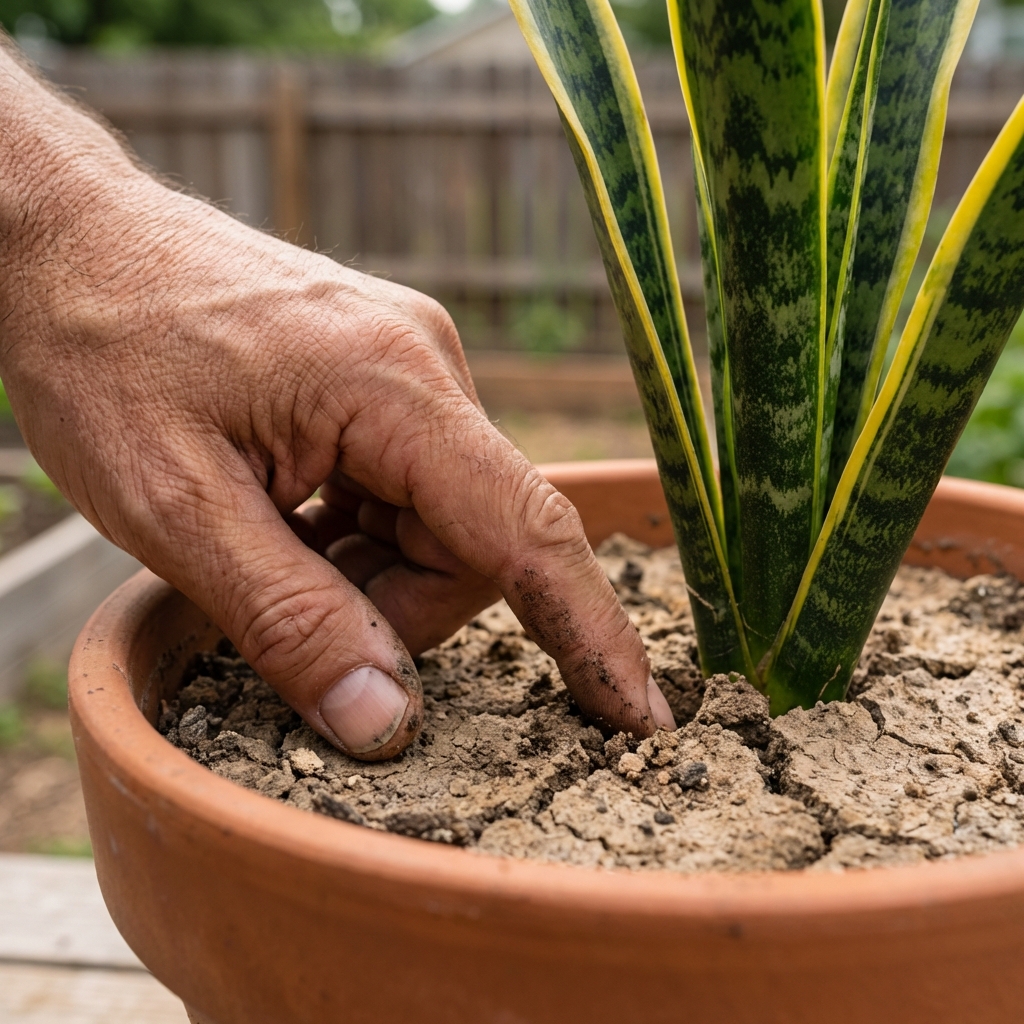
How to check if it is time
- Stick a finger 2 to 3 inches into the soil. If it is dry at that depth, check deeper before watering.
- For larger pots, use a wooden skewer or chopstick. Push it down, pull it out, and feel for moisture.
- Lift the pot. A dry pot feels noticeably lighter.
- Do not water just because the top inch is dry. Make sure the pot has dried deeper down.
How to water correctly
Water deeply until excess drains out the bottom, then empty the saucer. Do not let the pot sit in water.
Signs you are watering too much
- Soft, mushy leaf bases
- Leaves flopping over
- Soil that stays damp for many days
- A sour smell from the pot
Signs you are watering too little
- Wrinkled or curling leaves
- Dry, crispy leaf tips
- Very slow growth (also common in low light)
Soil and pot: set it up to dry out
Snake plants store water in their leaves and rhizomes, so they need soil that drains fast and does not stay soggy.
Best soil mix
Use a cactus or succulent potting mix. If your mix feels heavy or holds water, lighten it with one of the following:
- Perlite or pumice
- Orchid bark
- Coarse sand (use sparingly, and avoid very fine sand)
Best pot setup
- Drainage hole: Non-negotiable for beginners.
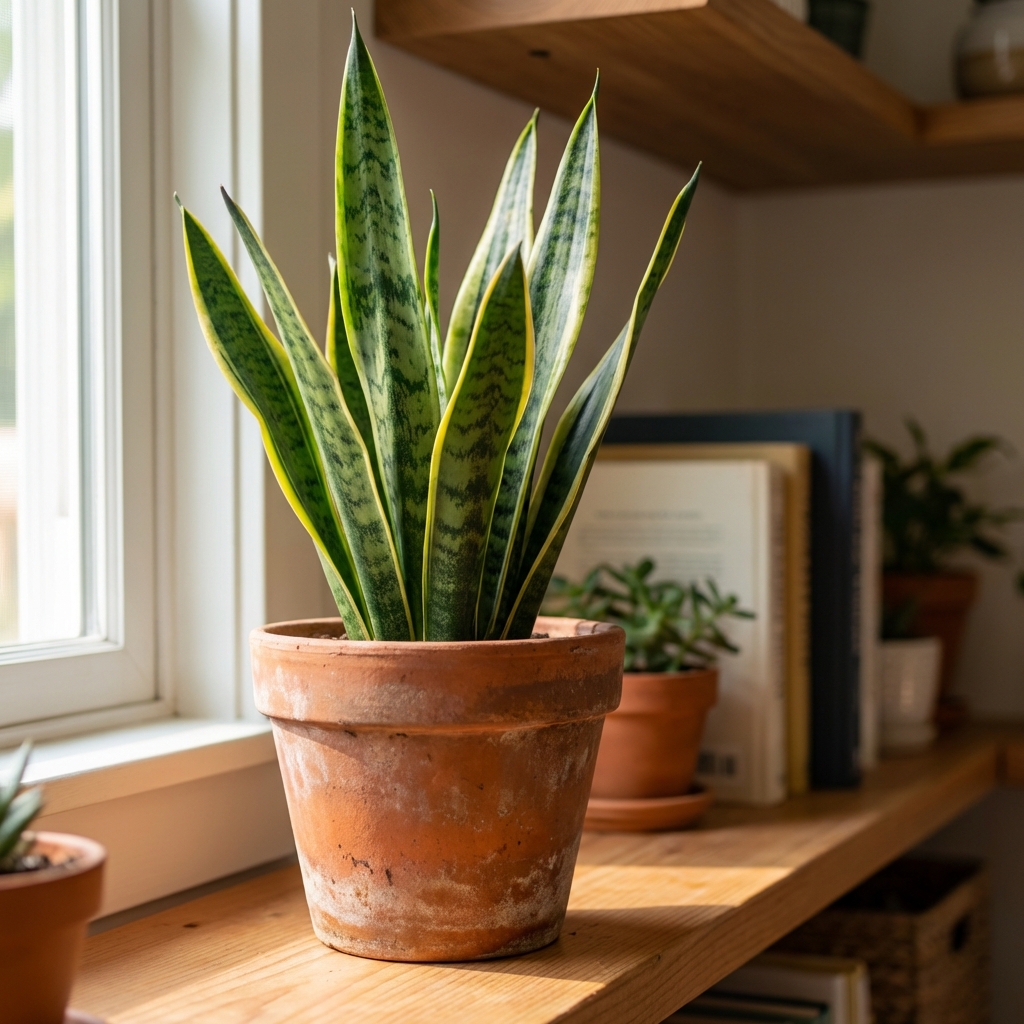
- Terra cotta: Great if you tend to water often because it breathes.
- Plastic or glazed ceramic: Fine, but soil dries slower, so water less.
- No-hole pots: Avoid planting directly into them. If you love the look, keep the plant in a nursery pot with holes and set it inside as a cachepot. Always empty any water that collects.
Do snake plants like to be rootbound?
They tolerate snug pots well, and some people prefer a slightly tight pot because the soil dries faster. Just do not let it get so tight that the pot cracks or the plant constantly tips over.
Temperature and humidity
Normal indoor conditions are usually a great fit for snake plants.
- Temperature: Aim for about 65 to 85°F (18 to 29°C) for best growth. Try not to let it drop below about 50 to 55°F (10 to 13°C), which can cause cold damage.
- Humidity: Average home humidity is fine. No misting needed.
Keep it away from
- Cold drafts from doors and windows
- Cold window glass in winter
- Heating vents blasting hot, dry air directly on leaves
- Air conditioners aimed at the plant
Fertilizing (less is more)
Snake plants are light feeders. Too much fertilizer can lead to weak growth and salty buildup in the soil.
- When: Spring through early fall
- How often: About once a month, or every 6 to 8 weeks for a cautious approach
- What: A balanced liquid houseplant fertilizer diluted to half strength
Skip fertilizer in winter when growth naturally slows.
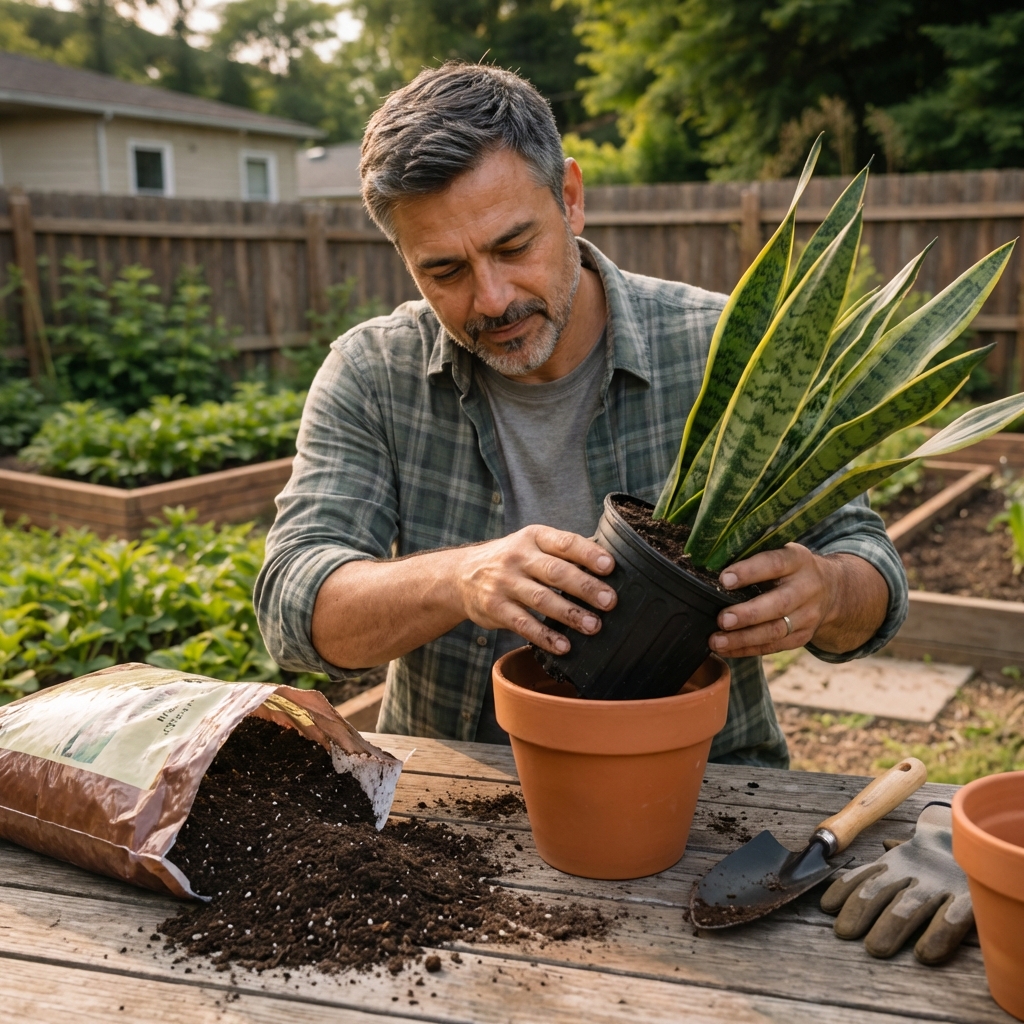
Repotting: when and how
Most snake plants only need repotting every 2 to 4 years. The best time is spring or early summer.
Signs it is time to repot
- Roots circling the pot and coming out of the drainage hole
- The plant dries out extremely fast (like within a few days)
- The pot is bulging, cracking, or the plant is pushing itself up
- The plant is top-heavy and keeps tipping
Simple repot steps
Choose a pot 1 to 2 inches wider than the current one, with a drainage hole.
Use fresh, fast-draining mix. Avoid packing it down hard.
Lift the plant out and loosen the outer roots gently. If roots are tightly bound, you can tease them a bit.
Set the plant at the same depth it was before. Do not bury the base of the leaves.
Wait to water for 3 to 7 days after repotting, especially if you broke roots. This helps prevent rot.
Pruning and routine cleanup
Snake plants do not need much pruning. Use clean scissors or pruners.
- Brown tips: You can trim to match the leaf shape, but the trimmed edge may stay slightly darker.
- Damaged or floppy leaves: Cut the leaf at the soil line.
- Dusty leaves: Wipe with a damp cloth so the plant can photosynthesize better.
Avoid leaf shine products. A simple wipe down works best.
Common problems and how to fix them
1) Yellowing leaves
Most common cause: overwatering or poor drainage.
- Let soil dry fully before watering again.
- Check that the pot drains and the soil is not compacted.
- If the base is mushy or smells bad, treat as root rot (see below).
2) Soft leaves or leaves falling over
Usually: too much water, low light, or both.
- Move to brighter indirect light.
- Water less often.
- Remove severely soft leaves at the base.
3) Wrinkled leaves
Usually: the plant stayed dry too long, or roots are damaged and not taking up water.
- If soil is bone dry, water thoroughly and let it drain.
- If soil is damp but leaves wrinkle, check roots for rot.
4) Root rot (the big one)
Clues: mushy base, blackened roots, foul odor, soil that never dries.
Unpot the plant and remove wet soil.
Trim off mushy roots and any rotten rhizome sections with clean tools.
Let the plant air dry for a few hours.
Repot into dry, fresh, fast-draining mix.
Wait several days before watering again.
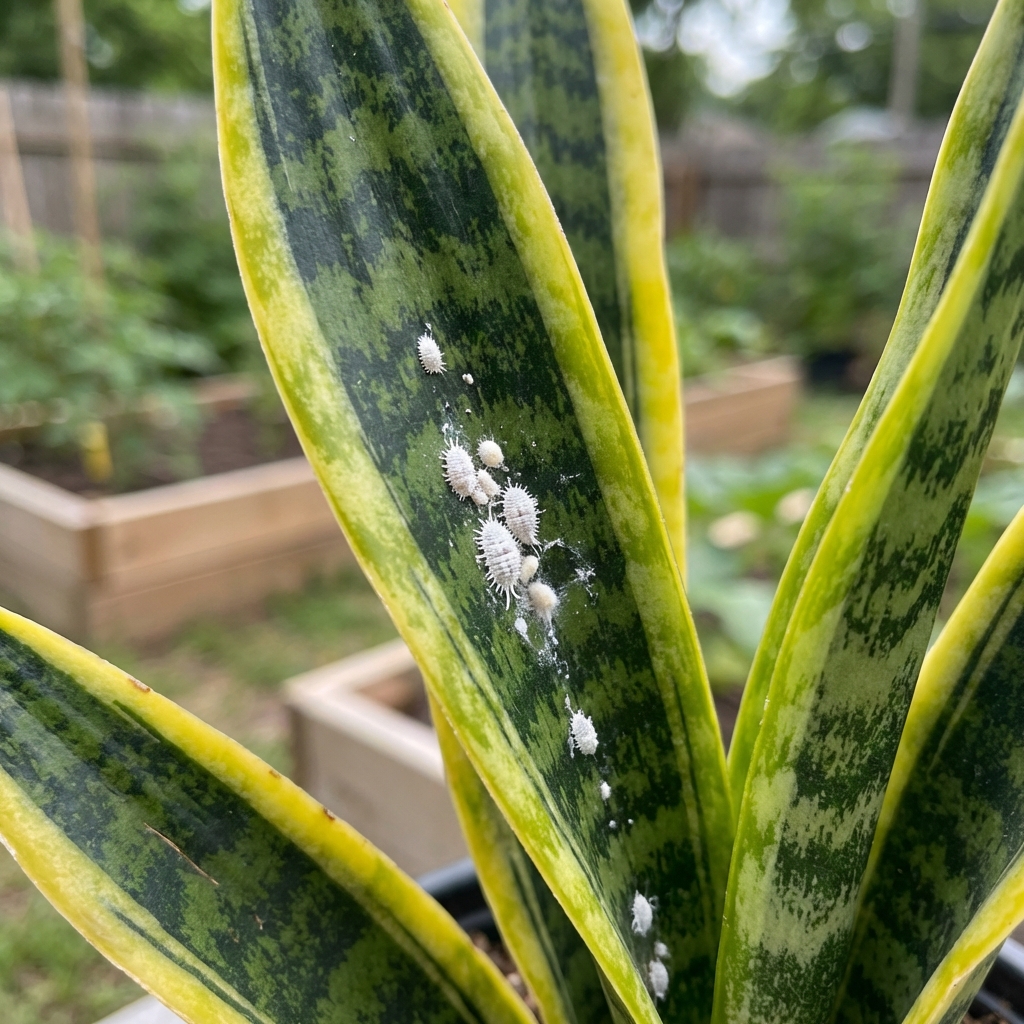
5) Pests (rare but possible)
Indoors, snake plants can occasionally get mealybugs, spider mites, or scale insects.
- Wipe pests off with a cotton swab dipped in rubbing alcohol (spot test first).
- Rinse leaves and isolate the plant.
- Repeat weekly until gone.
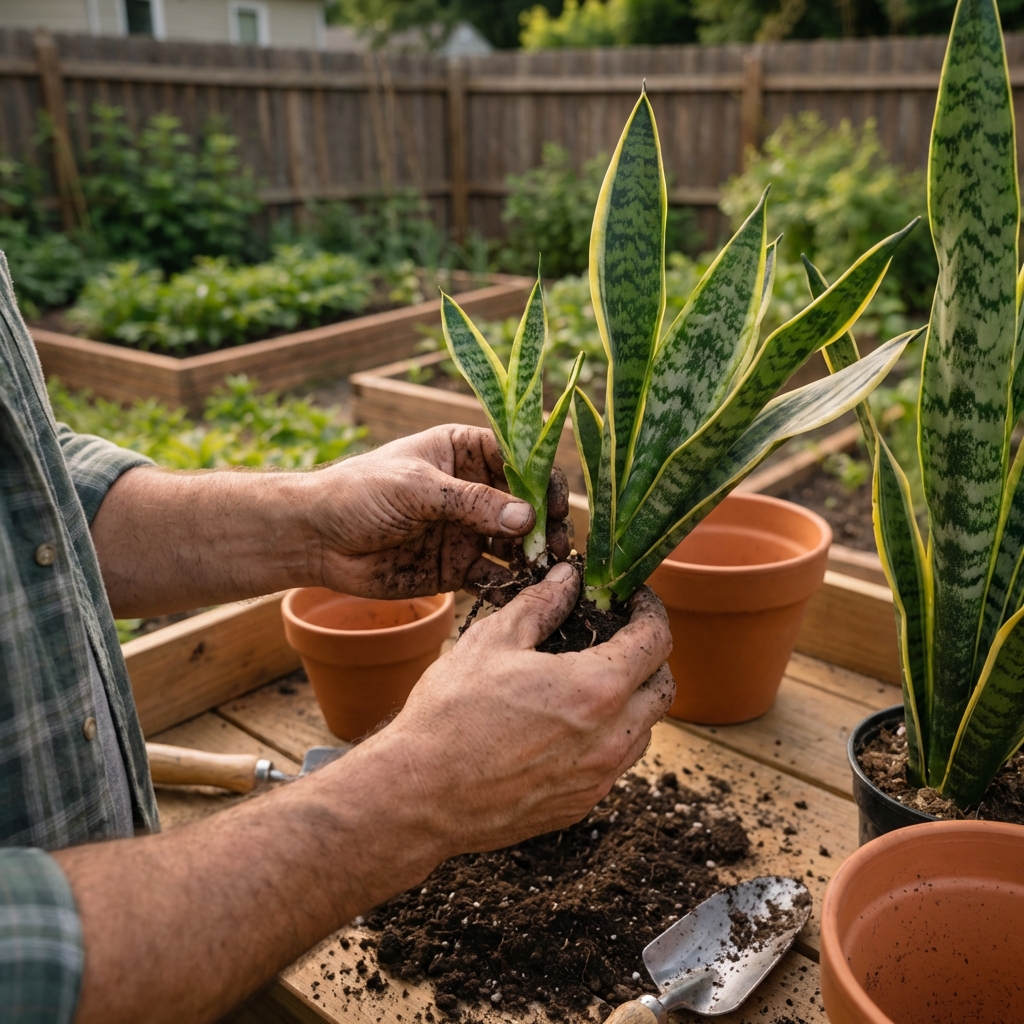
Propagation: make new plants the easy way
Snake plants are simple to propagate. For beginners, division is the most reliable.
Propagation by division (best method)
Unpot the plant and find natural clumps or pups.
Separate pups with roots attached. A clean knife helps if they are connected by thick rhizomes.
Pot each division in a small pot with fast-draining mix.
Wait about a week to water, then water lightly.
Leaf cuttings (works, but can change variegation)
You can root leaf sections in soil or water. Just know that many variegated cultivars (for example, ‘Laurentii’) often lose their yellow edging and revert to mostly green when grown from leaf cuttings.
Are snake plants safe for pets and kids?
Snake plants are considered toxic if chewed or ingested by cats and dogs and can cause drooling, vomiting, or stomach upset. For humans, ingestion is also more likely to cause mild stomach upset, and the sap can be irritating if it gets in eyes or on sensitive skin. If you have pets or small kids who like to nibble, place the plant out of reach or choose a pet-safe alternative.
Growth expectations
Snake plants are naturally slow growers indoors. In brighter indirect light, you can expect more consistent new leaves and occasional pups. In low light, it may look the same for months, and that is normal.
A simple weekly routine
- Once a week: Quick glance for pests, leaning leaves, or soggy soil.
- Every 2 to 6 weeks: Check soil depth, water only when fully dry.
- Monthly in growing season: Light fertilizer if you want faster growth.
- A few times a year: Wipe leaves and rotate the pot for even growth.
If you keep the light decent and the soil on the dry side, a snake plant will do its job and look good without demanding much from you.

Jose Brito
I’m Jose Britto, the writer behind The Country Store Farm Website. I share practical, down-to-earth gardening advice for home growers—whether you’re starting your first raised bed, troubleshooting pests, improving soil, or figuring out what to plant next. My focus is simple: clear tips you can actually use, realistic expectations, and methods that work in real backyards (not just in perfect conditions). If you like straightforward guidance and learning as you go, you’re in the right place.