If you have ever lifted the strainer in your kitchen sink and caught a whiff that made you step back, you are not alone. The good news is that stink is not a sign you should give up on composting or gardening with kitchen scraps. It is usually just a sign that the scraps are breaking down the wrong way, in the wrong place, with too much water and not enough air.
Below are straightforward, backyard-realistic ways to deal with the smell and still turn those scraps into something useful for your garden.
What the stink is telling you
Most kitchen sink odors come down to one thing: anaerobic decomposition. That is when food breaks down without oxygen, usually in a wet, compacted spot like a drain trap, a soggy scrap bucket, or a pile of scraps with no browns mixed in.
Common stink sources
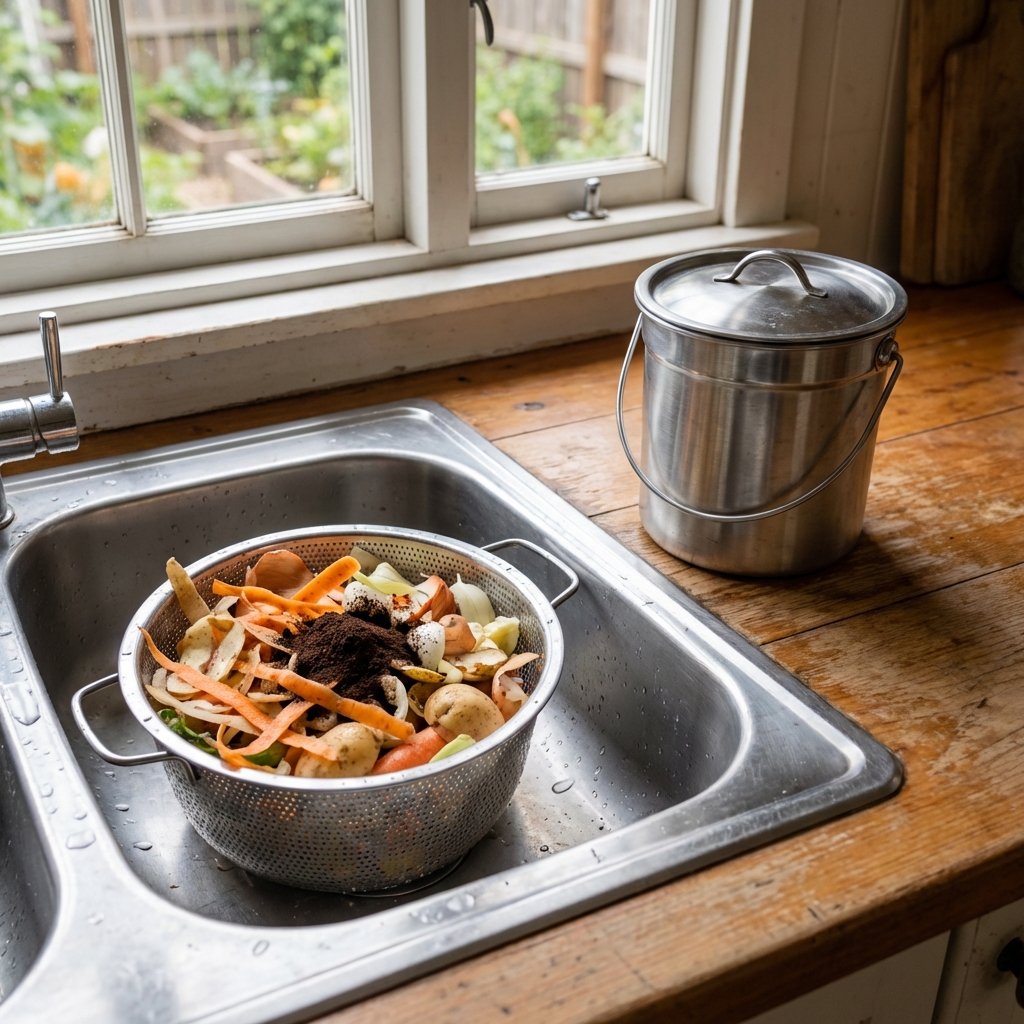
- Food stuck in the drain or disposal: Bits of onion, rice, and coffee grounds rot fast in warm, wet pipes.
- Soggy scrap containers: A sealed container with wet scraps turns into a mini swamp.
- Too many "greens" and not enough "browns": Kitchen scraps are nitrogen-rich. Without dry carbon material, they mat down and smell.
- Wrong materials: Meat, grease, and dairy almost always create odor and attract pests in basic backyard setups.
That stink is basically your system saying: “I need air and balance.”
First, fix the sink smell
Before you even think about gardening, get your sink back to neutral. This is quick, and it prevents you from blaming composting for a plumbing issue.
Quick clean routine (10 minutes)
- Pull and scrub the sink strainer with hot soapy water. Use an old toothbrush for the underside.
- Scrub the drain opening: Use a small bottle brush (or toothbrush) to scrub the first few inches of the drain wall where gunk sticks.
- Clean the stopper, overflow, and splash guard (if you have them): The rubber flaps and hidden channels can hold biofilm that stinks even when the drain looks “clean.”
- Flush the drain with hot water for 30 to 60 seconds.
- Clean the disposal (if you have one): Check your manufacturer guidance first. Many people find that running cold water while grinding a handful of ice can help knock loose residue and dull odors, especially in newer units. If you have an older disposal or concerns, skip the ice and focus on scrubbing the rubber splash guard and rinsing well.
- Rinse the trap: Pour hot tap water down slowly. If your pipes are PVC, use hot tap water, not boiling.
Skip the myth-y stuff like stuffing your drain with random peels and hoping it magically cleans itself. Mechanical scrubbing plus a strong rinse is what works.
If odor keeps coming back fast, biofilm may be the culprit. A sink-safe enzyme cleaner used as directed can help between deeper cleanings.
Stop scraps from getting smelly
If your plan is to save scraps for the garden, the goal is simple: keep them from sitting wet and airless.
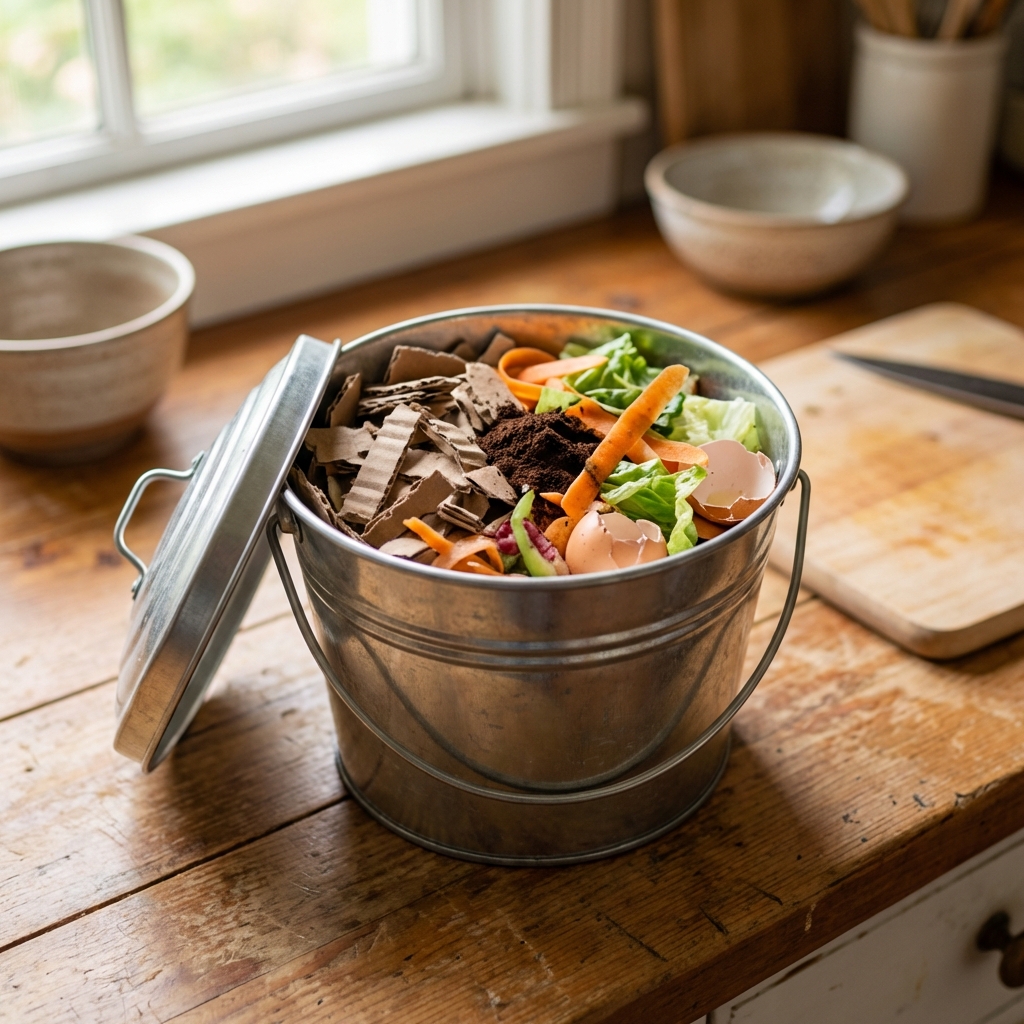
Greens vs. browns (the quick version)
- Greens: Wet, nitrogen-rich stuff like fruit and veggie scraps, coffee grounds, tea leaves.
- Browns: Dry, carbon-rich stuff like torn cardboard, dry leaves, shredded paper, wood shavings (untreated).
Easy, low-effort habits that work
- Use a vented countertop compost pail or leave the lid cracked. Oxygen reduces stink.
- Line with paper: A sheet of newspaper, a paper bag, or cardboard egg carton absorbs moisture.
- Add browns daily: Toss in torn cardboard, dry leaves, shredded paper, or wood shavings (untreated).
- Freeze scraps if you cannot take them out often. A freezer bag of veggie scraps stays odor-free.
- Drain wet items: Let watermelon rinds or cooked veg drip before storing.
Think of it like balancing a sponge. Too wet equals stink.
Simple ways to use scraps
You have a few realistic options. Pick one that matches your space and tolerance for fuss.
Option 1: Compost pile or bin
This is the most forgiving method for most home gardens.
- Starting point: For every bucket of kitchen scraps, add 2 to 3 buckets of browns. Then adjust. If it smells or looks soggy, add more browns. If it is dusty and not breaking down, add a little moisture and more greens.
- Chop scraps smaller: Smaller pieces break down faster and smell less.
- Bury the fresh scraps in the center of the pile to reduce fruit flies and animals.
- Keep it damp, not drenched: Like a wrung-out sponge.
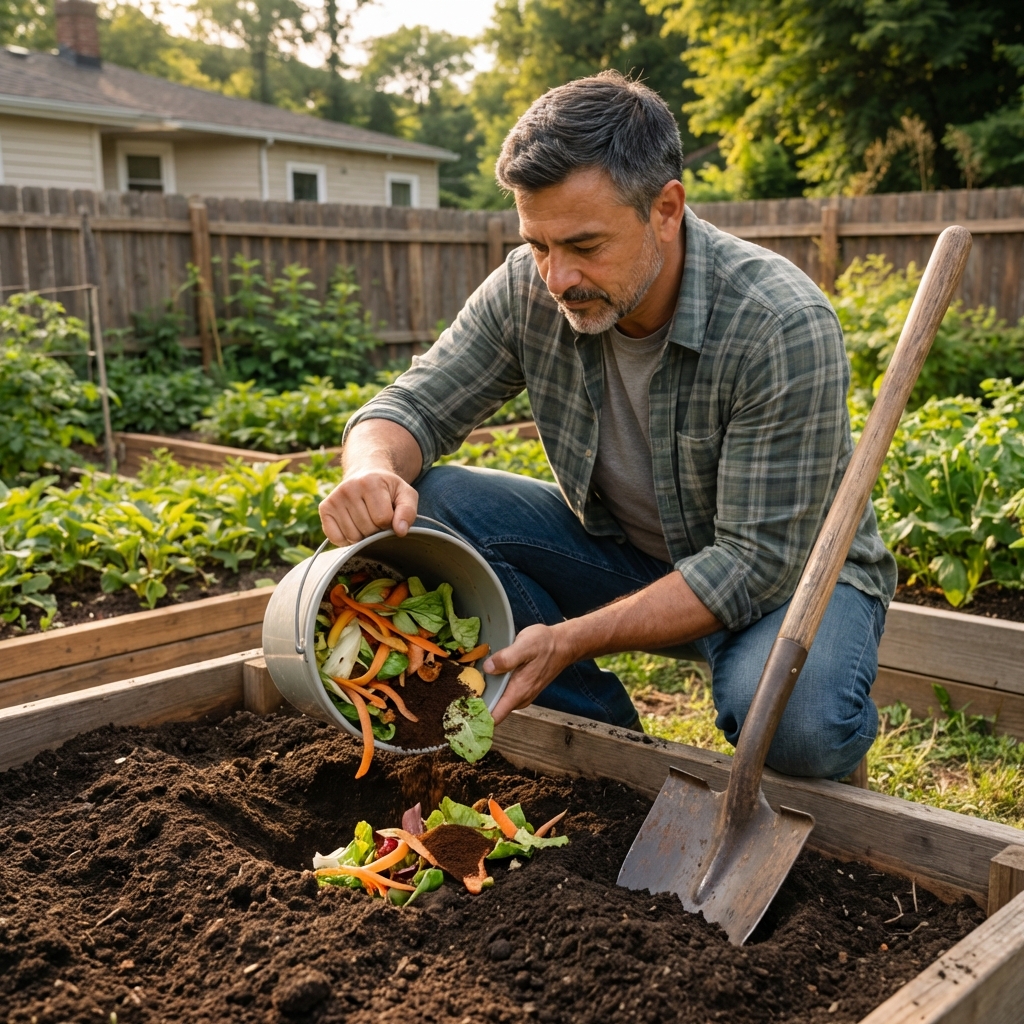
Option 2: Trench composting (my favorite lazy method)
If you do not want to manage a pile, trench composting is wonderfully practical.
- Dig a hole or trench 8 to 12 inches deep.
- Add scraps (avoid meat, dairy, oily foods).
- Cover with soil completely and tamp lightly.
- Wait before planting: In warm weather, give it at least 4 to 8 weeks (longer if it is cool). A good rule is to wait until the ground settles and you cannot recognize the scraps when you poke around. For direct seeding, waiting longer is safer.
This keeps smells and pests down because the scraps are sealed under soil where decomposers can work.
Option 3: Vermicomposting (worms)
Worm bins can be almost odorless if you do them right.
- Feed small amounts and bury food under bedding.
- Use plenty of dry bedding (shredded cardboard is perfect).
- If it smells, you are overfeeding or it is too wet.
Option 4: No yard, no problem
If you rent, live in an apartment, or just do not want a backyard setup:
- Community compost drop-off: Many cities have food scrap collection or drop sites.
- Bokashi: A sealed indoor bucket that ferments scraps with bran. It can handle more food types than a basic countertop pail, and the pre-compost can be buried later or finished in a bin.
What not to drain or compost
A lot of “stinky sink gardening” problems start with the wrong inputs.
Avoid in most home setups
- Grease and oil: Coats pipes, traps smells, and slows compost breakdown.
- Meat, fish, bones: Smell and pests, even when buried shallow.
- Dairy: Same story as meat.
- Large amounts of cooked rice or pasta: Turns gummy, goes anaerobic fast, and can attract rodents.
- Pet waste: Pathogen risk for home compost.
Use with caution
- Citrus peels: Fine in small amounts, but do not dump a week’s worth at once in a worm bin.
- Onion and garlic: Fine in compost piles, but can smell strong in a small indoor bin.
- Coffee grounds: Great for compost, but they clump. Mix with browns.
Odor troubleshooting
If you already have a stinky compost bucket, bin, or pile, this is usually all you need to get back on track.
If it smells like rotten eggs
- Cause: Too wet, compacted, low oxygen.
- Fix: Add dry browns immediately and fluff or turn to add air.
If it smells like ammonia
- Cause: Too much nitrogen (too many kitchen scraps), not enough carbon.
- Fix: Add cardboard, dry leaves, shredded paper. Mix well.
If you have fruit flies
- Cause: Exposed scraps and sweet fruit.
- Fix: Bury scraps in the pile, keep a tight lid on indoor bins, freeze fruit scraps, and cover the top of the compost with a layer of browns.
If animals are digging
- Cause: Scraps are too close to the surface, or you are composting meat or oily foods.
- Fix: Bury deeper, switch to trench composting, or use a secure bin with a latched lid.
Easy wins
If you want the biggest payoff for the least effort, focus on these.
- Save vegetable scraps for compost: Peels, cores, and trimmings are compost gold.
- Stockpile browns now: A bag of shredded leaves or torn cardboard makes kitchen scraps easier all year.
- Use finished compost as a top-dress: Around established plants, 1/2 to 1 inch is plenty in most cases. You can go up to 1 to 2 inches when you are building tired soil, but keep it off stems and do not bury small seedlings.
- Feed the soil, not the plant: Compost improves structure, moisture holding, and biology over time. It is not instant fertilizer.
That last point matters. The best gardens are built over seasons, not weekends.
A weekly routine
Here is a realistic schedule for busy households.
- Daily: Add scraps to your pail, add a handful of browns.
- 2 times per week: Take scraps to your compost pile or trench. Rinse the pail.
- Weekly: Turn or fluff the compost (or just add a brown cap if you do not want to turn).
- Monthly: Check moisture. If it is soggy, add browns. If it is dusty dry, water lightly.
When to worry
Most stink is normal and fixable. But a few situations deserve extra caution.
- Persistent sewer smell from the sink even after cleaning can mean a plumbing issue like a dry P-trap, venting problem, or buildup deeper in the line.
- Mold allergies or asthma: Avoid handling very moldy compost indoors. Work outside and wear a mask if needed.
- Rodent pressure: If rats are common in your area, use secure bins and skip exposed piles.
Garden smarter, not harder. You can still compost, you just might need the right container for your situation.
Bottom line
Stinky sink scraps are not a failure. They are a signal that the material is too wet, too packed, and missing carbon and airflow. Fix the sink, change how you store scraps, then choose a garden method that fits your space. Do that, and those “gross” scraps turn into the kind of soil boost you can actually see in healthier plants and better harvests.

Jose Brito
I’m Jose Britto, the writer behind The Country Store Farm Website. I share practical, down-to-earth gardening advice for home growers—whether you’re starting your first raised bed, troubleshooting pests, improving soil, or figuring out what to plant next. My focus is simple: clear tips you can actually use, realistic expectations, and methods that work in real backyards (not just in perfect conditions). If you like straightforward guidance and learning as you go, you’re in the right place.