Orchids get labeled as “fussy,” but many of the most common problems come from two things: too much water and not enough light. The good news is you do not need a greenhouse or special gadgets to keep an orchid alive and blooming. You just need a repeatable routine and a potting mix that lets air reach the roots.
This guide keeps it simple and realistic, especially for the most common house orchid: the Phalaenopsis (moth orchid). Most of the tips still apply to other orchids, but if yours has thin, grassy leaves or lives outdoors, care needs can vary.
What you need (DIY basics)
You can do solid orchid care with a few simple items. No fancy setup required.
- Bright window light (east window is ideal, or filtered south light)
- A pot with drainage (clear plastic inner pots are great for checking roots)
- Orchid bark mix (not regular potting soil)
- Sharp scissors or pruners (wipe with rubbing alcohol before cuts)
- Optional but helpful: a small bag of sphagnum moss, orchid clips/stakes, and a gentle orchid fertilizer
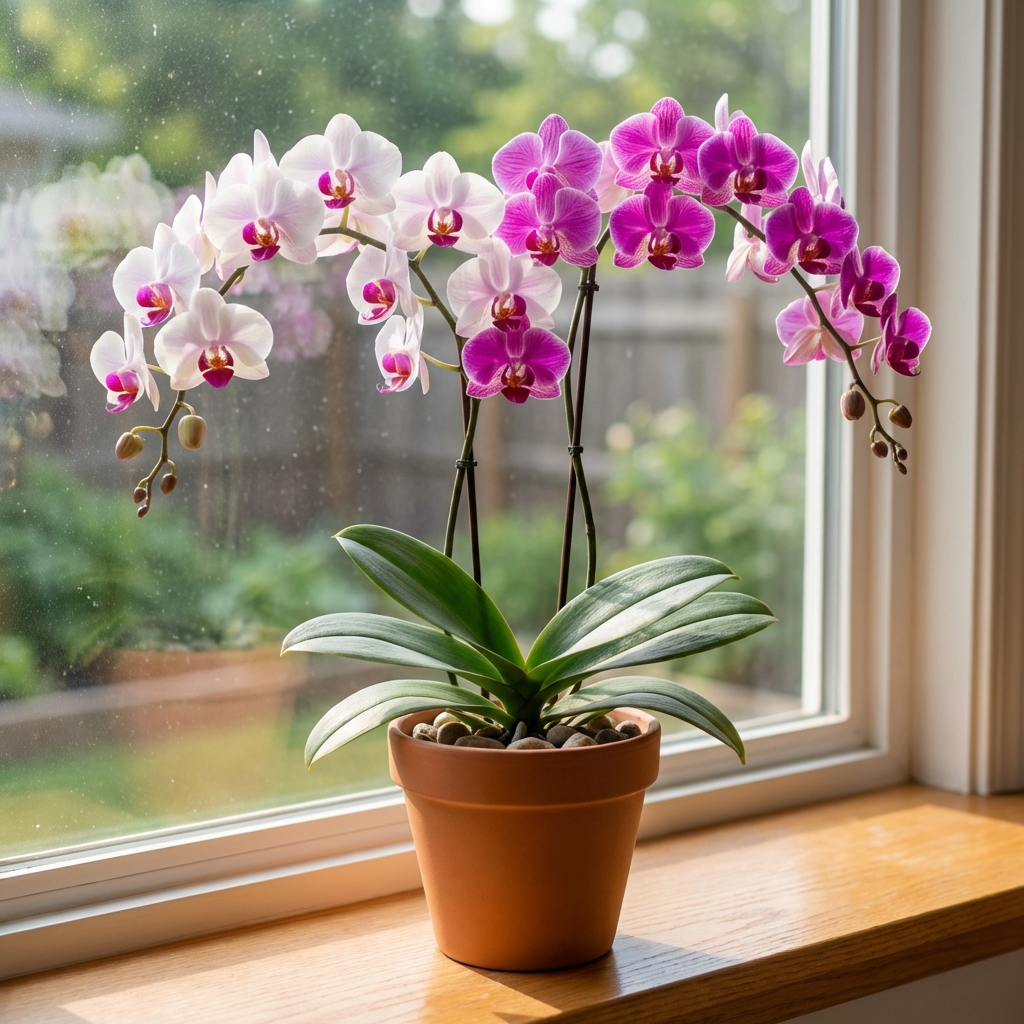
Step 1: Put it in the right light
Light is what powers blooming. If your orchid never reblooms, light is usually the missing piece.
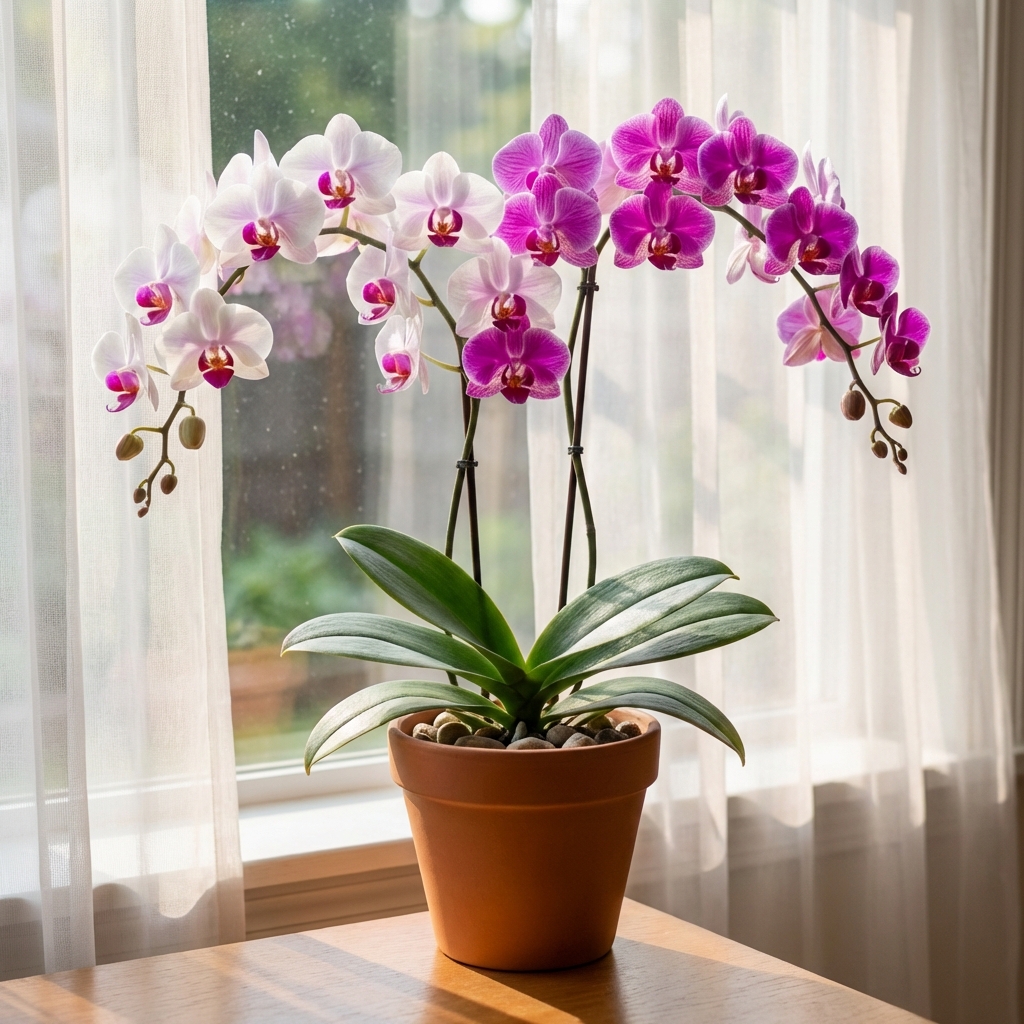
Best placement
- East-facing window: bright, gentle morning sun
- South or west window: keep it back from the glass or use a sheer curtain
- North window: often too dim unless it is very bright in your home
Quick light check
- Good: medium green leaves
- Too much light: yellowing, bleached patches, crispy areas
- Too little light: often very dark green leaves and no flower spikes
Leaf color varies by variety and can also be affected by feeding, so use this as a quick clue, not a strict rule.
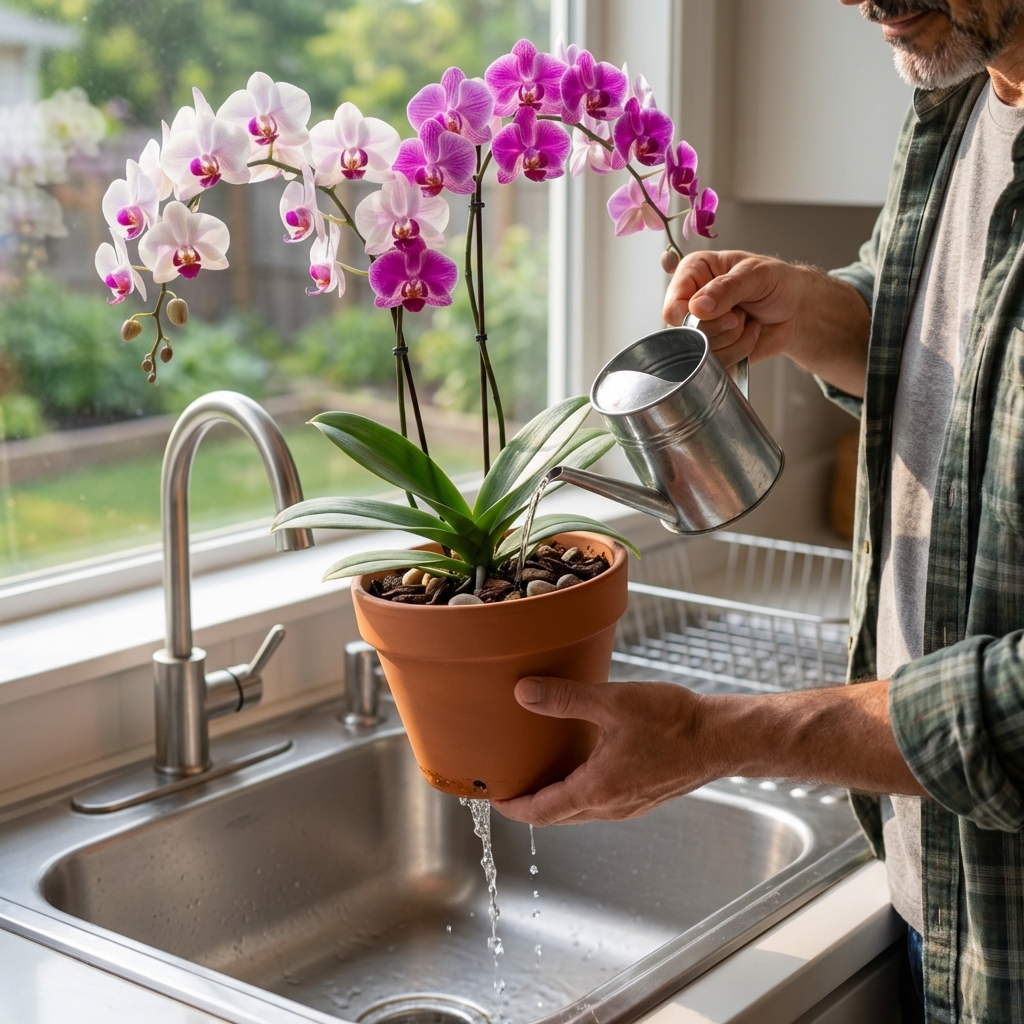
Step 2: Water the right way (most important)
Orchid roots need air. If the mix stays wet for days, roots suffocate and rot. The goal is a cycle: water thoroughly, then let it dry partway.
The simple watering routine
- Water when the mix feels mostly dry and the pot feels light. With bark, the top can feel dry while the center still has a little moisture. That is usually perfect.
- Take it to the sink and run room-temperature water through the pot for 15 to 30 seconds, or until the mix is fully saturated.
- Let it drain fully. Never leave it sitting in water.
How often?
There is no perfect schedule, but these are realistic averages:
- Most homes: every 7 to 10 days
- Warm, bright, low humidity: every 5 to 7 days
- Cool, dim, winter conditions: every 10 to 14 days
Two easy ways to tell it is time
- Root color (clear pot): silvery gray roots usually mean “ready,” green roots mean “still moist.”
- Wooden skewer test: stick a skewer into the mix, pull it out. If it feels damp or looks dark, wait.
Avoid ice cubes. They can chill roots and do not evenly soak the mix. A full rinse and drain works better.
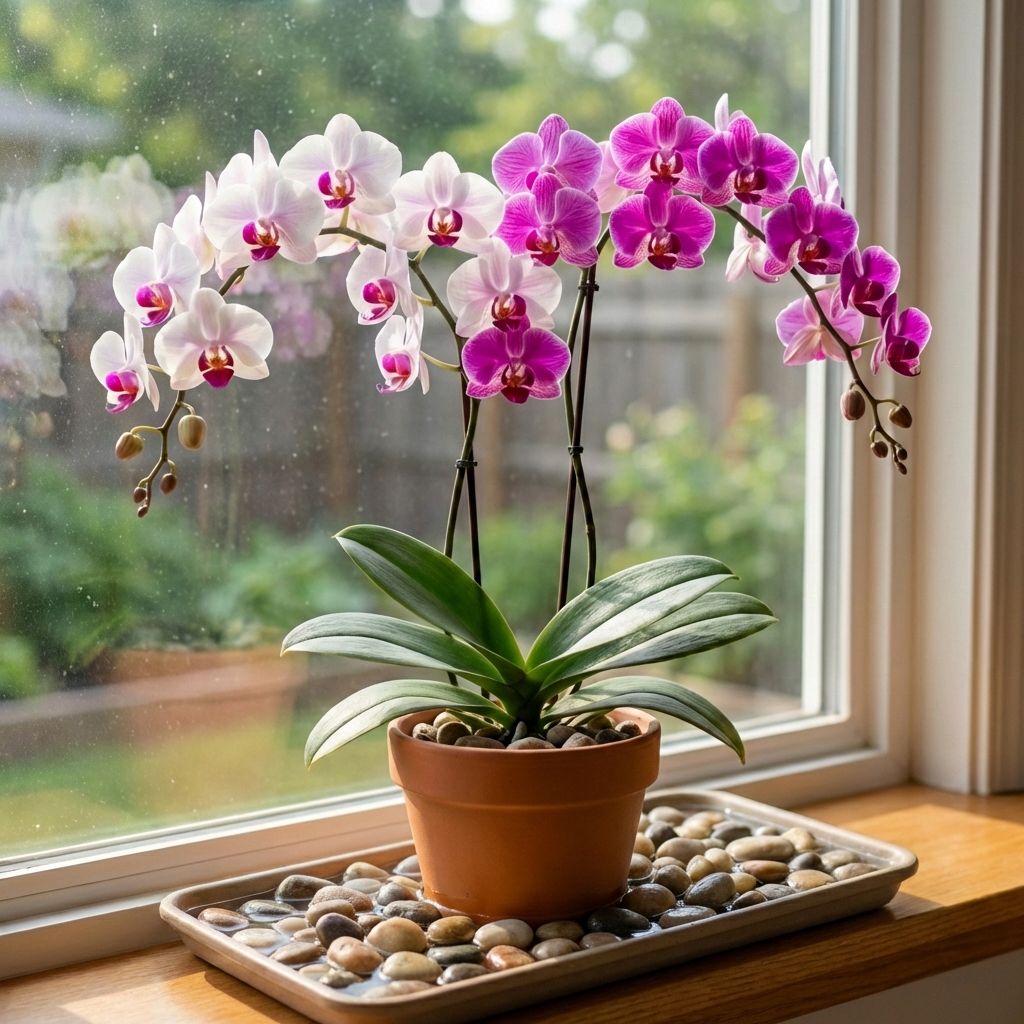
Step 3: Keep humidity comfortable
Most orchids like moderate humidity, but they hate stale air. Aim for a comfortable indoor range, roughly 40 to 60%, plus gentle airflow.
Easy DIY humidity options
- Pebble tray: a shallow tray with pebbles and water below the pot. Keep the pot above the waterline. Results can be modest in very dry, open rooms, but it can help in a smaller area.
- Group plants together: plants naturally raise humidity in a small area.
- Bathroom boost: a bright bathroom can work well if it gets good light.
Skip heavy misting. It can encourage leaf and crown rot if water sits in crevices, especially in cooler rooms.
Step 4: Feed lightly
Orchids are light feeders. Too much fertilizer is worse than too little.
Beginner plan
- Use an orchid fertilizer or a balanced houseplant fertilizer.
- Mix at quarter strength. This is a conservative, beginner-safe approach.
- Apply every 2 to 4 weeks during active growth (usually spring through early fall).
- On weeks you do not fertilize, run plain water through the pot to help flush out built-up salts.
If your orchid is not actively growing, it is fine to feed less often. Focus on light and watering first.
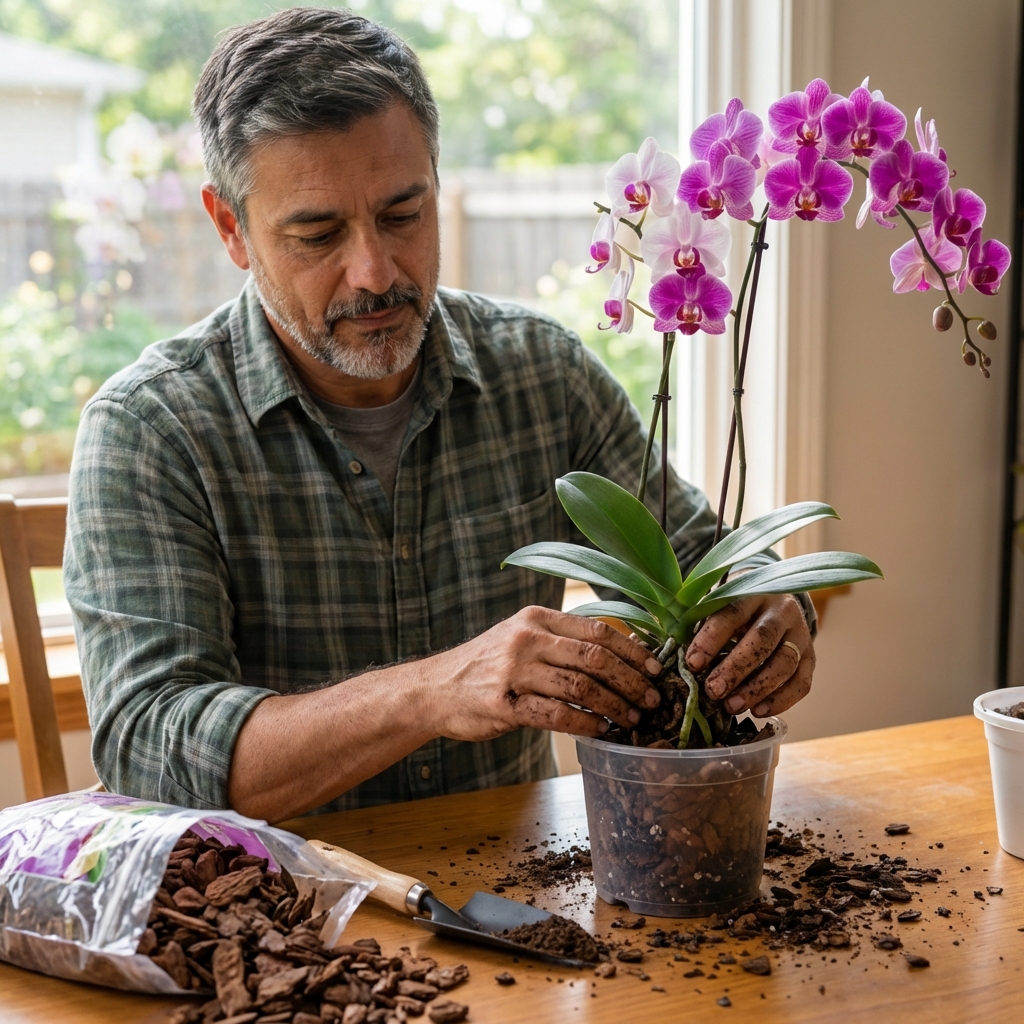
Step 5: Repot when it needs it
Most orchids should be repotted about every 1 to 2 years, mainly because bark breaks down and holds too much water over time.
Signs it is time
- The mix smells sour or stays wet too long.
- The plant is unstable, wobbles, or is climbing up and out of the pot.
- You see lots of dead, hollow, mushy, or black roots.
Note: Phalaenopsis orchids often like “tight shoes.” Roots circling in the pot is not automatically a problem. Repot mainly for broken-down mix, rot issues, or a plant that cannot sit securely.
Simple DIY repot steps
- Water the orchid the day before to soften roots.
- Slide it out of the pot and gently remove old bark.
- Trim dead roots only. Healthy roots are firm (green or silvery). Dead roots are mushy or papery.
- Choose a pot that fits the roots snugly, usually the same size or one size larger, then add fresh orchid bark around them.
- Do not bury the crown (the center where leaves meet). Keep it above the mix.
After repotting, water lightly and keep it out of harsh sun for a week while it settles.
After blooming: what to do with the spike
When blooms fade, you have options. Which one you choose depends on the spike color and how strong the plant looks.
If the spike is green
- You can cut it just above a node (a small bump on the spike) to try for a side branch bloom.
- Keep expectations realistic. Side branch blooms can be smaller and less reliable than a brand-new spike.
- Or you can leave it alone and see what it does.
If the spike is brown and dry
- Cut it down near the base with clean scissors.
If your orchid looks stressed (wrinkled leaves, weak roots), it is usually better to cut the spike and let the plant focus on recovery.
Troubleshooting common orchid problems
Yellow leaves
- One old bottom leaf turning yellow: often normal aging.
- Several leaves yellowing fast: usually overwatering or poor drainage.
- Yellow with bleached patches: too much direct sun.
Wrinkled, limp leaves
- Often a root problem. Roots may be rotting (too wet) or dried out (too dry).
- Check roots and repot if the mix is broken down or roots are failing.
Buds drop before opening
- Common causes: sudden temperature changes, cold drafts, heater blasts, moving the plant, or very dry air.
- Keep conditions steady and avoid placing orchids near vents or exterior doors.
Black spot in the crown
- This can be serious. It is often crown rot from water sitting in the center.
- Tip the plant and gently wick out water with a paper towel. Improve airflow and avoid getting water in the crown.
- If it spreads or turns mushy, isolate the plant and consider help from a local nursery or orchid society.
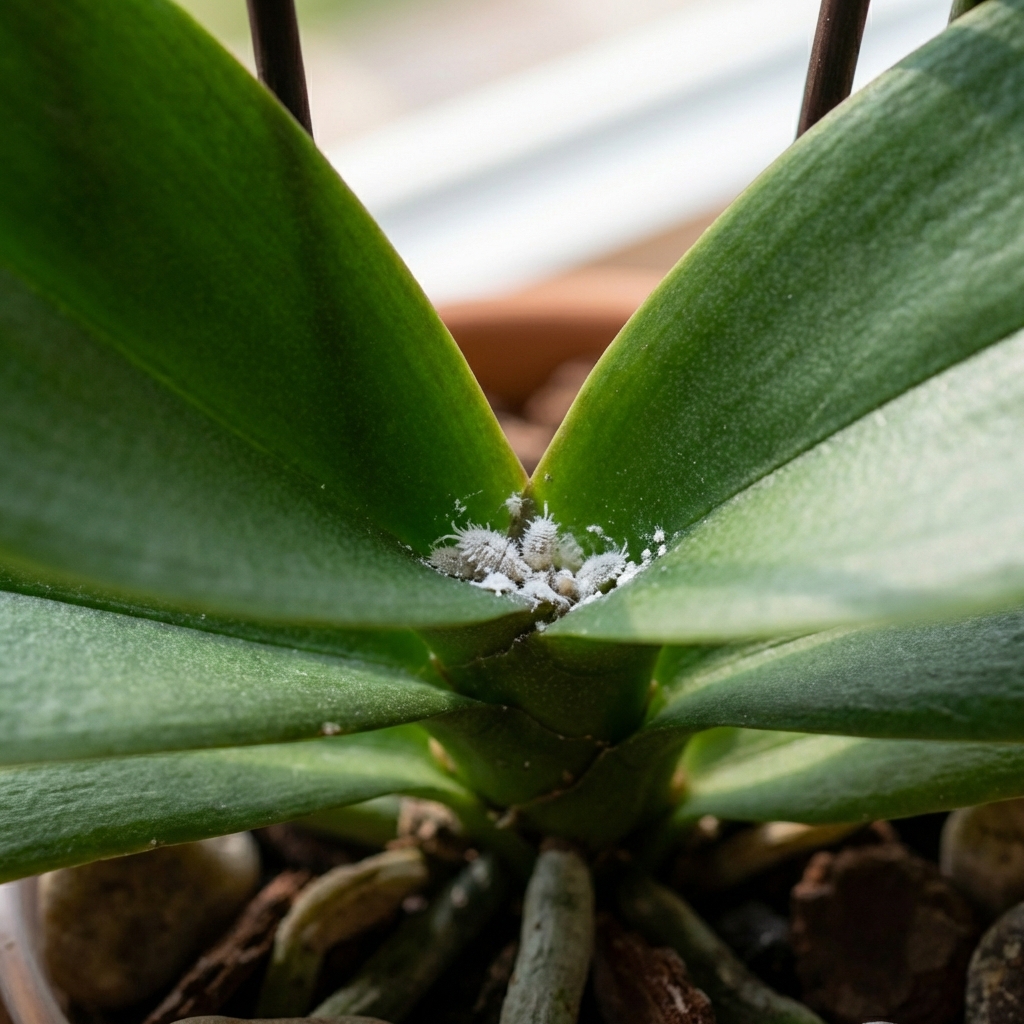
Sticky leaves or tiny bugs
- Check for scale, mealybugs, or aphids, especially under leaves and at leaf joints.
- Wipe pests off with a cotton swab dipped in rubbing alcohol. Test a small area first and avoid soaking the crown and tender new growth. Repeat weekly until gone.
- If pests keep coming back, insecticidal soap or horticultural oil can also work when used per label directions.
Easy weekly orchid checklist
- Check the pot weight or mix dryness before watering.
- Make sure it is getting bright, indirect light.
- Empty any decorative outer pot so the inner pot never sits in water.
- Look at the crown and leaf joints for trapped water or pests.
If you keep those four things steady, you are most of the way to a happy orchid.
Quick FAQs
Should I cut aerial roots?
No. Aerial roots are normal and help the orchid breathe. Only remove roots that are clearly dead and mushy.
Can I use regular potting soil?
Do not. Regular soil stays too wet and suffocates orchid roots. Use bark mix made for orchids.
How do I get it to bloom again?
Prioritize bright light and steady watering. For many Phalaenopsis orchids, slightly cooler nights in fall can help trigger a new flower spike. Think about a 5 to 10 degree drop at night for a couple of weeks, while keeping the plant away from cold drafts.

Jose Brito
I’m Jose Britto, the writer behind The Country Store Farm Website. I share practical, down-to-earth gardening advice for home growers—whether you’re starting your first raised bed, troubleshooting pests, improving soil, or figuring out what to plant next. My focus is simple: clear tips you can actually use, realistic expectations, and methods that work in real backyards (not just in perfect conditions). If you like straightforward guidance and learning as you go, you’re in the right place.