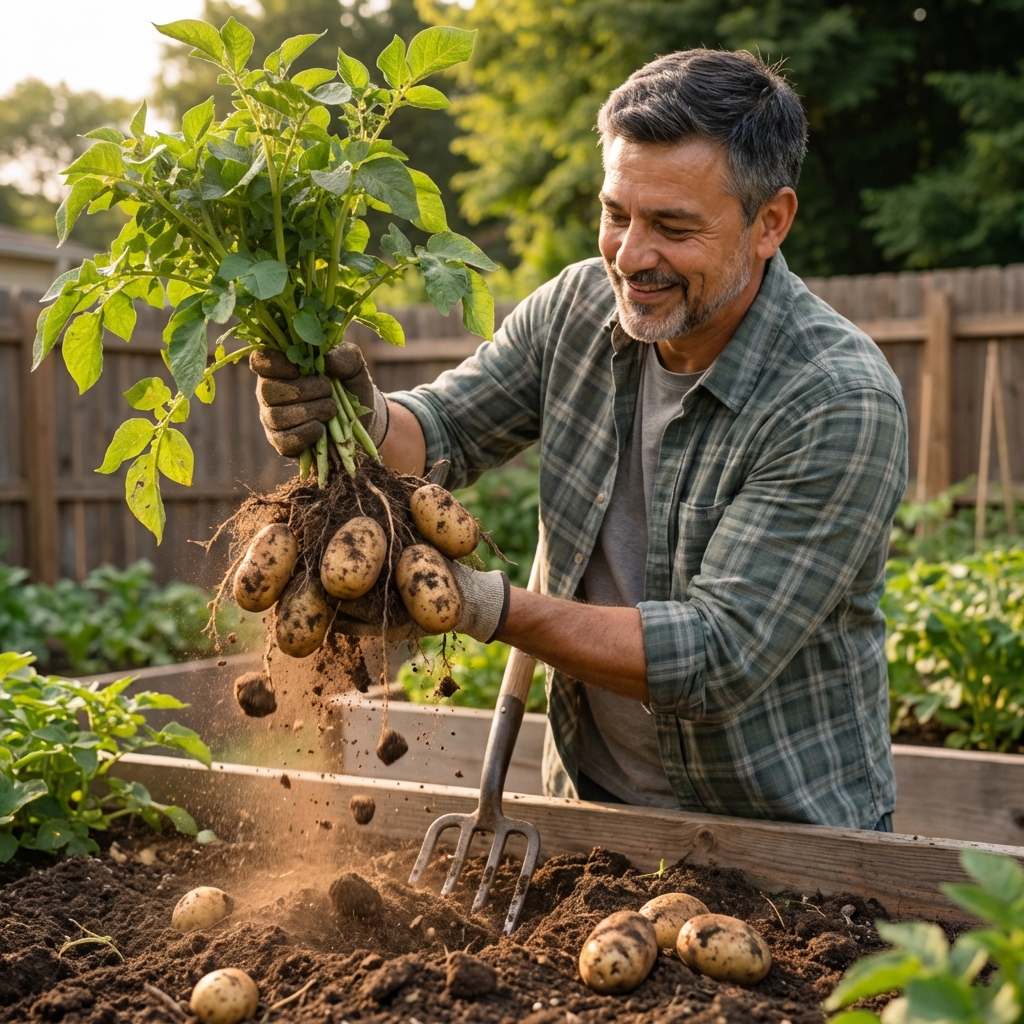
Potatoes are one of those crops that can look “done” above ground while still sizing up below the soil. Dig too early and you get small tubers with thin skins. Wait too long and you risk rot, pests, or a harvest that is harder to clean and store. The good news is you do not need a calendar to get it right. You need a few reliable signs and a simple harvest plan.
Quick answer: when are potatoes ready?
- For new potatoes: Start checking about 2 to 4 weeks after flowering (if your variety flowers) or when a quick test dig shows egg-sized tubers with tender skins.
- For full size, storage potatoes: Harvest after the tops yellow, flop over, and die back. Then wait 10 to 14 days for skin set. In dry weather with low disease pressure, you can often wait up to 2 to 3 weeks.
- If your variety does not flower: Use vine condition and a test dig, not blooms, as your cue.
What “new potatoes” really means
New potatoes are not a special variety. They are simply potatoes harvested early, while the skins are still thin and tender. They cook fast and taste great, but they do not store long.
Signs it is time for a new potato harvest
- Plants have started to flower (common, but not universal).
- The plant looks vigorous, with thick stems and a full canopy.
- You can do a gentle finger test by scraping soil near the base and feeling small tubers.
- A test dig shows tubers around egg size or bigger, depending on what you like to eat.
Best approach: Harvest new potatoes “as needed.” Reach in and take a few from the outer edge of the hill or grow bag, then cover the rest back up so the plant keeps producing.
When to harvest for storage
If you want potatoes that last for months, your goal is fully mature tubers with tougher skins. Maturity is tied to the plant finishing its life cycle, not just the size of the potatoes.
Top signs potatoes are ready to dig for storage
- Vines are mostly yellow or brown and clearly declining.
- Plants have flopped over and look like they are done for the season.
- After a short wait following dieback, the skins resist rubbing.
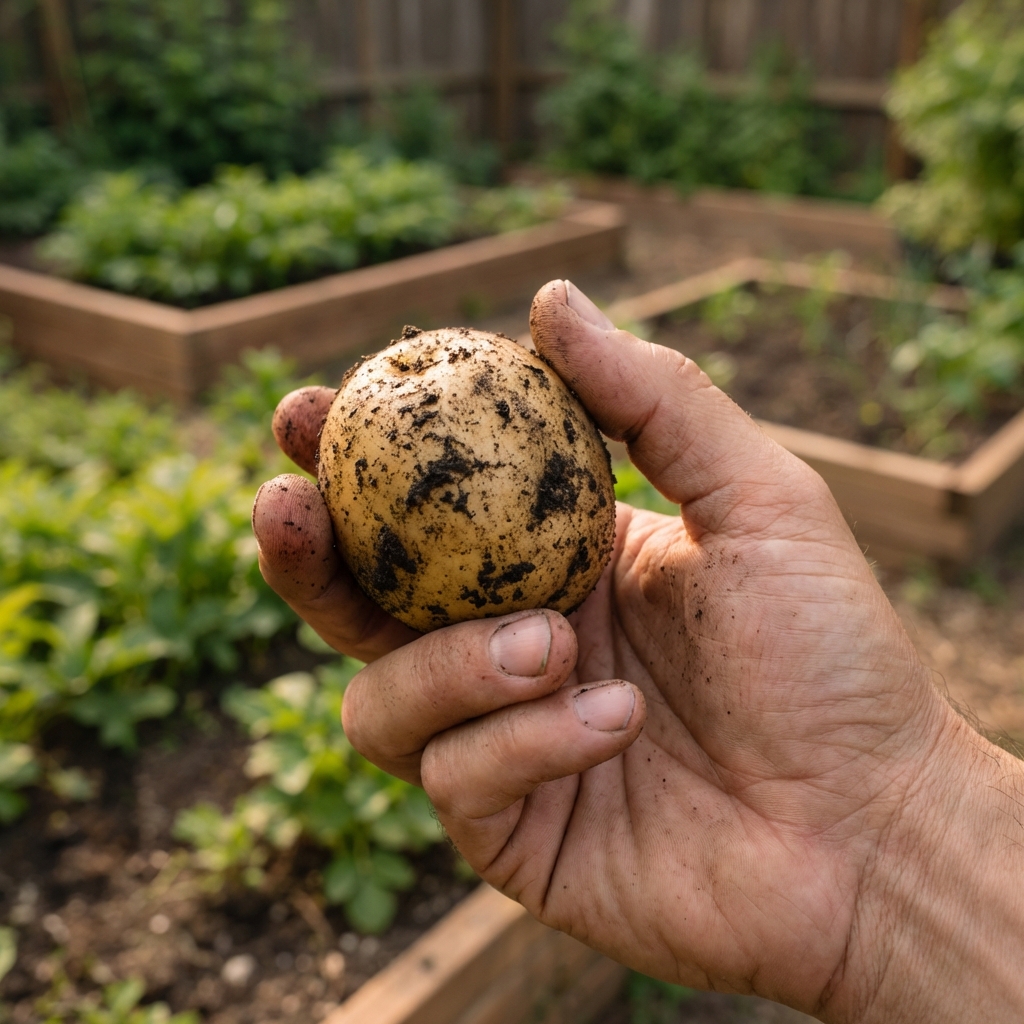
The skin test: Dig one potato and rub it with your thumb. If the skin slips or scuffs easily, wait a bit longer. If it stays firm, you are in good shape for harvest and storage.
How long to wait after dieback
Once the tops die back, many gardeners rush out to dig. Waiting a little is worth it.
- Wait 10 to 14 days after vines die back for better skin set.
- If conditions are dry and disease pressure is low, waiting up to 2 to 3 weeks can give even tougher skins.
- If weather is wet and cool and you have heavy soil, shorten the wait so tubers are not sitting in soggy ground.
- If you are expecting a hard freeze and tubers are shallow, dig sooner or mound extra soil temporarily. A light frost may only knock back vines, but a hard freeze can damage tubers, especially if the soil freezes.
In real backyards, the “perfect” wait time depends on soil drainage and the forecast. If your beds hold water, do not let mature potatoes sit there too long.
Best conditions for digging
Harvest is easier and potatoes stay cleaner when soil is on the dry side.
Aim for this
- Dry day or at least a day when the soil is not muddy.
- Soil that crumbles rather than smears.
- Mild temps if possible, since strong light can green exposed potatoes within hours to a day.
Avoid this
- Digging right after heavy rain, especially in clay.
- Leaving dug potatoes in direct sun for long periods.
- Harvesting during a heat wave if you can wait a couple days.
How to dig without damage
Most potato “failures” at harvest are really tool damage. Sliced potatoes do not store well. You can still eat them, but you lose shelf life.
What to use
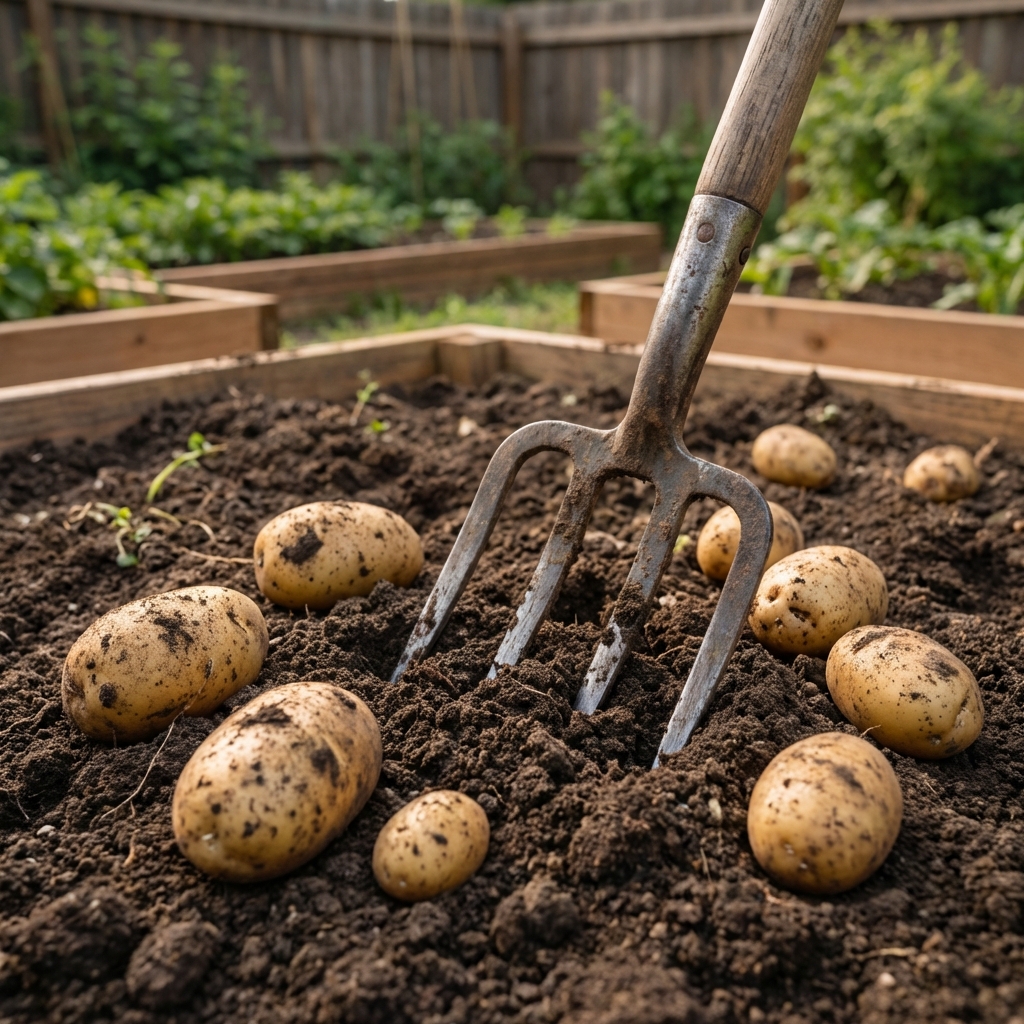
- Garden fork (my pick for in-ground beds): less slicing than a shovel.
- Hands for grow bags and loose raised beds once you loosen soil.
- Shovel if you must, but work wide and shallow.
Simple harvest steps
- Cut or pull the vines and clear the area so you can see where you are working. If vines are still partly green but you are close to harvest, you can cut them at soil level to encourage skin set, then dig after the usual wait.
- Start 8 to 12 inches away from the stem and push the fork in deep.
- Lift gently and let soil fall away. Do not pry right under the plant the first time.
- Use your hands to find strays. Potatoes can hide farther out than you expect.
- Handle gently. Avoid dropping potatoes into a bucket. Bruises can show up later in storage.
After digging: Let potatoes sit on the soil surface briefly in the shade so they dry a little, then move them out of the light.
Timing by type
Seed potato packages often list “days to maturity,” but your garden conditions can shift timing. Use the plant signals first, then let variety timing help you plan your window.
- Early season varieties: Often ready sooner for both new and mature harvests. Good choice if summers get hot fast.
- Mid season varieties: A balanced option for many climates. Usually reliable for storage if you let them fully die back.
- Late season varieties: Typically best for long storage, but they need a longer season and good disease control.
If blight or stress hits early, even a late variety may need to be harvested sooner. The plant condition always gets the final vote.
If vines die early
Sometimes potato tops crash early due to heat, drought, disease, or pests. That does not automatically mean the tubers are ready, but it does mean you need to evaluate quickly.
Do this first
- Do a test dig. Check tuber size and do the skin rub test.
- If tubers are small and skins are thin, you can wait a bit if soil is dry and disease is not active.
- If you suspect late blight or heavy rot risk, harvest sooner. Remove and discard infected vines so spores do not spread, and do not compost diseased foliage.
- If late blight is likely, skip curing and long storage. Sort carefully and use sound-looking potatoes quickly. Discard anything with brown, firm rot that spreads under the skin.
Tip: If vines died from drought stress and not disease, tubers may still be fine. Let them sit in the ground a week or two if your soil stays reasonably dry, then dig.
Curing and storing the practical way
If you want potatoes to last, treat harvest day like the start of storage, not the end of growing.
Curing basics
- Brush off loose dirt, but do not wash potatoes meant for storage.
- Cure in a dark, well-ventilated space for 7 to 14 days.
- Best curing conditions are cool and fairly humid, not hot and bone dry.
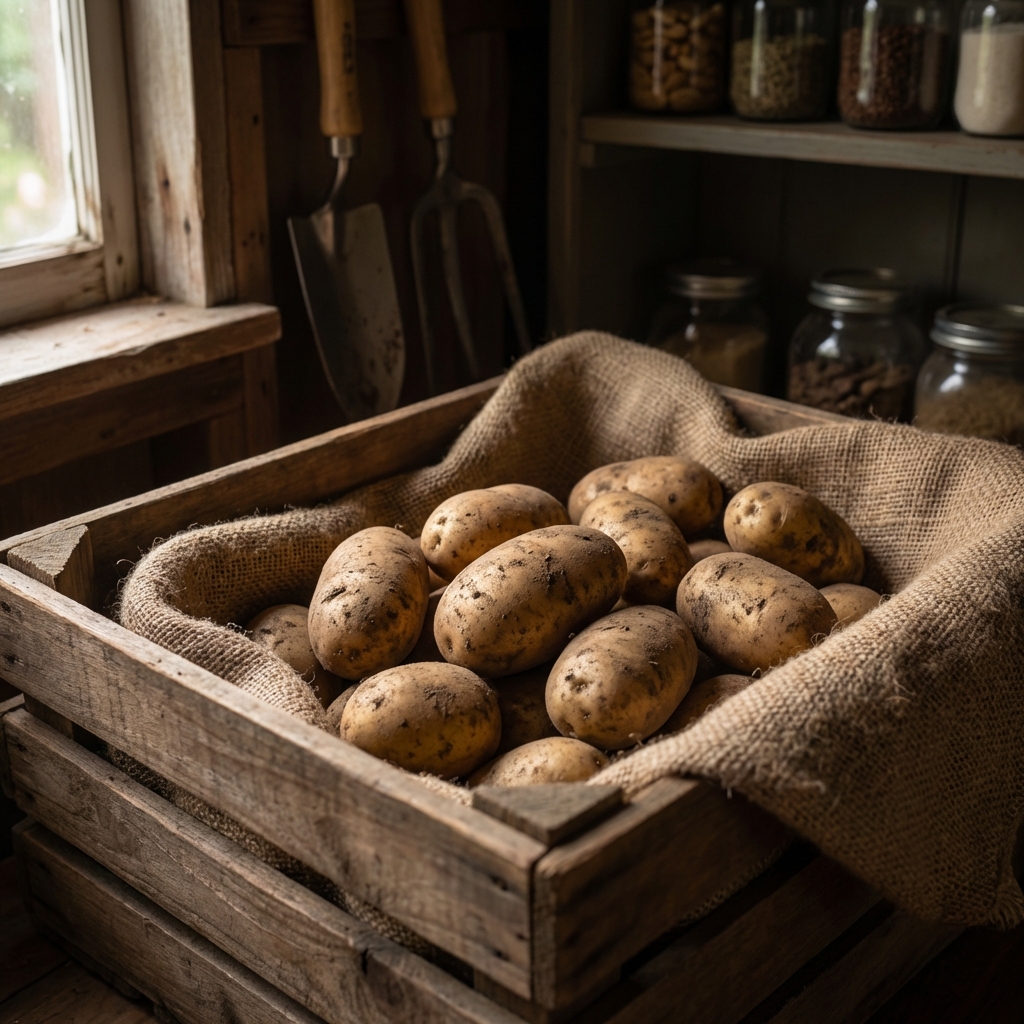
Storage basics
- Store in the dark at about 45 to 55°F (7 to 13°C) if you can. Warmer storage encourages sprouting. Much colder storage can make potatoes taste sweeter as starches convert to sugars.
- Aim for higher humidity with airflow. You want potatoes to stay firm without trapping moisture that can cause rot.
- Use breathable containers like a paper bag, burlap sack, or ventilated bin.
- Check weekly at first and remove any potatoes that soften, leak, or smell off.
Sort for storage: Do not store tubers with deep cuts, soft spots, heavy scab, wireworm tunnels, or obvious rot. Eat those first or discard if questionable.
Important: Potatoes that turn green have increased glycoalkaloids near the surface (including solanine). If only a small patch is green, peel thickly and trim until no green remains. If potatoes are extensively green, bitter, or heavily sprouted, discard them.
Common harvest mistakes
- Digging too close to the stem: Start wider, then work inward to avoid slicing tubers.
- Harvesting in mud: Wait for a drier day if you can. Muddy potatoes are harder to cure and store.
- Leaving potatoes in the sun: Keep a bucket or box nearby and cover harvested tubers with a towel.
- Storing damaged potatoes: Eat nicked or forked potatoes first. Only store the sound ones.
- Washing storage potatoes: Wash only what you will cook soon.
Fast checklist: ready to dig?
- Do you want new potatoes or storage potatoes?
- Are vines still green and growing, or are they yellowing and dying back?
- Has there been enough time for skin set after dieback (or after cutting vines if you chose that route)?
- Does a test potato pass the skin rub test?
- Is the soil dry enough to dig without making a mess?
- Are you ahead of a hard freeze or a long stretch of wet weather?
If you can check most of those boxes, you are not guessing anymore. You are harvesting at the right time for the result you want.

Jose Brito
I’m Jose Britto, the writer behind The Country Store Farm Website. I share practical, down-to-earth gardening advice for home growers—whether you’re starting your first raised bed, troubleshooting pests, improving soil, or figuring out what to plant next. My focus is simple: clear tips you can actually use, realistic expectations, and methods that work in real backyards (not just in perfect conditions). If you like straightforward guidance and learning as you go, you’re in the right place.