Potatoes are one of those crops that feel a little mysterious because the good part is hidden. But once you know what to watch for, harvesting gets simple. The key is deciding what kind of potatoes you want: tender new potatoes for fresh eating, or fully mature storage potatoes that keep for months.
This guide walks you through the signs, timing, and a beginner-friendly harvest method that helps you avoid nicked tubers and short shelf life.
New potatoes vs storage potatoes
Most harvest confusion comes from mixing these up. They are harvested at different times and handled a little differently.
New potatoes (early harvest)
- Best for: boiling, roasting, quick meals, eating within 1 to 2 weeks
- Texture: thin skin, very tender, easy to rub off
- Timing: often a few weeks after flowering begins (if your variety flowers), or any time the plants are still vigorous and the tubers are around egg-size or larger
Storage potatoes (main harvest)
- Best for: long-term storage
- Texture: thicker skin that resists rubbing
- Timing: after the plant naturally yellows, dies back, and the skins set
If you want both, you can do a sneak harvest for a few new potatoes and leave the rest to mature.
Signs potatoes are ready to harvest
1) The tops are dying back
The most reliable signal for mature potatoes is what the plant does up top. When vines and leaves turn yellow, flop over, and start drying down, the tubers are finishing up.
- New potatoes: plant is still green or just starting to fade
- Storage potatoes: plant is mostly yellow to brown and dying back
2) Skin set passes the rub test
For storage potatoes, you want the skins to toughen before you dig. Here is the quick test:
- Dig one potato carefully.
- Rub the skin with your thumb.
- If the skin rubs off easily, they are not ready for storage yet.
- If the skin stays put, the potatoes are ready to harvest and cure.
Thin skins are normal for new potatoes. That is why they do not store well.
3) Days to maturity for your variety
Seed potato packages often list days to maturity, commonly:
- Early: 70 to 90 days
- Mid-season: 90 to 110 days
- Late: 110 to 135 days
Use this as a guide, not a guarantee. Weather, watering, and soil conditions can shift the timeline.
When to harvest
For new potatoes
Harvest when tubers are a usable size and the plant is still actively growing. Flowering can be a clue, but it is not required. Some varieties flower lightly or not at all.
- Best window: while vines are green and growing
- How to do it: gently dig at the edge of the plant and take a few potatoes, then cover the soil back up
For storage potatoes
Wait for the plant to die back, then give the potatoes time to finish toughening up.
- Step 1: let the plant die back naturally if possible
- Step 2: wait 10 to 14 days after dieback (or after you cut the vines) for better skin set
- Step 3: harvest before prolonged wet weather or a hard freeze
If a hard frost is coming and the tops are still green, harvest sooner rather than later. Frozen soil and frozen tubers can turn a good crop into compost fast.
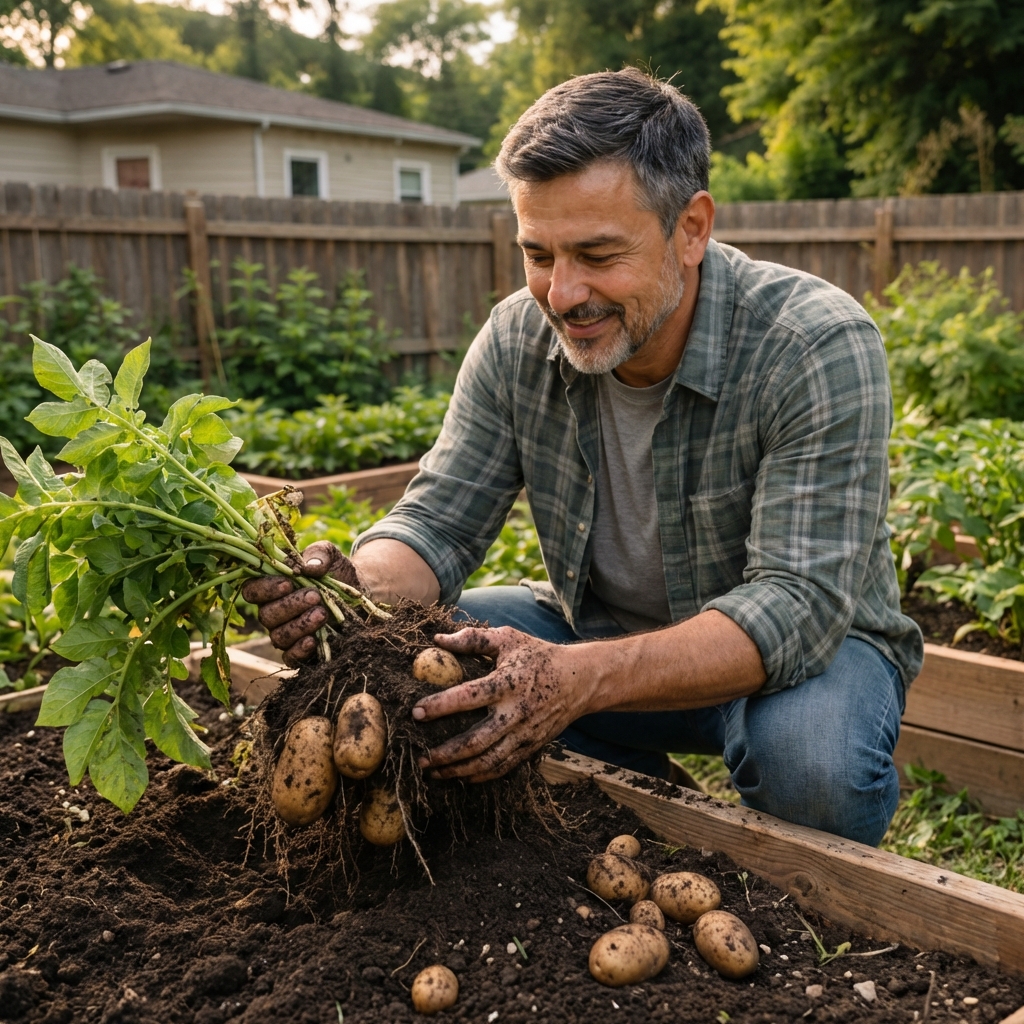
How to harvest without damage
Bruises and cuts are the biggest reason homegrown potatoes rot in storage. Slow down and use the right tool.
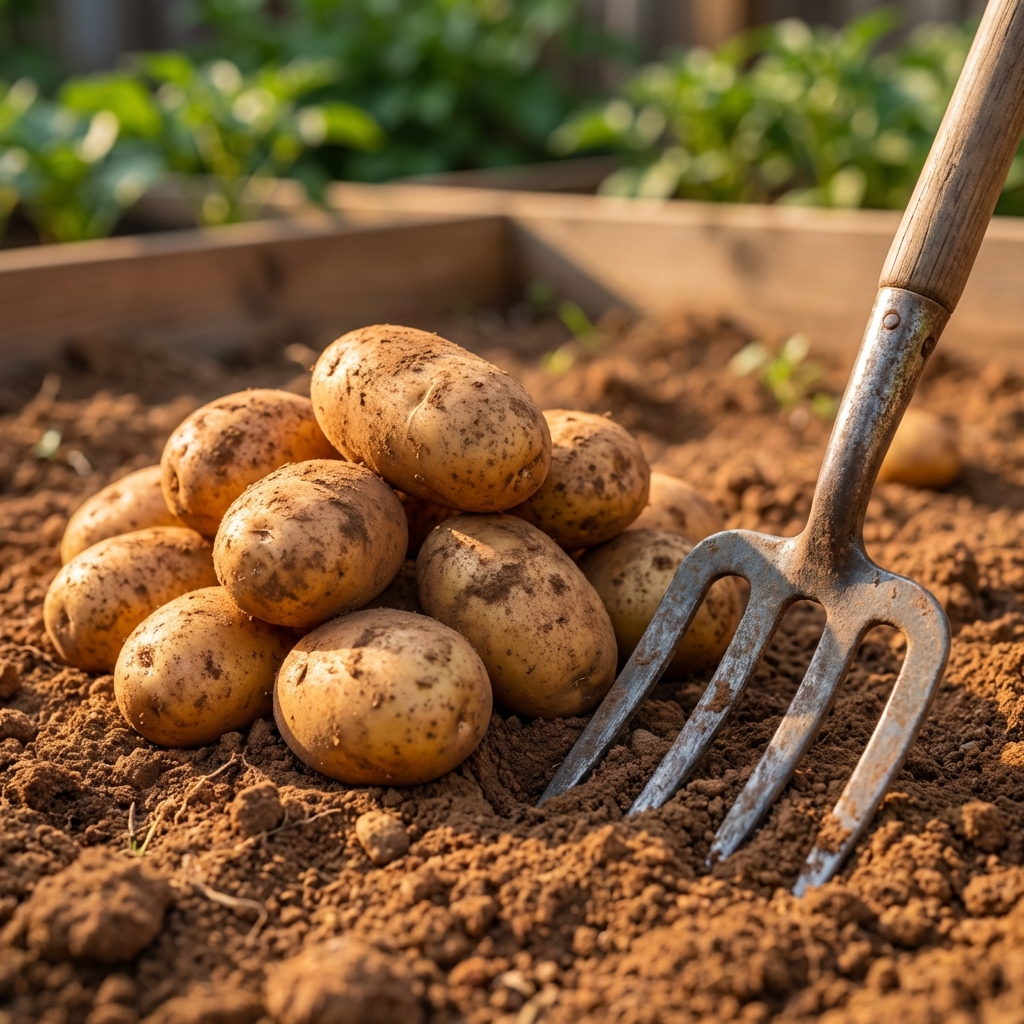
Tools that work well
- Garden fork (often easier to lift soil gently, but it can still spear tubers if you dig too close)
- Gloves
- Bucket, tote, or crate lined with a towel
Step-by-step method
Pick a dry day. Wet soil sticks and increases disease risk.
Start wide. Insert your fork 8 to 12 inches away from the plant to reduce the chance of hitting tubers.
Lift the soil gently. Pry up, then use your hands to feel around and pull potatoes out.
Handle like fruit. Do not drop potatoes into the bucket. Do not pile them deep where the bottom layer gets bruised.
Hunt for strays. Potatoes can form farther out than you expect, especially in loose soil or grow bags.
Keep them out of sun. Put harvested potatoes in shade right away.
Right after harvest
Do not wash storage potatoes
For potatoes you plan to store, skip washing. Extra moisture encourages rot. Instead:
- Let them dry on the surface for a short time out of direct sun.
- Brush off loose dirt once they are dry to the touch.
- Let the rest of the soil fall off during curing.
Wash only the potatoes you will cook in the next day or two.
What if you nick a potato?
Set it aside and use it first. Small cuts and spears are an open door for rot, even if the potato looks fine on day one.
Sort like a pro
This one step saves a lot of heartbreak later.
- Keep for storage: firm potatoes with intact skins
- Use first: nicked, bruised, or scuffed potatoes
- Do not store: potatoes with soft spots, a bad smell, wet lesions, or obvious rot
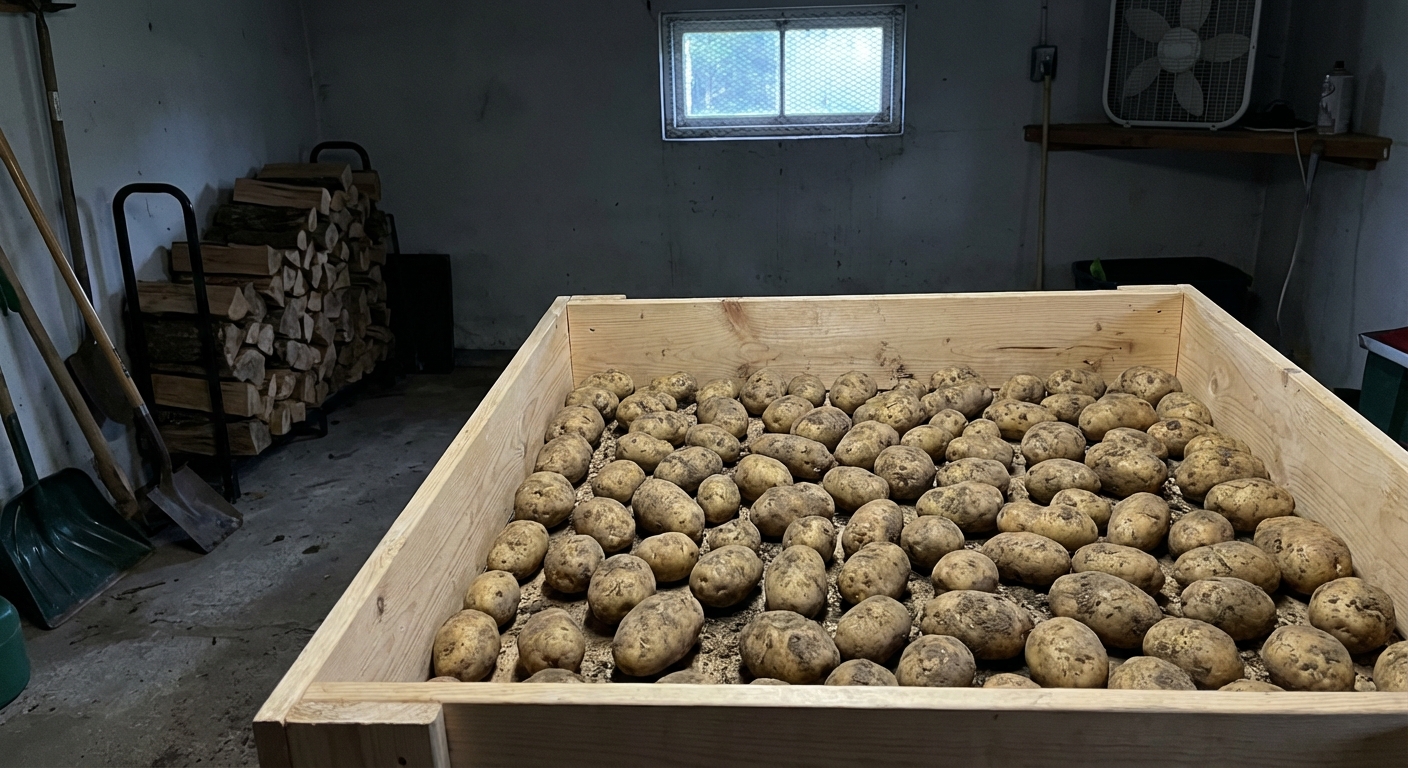
Curing potatoes
Curing helps small wounds heal and thickens skins even more. It is what makes homegrown potatoes store well.
Curing is not the same as refrigerator storage. Curing is warmer, dark, and lightly humid with airflow. Refrigerators are too cold and can change flavor and texture over time.
How to cure
- Time: 10 to 14 days
- Temperature: about 50 to 60°F (10 to 16°C)
- Light: dark
- Airflow: good ventilation
A basement, garage, or spare room can work if it stays in that range. Avoid bright light. Light turns skins green and increases solanine, which you do not want to eat.
How to store potatoes
Once cured, move them to long-term storage.
- Ideal conditions: 40 to 45°F (4 to 7°C), dark, humid but not damp
- Humidity tip: aim for roughly 85 to 95% relative humidity. You want them to stay firm, but you do not want condensation. Breathable containers help.
- If they taste sweet: some potatoes cold-sweeten in colder storage. If you notice sweetness, try storing a bit warmer, closer to 45 to 50°F (7 to 10°C).
- Containers: breathable bags, cardboard boxes with holes, slatted crates
- Avoid: sealed plastic bins (traps moisture)
- Store separately: keep potatoes and onions in different areas if you can
To slow sprouting, keep them cool and dark and avoid temperature swings. Check your stash every week or two at first. Pull any soft potatoes right away so one bad one does not ruin the rest.
Problems to watch for
Can I leave potatoes in the ground until I need them?
Sometimes, yes, especially in cool, dry fall weather. But it is risky if your soil stays wet, if slugs or rodents are active, or if freezing weather is coming. For most beginners, harvesting and storing is more reliable.
What if my plant never flowered?
That is normal for some varieties and in some conditions. Use dieback and skin set, not flowering, as your main signals.
Why are my potatoes small?
Common causes include harvesting too early, heat stress, inconsistent watering, crowded plants, or low soil fertility. Small potatoes still taste great. Next season, aim for steady moisture and give plants enough space.
Are green potatoes safe?
Green skin means light exposure and higher glycoalkaloids (including solanine). The green and the bitterness can extend deeper than the peel, and cooking does not destroy solanine. If the greening is minor, you can peel thickly and discard the peel. If a potato is very green, bitter, or has extensive sprouting, it is safest to discard it.
What about disease or heavy damage?
If you suspect late blight, a strong rotten smell, or widespread breakdown, do not store those potatoes. Use only sound tubers for long-term storage. When in doubt, discard affected potatoes and keep storage areas clean and dry.
Quick checklist
- For new potatoes: vines mostly green, harvest gently, eat soon
- For storage potatoes: vines dying back, wait 10 to 14 days, rub test passes
- Harvest on a dry day, keep tubers shaded, handle gently
- Use nicked and bruised potatoes first
- Cure 10 to 14 days in dark, ventilated conditions (not fridge-cold)
- Store cool, dark, and breathable with high humidity and no condensation
If you remember just one thing, make it this: skin set matters. It is the difference between potatoes that last a week and potatoes that last all winter.

Jose Brito
I’m Jose Britto, the writer behind The Country Store Farm Website. I share practical, down-to-earth gardening advice for home growers—whether you’re starting your first raised bed, troubleshooting pests, improving soil, or figuring out what to plant next. My focus is simple: clear tips you can actually use, realistic expectations, and methods that work in real backyards (not just in perfect conditions). If you like straightforward guidance and learning as you go, you’re in the right place.